Here’s a drum I keep banging and will continue to keep banging for the foreseeable future: if you go to Zion National Park, make a point of spending some time outside of the canyon. Sure, it’s only natural that if you are lucky enough to score a long weekend in the park, you will want to hit the quote-unquote “can’t miss” hikes like the Narrows, Angels Landing, Observation Point, and Emerald Pools. By all means, hit those highlights and hit them hard. All I’m saying is that there is so much amazing, overlooked stuff OUTSIDE the canyon that it almost seems like hikers do themselves a bit of disservice by hiking according to name-brand recognition. Off of the beaten path, you’ll encounter fewer people, a great variety in scenery, and some truly exceptional hiking experiences.

So, where to begin your exploration of Zion’s deep cuts? Well, you could start with one of the single most impressive hikes in the entire park: the West Rim Trail. For the price of some logistical heavy lifting, you can hike from near the park’s highest road-accessible point at Lava Point, across the Horse Pasture Plateau, and then down through a mind-blowing series of canyons and ridges until you bottom out at the Virgin River near the Grotto Trailhead. This route also functions as a great overnight backpacking trip, and it’s also the highlight of the Trans-Zion Route that traverses the park from the Kolob Canyons to the East Entrance.
Logistics of the West Rim Trail

If you read the driving directions and wondered why I punted, it’s because the directions are too lengthy for the modest 500 characters that section allows. This should give you an inkling of the ground work you’ll have to take care of first before you can tackle this one-way, downhill hike.
The easiest (but most expensive way) to handle this challenge is to book a ride up to the Lava Point Trailhead with the Zion Adventure Company. You can find details on the fees, schedules, and contacts by clicking this link, which takes you to their page specifically for the West Rim Trail shuttle. If you use this shuttle, you’d basically get picked up at the Zion Adventure Company’s Springdale location, shuttle up to the top, hike down, and then take the Zion Canyon Shuttle to the Zion Visitor Center. A second shuttle servicing Springdale will take you from the Visitor Center to a stop near the Zion Adventure Company location.
If you want to handle this with cars, you will have to drive to the West Rim Trailhead after parking car #1 (and possibly grabbing overnight permits if you want to backpack this route) at the Zion Canyon Visitor Center. From there, you will drive up Kolob Terrace Road to Lava Point and beyond to the West Rim Trail to park car #2. You then hike the hike and take the Zion Canyon shuttle back to the Zion Canyon Visitor Center to retrieve car #1. Then, you get into car #1, drive it back up to Lava Point, retrieve car #2, and head to wherever your next destination. This is a lot of work and time (about 2:30 worth of driving) for a dayhike, but it is a bit less stressful for an overnight trip. If you’re dayhiking, expect to start driving before sunrise and expect to drive back home after sunset.
Having done this both ways, quite frankly I think it’s best to just shell out the cash. It’s not an insurmountable feat to set aside $40 for an experience like this. This hike is well worth the effort, AND it is much more enjoyable without all the extra time in the car. Plus, you support a local business while reducing the amount of traffic on the roads. Win.
That said, this next section is for the autophiles. Skip it if you’ve already concluded you want to use the shuttle:
Driving & Shuttle Directions for the West Rim Trail

Note that the road to the West Rim Trail is impassable when wet. If that’s the case, you will have to park at Lava Point and follow Barney’s Trail from Lava Point down to the West Rim Trail (an extra 1.5 miles). If there is still snow, you will have to park at the beginning of Lava Point Road and walk the rest of the way to the trailhead – an additional 2.3 miles.
Lava Point Trailhead (Car 1): From I-15 north of St. George, follow Highway 9 east for 6.2 miles (10 km) to Kolob Terrace Road. Continue north on Kolob Terrace Road for 20.3 miles (32.7 km) to a junction with Lava Point Road, and turn right. Drive east on Lava Point Road for 0.9 mile (1.4 km), and keep left at a junction with leading to the West Rim Trailhead. Make an immediate right shortly after to continue east on a service road leading to the West Rim Trailhead. Remain on the service road for 1.4 miles (2.3 km) until you reach the West Rim Trailhead. Note that the service road is impassable when wet.
Zion Canyon Visitor Center (Car 2): From Zion National Park’s main entrance north of the town of Springdale, head north an make an immediate right turn after 100 yards (90 m) toward the Zion National Park Visitor Center.
Public Transit: When you end the hike at the Grotto Trailhead, you will need to take the Zion Shuttle south to the Zion Canyon Visitor Center to retrieve car #2.
Wilderness Permits for the West Rim Trail

If you wish to camp at any one of the 9 campsites located along the West Rim Trail, you will need to obtain a wilderness permit in advance of your hike. You can do this by walking into the backcountry desk at the Zion Canyon Visitor Center. However, your safest bet is to reserve permits in advance. Follow this link and select from the West Rim campsites in the dropdown menu. From there, you can follow the process until you have reserved the date and sites you want. There’s a non-refundable $5 fee to process your reservation request, plus an additional fee based off of the size of your group.
Keep in mind that Zion wilderness permits are in high demand and get snatched up rather quickly. You can reserve up to three months in advance, and permits become available on the 5th date of every month for two months ahead. For example, if you want to hike the West Rim Trail in March, you could begin reserving permits starting on January 5th .
Is This a Hike Write-up, or What?
With so many different logistical components to consider, it feels like we’ve already done a ton of work without even getting our hiking boots dirty. Start pounding Zion’s characteristic red dust by stepping onto the West Rim Trail and heading south on a gentle downhill descent. The West Rim Trail will spend the next 10 miles traversing the Horse Pasture Plateau, a narrow plateau mostly above 6,500′ in elevation, that sports a mixture of deciduous scrub oak, ponderosa pine forest, and some outstanding views in all directions. After 0.8 mile, stay straight at the spur trail to Sawmill Spring and Campsite 9. This is way too early in your hike if you are backpacking to be pitching a tent, and chances are you won’t have sucked your water bladder dry after less than a mile. The scenery off of the spur trail isn’t remarkable, so no need to waste your precious minutes with the side trip. Leave this campsite for folks hiking the Trans-Zion route.

After the spur, continue on an often-level, but occasionally downhill stroll toward Potato Hollow Spring. This is the easiest walking on the route, and you can set to cruise control and make great time through the sparse forest of ponderosa pine. At around 3 miles, the West Rim Trail sidles up to the headwaters of North Creek, at which point you can earn a teaser of the fantastic view that awaits beyond the Telephone Canyon Junction. If you’re a leisurely hiker, this handful of viewpoints is a nice place to cool your heels, but the views here will seem quaint once you pass the Telephone Canyon Trail junction.

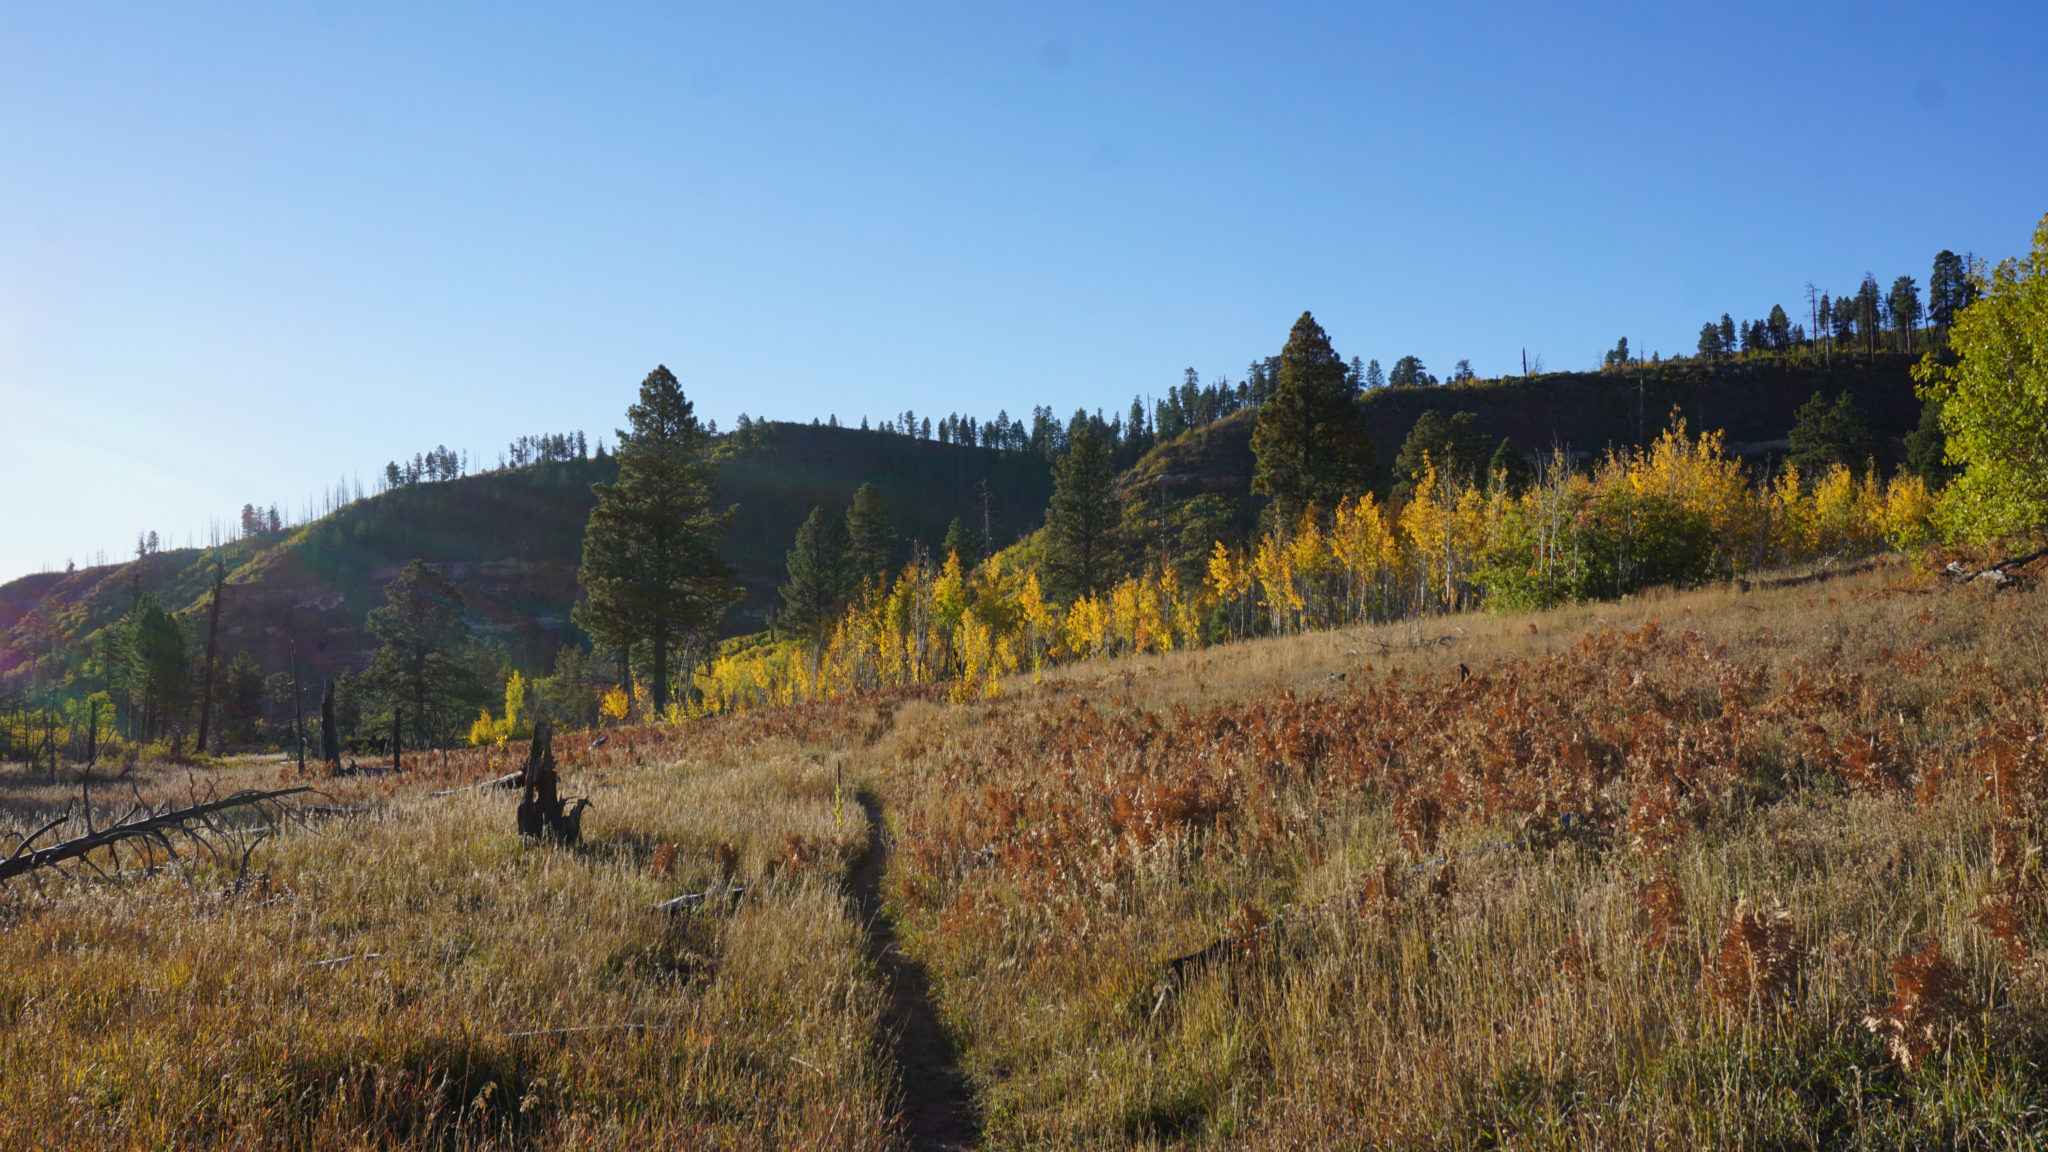
At 4.1 miles, the West Rim Trail begins a descent into Potato Hollow. After skirting the edge of a grassy meadow, the trail arrives at a grove of quaking aspens that shade a junction sign indicating Potato Hollow Spring and campsite 8 at 5.2 miles (don’t listen to the park’s official distance suggesting that Potato Hollow is 4 miles from Lava Point. It’s wrong). A second junction from campsite 7 lies ahead at 5.4 miles. Potato Hollow Spring is seasonal, so be sure to check at the visitor center first to determine whether there is water flowing. If you are camped nearby, you won’t have any access to water elsewhere if the spring is dry, so be prepared to schlep all of the water you’ll need if that’s the case. Beyond Potato Hollow, the trail begins the first of two significant climbs on the route as it climbs over a ridge and then down to the headwaters of Sleepy Hollow. Another short burst of climbing will bring you up to the Telephone Canyon junction at 6.7 miles.

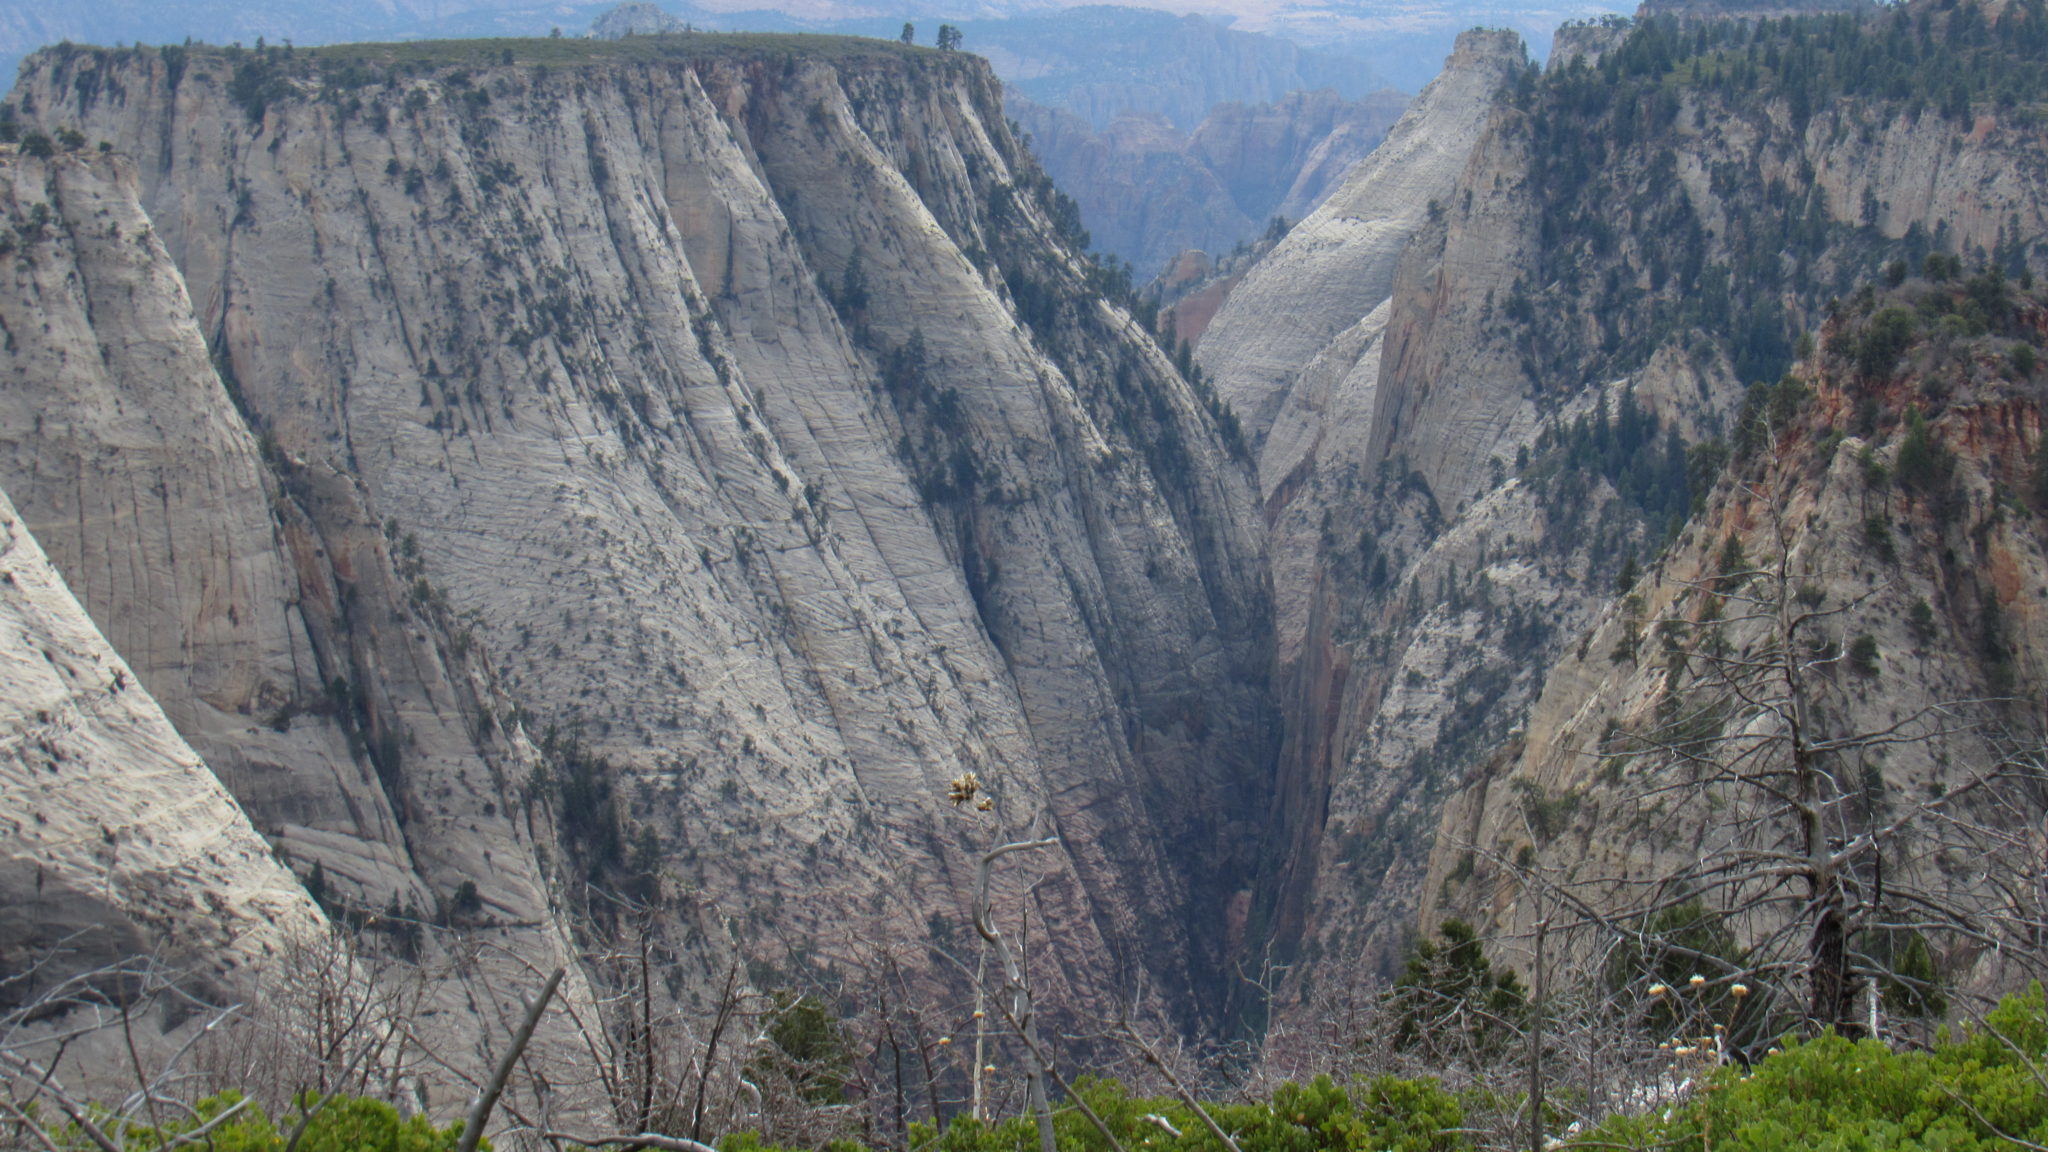
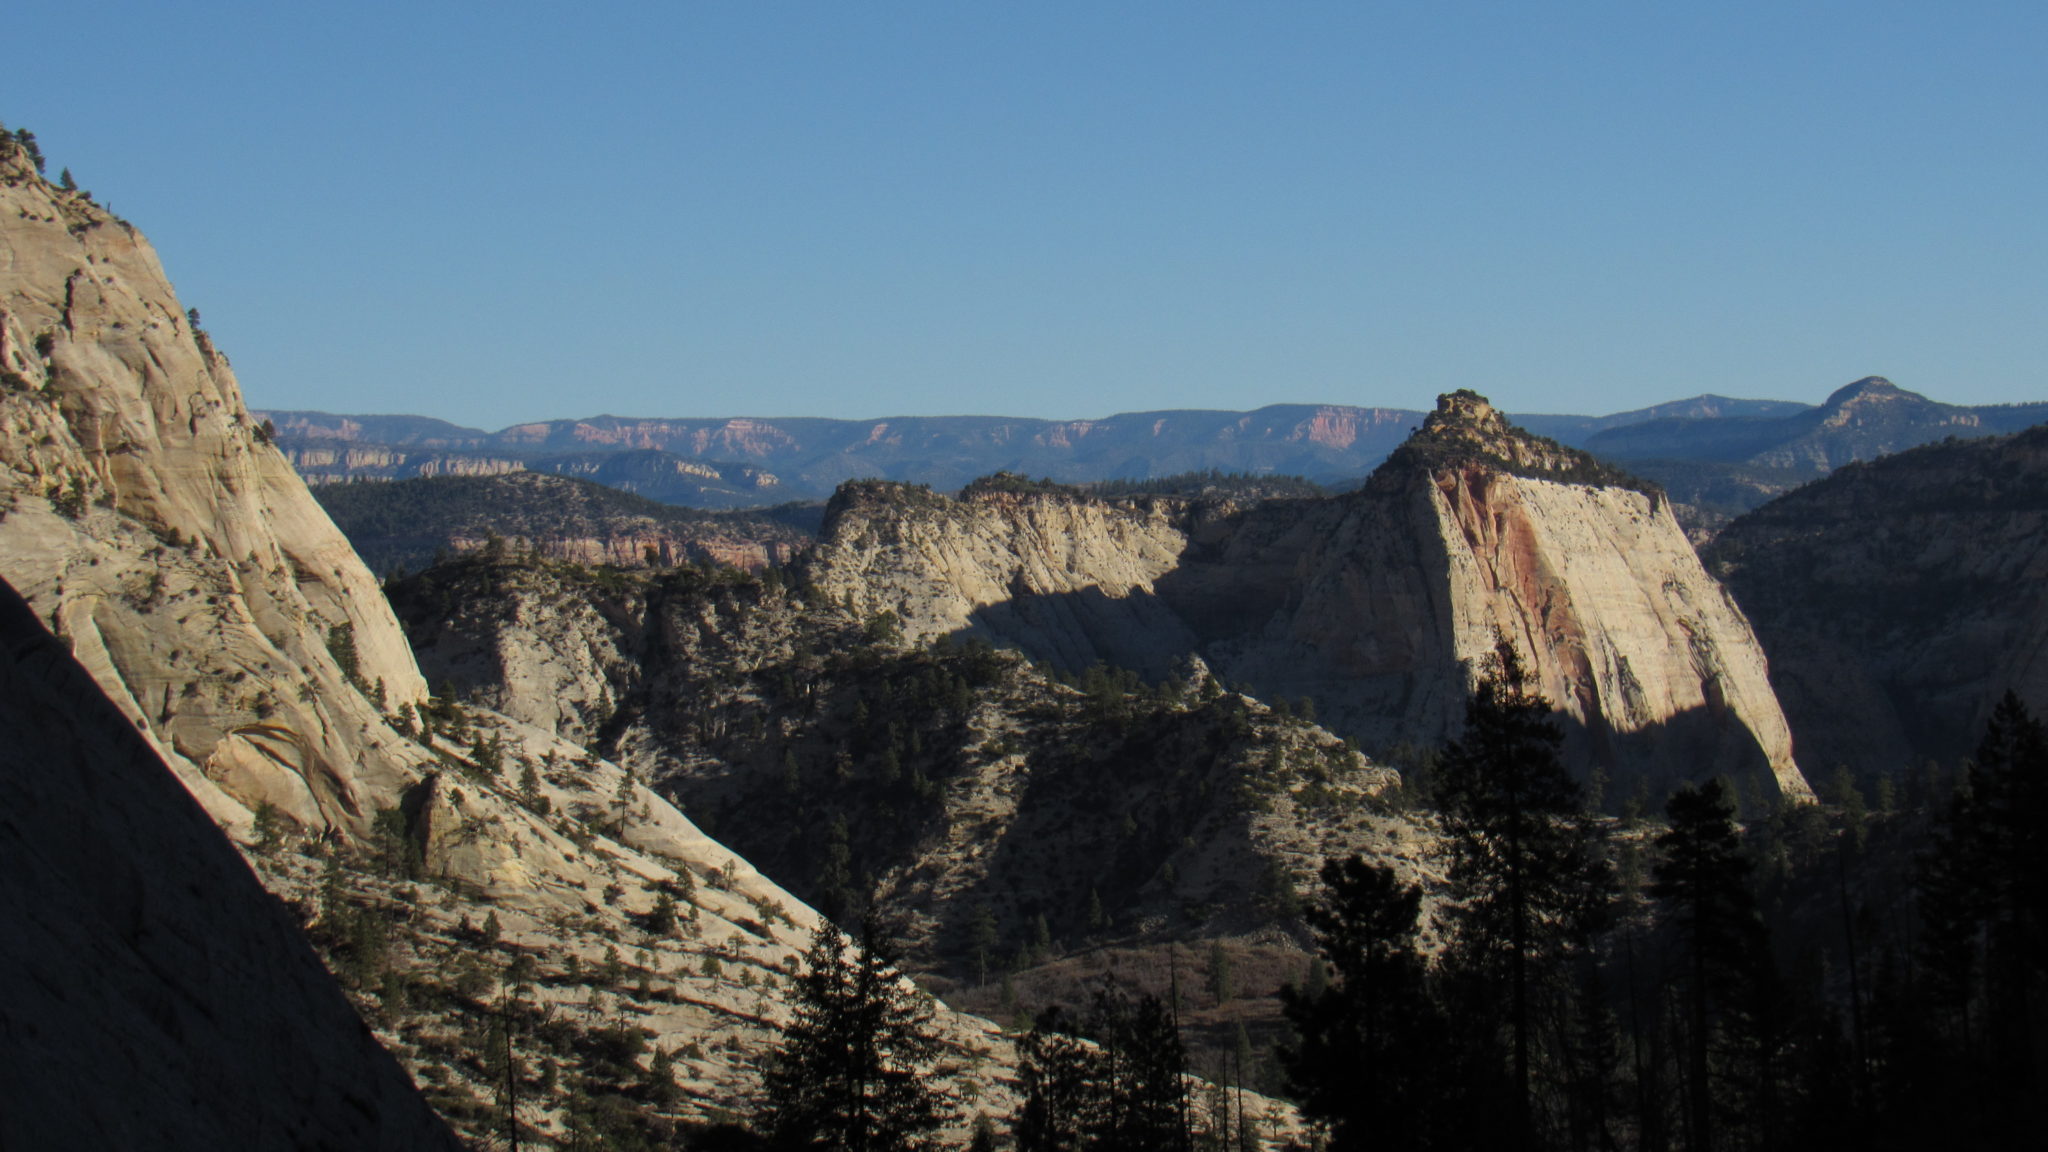
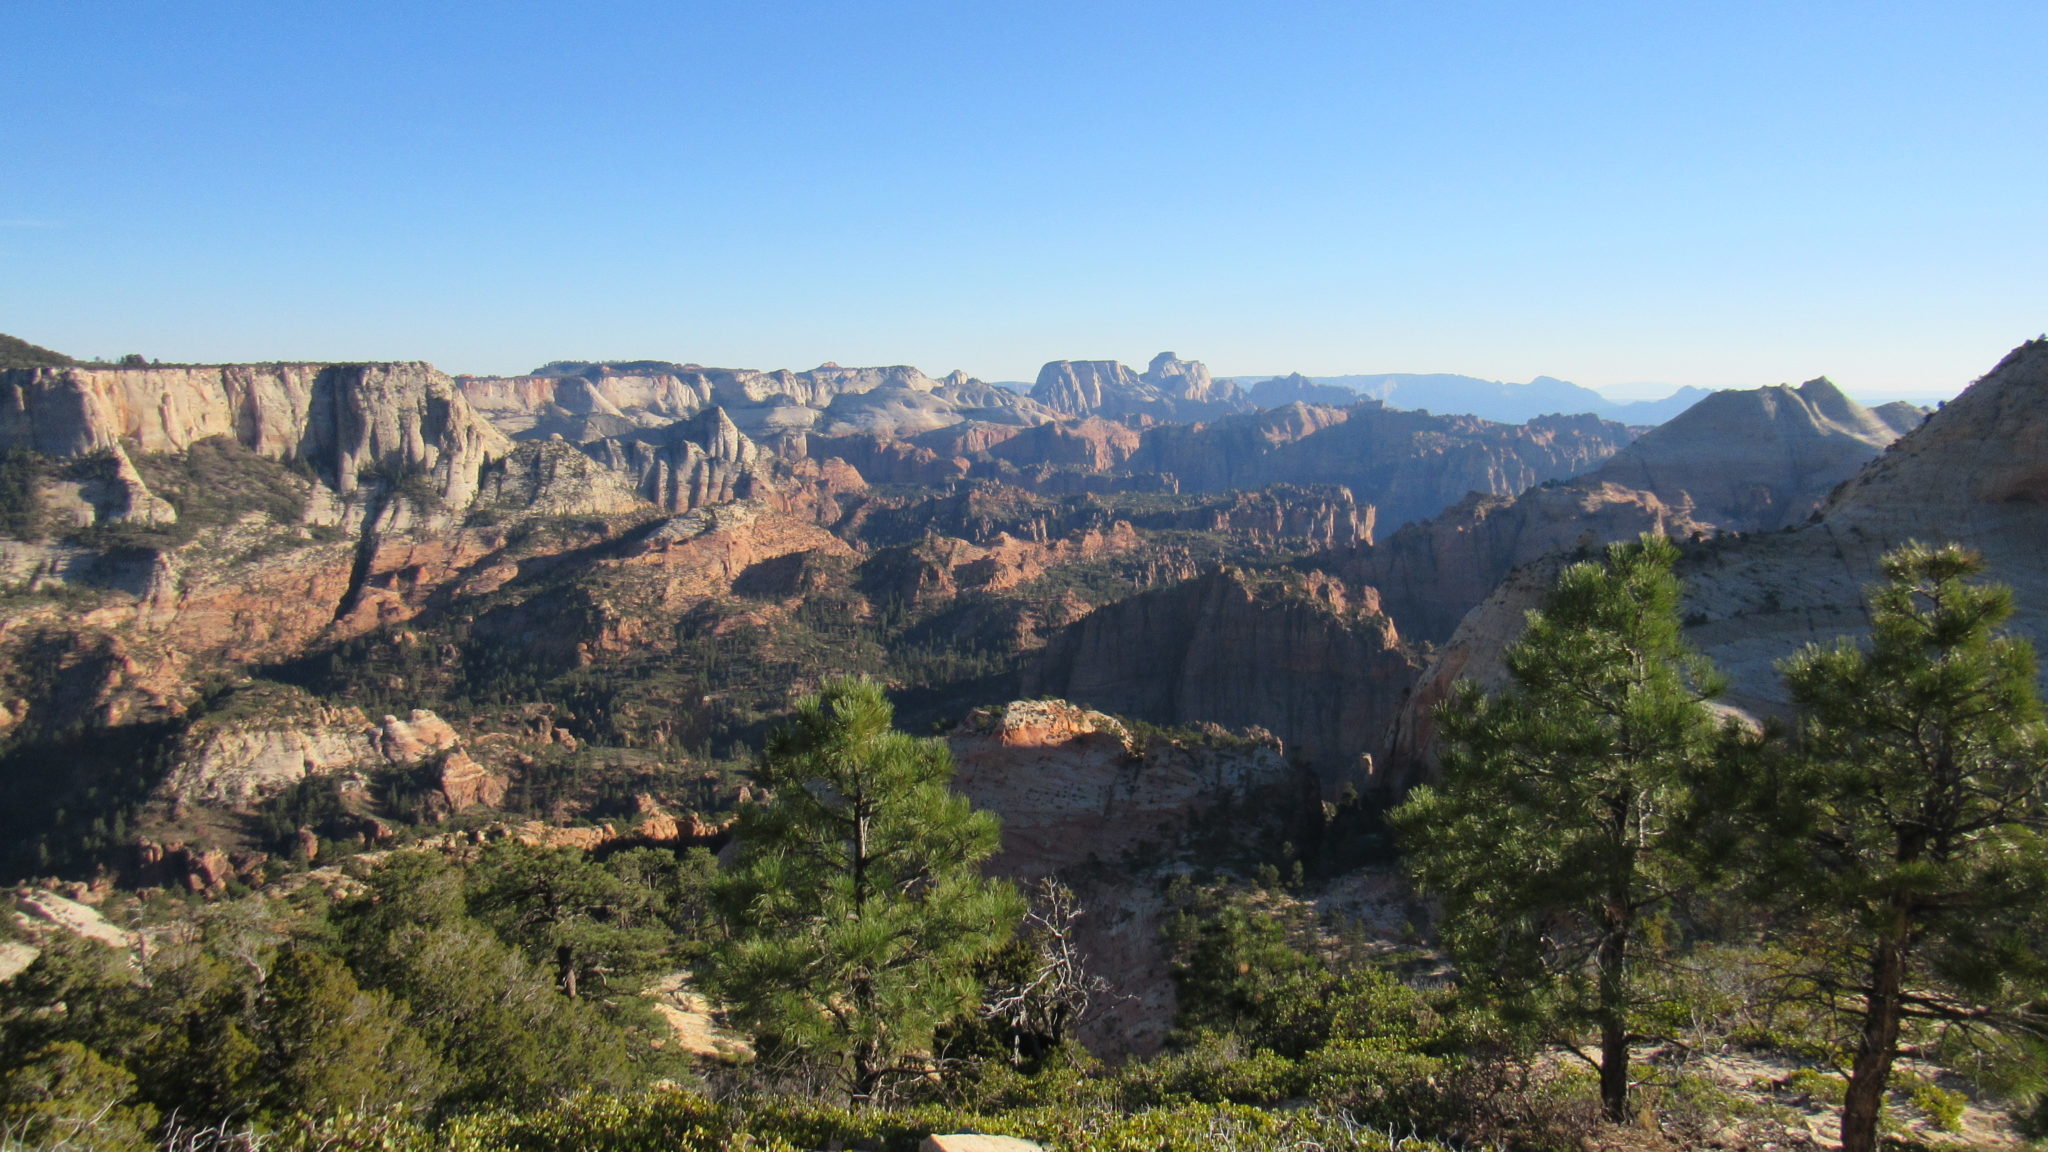
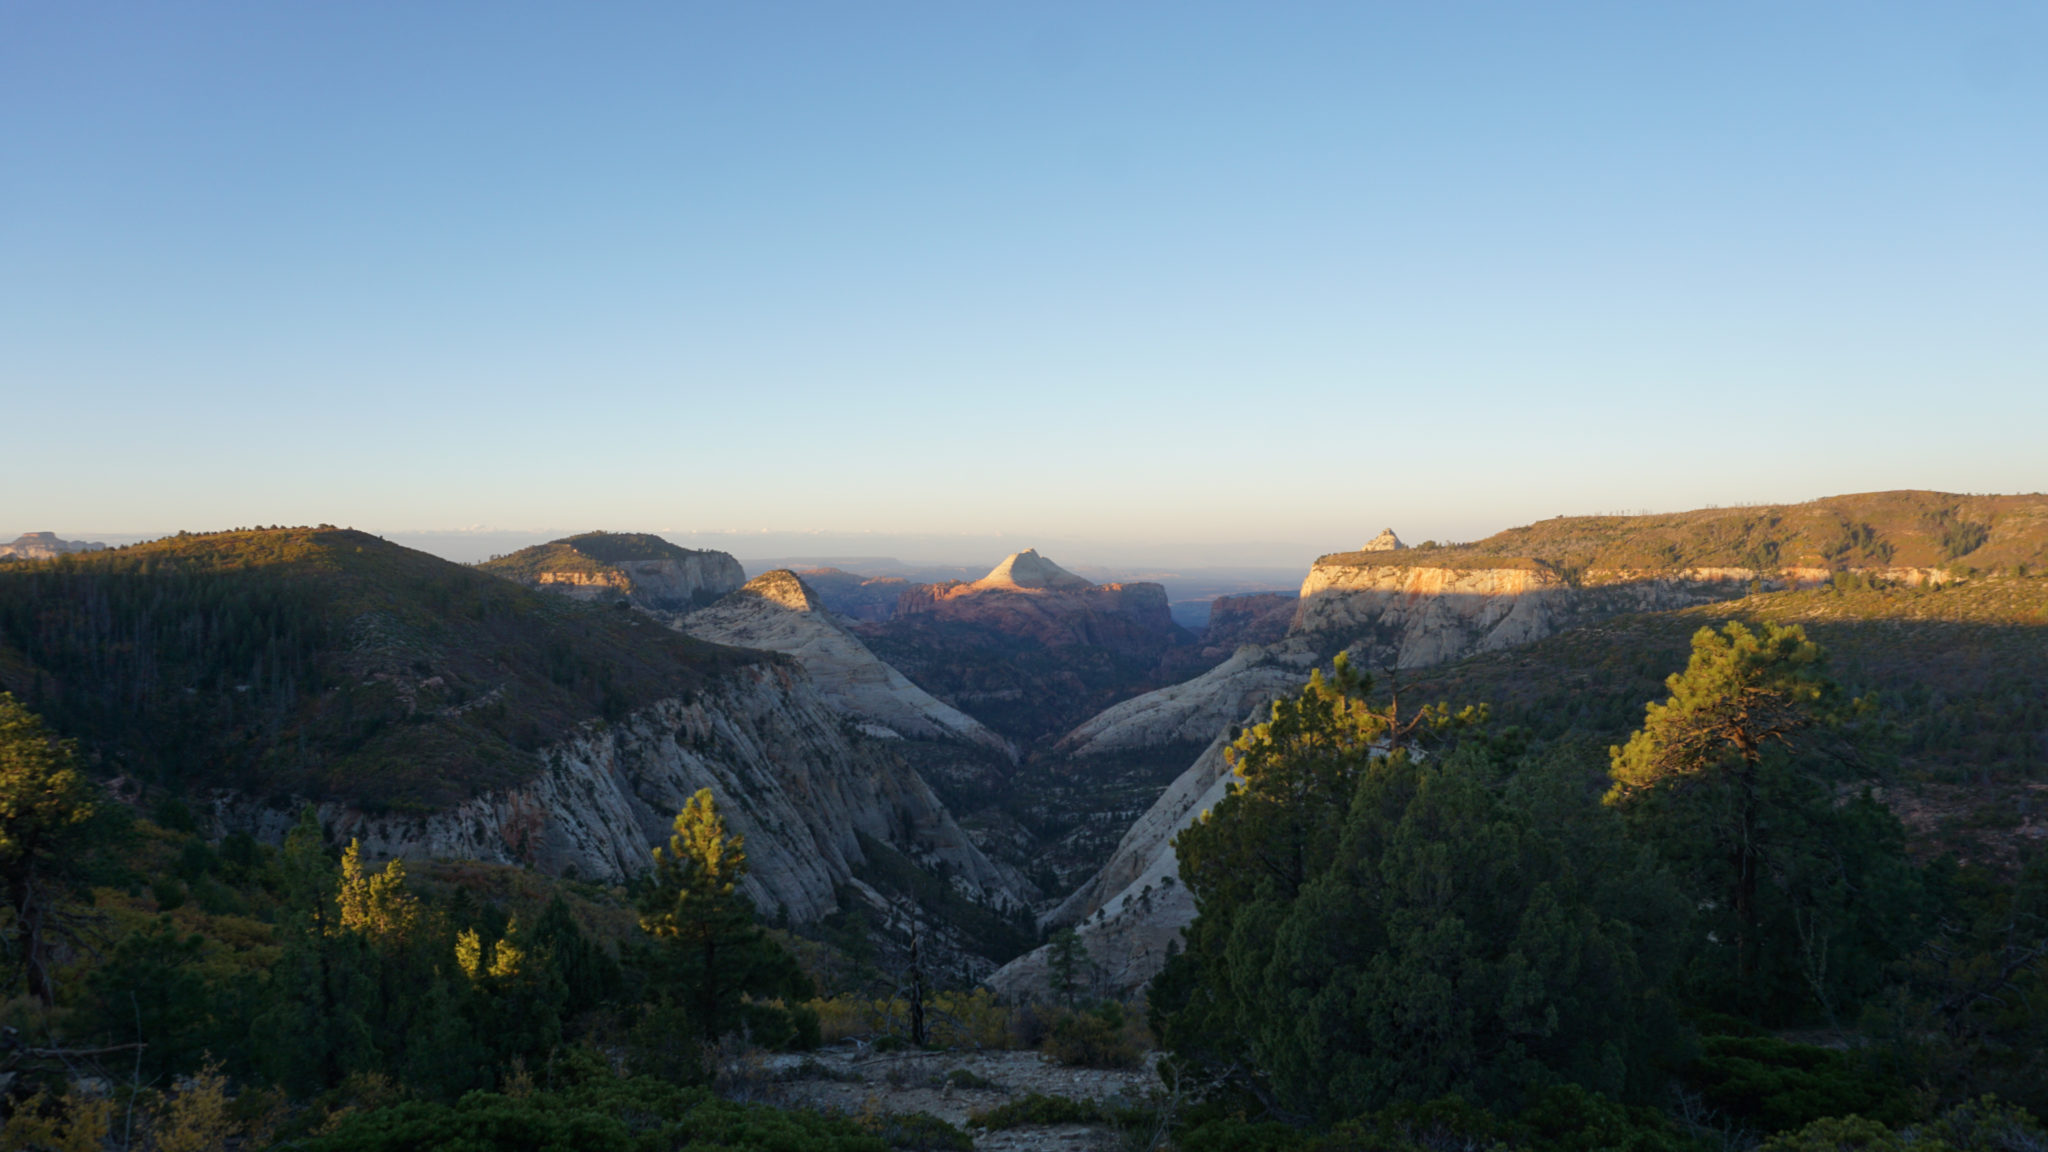
Take a right turn at the Telephone Canyon junction to continue on the West Rim Trail. From this point on, the scenery is nothing short of stupefying. This isn’t to take anything away from the scenery on the plateau, but now that the West Rim Trail actually finds itself on a rim, the sandstone spectacle is nothing short of spectacular. As you progress south, look to the west, and you will observe a complex system of canyons carving into the various layers of sandstone. White domes crown vermillion ridges with deep, knife-cut canyons. This cliffs, domes, peaks, canyons, and valleys eventually melt away into the Virgin River Valley, which threads its way to the vast, scorching expanses of the Mojave to the southwest.

Several of the best campsites lie along this magnificent stretch of trail, including campsite 6 (6.9 miles), campsite 5 (8.0 miles), campsite 4 (8.4 miles), and campsite 3 (8.5 miles). Much of the vegetation on this part of the plateau burned during a 2007 fire, and the vegetation continues to slowly recover, although this does help keep the vistas open.

After campsite 3, the West Rim Trail begins its final descent into Zion Canyon. The West Rim Trail takes a hard bend to the east as it descends, which opens up views directly across (but rarely into) Zion Canyon. Seldom viewed landmarks such as Lady Mountain, Castle Dome, and Cathedral Mountain look much less like mountains and more like the sky island plateaus that they truly are. You can peer into some of the canyons, sometimes all the way into Zion Canyon below. These deeply carved canyons testify to the impact that water and time has had on this landscape.

After making a hard switchback at 9.7 miles and dropping into a wooded ravine, the West Rim Trail reaches the last two campsites at 9.8 miles and 9.9 miles. At 9.9 miles, you also reach the second junction with the Telephone Canyon Trail. The last campsite’s spur trail lies directly opposite of another spur trail that leads to the most reliable water source on the route, Cabin Spring. This is your last chance to replenish your water supply until you reach the Virgin River, so if you’re backpacking be sure to tank up.

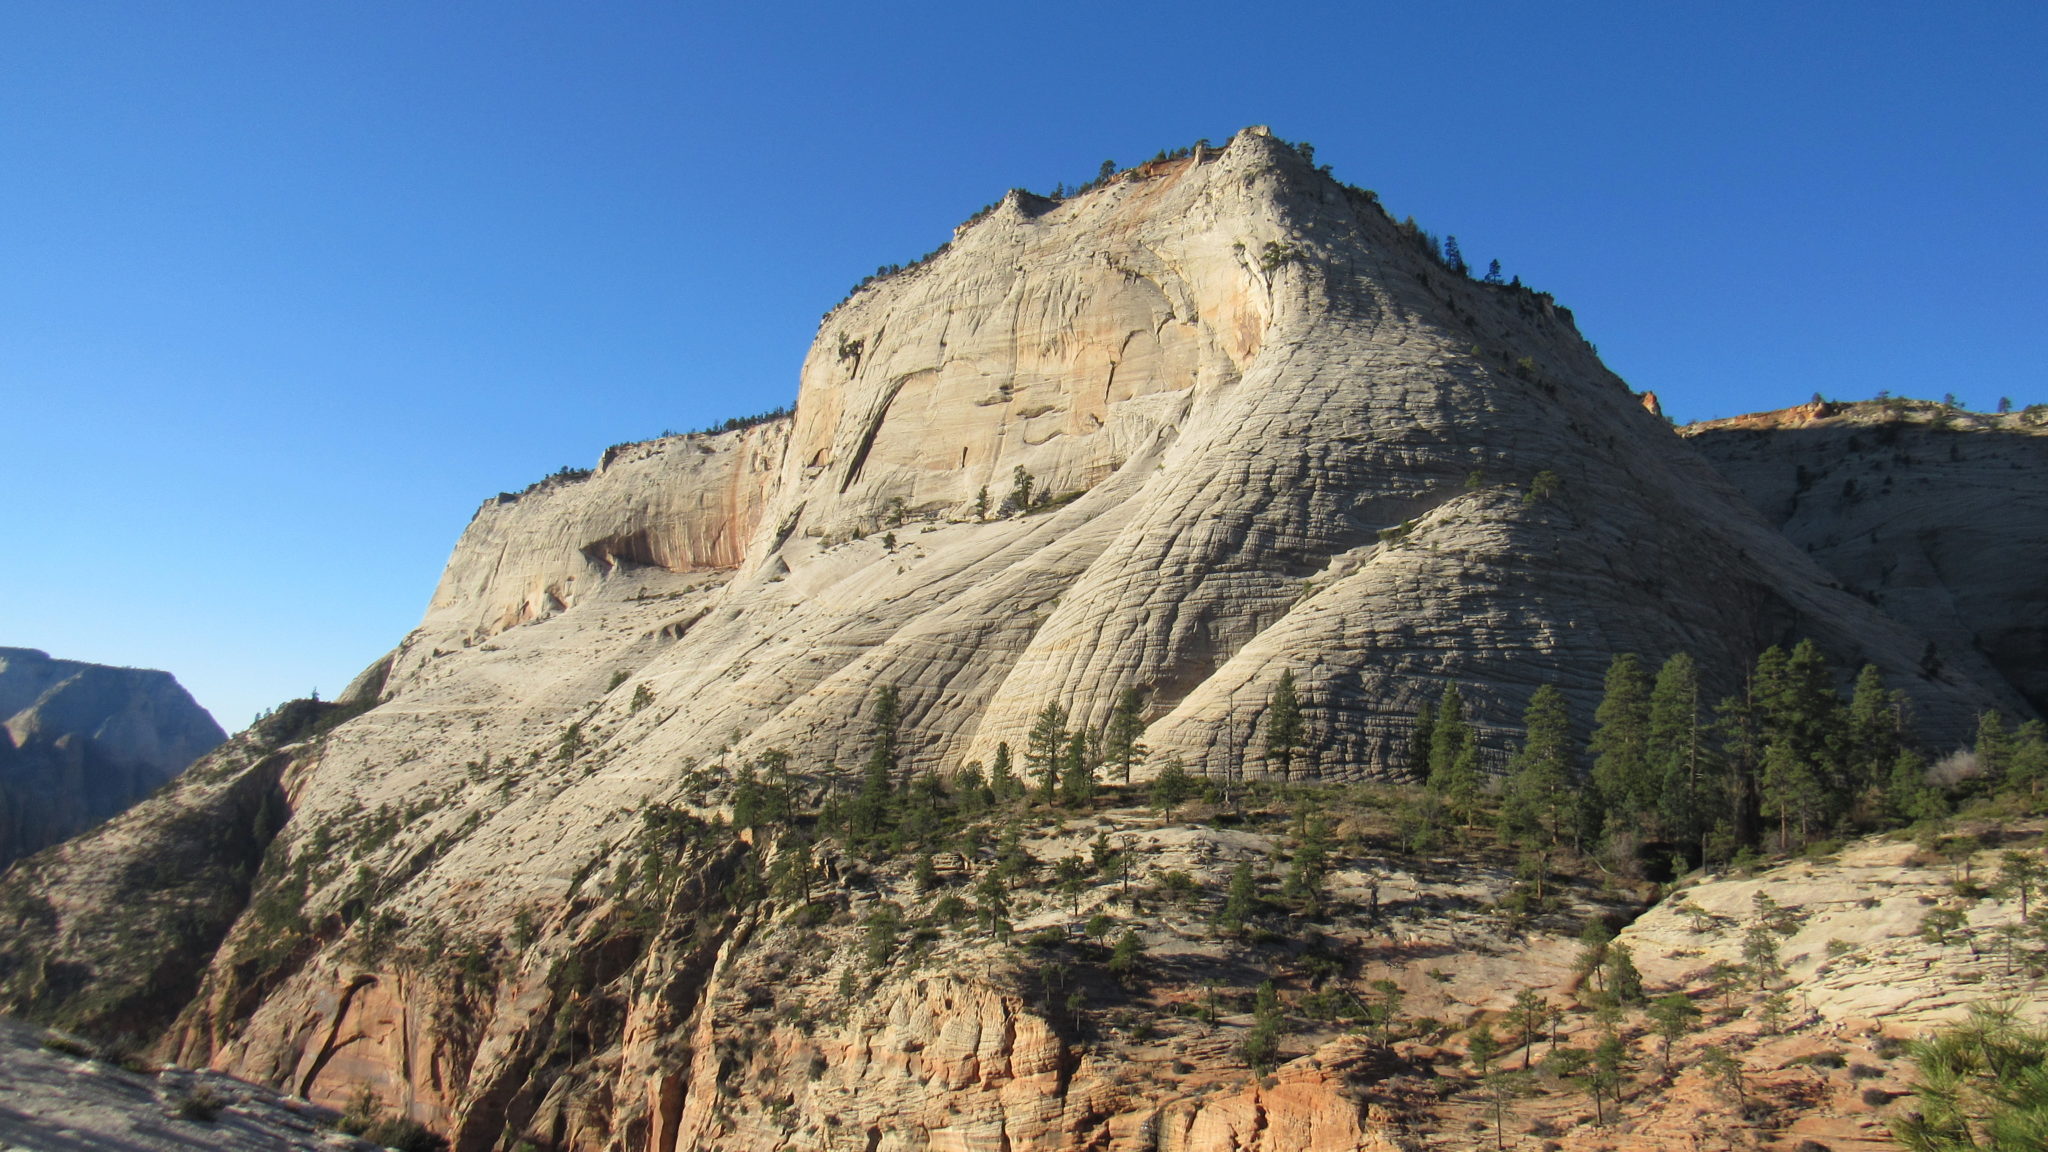
Keep right on the West Rim Trail and begin descending more vigorously as the trail descends through a gleaming white layer of Navajo sandstone on a trail cut directly into the side of the cliff. This trail switchbacks down to a saddle at the head of Behunin Canyon before continuing to descend along the north cliffs of Mount Majestic. This cool, north-facing slope lies in the shade through most of the day, especially during the fall and winter. Ice and snow may be present here even when it’s absent anywhere else. Be prepared at least for a sudden drop in temps and perhaps treacherous trail conditions if the weather has been inclement recently.

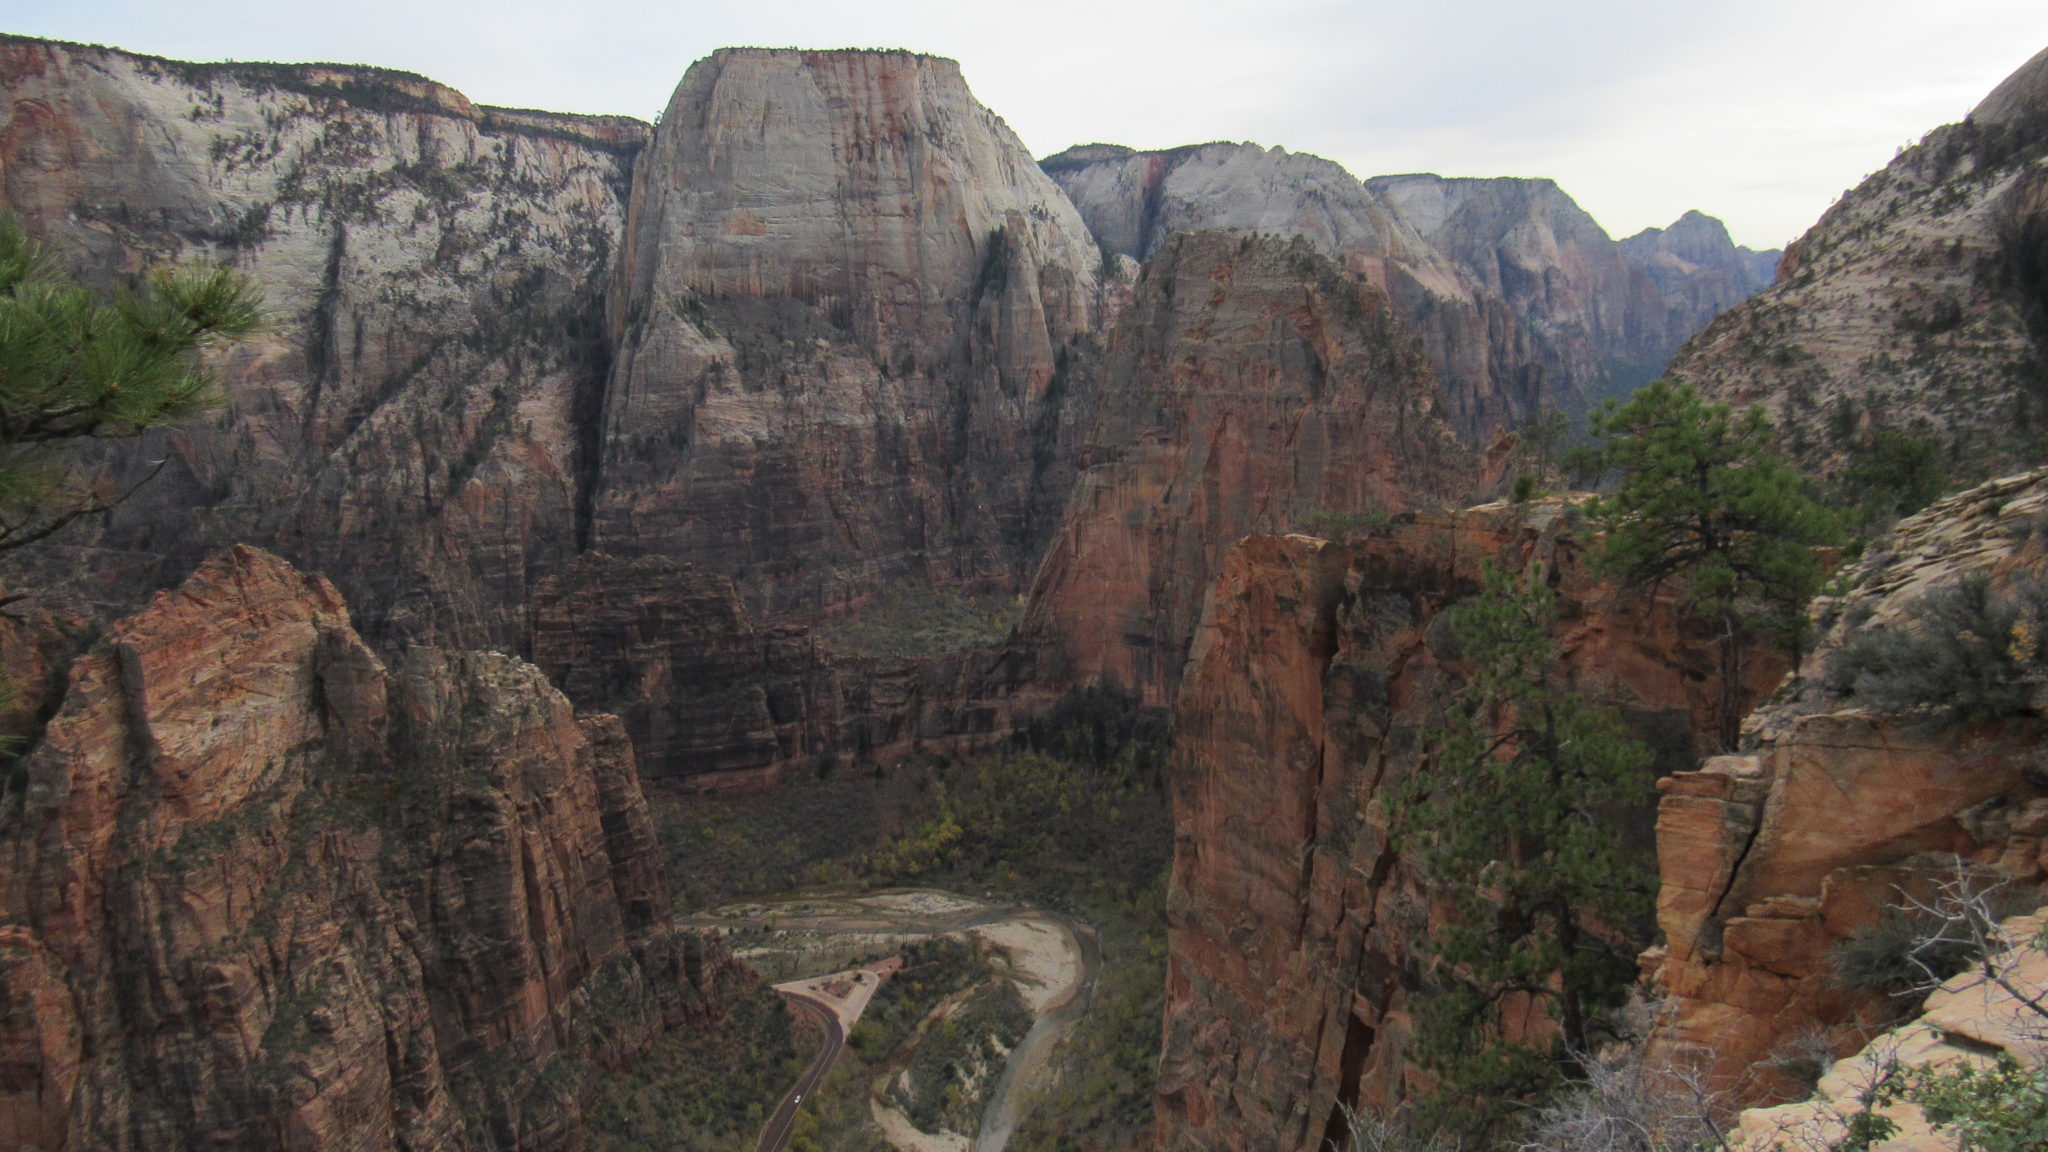
The West Rim Trail drops into a ravine at 11.5 miles after completing its arc along the north side of Mount Majestic. Your knees will earn a brief reprieve from the merciless pounding they’ll take on a never-ending downhill as you gain 300 feet to top the south-trending ridge that culminates in Angels Landing 1.9 miles ahead. As you descend, you’ll get your first good looks into Zion Canyon, which may include the astonishing sight of the Zion Shuttle lumbering, ant-like, along the thin red ribbon of Canyon Scenic Drive 2,000 feet below. A brief section of uncut sandstone requires a bit of cross-country work that’s aided by signs that help you keep your way.

The ridge narrows and the descent quickens until the trail briefly bottoms out at Scout Lookout, which is also the beginning of the Angels Landing Trail. You can tack on Angels Landing if you have time and energy, adding 0.9 mile and 750 feet of climbing. If you do plan on adding Angels Landing, make sure you save enough time to reach the end of the trail before the day’s last shuttle leaves. Otherwise, you will find yourself stranded within Zion Canyon with a really long walk back to the visitor center.

From Scout Lookout, follow the tight switchbacks down Walter’s Wiggles, and enjoy the cool, flat, and all-too-short stretch through Refrigerator Canyon before you resume descending down to the Virgin River by way of an impressively engineered, paved trail. At 14 miles, the trail bottoms out for good after having lost nearly 5,000 feet of elevation over the course of the hike. Your knees may be experiencing emotions that vacillate between anguish and rage, but you can mitigate the sensations by relying on trekking poles and a deliberate pace on the descents.

After reaching the bridge spanning the Virgin River, cross the highway to reach the shuttle stop and the conclusion of your hike. The rest of the day will involve retrieving cars, or perhaps simply finding a nice hot bath to soak in for a few weeks.
Tags: Angel's Landing, Cathedral Mountain, Horse Pasture Plateau, Lava Point, Potato Hollow, Potato Hollow Spring, Sawmill Spring, Scout Lookout, Sleepy Hollow, Telephone Canyon Trail, Walter's Wiggles, West Rim Trail, zion national park


