The North Rim Route in Yosemite Valley features a number of famous granite formations with exceptional views of the world’s most celebrated natural cathedral. This point-to-point route visits North Dome, Yosemite Point, the top of Yosemite Falls, Eagle Peak, and the world’s largest single-chunk of granite, El Capitan. The North Rim Route is best undertaken as an overnight hike or three-day/two-night hike, with stops at various points along the way. A shorter one-day version utilizing a shuttle is possible, but this is a bit like eating a buffet dinner in 15 minutes.
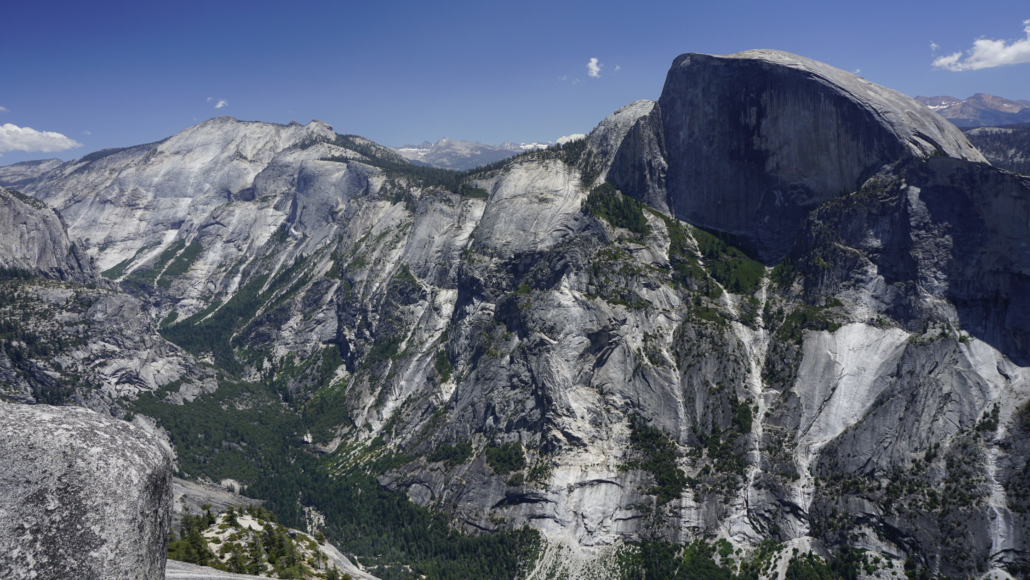
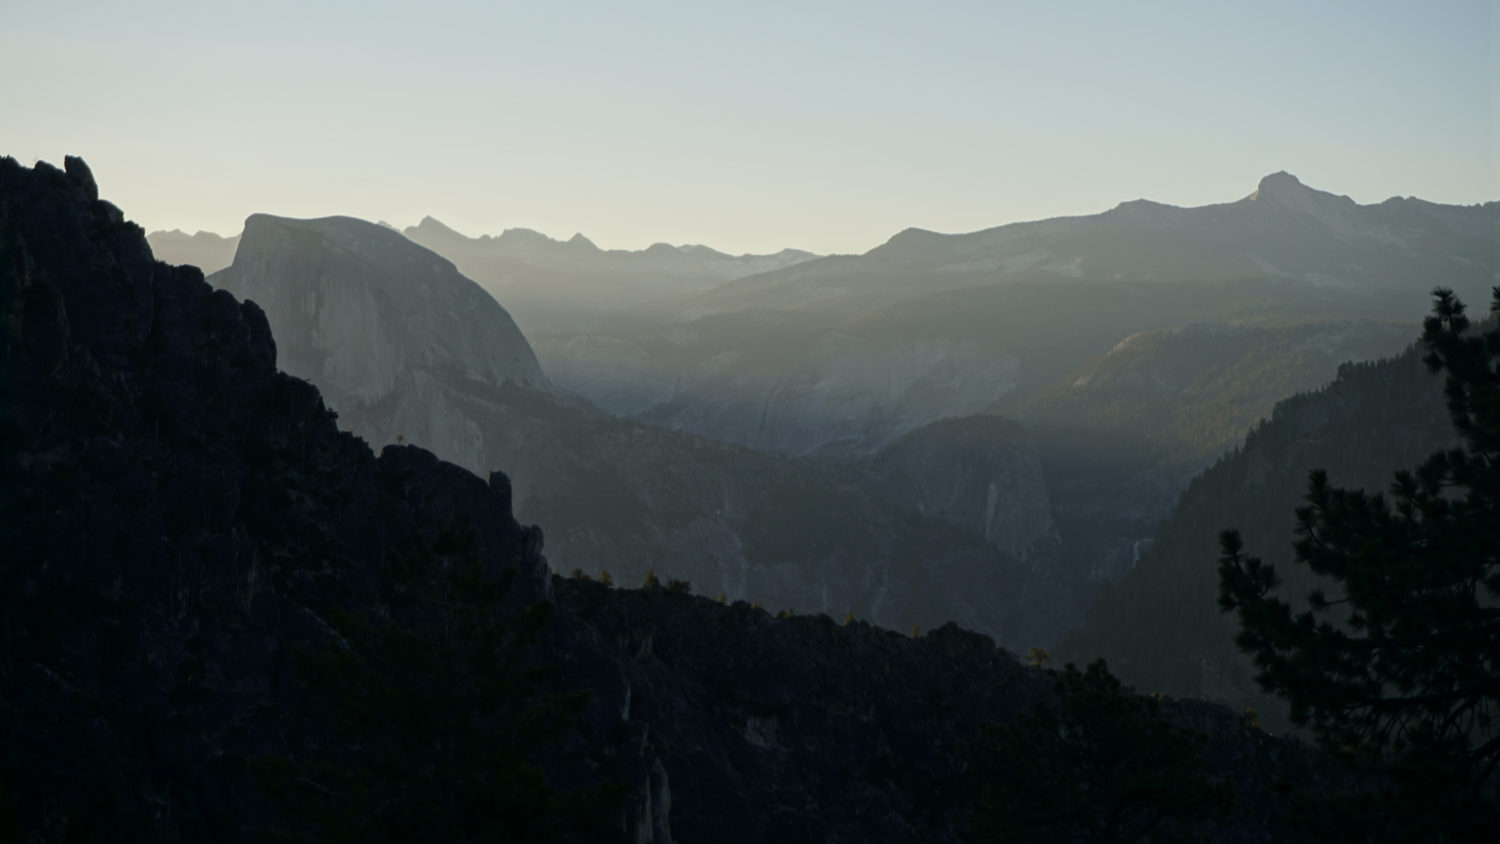
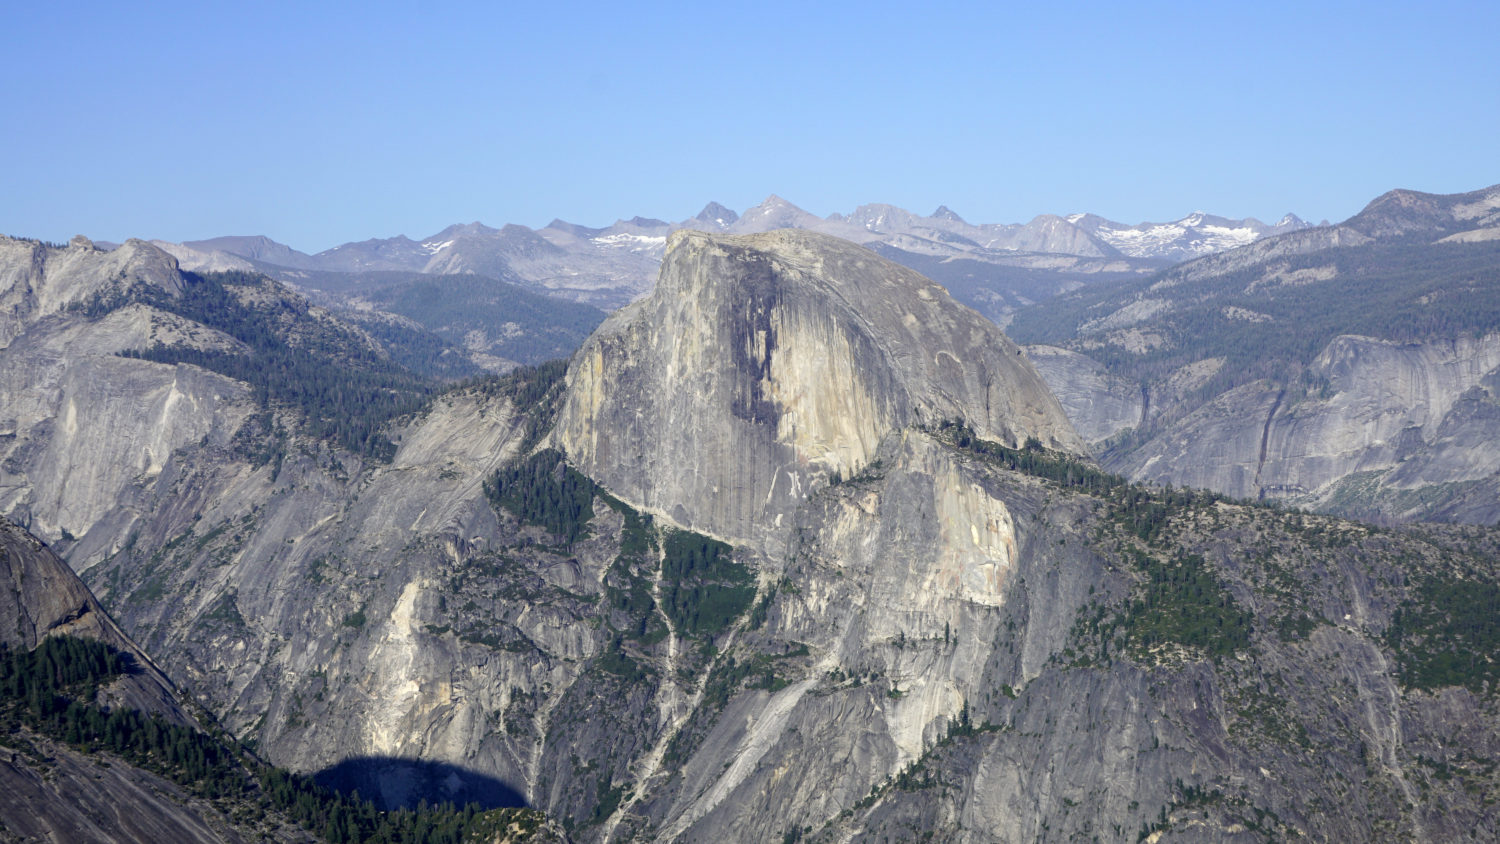
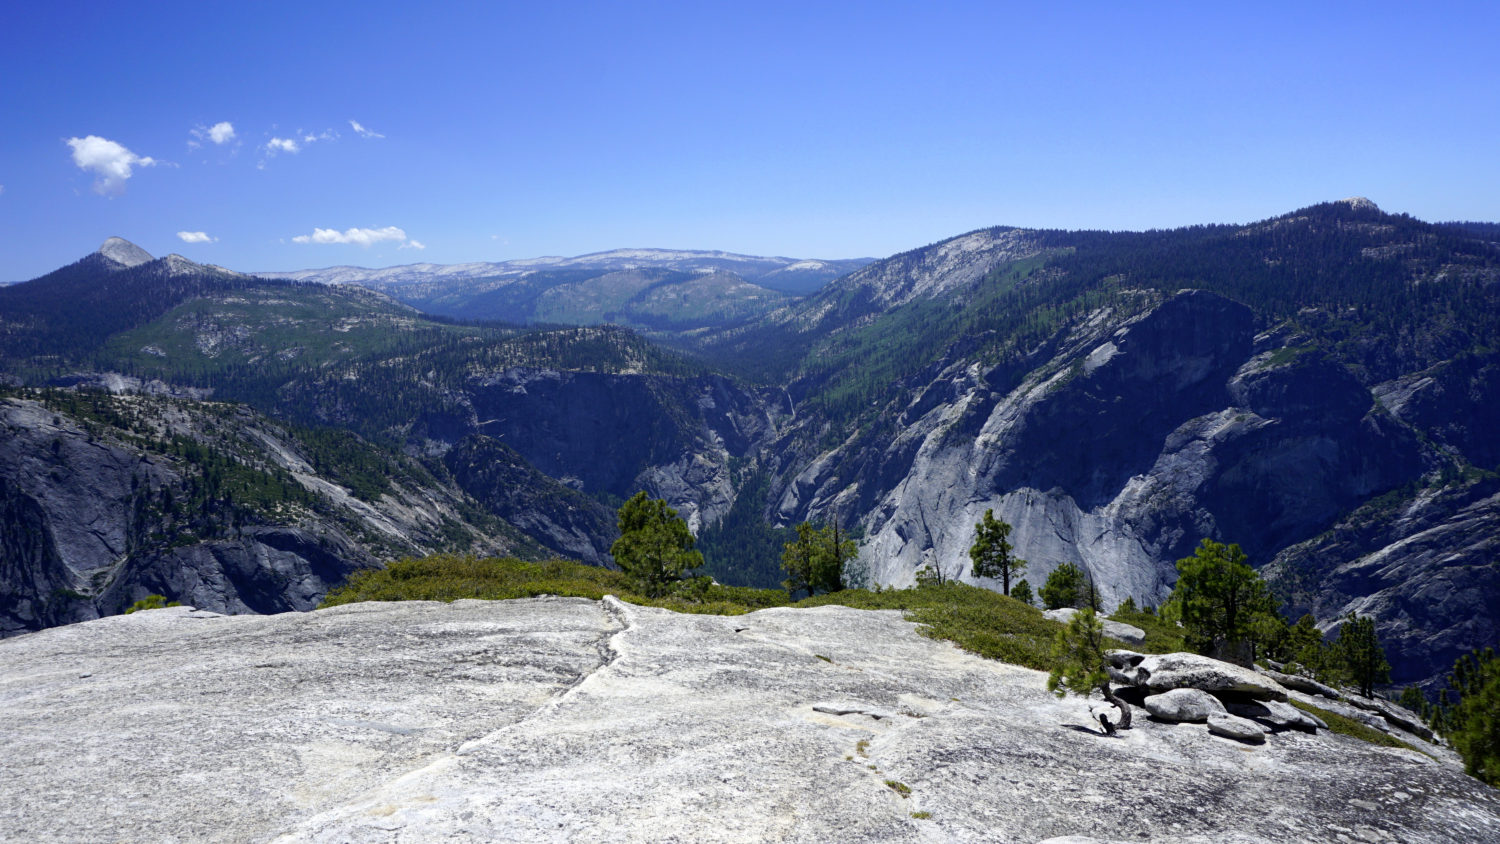
Clouds Rest, Half Dome, and Tenaya Canyon
Red Tape
If taken as a backpacking trip, hikers will need to first obtain a wilderness permit through Yosemite National Park’s wilderness permit system. Start by checking for Trailhead Availability (you want the Porcupine Creek Trailhead as your starting point), and identify the days you want to begin your hike. From there, visit Yosemite Conservancy’s Permit Application page, and follow prompts to request your permit. While your starting point will be Porcupine Creek, your exit trailhead will be Tamarack Creek.
Porcupine Creek is a popular trailhead, and it’s wise to select your permit early. This table will help you determine the earliest possible date for selecting your permit. It is possible to hike this route in the reverse of how I describe it below, starting at Tamarack Creek and Porcupine Creek. This is still a great hiking experience, but it’s significantly harder with at least 2400 additional feet of steep climbing from Cascade Creek to El Capitan on the front-end of the trip when packs are heaviest.
Finally, note that the park forbids camping within 1 mile of the rim of Yosemite Valley, which includes the summit of North Dome, Yosemite Point, and areas around Yosemite Falls.
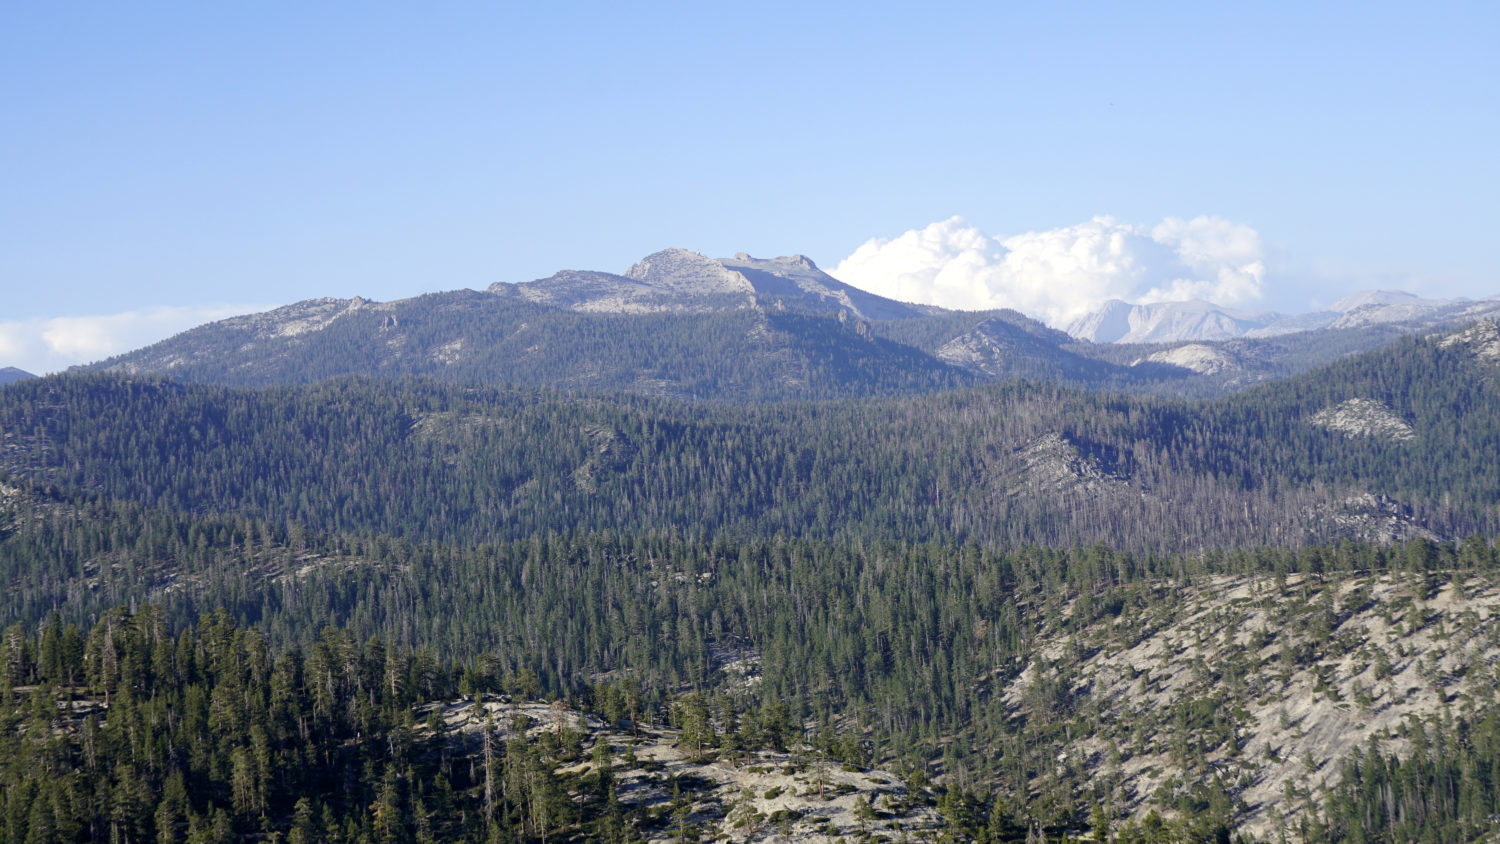
Mt. Hoffman and a summer thunderhead
Safety on the North Rim Route
The primary safety concerns for hiking anywhere in Yosemite include food storage, altitude, exposed cliffs, heat, and cold. The park requires approved food storage for your food, and you will have to demonstrate possession of appropriate food storage to get your permit. You will also need to store any scented items in a food storage locker at either trailhead; leaving scented items of any kind in your car is an invitation to a bear to break in.
The altitude on this route is fairly moderate by Sierra standards, with the route never breaking 9000 feet of elevation. However, more sensitive individuals may struggle with altitude sickness symptoms without proper acclimation. The good news is that this route starts descending from the start, and the route is mostly below 8000 feet.
The route approaches and skirts sheer cliffs with thousand foot drops. The most dangerous locations are the edge of Yosemite Point, the top of Yosemite Falls, the edge of Eagle Peak, and the extreme edge of El Capitan. Yosemite Falls is of greatest concern in the spring and early summer, when the creek’s flow is dangerously swift. Stay away from the water during these times, lest you get swept over the edge of the cliff for 1500 foot fall.
Finally, temperature fluctuations can be dramatic on this route. Springtime temperatures following the opening of Tioga Road can drop below freezing, and snow is always a possibility during May, June, and October. During the summer, the temperature can reach or exceed 90 degrees. Be sure to drink a lot of water during these times to stave off dehydration. If it’s hot, try to get the bulk of your hiking done in the morning and evening, with long periods of rest during the middle of the day.

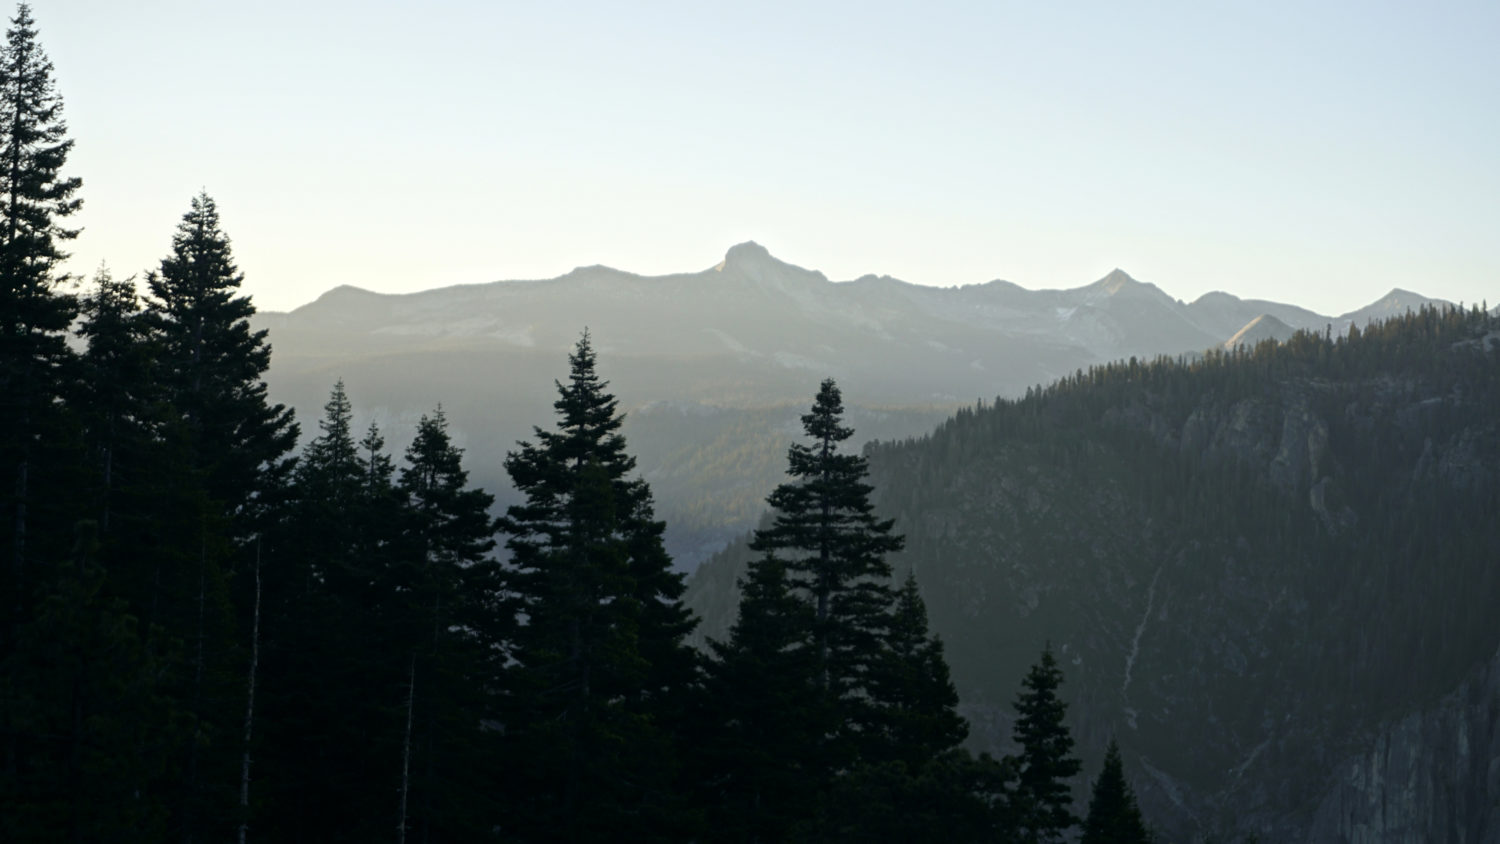
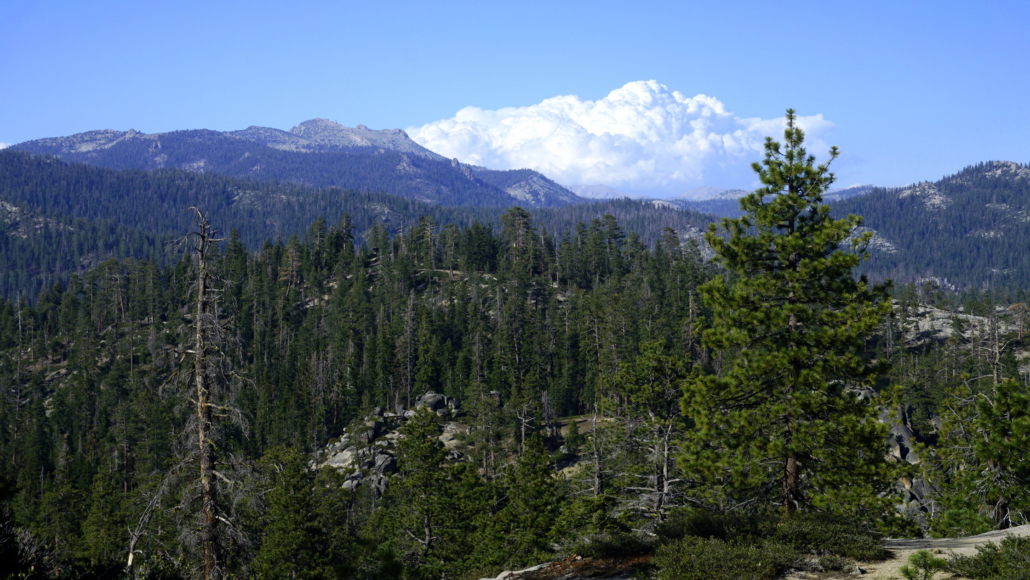
The Clark Range
Natural History
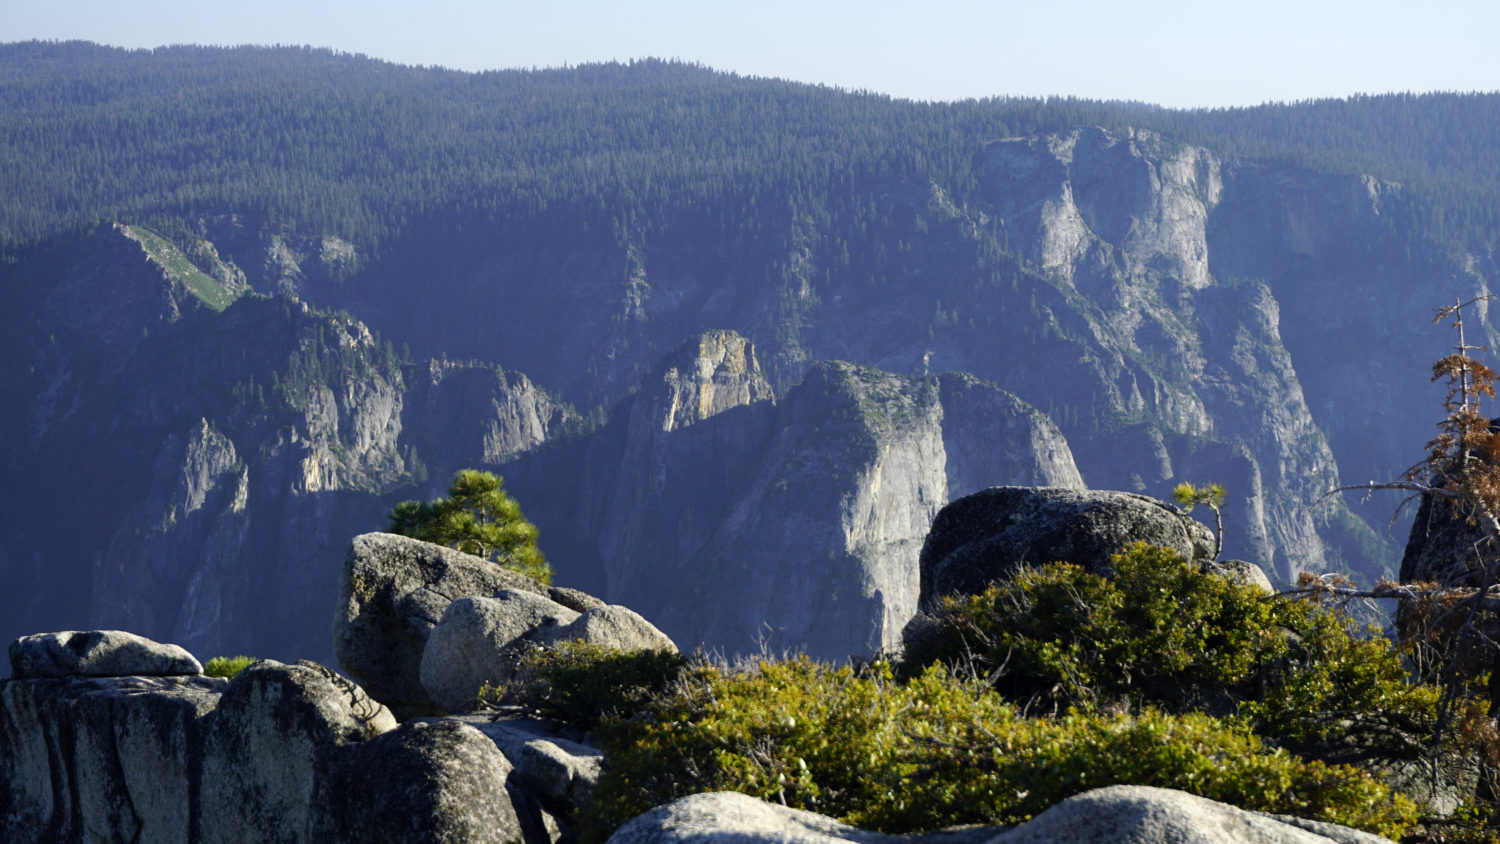
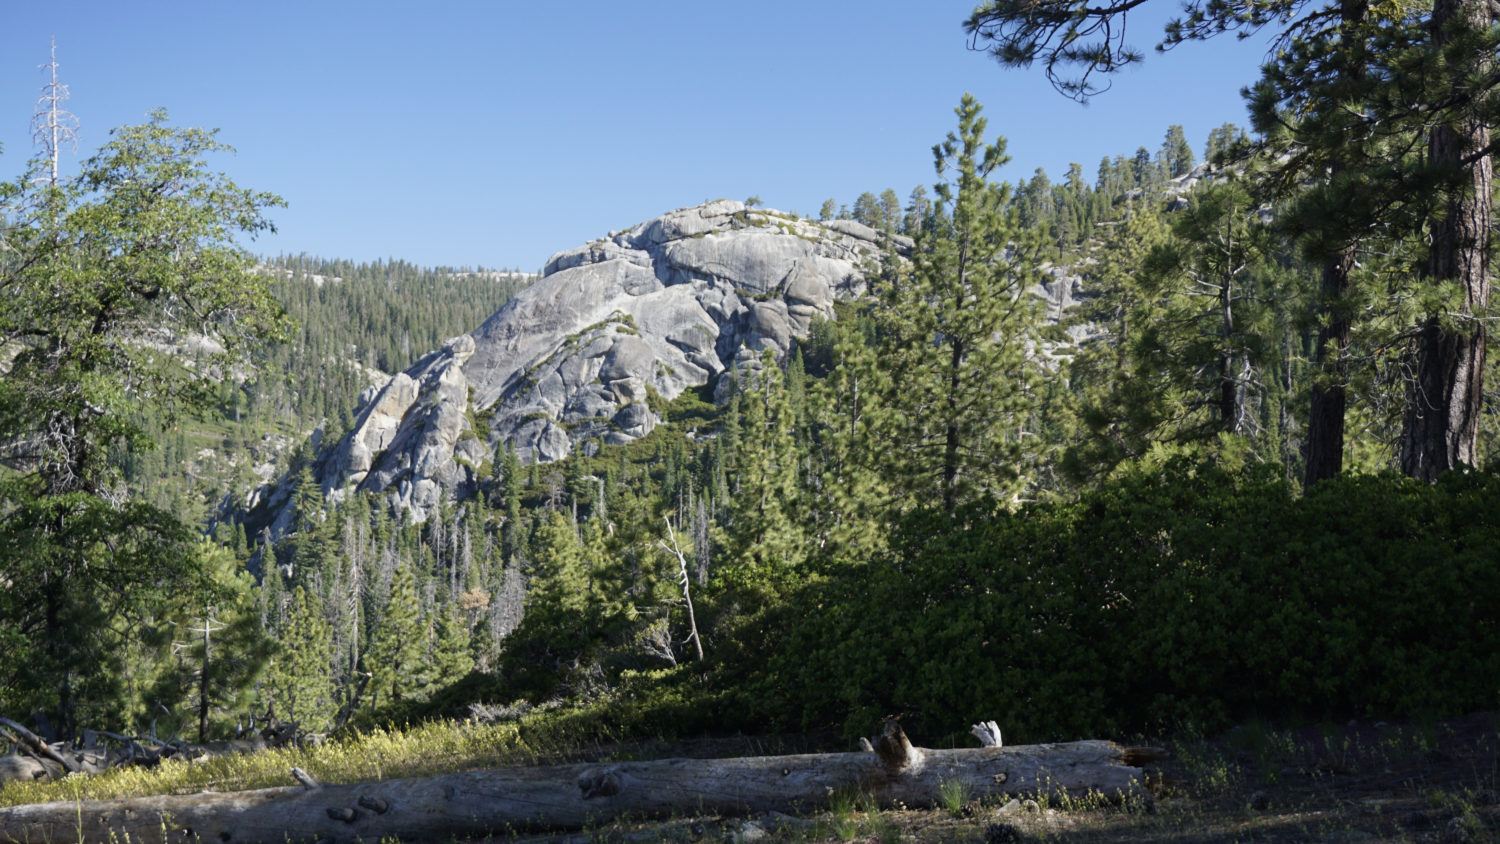
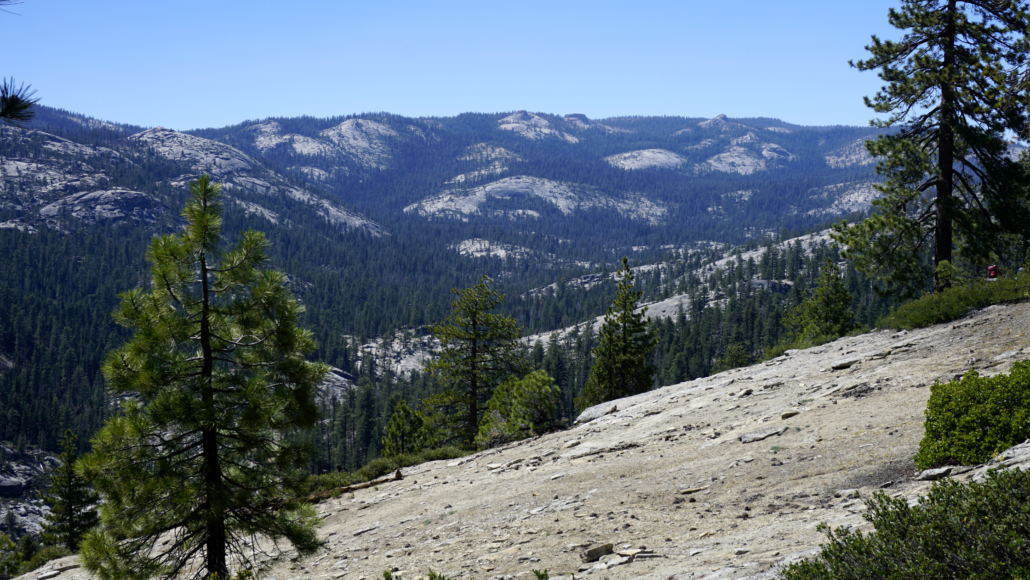
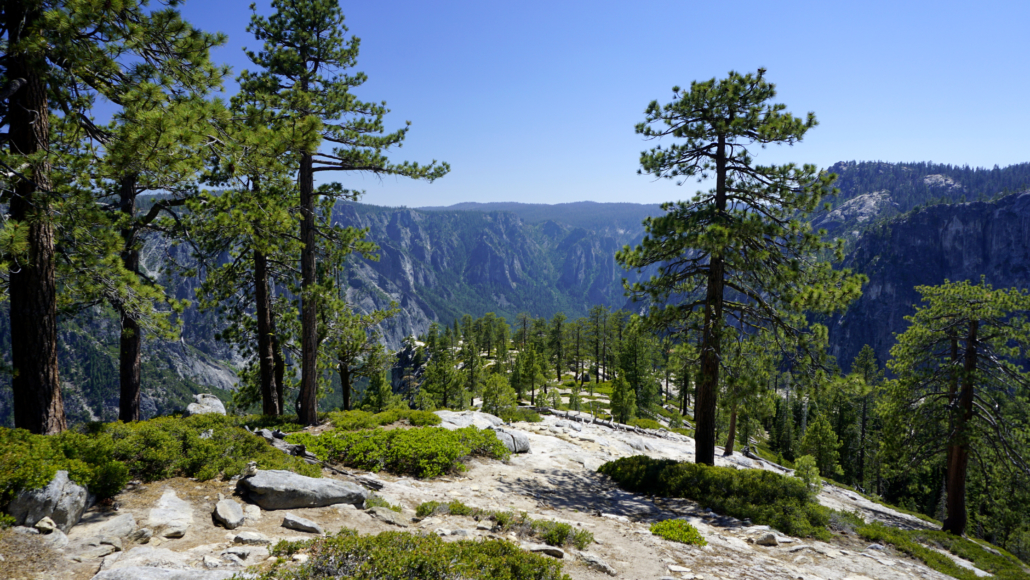
The most notable natural features on this route include the abundance of famous granite formations visible from start to finish. Yosemite’s granite formations exist thanks to the creation of the Sierra Batholith between 85-115 million years ago. This massive block of granite, nearly 400 miles from south to north, comprises the entirety of the Sierra Nevada Mountain ranges, but nowhere is it more spectacular than here. Multiple periods of glaciation, the last of which subsided about 10,000 years ago, have carved out deep valleys, polished domes, and sheered away mountainsides to produce the world famous formations on display throughout the hike, including Tenaya Canyon, Clouds Rest, Basket Dome, North Dome, Half Dome, Glacier Point, Sentinel Rock, Yosemite Falls, Eagle Peak, El Capitan, Sentinel Dome, the Clark Range, the Cathedral Range, and Yosemite Valley, itself.
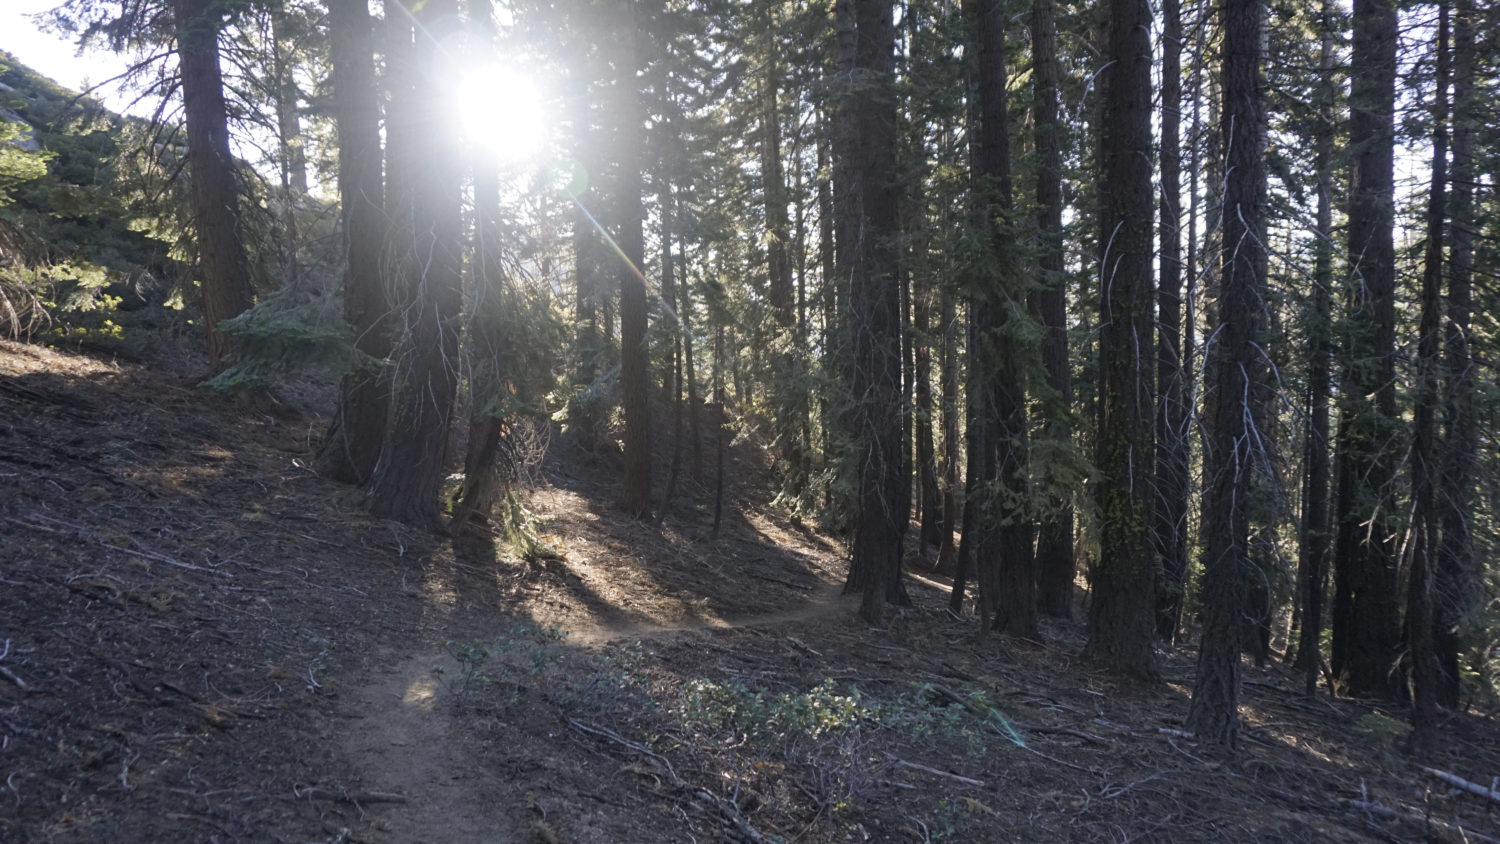
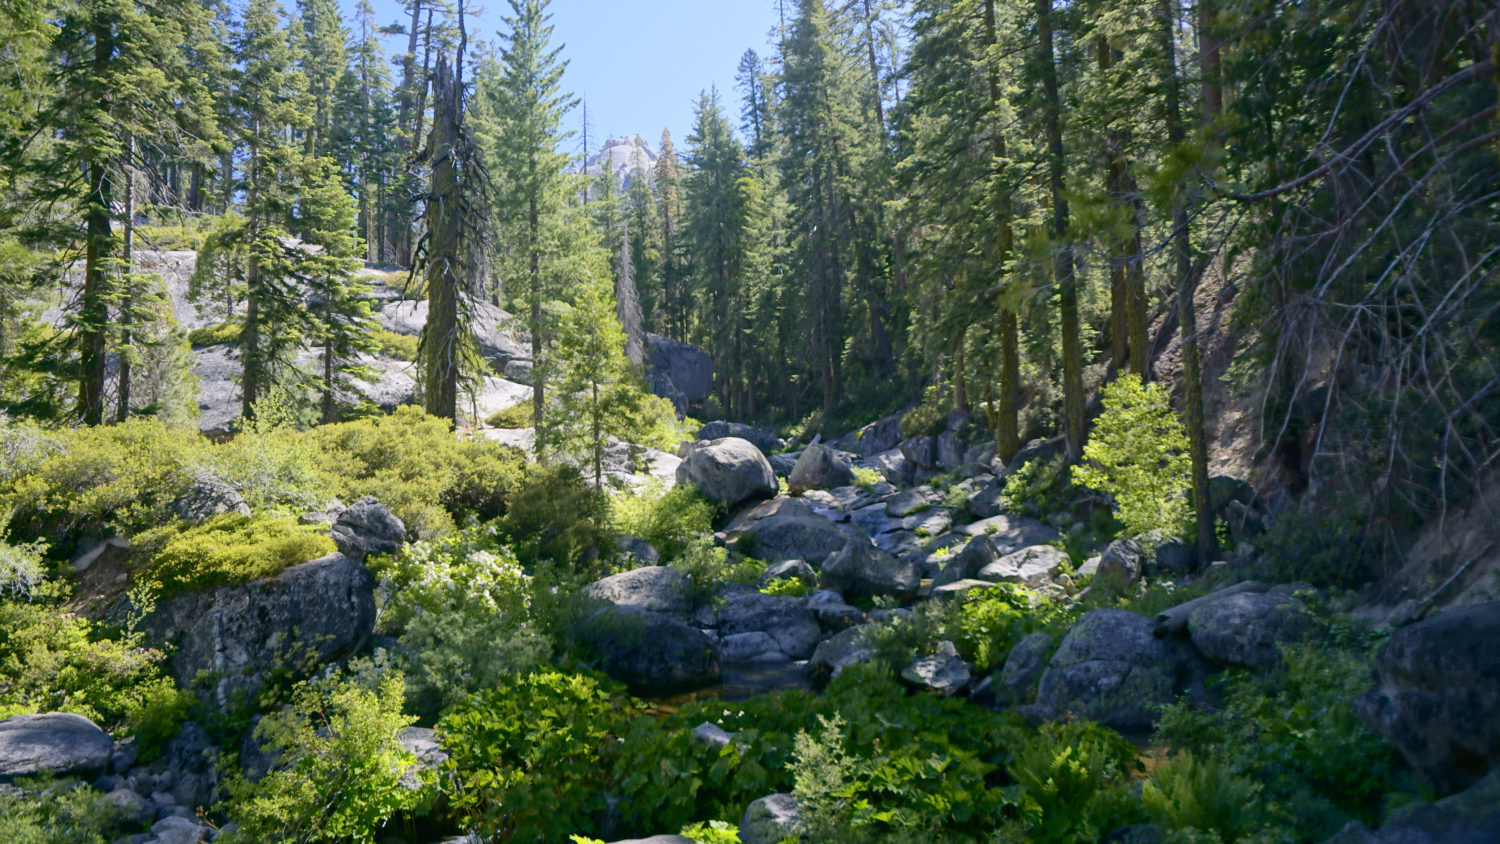
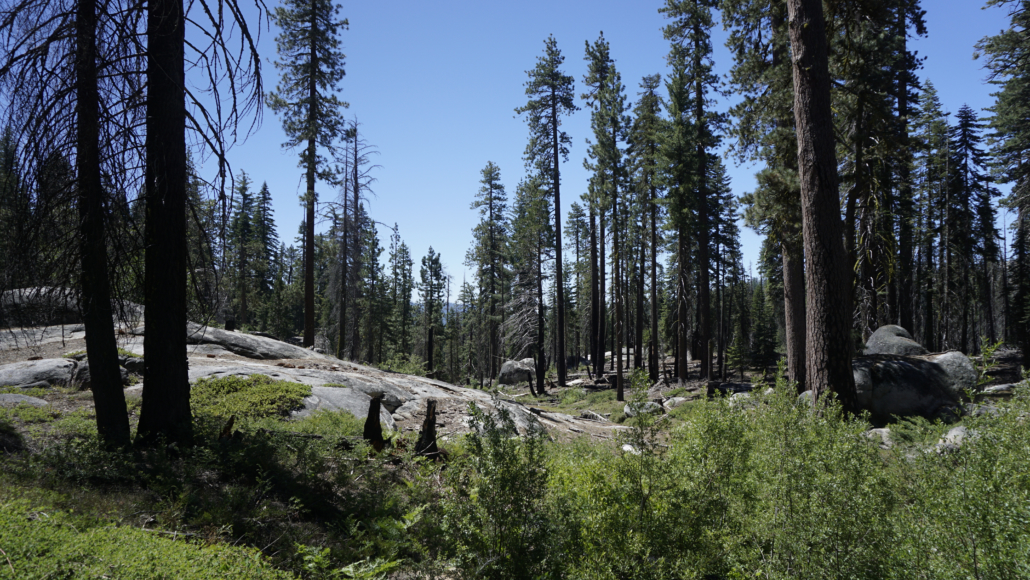
The forest scheme is predominantly upper montane forest, transitioning to lower montane forest on the descent from El Capitan. Tree species are the determining factor in which forest scheme you’re traveling through. Higher elevations on the route feature lodgepole, red fir, white fir, Western junipers, and Jeffrey pines in sunny, exposed areas. The lower elevations feature ponderosa pines, white firs, sugar pines, incense cedars, and black oaks.
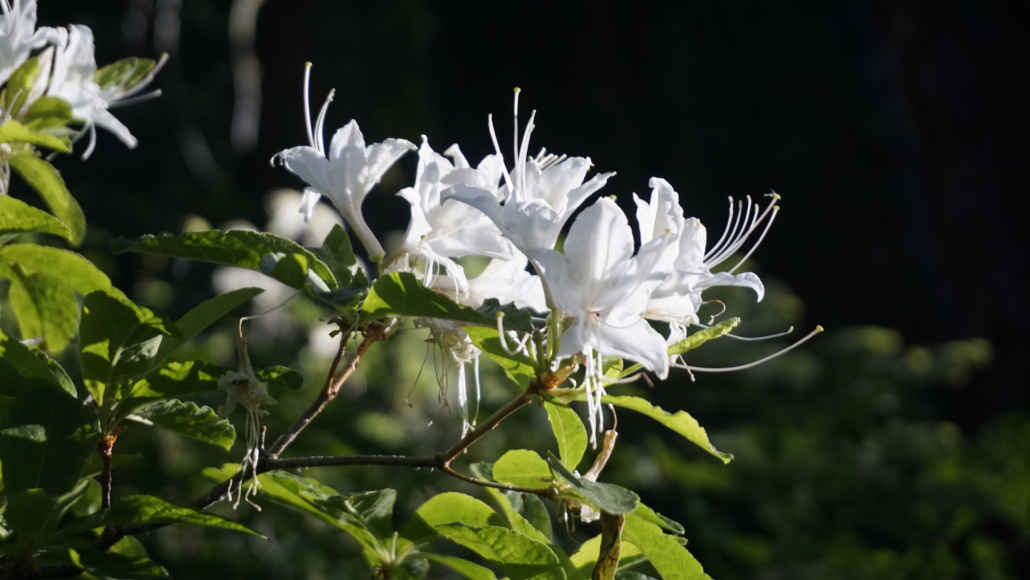
Western azalea grows in dense thickets along watercourses and springs
Hiking the North Rim Route in Yosemite
After securing your permits at an adjacent Wilderness Center (Yosemite Valley and Big Oak Flat are your best options), and after establishing your shuttle arrangement by leaving a car at Tamarack Flat Campground or the Tamarack Creek Trailhead on Tioga Road, drive a second car to Porcupine Creek, where you will begin the North Rim Route. Note that if you have to leave a car at Tamarack Creek on Tioga Road – a necessity only when Tamarack Flat Campground is closed, as it was through COVID-19 closures – this will add another 2.5 miles and about 500 feet of elevation to your hike. From Porcupine Creek Trailhead, the Porcupine Creek Trail begins a leisurely descent along an old road grade toward North Dome.
The Porcupine Creek Trail descends over the next 1.8 miles through pleasant upper montane forest before reaching a pair of junctions in quick succession. Keep straight at the first junction, which leads east to the Snow Creek Patrol Cabin. At the second junction, the trail splits, with the Lehamite Creek Trail leading right, and the North Dome Trail leading left. Keep left at this split to begin climbing toward Indian Ridge and a junction at 2.8 miles with a trail leading left to Yosemite’s only free-standing granite rock arch – a rarity with igneous rocks. You can follow the spur trail to the arch for about 0.3 mile, or you can keep straight to start the descent along Indian Ridge toward North Dome.
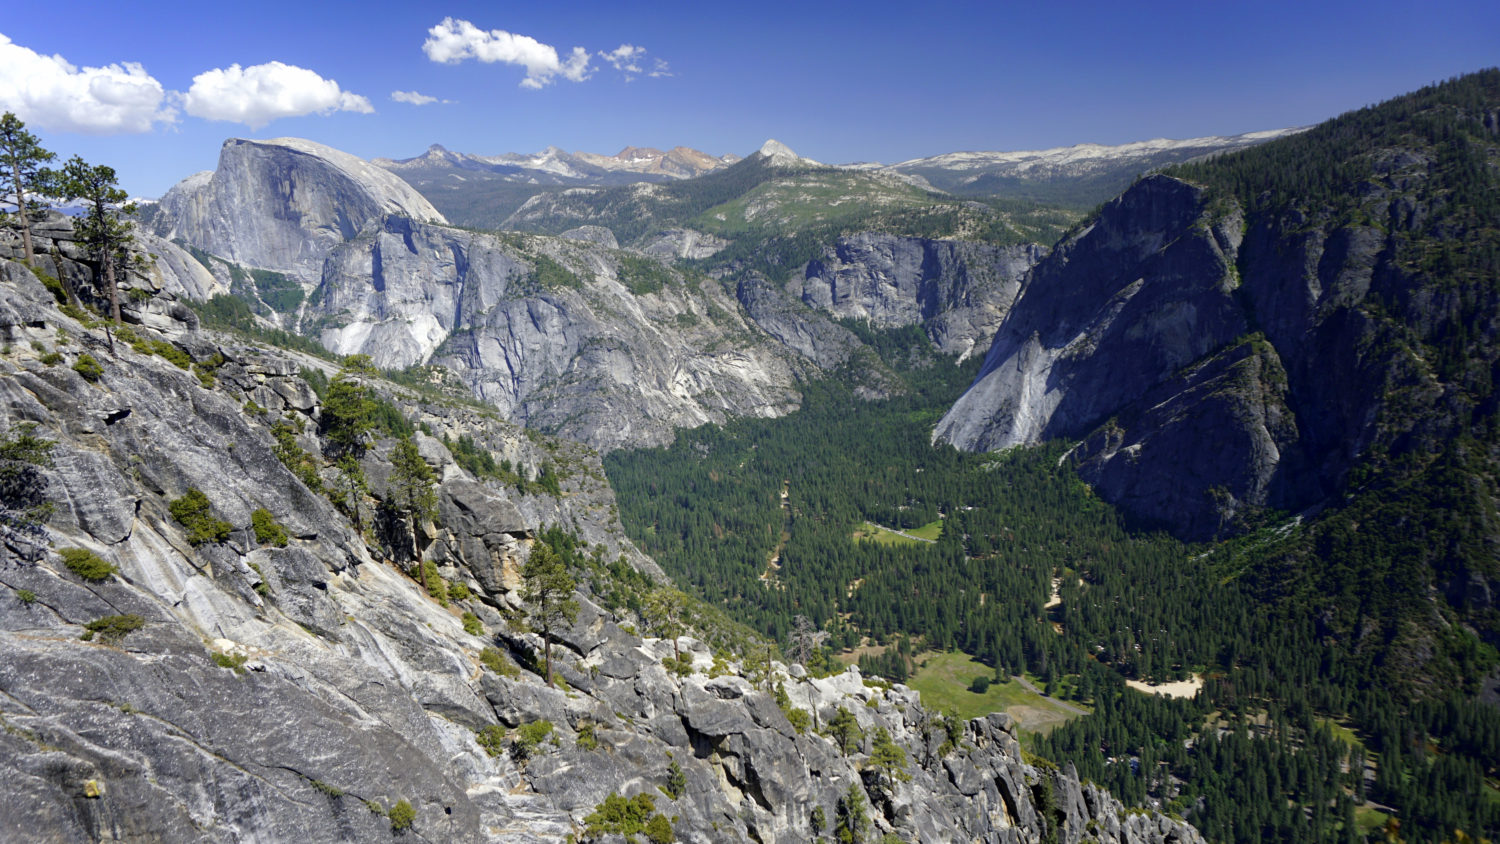
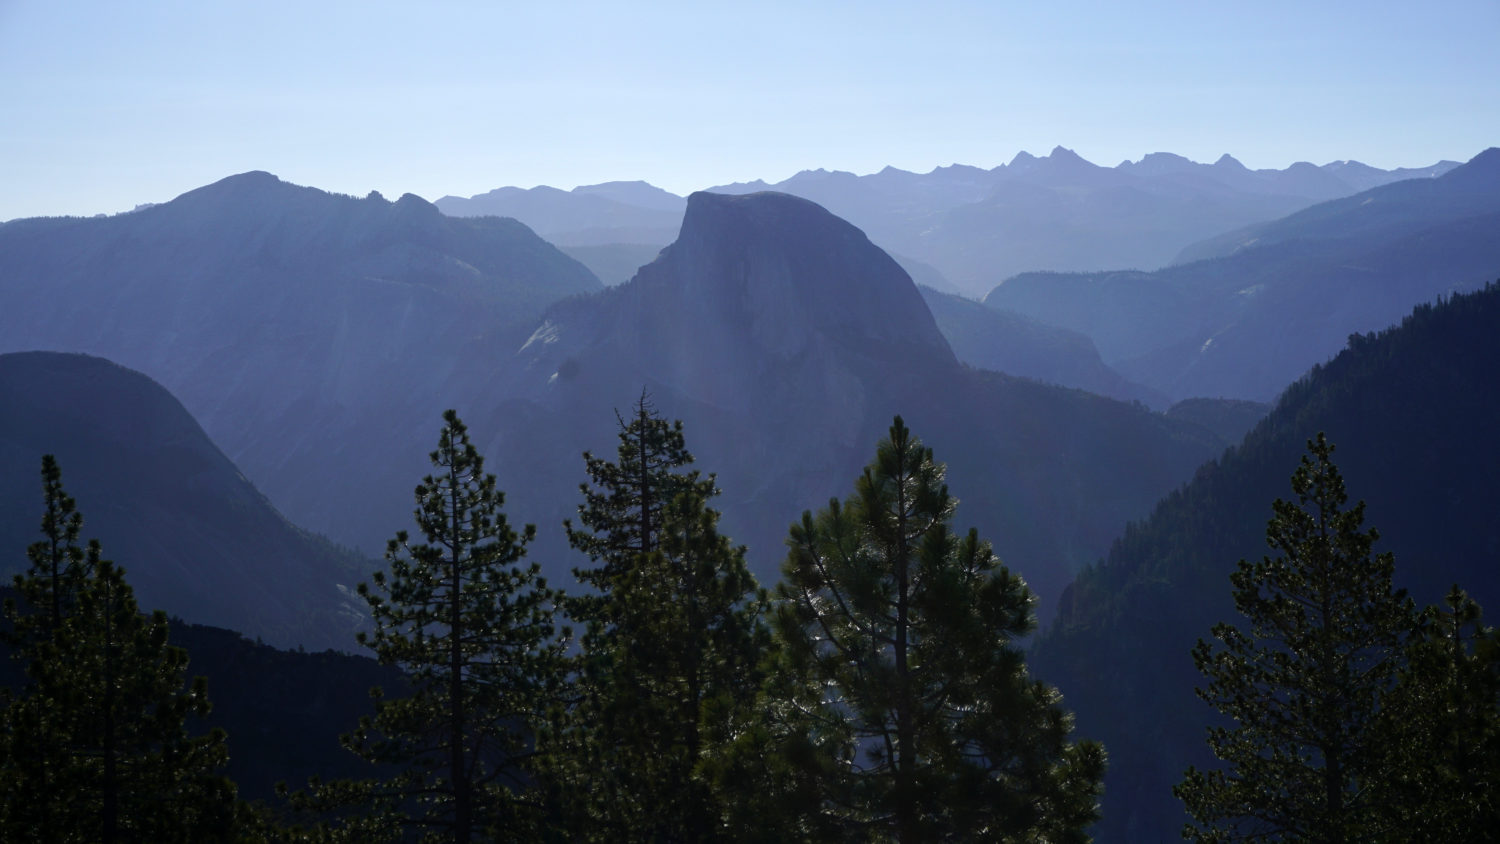
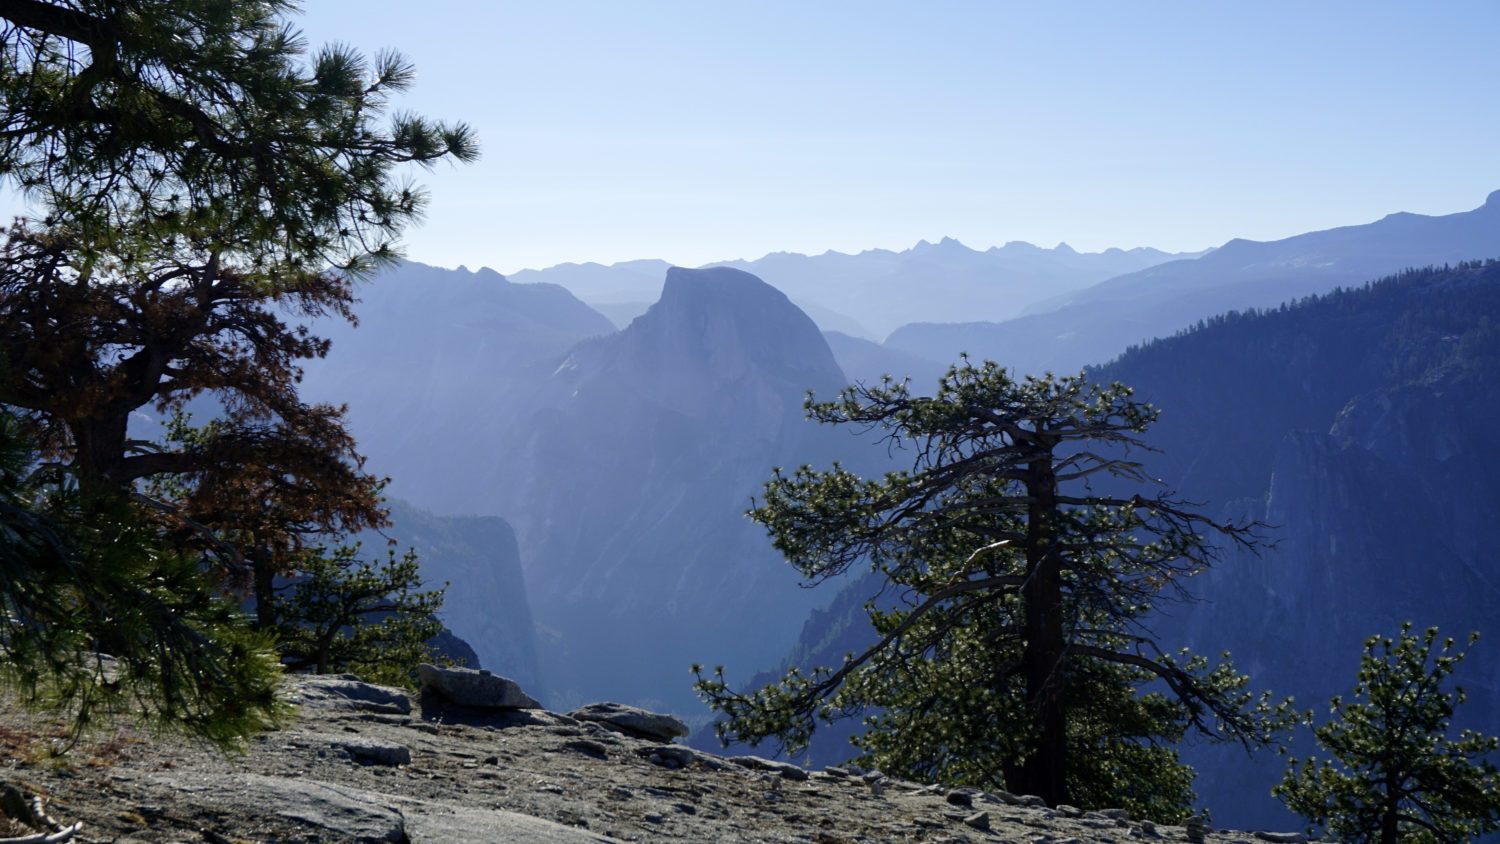
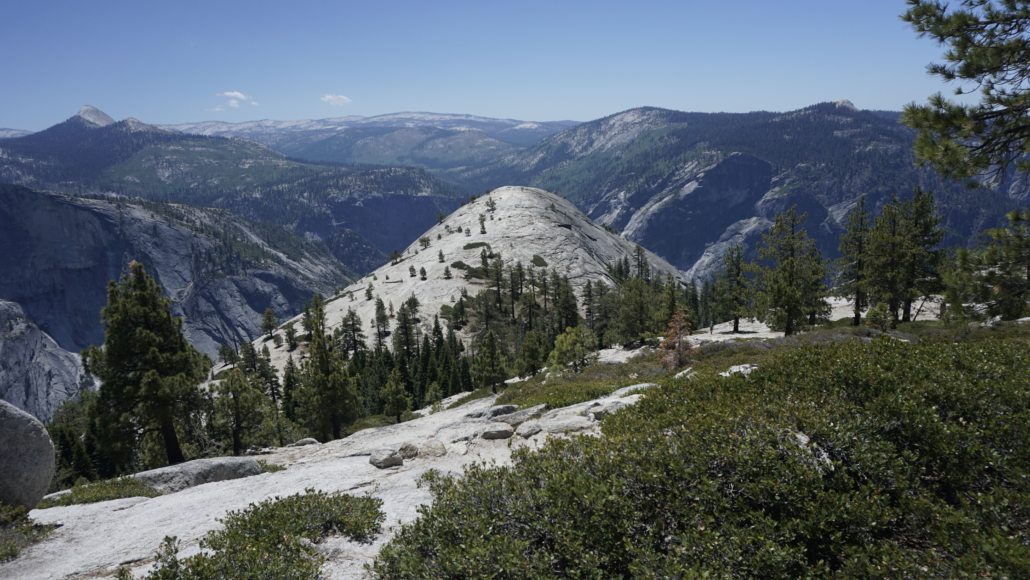
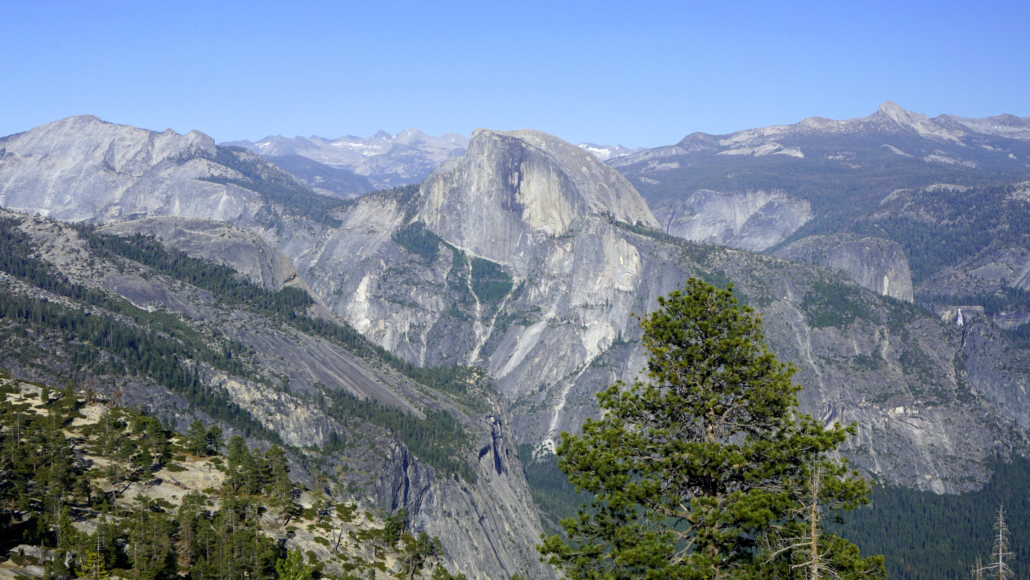
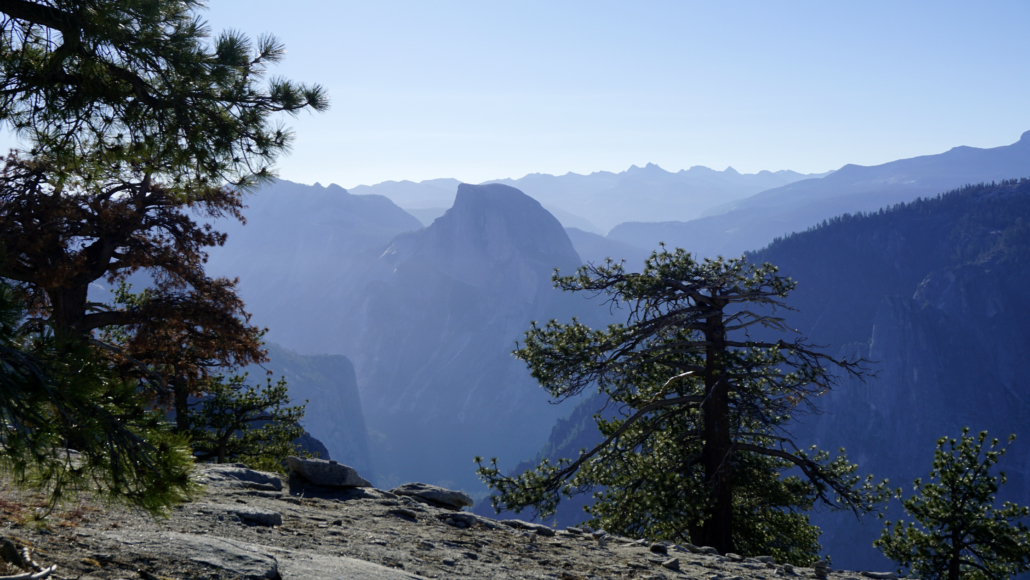
The first of the amazing views on the North Rim Route emerge as you follow the North Dome Trail downhill along the spine of Indian Ridge. Half Dome dominates, looking impossibly large, but as you near the valley, Clouds Rest, Sentinel Dome, Mt. Starr King, and Glacier Point take on prominence as well. At the 3.8 mile mark, look for a spur trail branching off to the right that leads to some of the most spectacular backcountry campsites in the park. Each of these campsites has an unobstructed view of Half Dome, which easily takes the cake as the most recognizable natural landmark in California. This is pretty early in the route to camp, but if you got a late start, and if you’re taking this route over three days, this set of campsites is a great option for your first night. Be warned that there’s no water nearby, so you’ll need to have plenty on hand to make it through the evening.
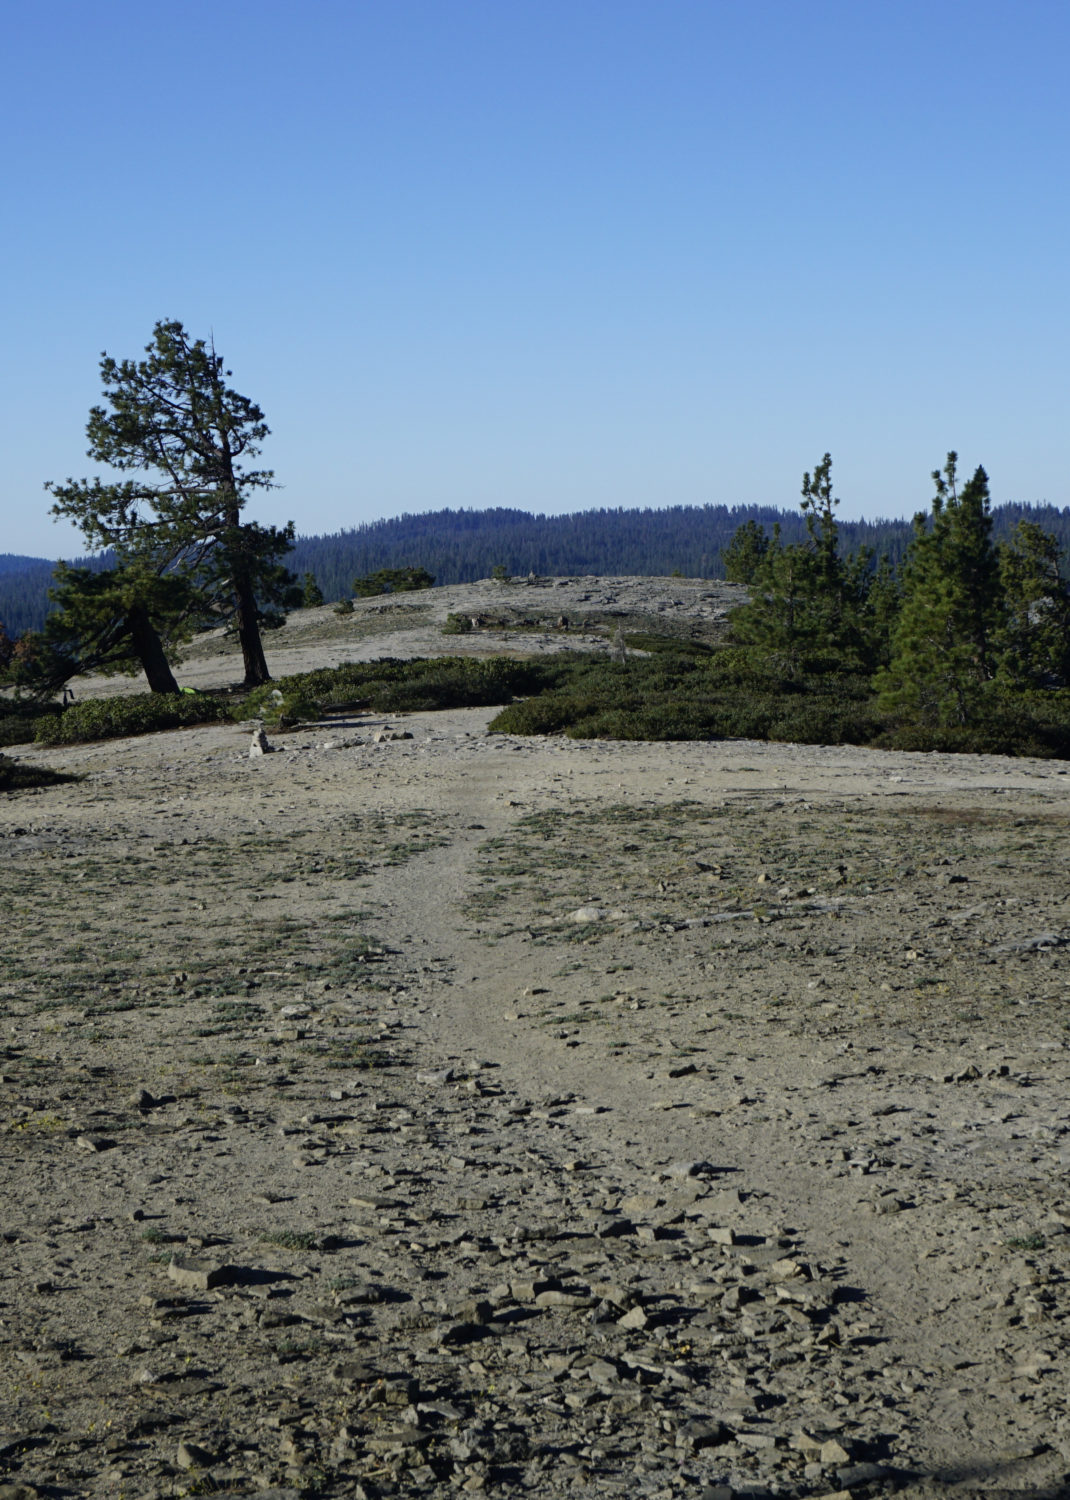
The North Dome Trail bends to the left at this spur trail and begins a descent into the forest on the east flank of Indian Ridge before continuing south to North Dome. Although North Dome appears directly ahead, there’s one tricky bit of trail finding at 4.4 miles. The trail reaches the edge of a cliff, which precludes further progress straight ahead. Keep to the left to descend on a rocky, occasionally vague tread to a saddle separating North Dome from Indian Ridge. Once the trail bottoms out on this saddle, the last stretch follows the spine of North Dome to the summit.

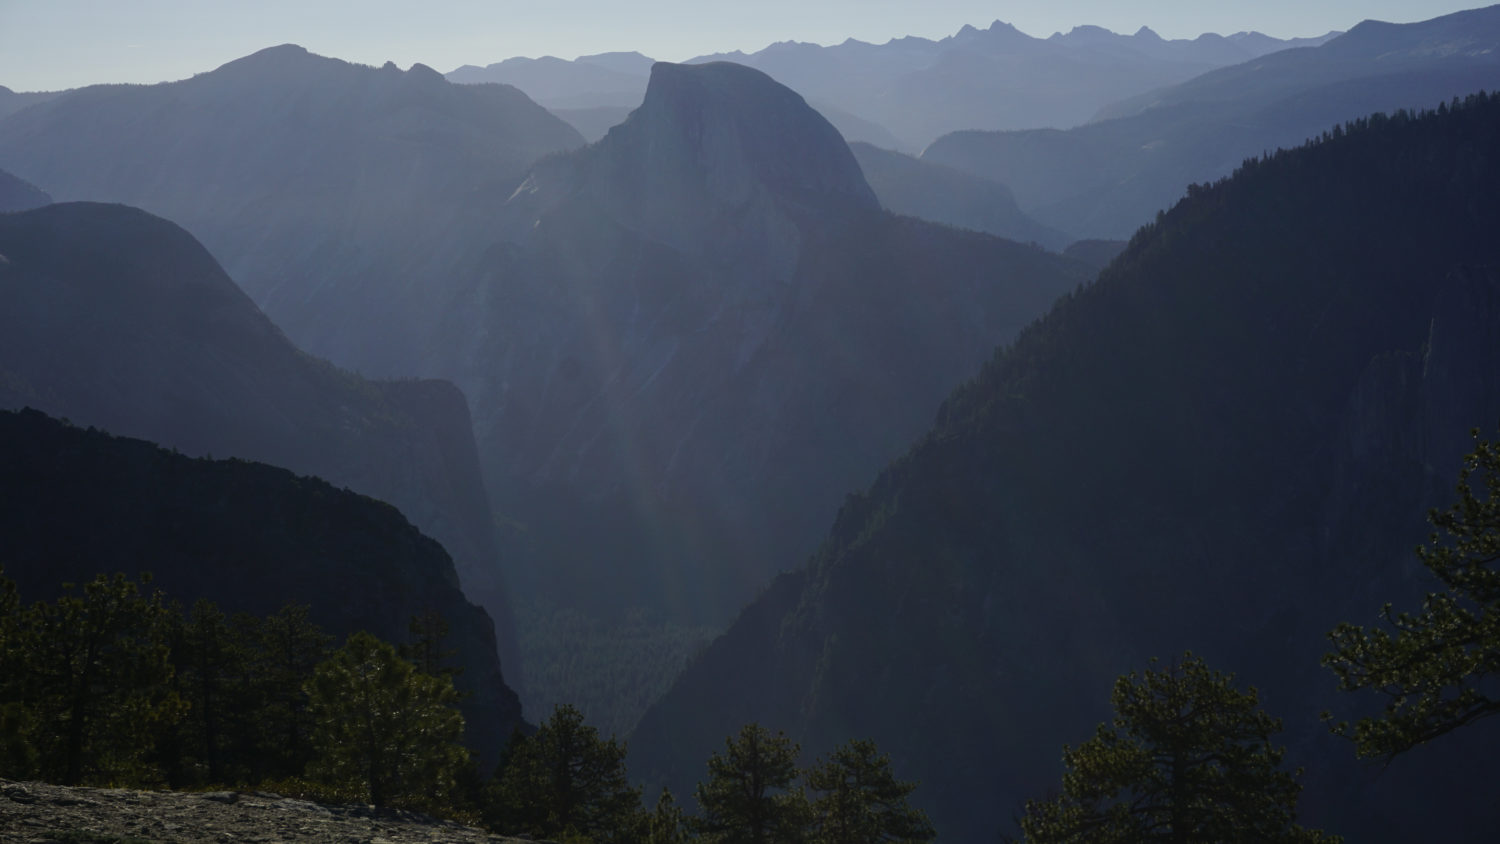
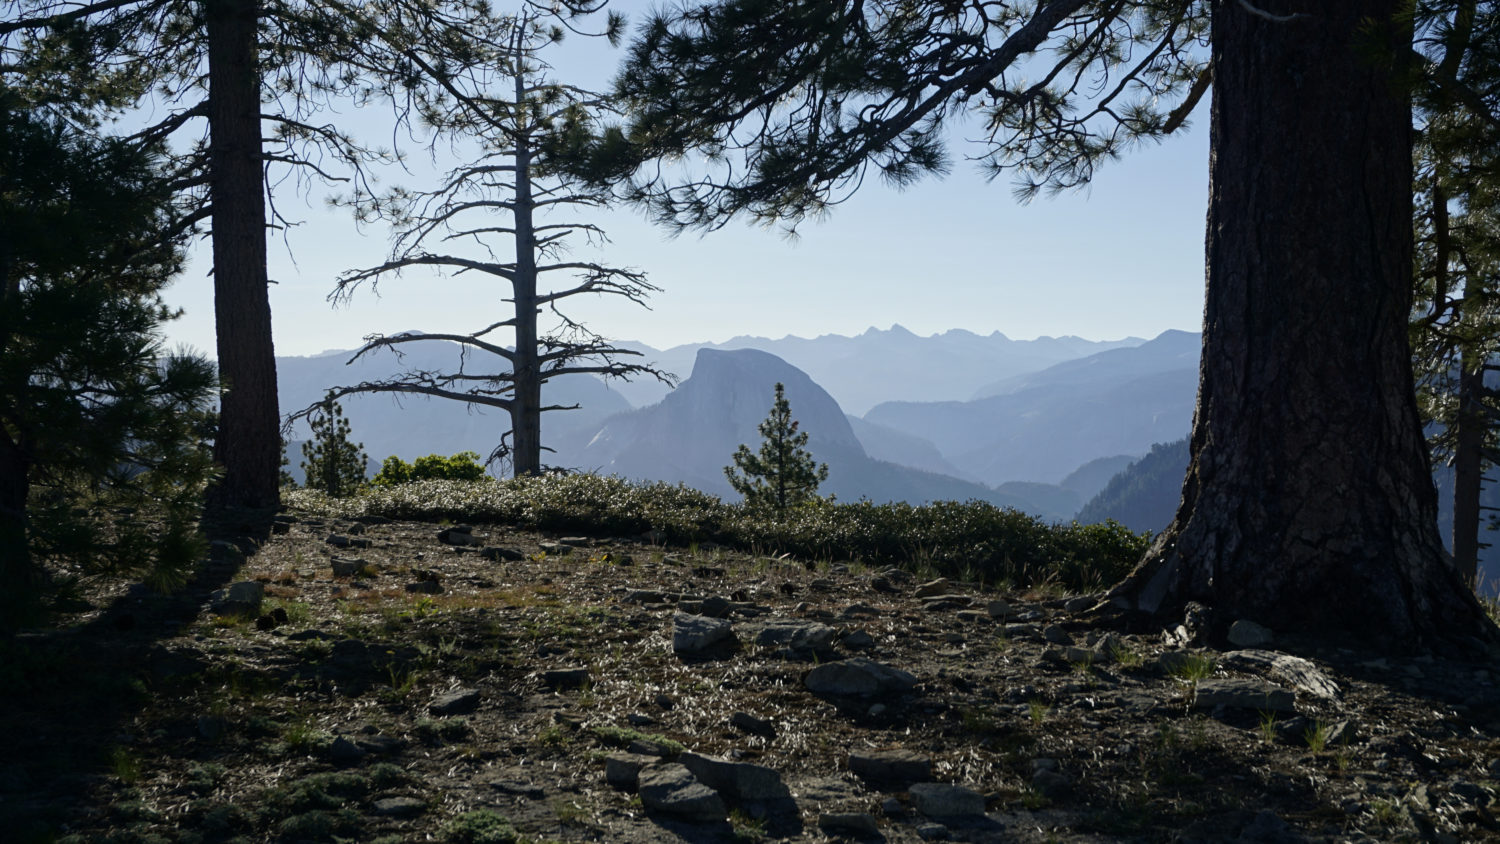
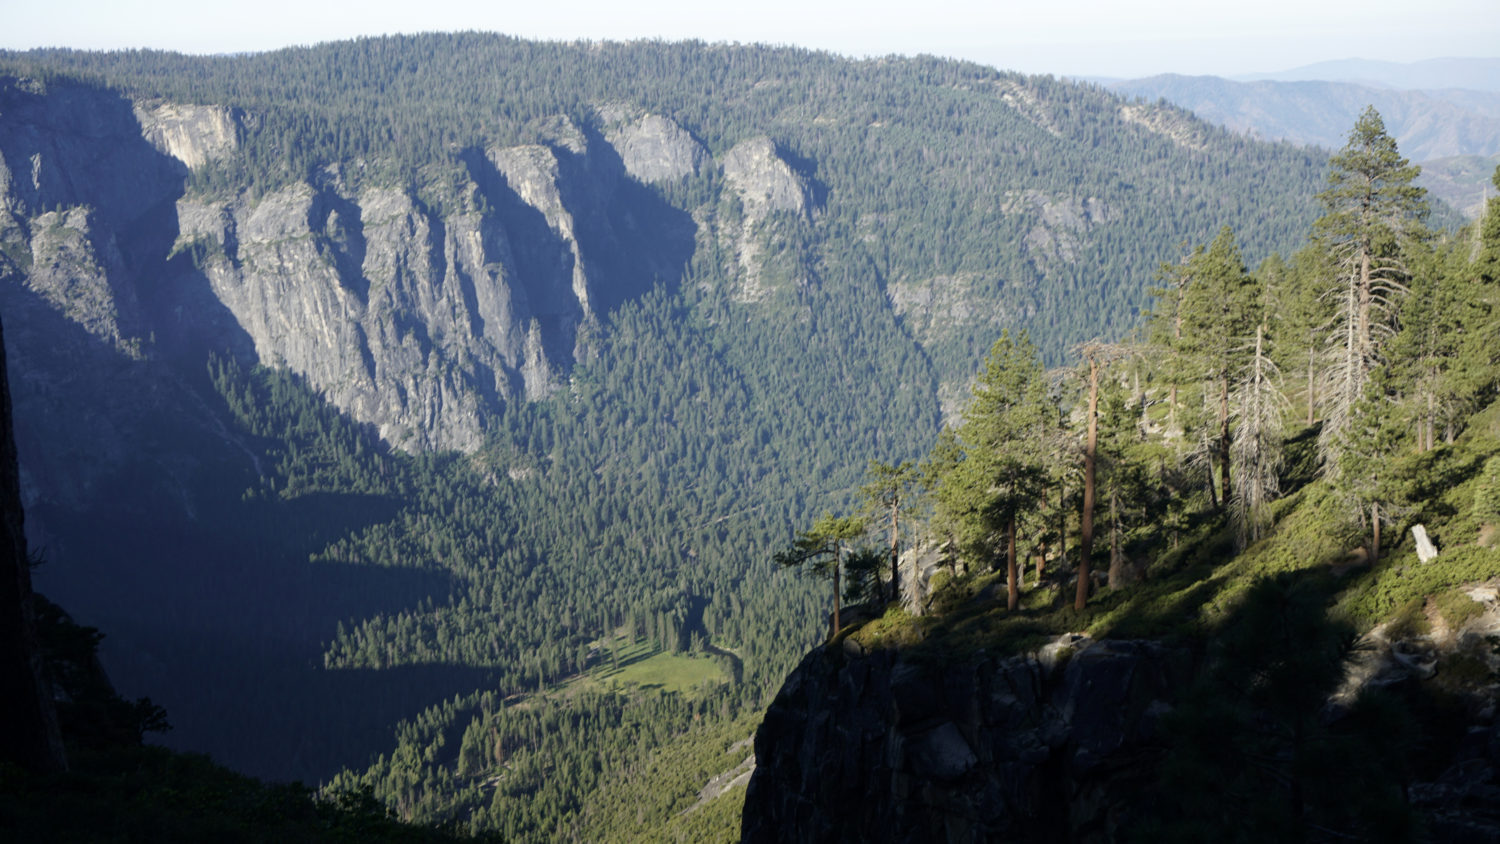
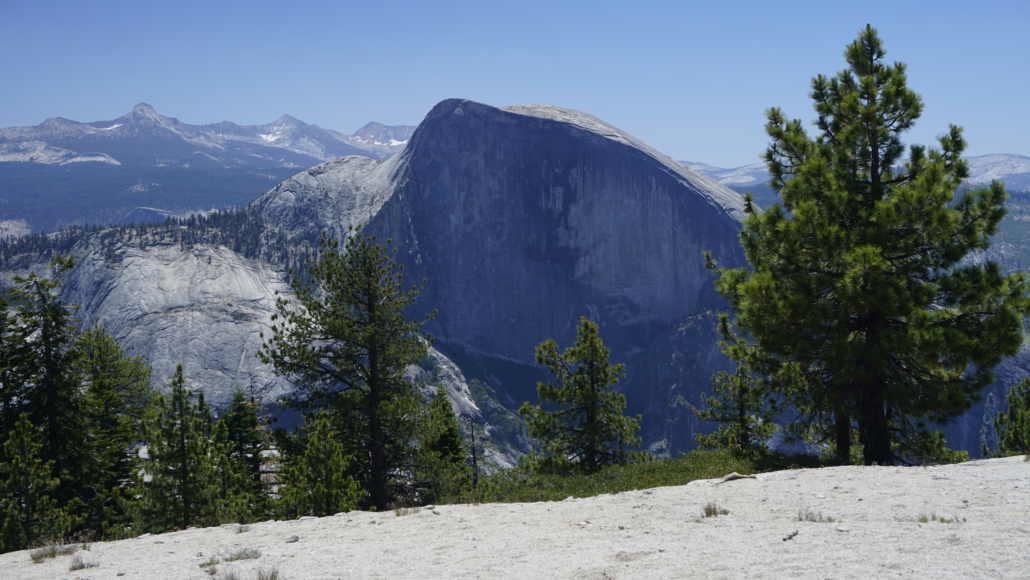
The views of Half Dome from the summit are startlingly direct and up-close, with only a few horizontal miles between North Dome and Half Dome’s sheer north face. Clouds Rest and Tenaya Canyon, that latter of which lies over 4,000 feet below, also impress. Many Yosemite Valley landmarks like El Capitan, the Sentinel, Yosemite Falls, various meadows on the valley floor, and Glacier Point are also easily discernible.
To resume the North Rim Route, return to the saddle, and climb back to the top of the cliff. At the cliff, look for a continuation of the trail as it follows Indian Ridge southwest before descending the west flank of the ridge. At 5.8 miles, the trail returns to the forest to begin a mostly westbound traverse along the north rim of Yosemite Valley. Views are hard to come by over the next 2.3 miles, but there will be a few opportunities to tank up on water at Royal Arch Creek (6.1 miles), Lehamite Creek (6.7 miles), and Indian Canyon Creek at 7.2 miles. Late season hikers (August to October) should note that only Lehamite Creek carries water through the year.
The great views return at 8.1 miles as the trail descends to Yosemite Point along the open, rocky rim of Yosemite Valley. You can’t camp near Yosemite Point, but if you head north across country a ways from the 8.2 mile mark, you can find good campsites on a flat, open ridge dividing Indian Canyon from Yosemite Creek. Jeffrey pines stud the landscape here and there, but the mostly unobstructed views are inspiring. At 8.5 miles, look for a spur trail leading south to Yosemite Point, a prominent point jutting out over the valley directly over Yosemite Village. The views are similar to those you enjoyed on the descent, albeit with fewer obstructions. There’s a fence marking the official Yosemite Point, but the views there only look west. To look east toward Half Dome, scramble over a few boulders to the east side of the point.

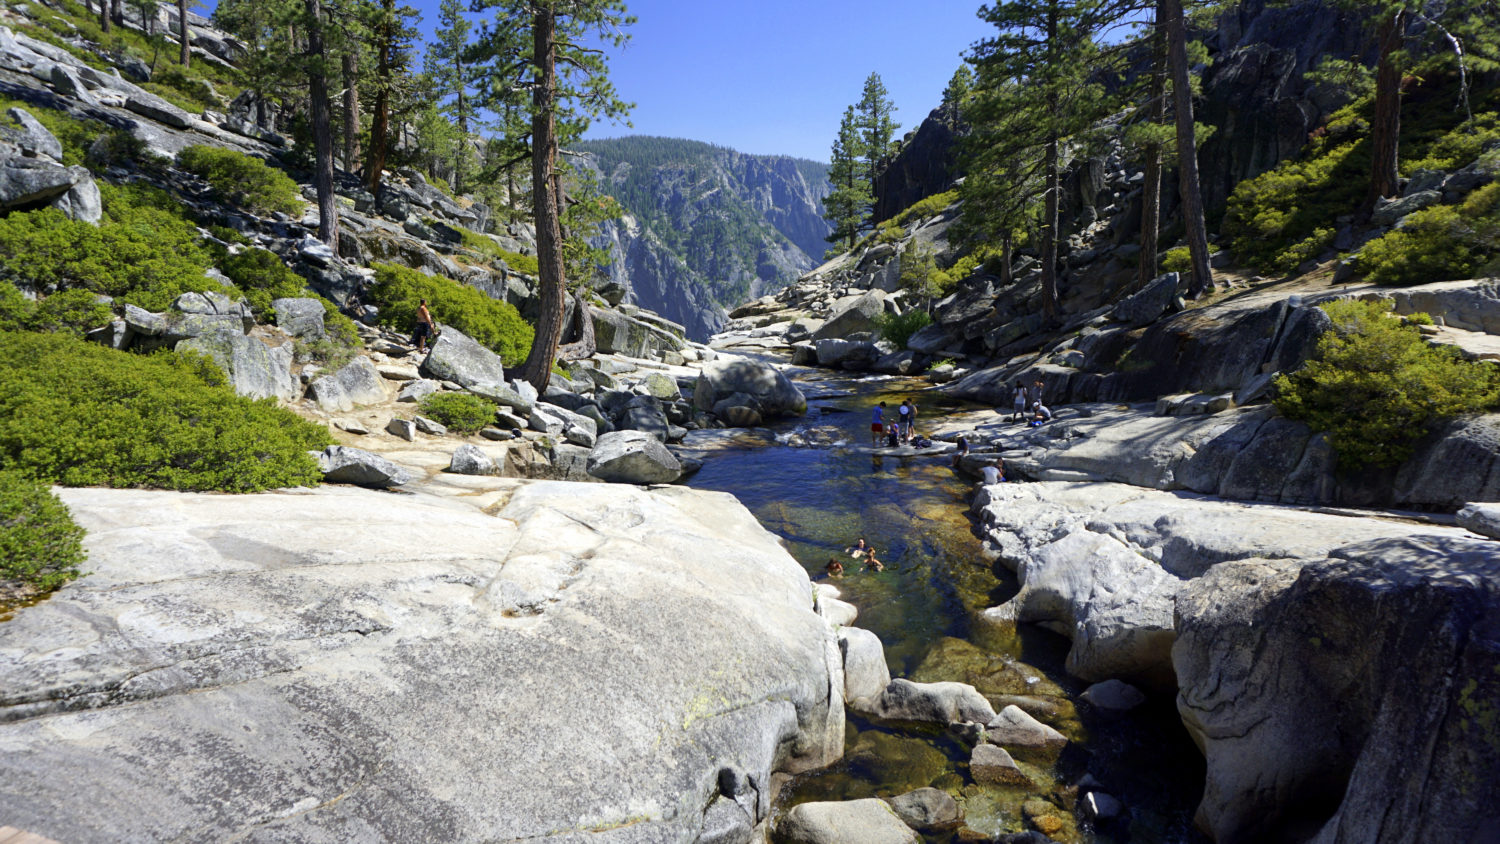
The descent continues to Yosemite Creek, which you cross via footbridge at 9.4 miles. Early in the season, Yosemite Creek rages and roars by moments before leaping into the void of Yosemite Valley. In recent years, the pools above the falls have become a popular spot for swimmers. This should be self-evident, but just in case – don’t swim in the pools early in the season, as the current of the creek is strong enough to carry you over the edge of Yosemite Falls.
After crossing the bridge, the trail climbs up and over a low, rocky ridge. Look for a spur trail leading south at 9.5 miles, which leads to a spot overlooking Yosemite Falls from directly above. This worthwhile diversion follows a somewhat sketchy route to the top of the falls, from which you can look directly down to see the falls spilling into Yosemite Valley. Backtrack to the main trail, and continue west to a junction with the Yosemite Creek Trail. Turn right here to begin a moderate uphill climb north to a junction with the Eagle Peak Trail at 10.1 miles. Turn left and begin to climb.
The Eagle Peak Trail climbs moderately through dense forest along the banks of Eagle Peak Creek. The grade flattens out somewhat at 10.5 miles as the trail bends to the south along the edge of Eagle Peak Meadows. Although the terrain is relatively flat, there aren’t many reasonable campsites to be found through Eagle Peak Meadow’s small valley. To find camping, turn left onto the Eagle Peak Trail at 11.7 miles, and begin to climb. After 0.1 mile, head left across country to a flat summit with some inspired views east across Half Dome and the Yosemite High Country. This is your best option to camp, although there is a small bivy site nestled into the boulders just below Eagle Peak.

To reach Eagle Peak, continue on the Eagle Peak trail until it tops out at the summit (12.3 miles). The views from the top are nothing short of astonishing, particularly when you look directly down from the summit into Yosemite Valley, which lies immediately below. Many of the same landmarks you’ve enjoyed to this point remain visible, but as always, Half Dome sucks up most of the attention as it rises nearly a vertical mile above the valley below.
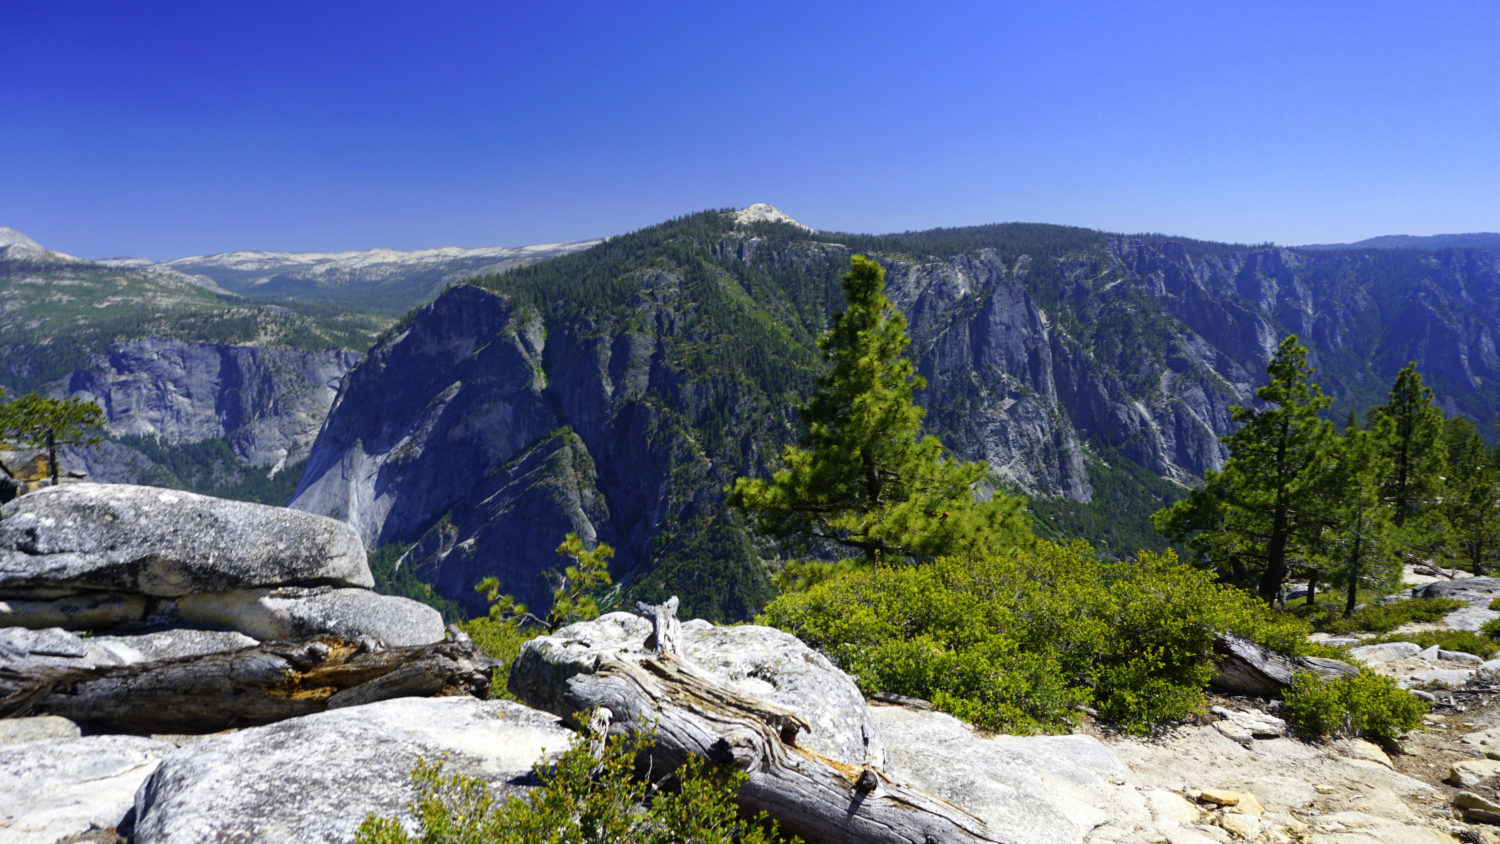
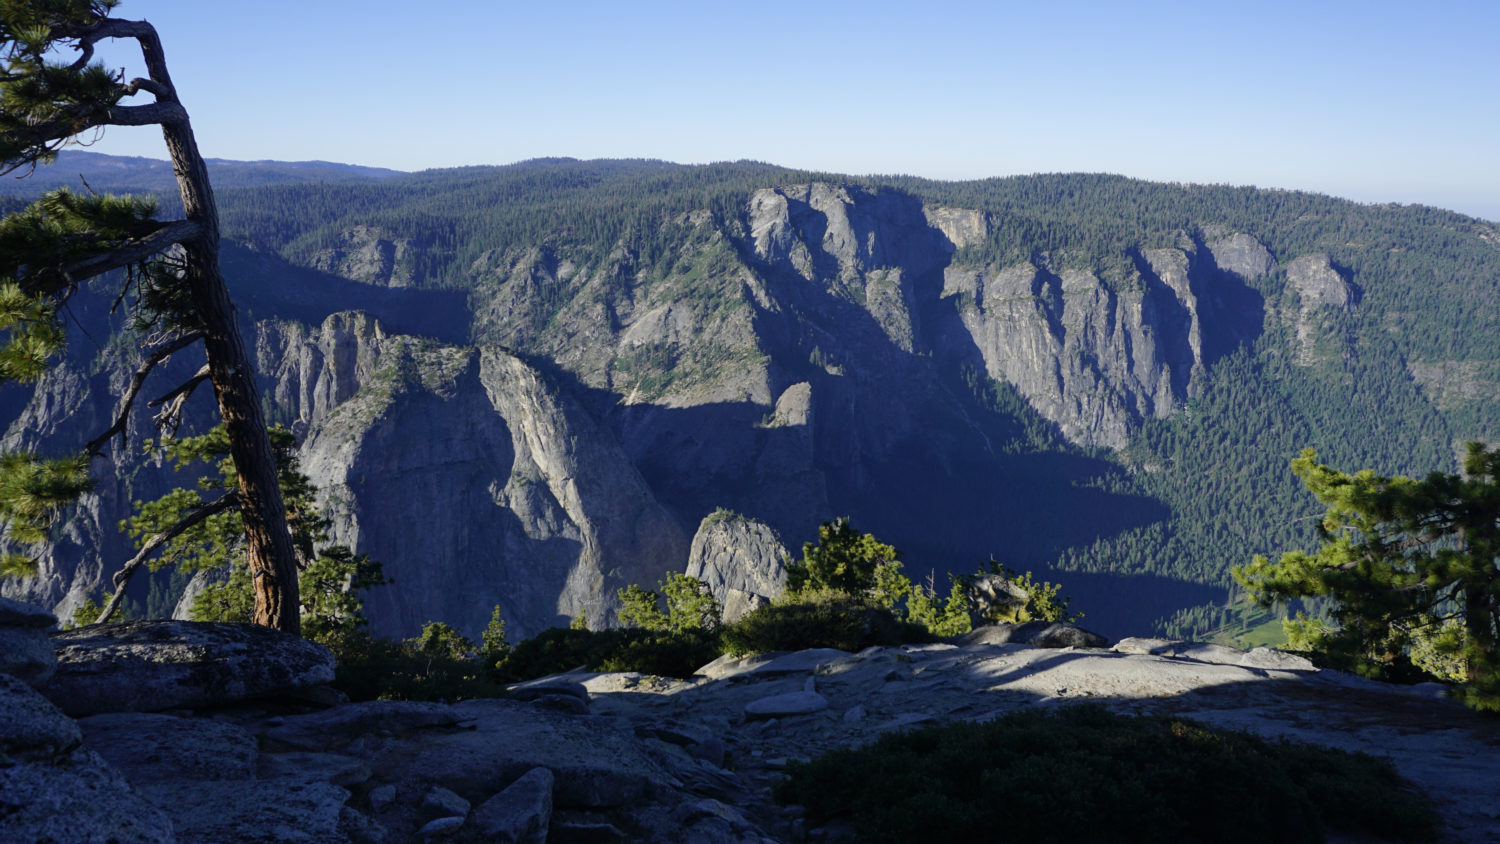
Backtrack to the main trail, and turn left to begin a short, undulating traverse leading to the summit of El Capitan. The trail follows the rim of the Yosemite Valley, with occasional views south and southeast toward the Clark Range. You can tank up on water at a stream at 13.5 miles and again at an azalea-choked spring at 14 miles. I highly recommend tanking up at one or the other spots, as it’s going to be another 2 miles before the next reliable water source. El Capitan lies directly ahead, although the experience of gazing upon the summit is dramatically different from viewing from below. There’s no evidence of a sheer rock face; instead, the forest opens to sporadic Jeffrey pines growing from the rocky soil.
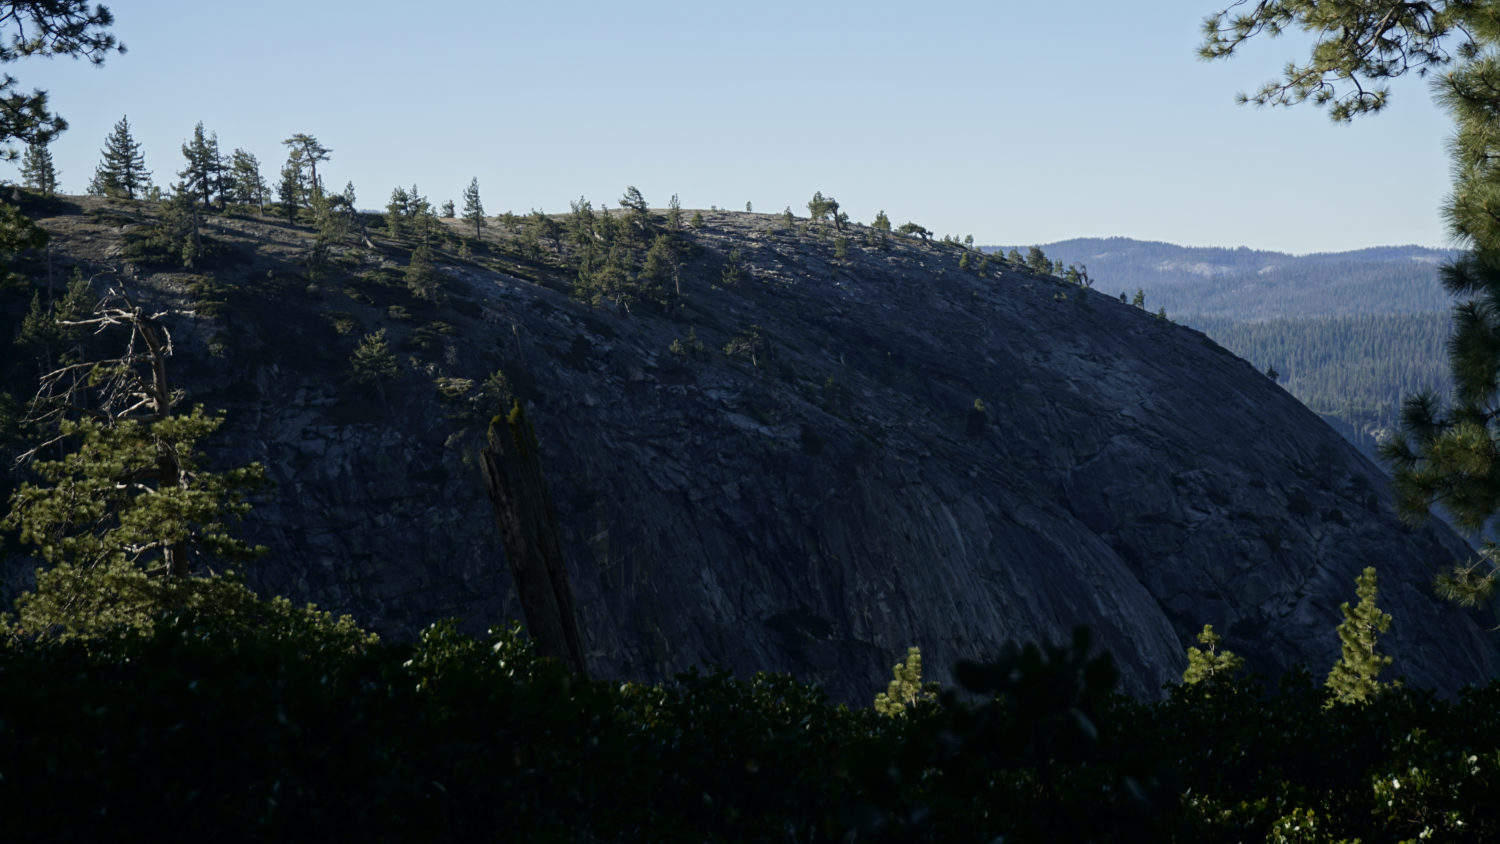
At 15 miles, look for an unmarked spur trail leading due south over a rounded summit. This summit is the actual top of El Capitan, although there’s quite a bit of terrain surrounding the summit. You can camp along the spur trail and near the summit, but be sure to keep one mile away from the edge of the valley. The views from the top are great, but you can’t get the full reveal from any one spot. Expect to walk about half a mile to various corners of the summit block to look east, south, and west at the highlights of Yosemite Valley. You may feel tempted to tiptoe to the very edge of El Capitan. I can’t say I recommend doing so, as the slope gets progressively steeper the closer you get to the edge before suddenly and abruptly becoming a sheer drop.

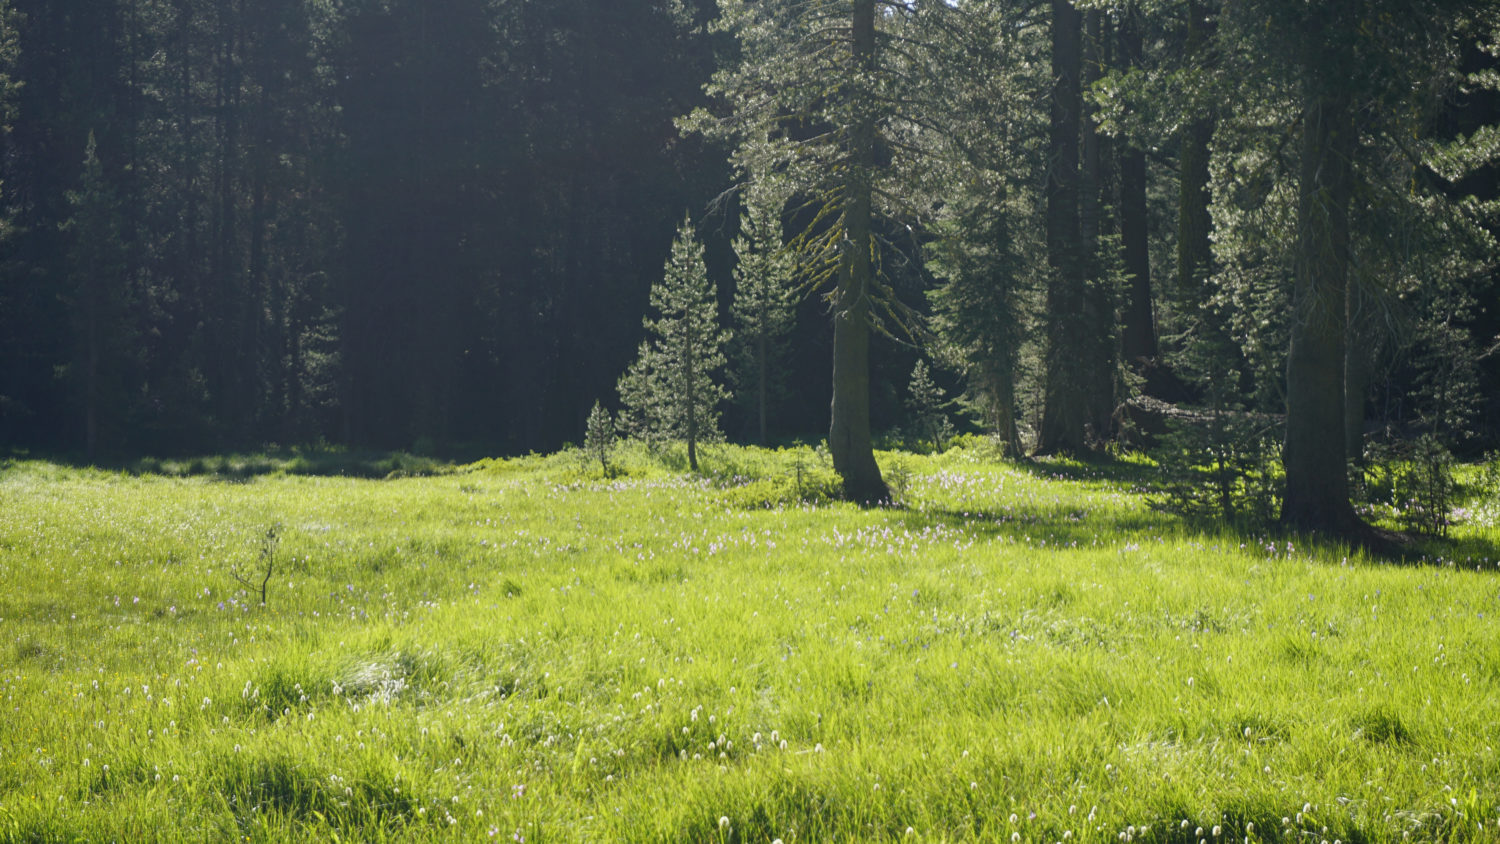
After enjoying the summit of El Capitan, follow the spur trail back to the main trail to continue the North Rim Route; note that you may have to do a bit of wandering around to find the continuation of the trail, as it’s currently unmarked. Once you do find the correct trail, begin a moderate descent along El Capitan’s west flank into El Capitan Gully, a deep, precipitous crevice that drops dramatically into Yosemite Valley. After crossing the gully, it’s back into the forest on a mostly flat tread that approaches Ribbon Creek at 16 miles. If you camped at El Capitan, I highly recommend stopping to fill your water at Ribbon Creek, as it’s a long descent without any certain water supplies to the next water source: Cascade Creek at 20.7 miles. Technically, there’s another source of water at a tributary creek that drains Ribbon Meadow directly ahead. However, unless you’re prepped for mosquito warfare, you may not be particularly comfortable lingering around Ribbon Meadow for any extended period of time. However, the flowers at Ribbon Meadow (17.1 miles) can be rather lovely in early July.

The trail leaves Ribbon Meadow, cresting a ridge at 17.4 miles. From this ridge begins a 2,000 foot descent to Old Big Oak Flat Road that’s sure to leave your knee joints in a state of annoyance. The initial segment of the descent isn’t bad as you follow an open ridge on a moderate grade. But at 18.7 mile, the grade steepens, and the twisting, winding trail surface becomes rocky and uncomfortable. Gravity will egg you on, but keep a gentle, slow pace to avoid aggravating your knees and ankles.

At 20.1 miles, the El Capitan Trail bottoms out at a junction with Old Big Oak Flat Road. Turn right to follow the historic road grade on a moderate uphill grade to a bridge spanning Cascade Creek. Cascade Creek rages early in the season, but by July and August, the creek becomes quieter while supporting lush growths of Indian rhubarb and Western azalea. Cross over the footbridge, and continue along the roadbed as it continues its climb toward Tamarack Flat Campground. Keep right at a junction with the Old Big Oak Flat Road Trail, which leads downhill to a trailhead on the new Big Oak Flat Road above Foresta. This trailhead is a decent alternative to Tamarack Flat, especially if Tamarack Flat is closed. However, fires have burned the forest along this route, making it hot and exposed during the summer.

After crossing Coyote Creek at 21 miles, the climb mostly comes to an end at 21.6 miles, and after cresting a low ridge, the trail descends to Tamarack Flat Campground, where your car will be waiting at 23 miles. If Tamarack Flat Campground is closed, and you had to leave a car at the Tamarack Creek Trailhead on Tioga Road, continue through the campground and past the entrance sign. Walk toward the first campsite to find the Tamarack Creek Trail. This gently ascending trail follows Tamarack Creek before passing through a burned area that is still very beautiful thanks to several large, spacious meadows. This extension ends at 25.5 miles. From here, collect your belongings and drive back to Porcupine Creek to retrieve your other car.
Tags: Basket Dome, Cascade Creek, Clouds Rest, Eagle Peak, El Capitan, half dome, indian rock, Lehamite Creek, north dome, north rim, Old Big Oak Flat Road, Porcupine Creek, Porcupine Flat, Ribbon Creek, Ribbon Meadow, Tamarack Creek, Tamarack Flat, Tenaya Canyon, Yosemite Creek, Yosemite Point