This trail takes you along the popular Mist Trail, past Vernal and Nevada Falls, and onto the John Muir Trail to Little Yosemite Valley. The trail dives into the Yosemite backcountry to the foot of the massive granite dome. Pack some extra courage and leave your fear of heights behind to scale the cables up the backside of Yosemite’s most iconic rock formation, Half Dome.
Yosemite National Park is known for its towering granite rock formations and cascading waterfalls. Perhaps the most recognizable feature of the Yosemite Valley is Half Dome. Although initially Half Dome was described as “perfectly inaccessible” by Josiah Whitney of the California Geological Survey in 1865, the dome has since been ascended by rock climbers and hikers from various approaches. Some of the legendary rock climbers of Camp 4 in the Yosemite Valley first scaled the vertical face of Half Dome in the 1950s. For those who do not have the technical know-how or fearlessness of these climbers, there is another way. Cables were first placed in 1919 by the Sierra Club along the backside of the dome. These cables allow hikers without technical rock climbing skills to make the 400 foot ascent to the top of the dome.
***Very Important to Note:
- The cables are generally put in place after Memorial Day and then taken down after Columbus Day; however, the start date may vary based on snow conditions.
- Permits are required at all times to ascend Half Dome. The lottery opens on March 1 and closes on March 31. The results are posted in mid-April and 225 day-hikers are allowed each day. The application fee is $10 and if you receive the permit an additional $10 fee per person applies.
- Daily lottery: Hikers can apply 2 days in advance on recreation.gov for a limited number of permits
- You must check the weather before your hike. Thunderstorms and rainstorms are common even in the summer and this hike should not be attempted if there is any chance of a storm.
- Bring gloves for use on the cables and shoes/boots with good traction.
This popular trailhead branches off the right side of Happy Isles Loop Road. The first section of trail is one of the most frequented trails out of the Yosemite Valley due to the access to Vernal Falls and Nevada Falls. The first 0.8 miles up to Vernal Falls is paved and is usually crowded. The path parallels the Merced River all the way up to the falls. To climb Half Dome, most hikers leave pretty early (we left at 2 a.m.!) and at that time the crowds are not an issue; however, by the afternoon, you may feel as if you are at Disneyland instead of at a National Park.
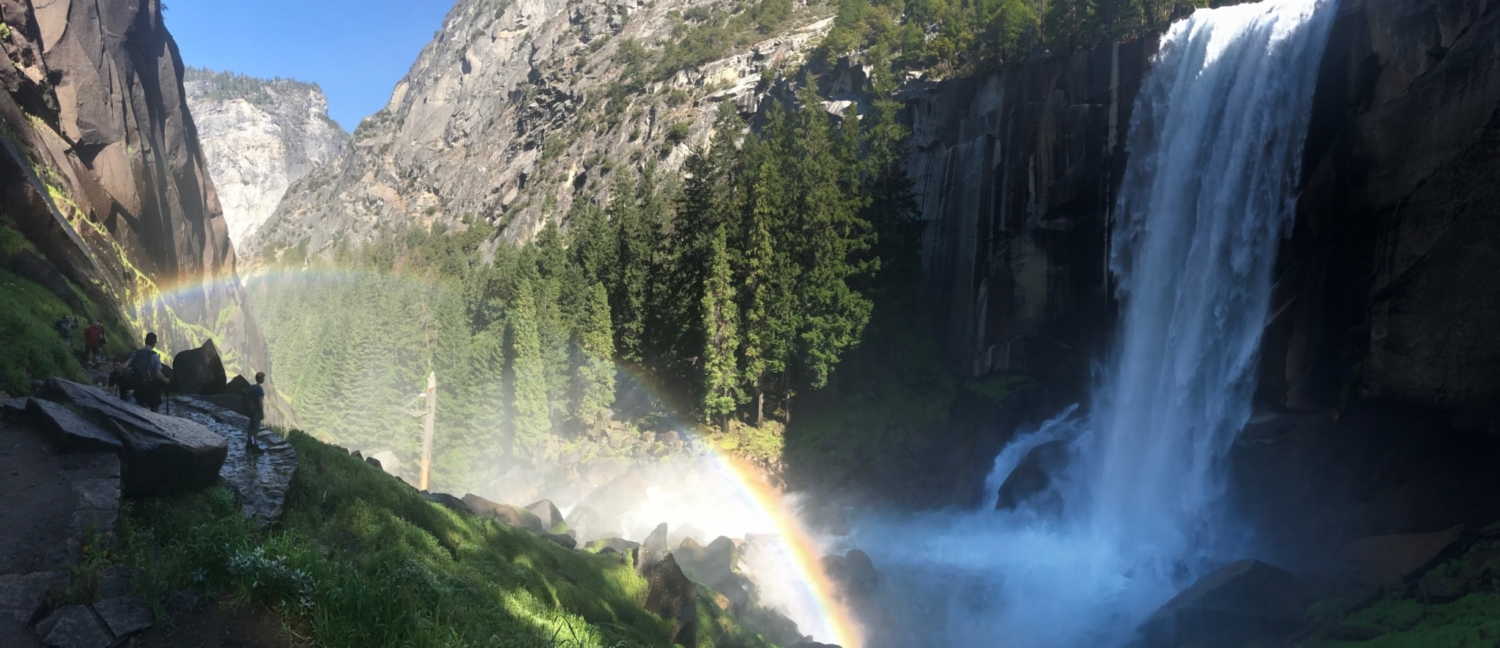
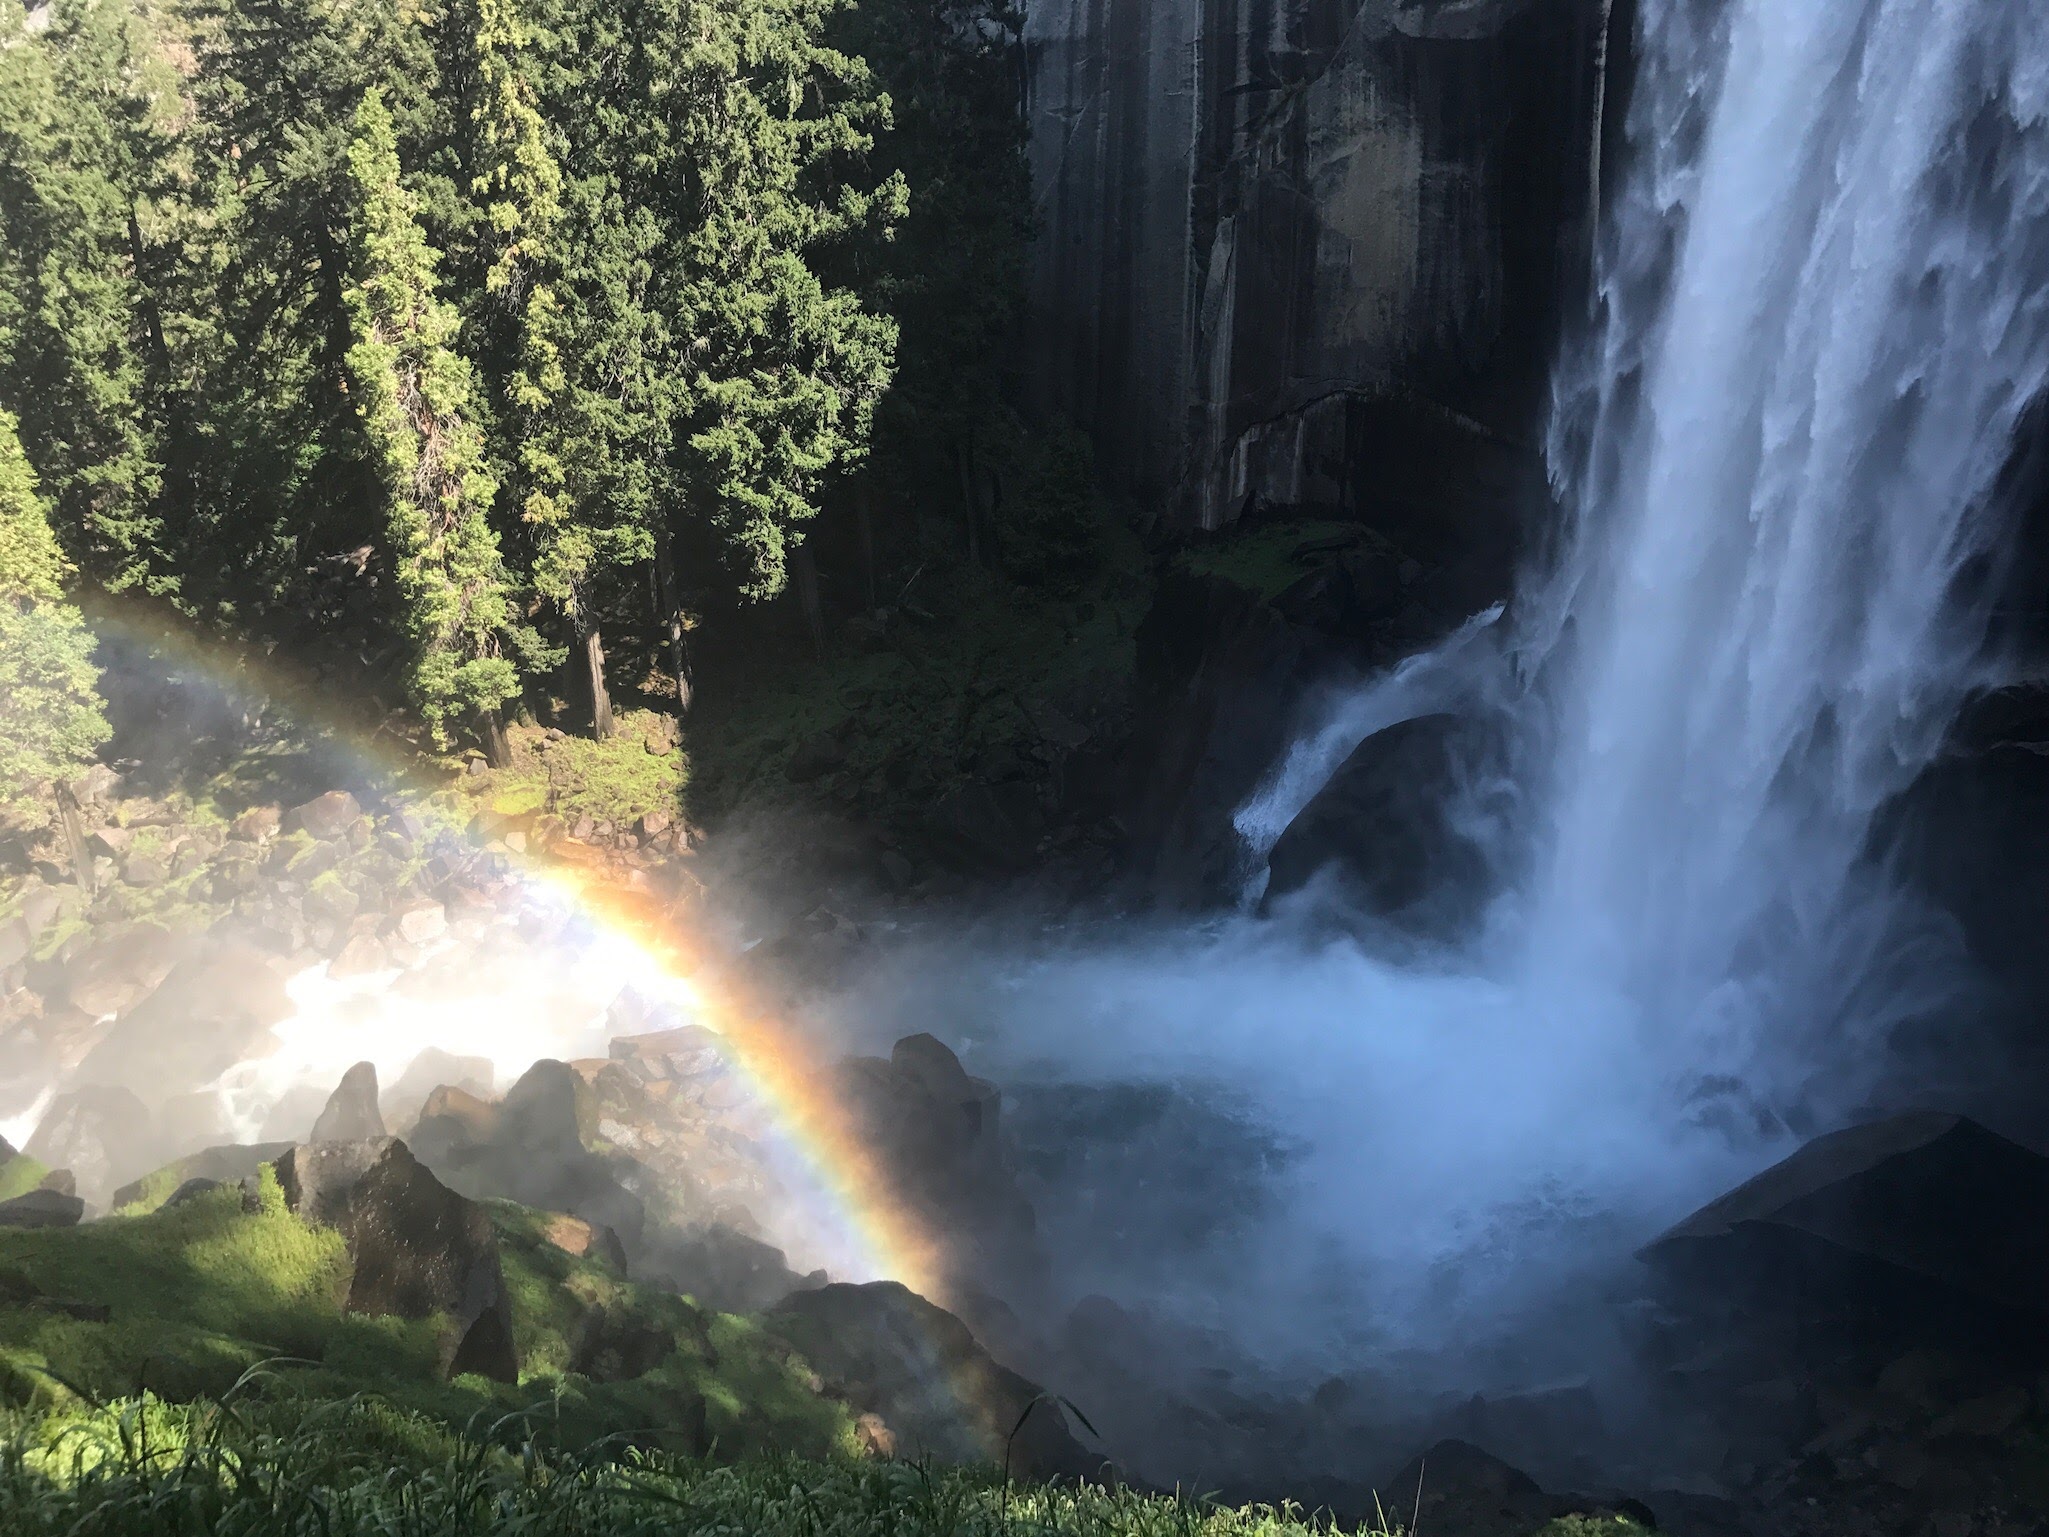
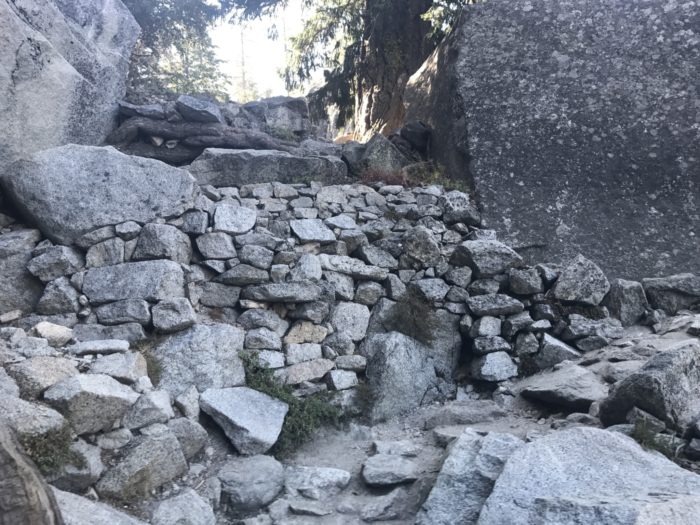
As we approached Vernal Falls, the mist from the falls gave us a morning shower and continued to be present all the way up the stone steps. There are a surprising number of steps to the top of the falls. Be sure to exercise caution, as the mist causes them to be slick and can add some ice if there’s a cold snap in the Valley.
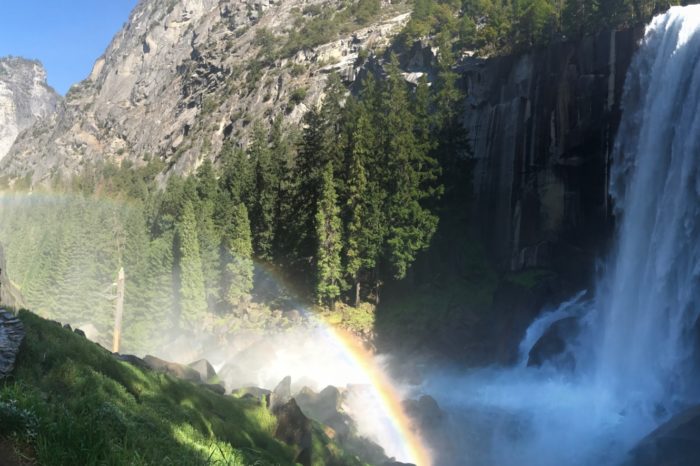
Vernal Falls.
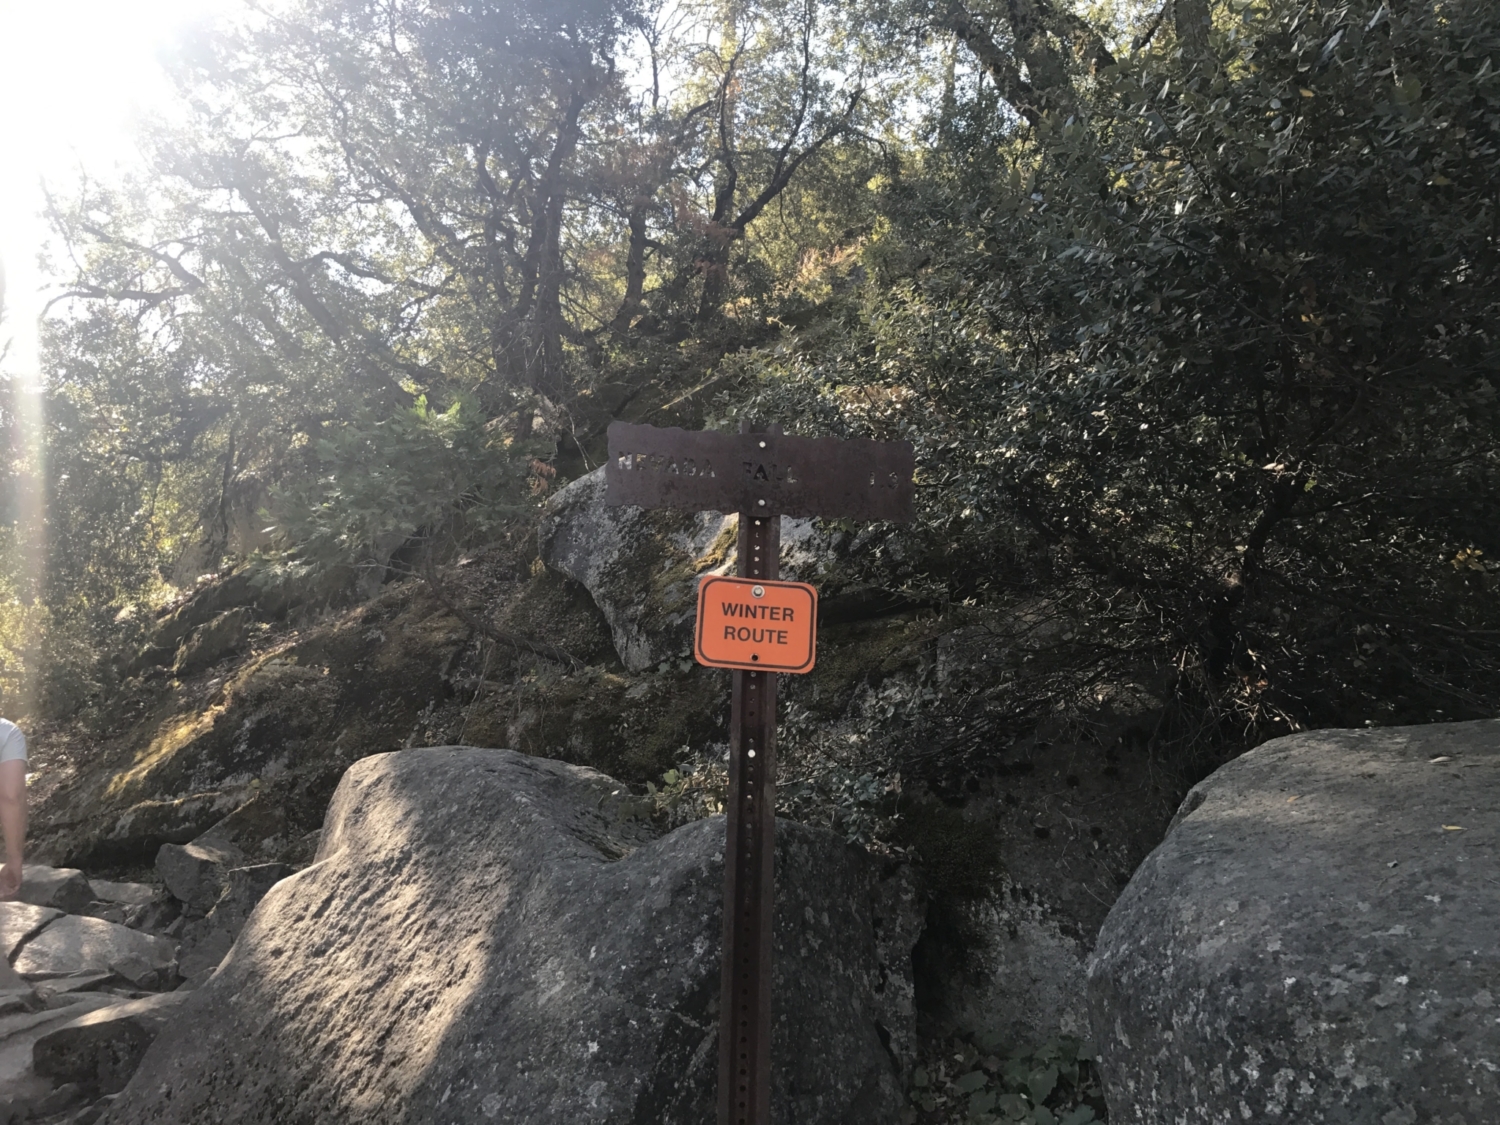
At the top of the steps there are two signs that both direct you to Nevada Falls. The sign pointing in the direction of the shorter route (1.3 miles) to the left is the route we took.

Nevada Falls- 1.3 miles to go.
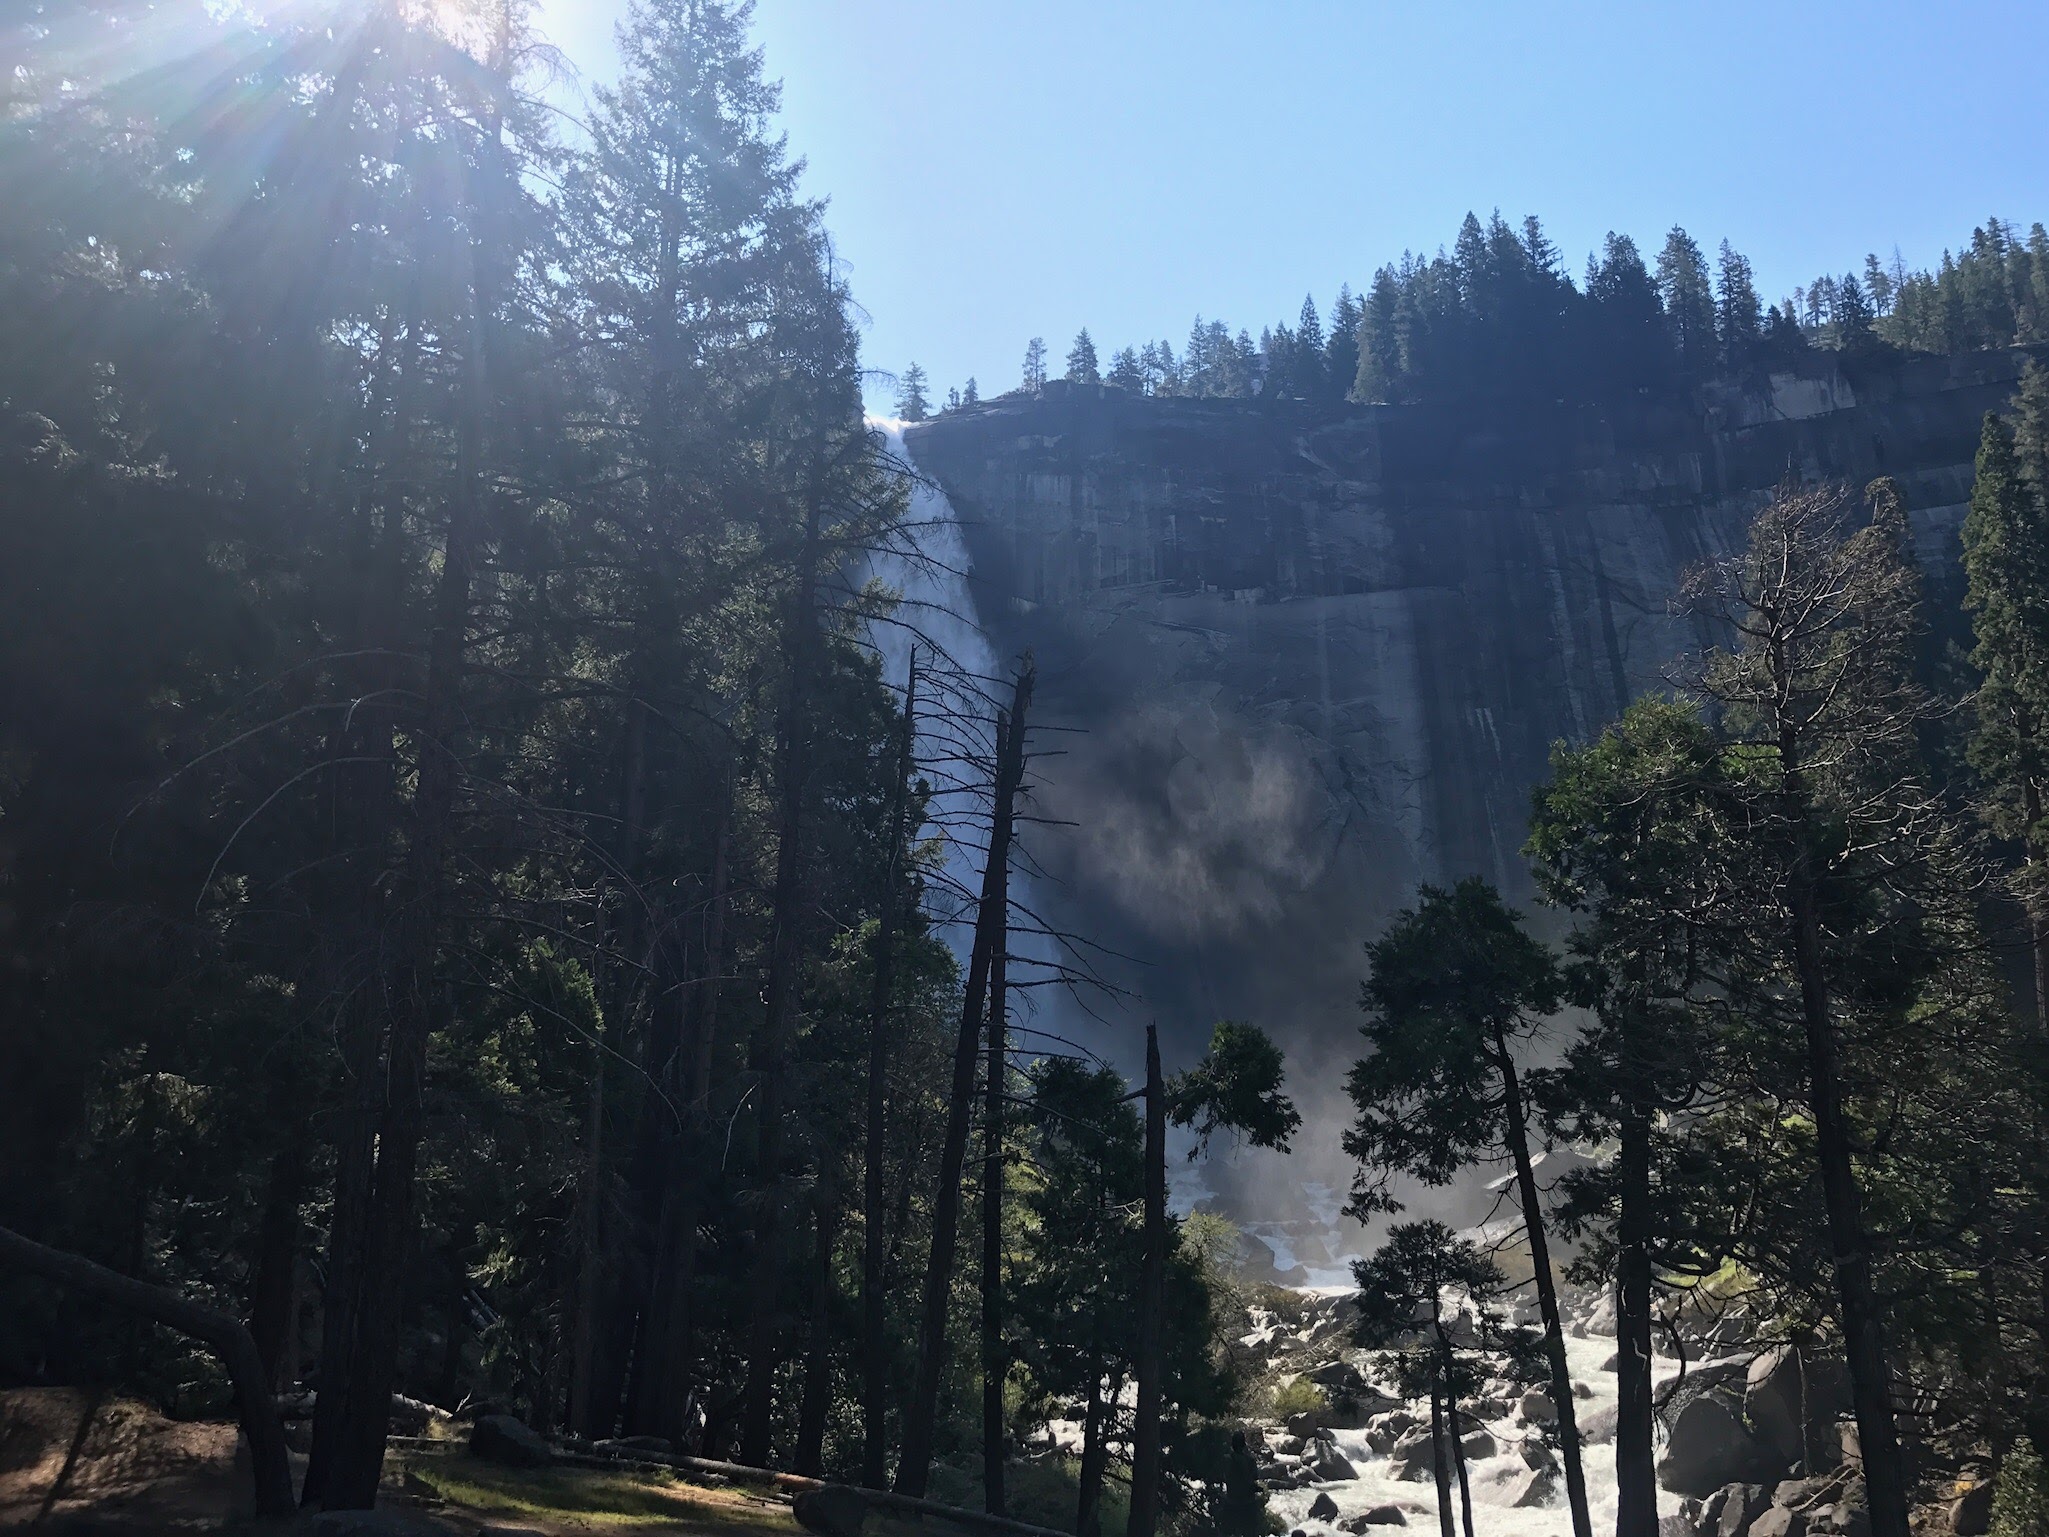
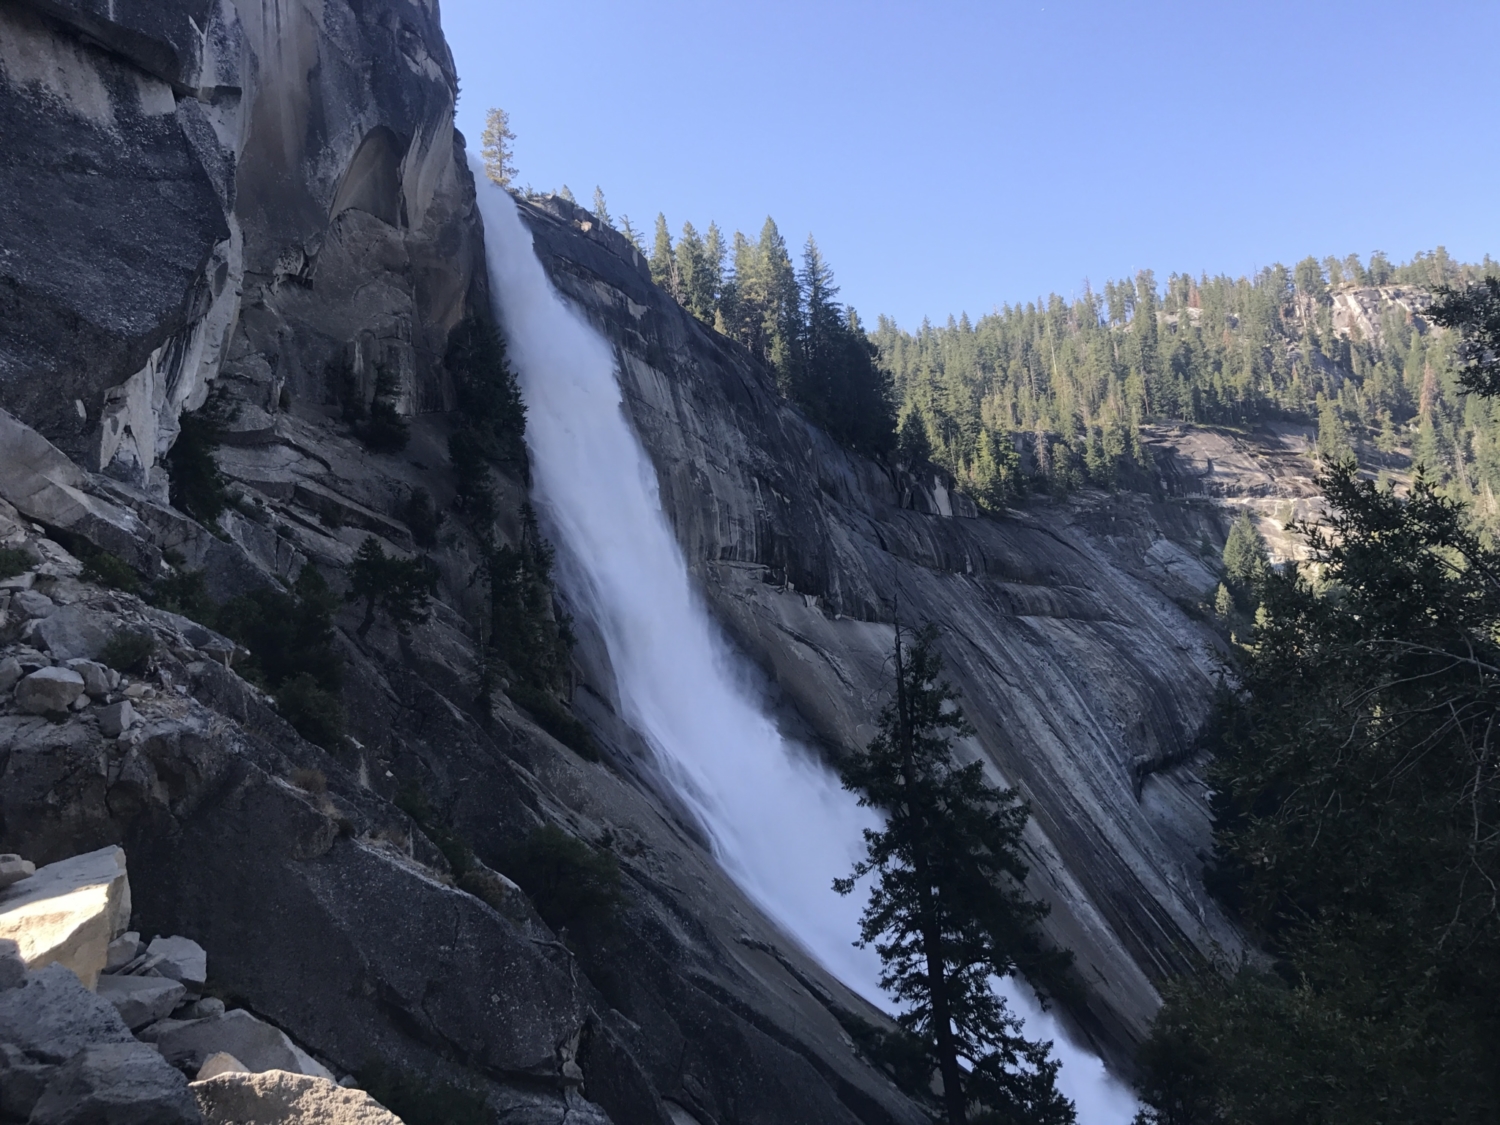
The Mist Trail continues along the Merced River and soon you are met with the sounds of another waterfall, Nevada Falls. This towering waterfall crashes down the side of the granite slopes and is so large that it can easily be seen all the way from Glacier Point.
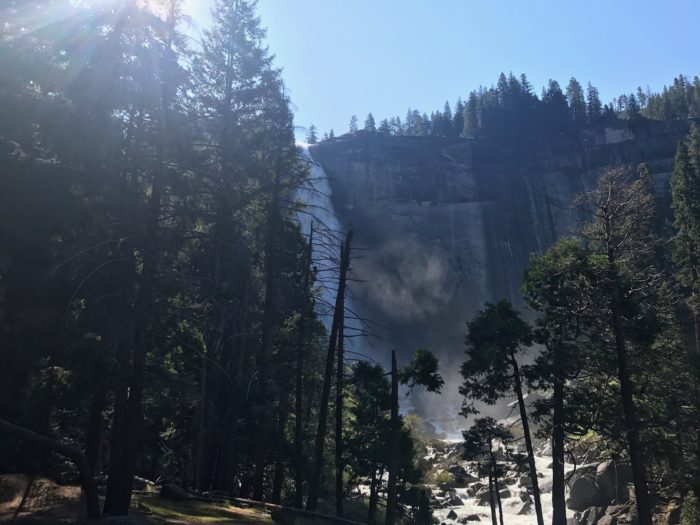
Nevada Falls.
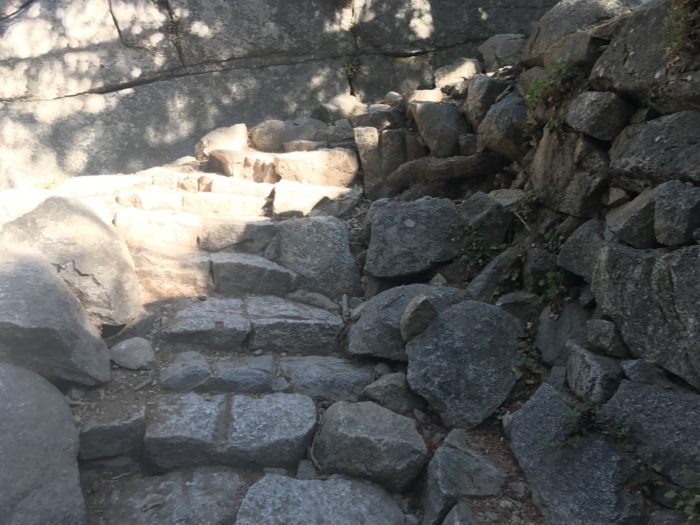
Similar to Vernal Falls, we were about to get another workout on Yosemite’s version of a stairmaster. The stone steps continue to climb and switchback on the left side of the waterfall.
Stone steps near Nevada Falls.
The stairs are seemingly endless…
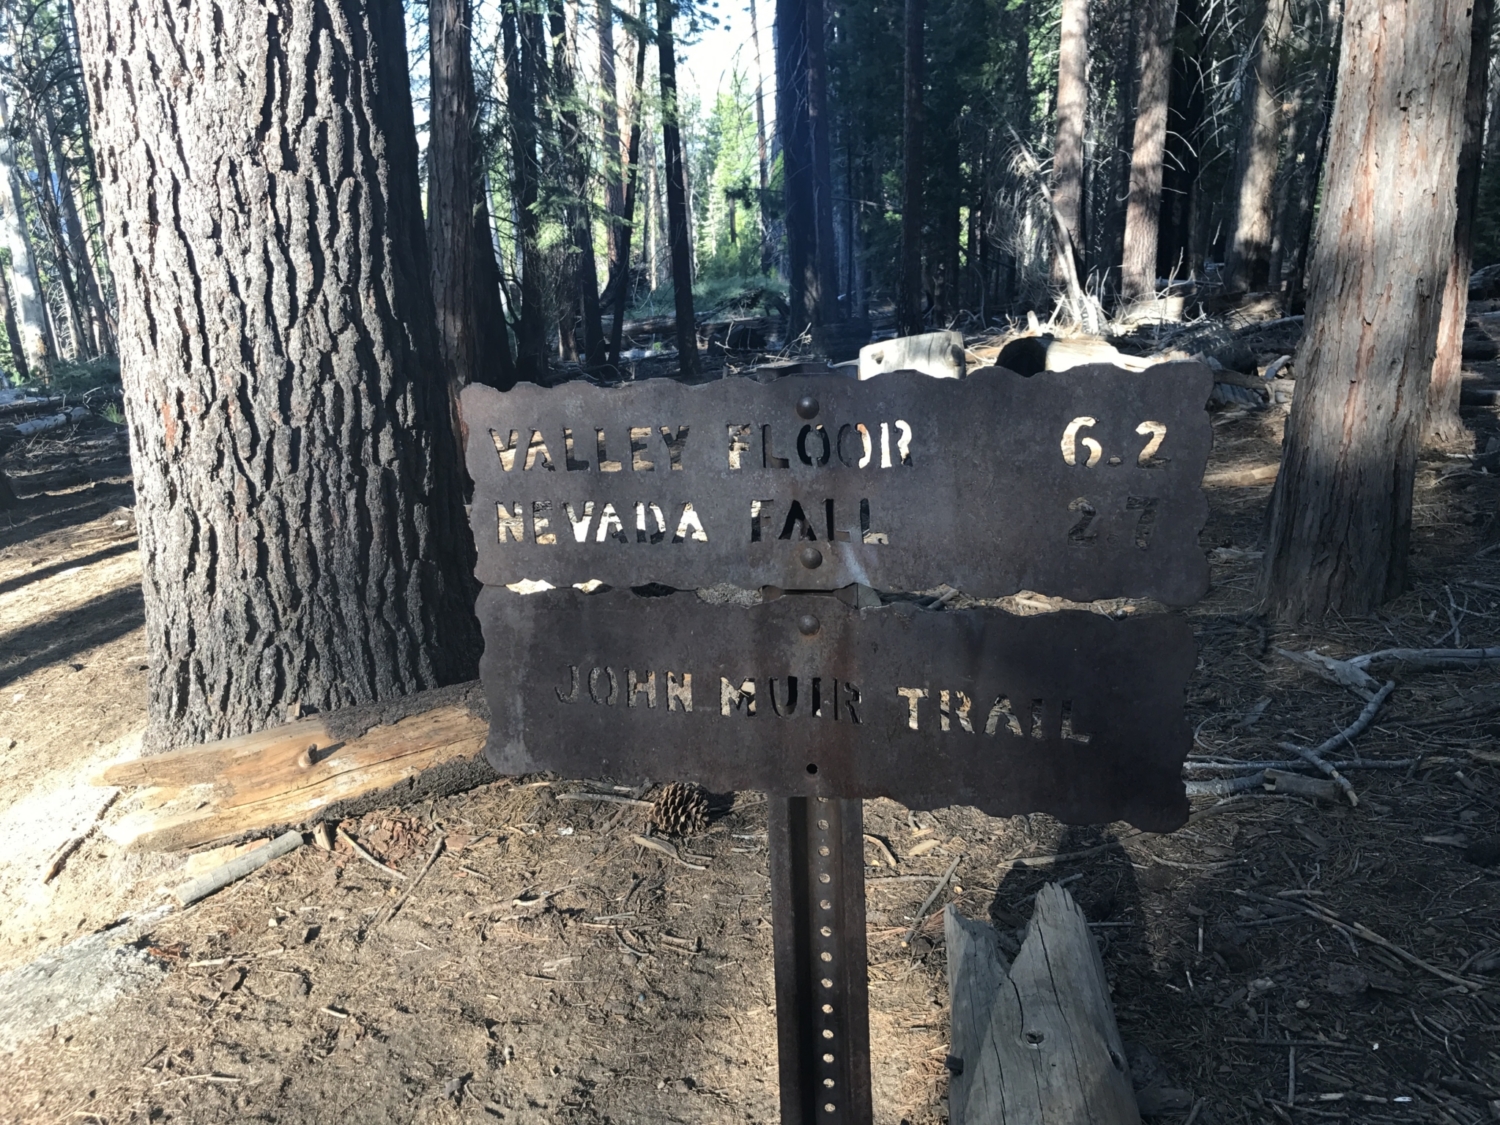
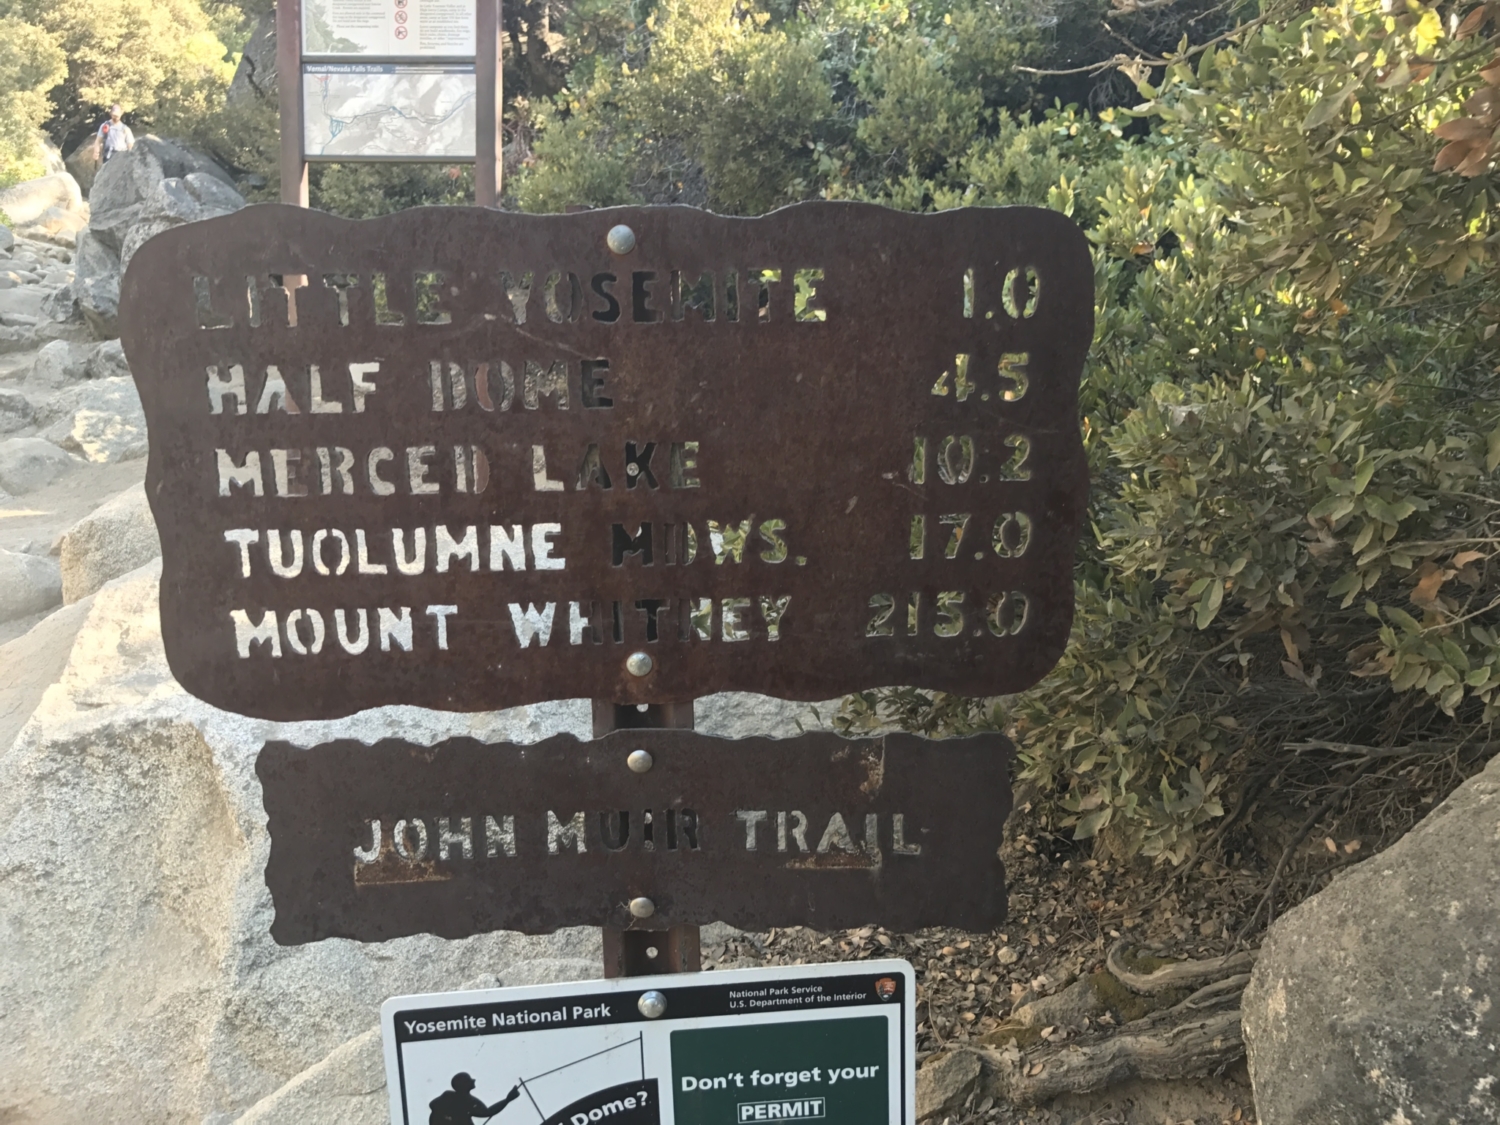
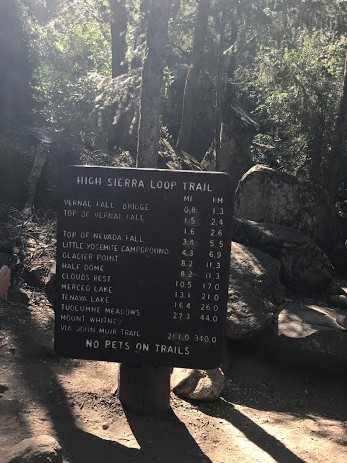
Finally, a little over 2 miles into the journey, we reached the top of Nevada Falls. There are many signs at this rest stop, and even a bathroom. We found the sign with the first mention of Half Dome indicating only 4.5 miles to go. The sign also denotes distances to popular stops along the John Muir Trail. Maybe we will make a quick shortcut over to Mount Whitney after we climb Half Dome. It’s only 215 miles right?

John Muir Trail sign
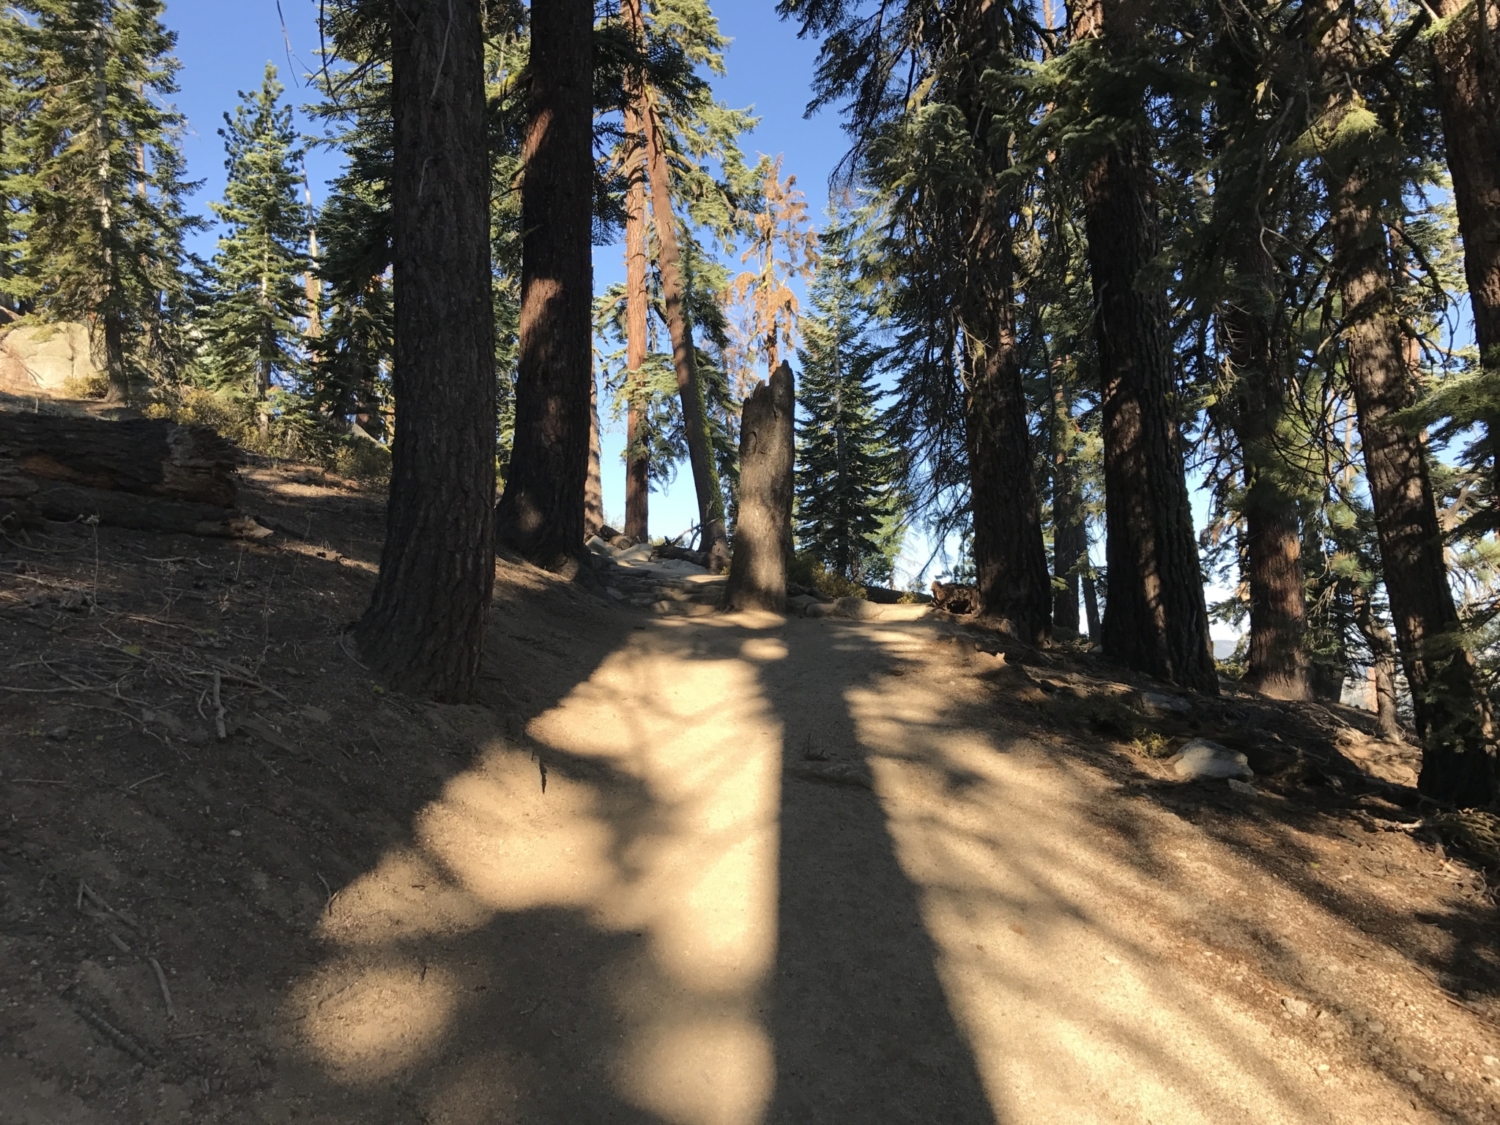
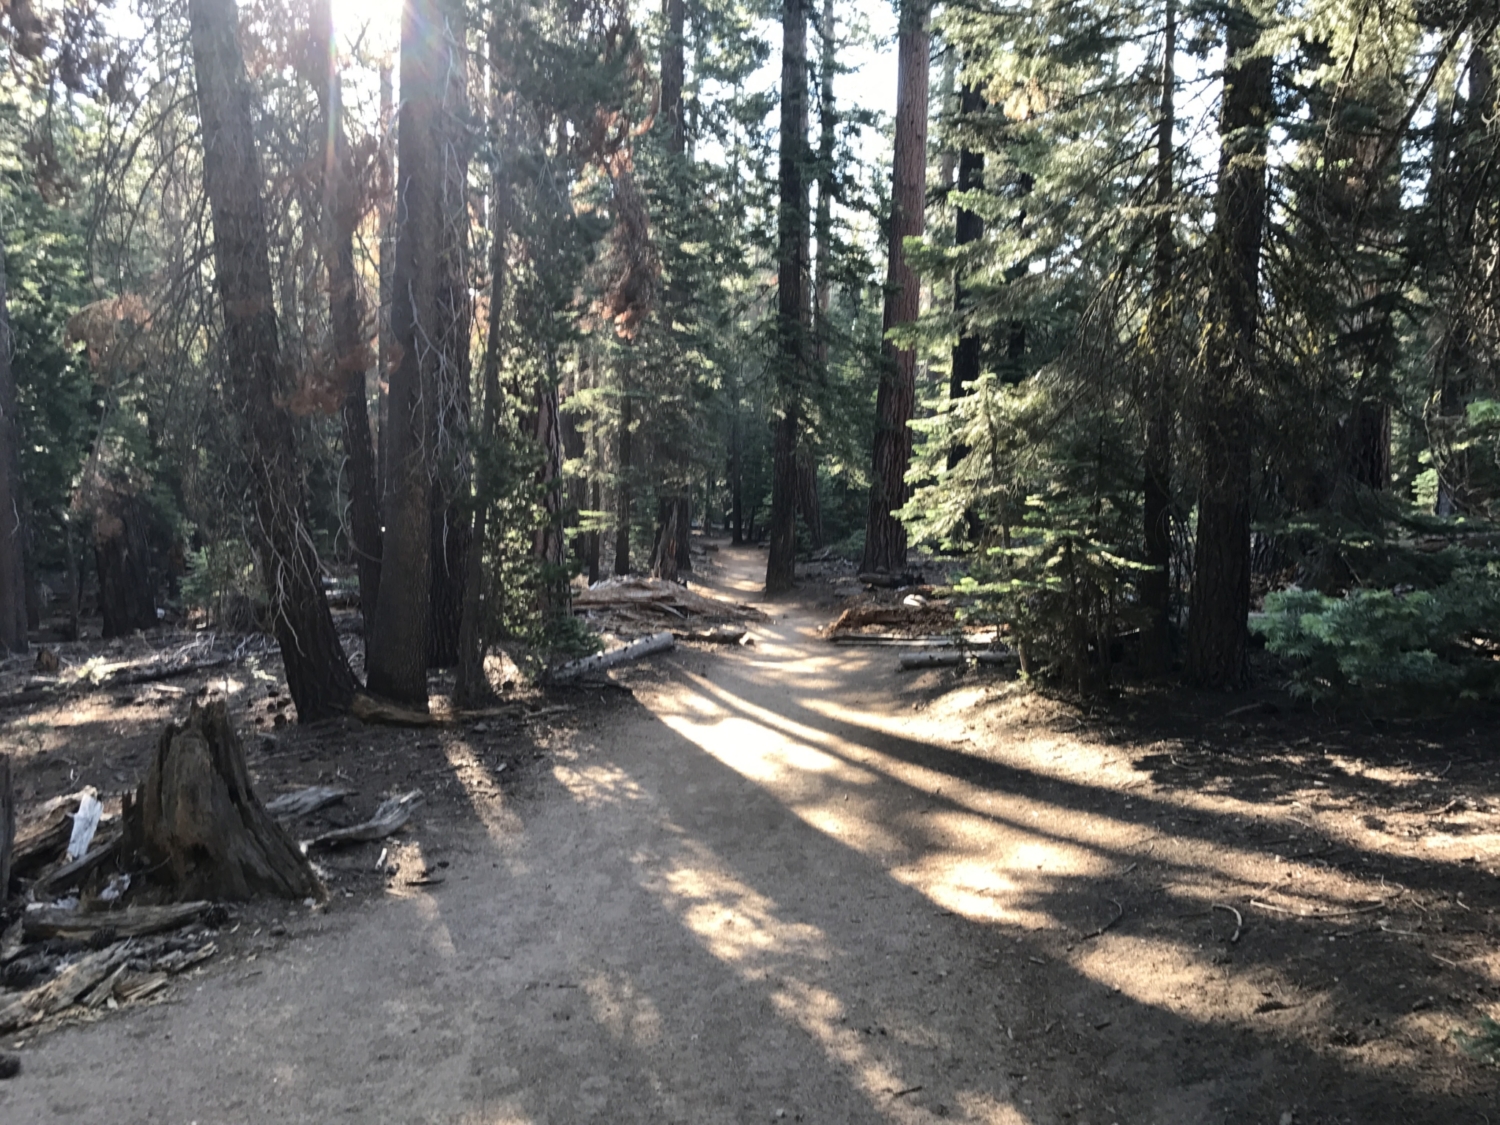
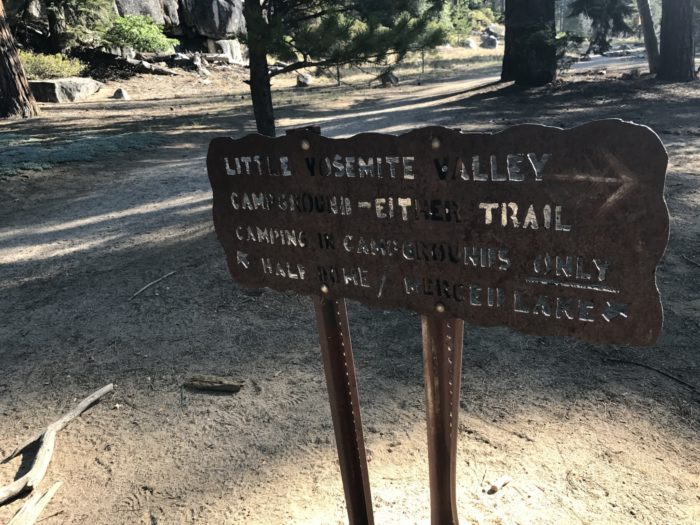
We followed the trail away from Nevada Falls and started to climb into the woods. The trail parallels the river and then enters Little Yosemite Valley. We reached a fork in the trail and a sign let us know to continue left for Half Dome. Either direction will take you to the Little Yosemite Campground.
Fork in the road near Little Yosemite Camp
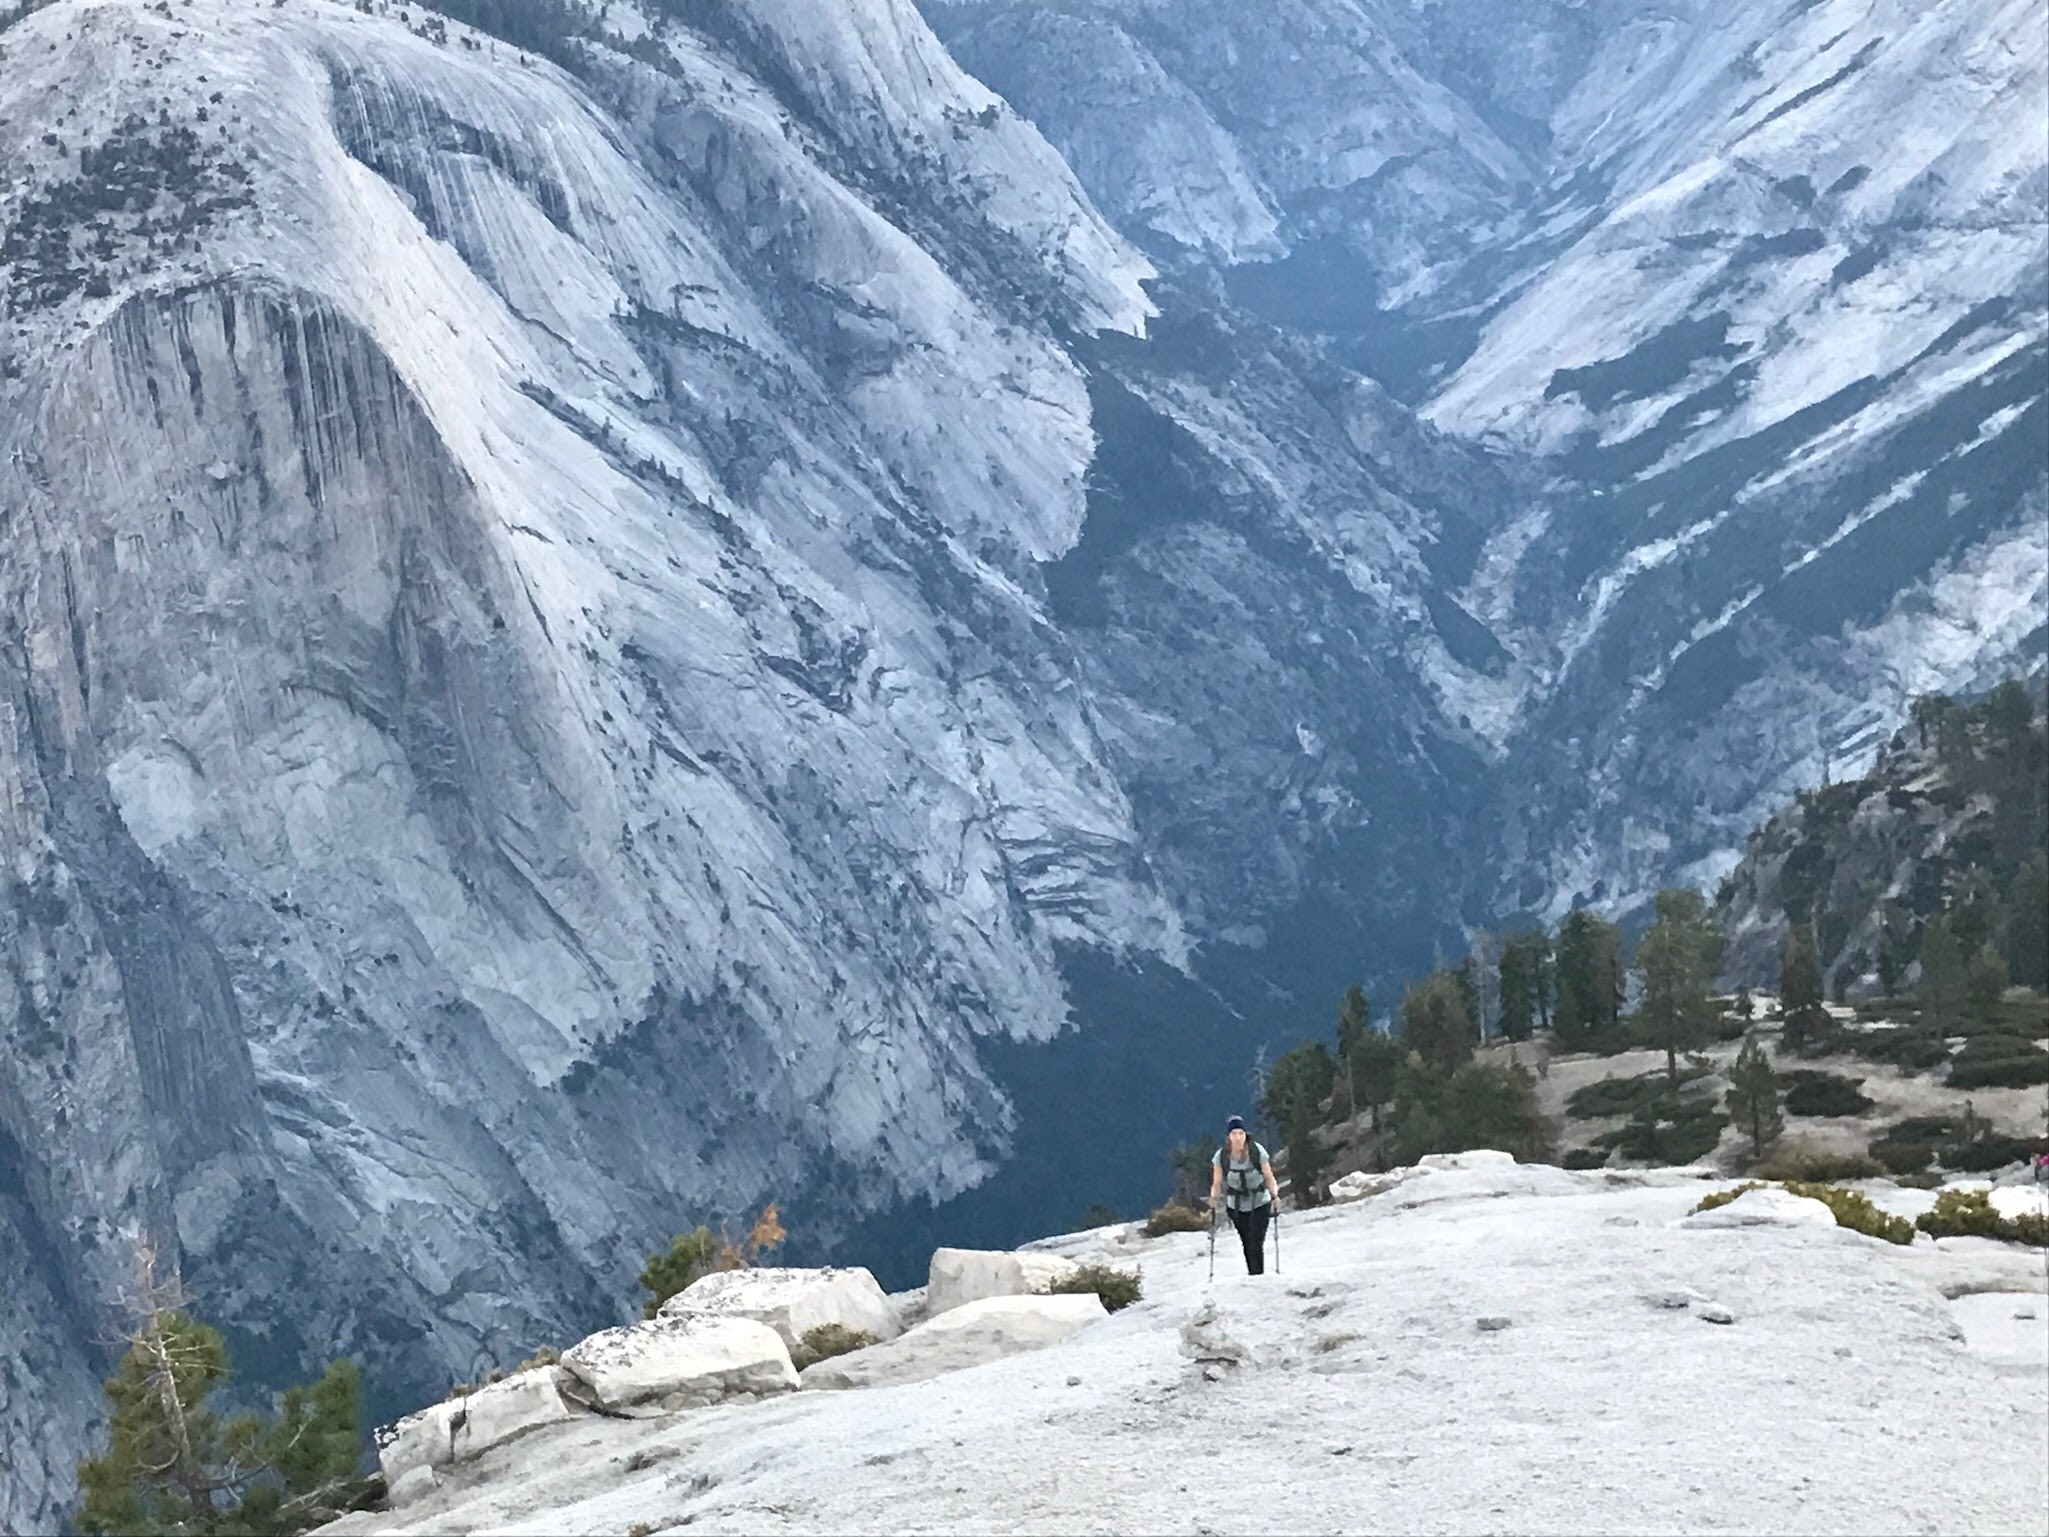
We traversed the Little Yosemite Valley and couldn’t help but think how this was ideal bear territory. The pictures I took were all from our descent, so they don’t quite convey what the wee hours of the morning were like. Needless to say, I kept shining my headlamp off in the distance hoping not to see shiny eyes glaring back at me.
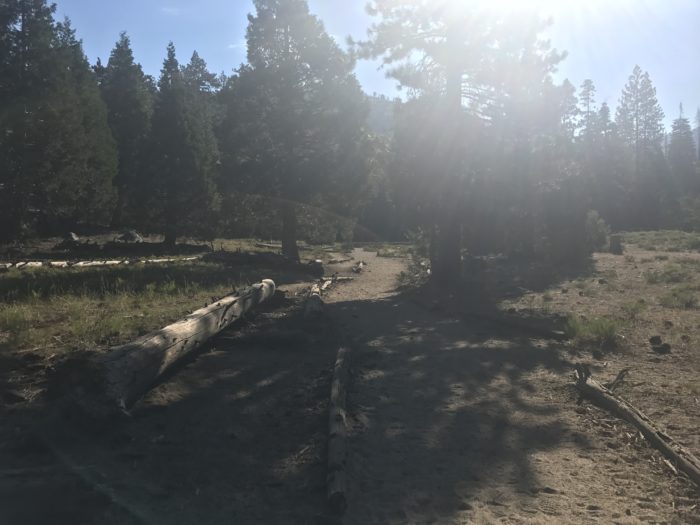
Little Yosemite Valley
At the end of the valley, the trail begins a steady climb upward.

Gradual switchbacks took us deeper into the woods and the rising sun began to send light over the mountains.

After over a mile of wooded switchbacks, the next sign revealed we had traveled 2.7 miles along the John Muir Trail from Nevada Falls.

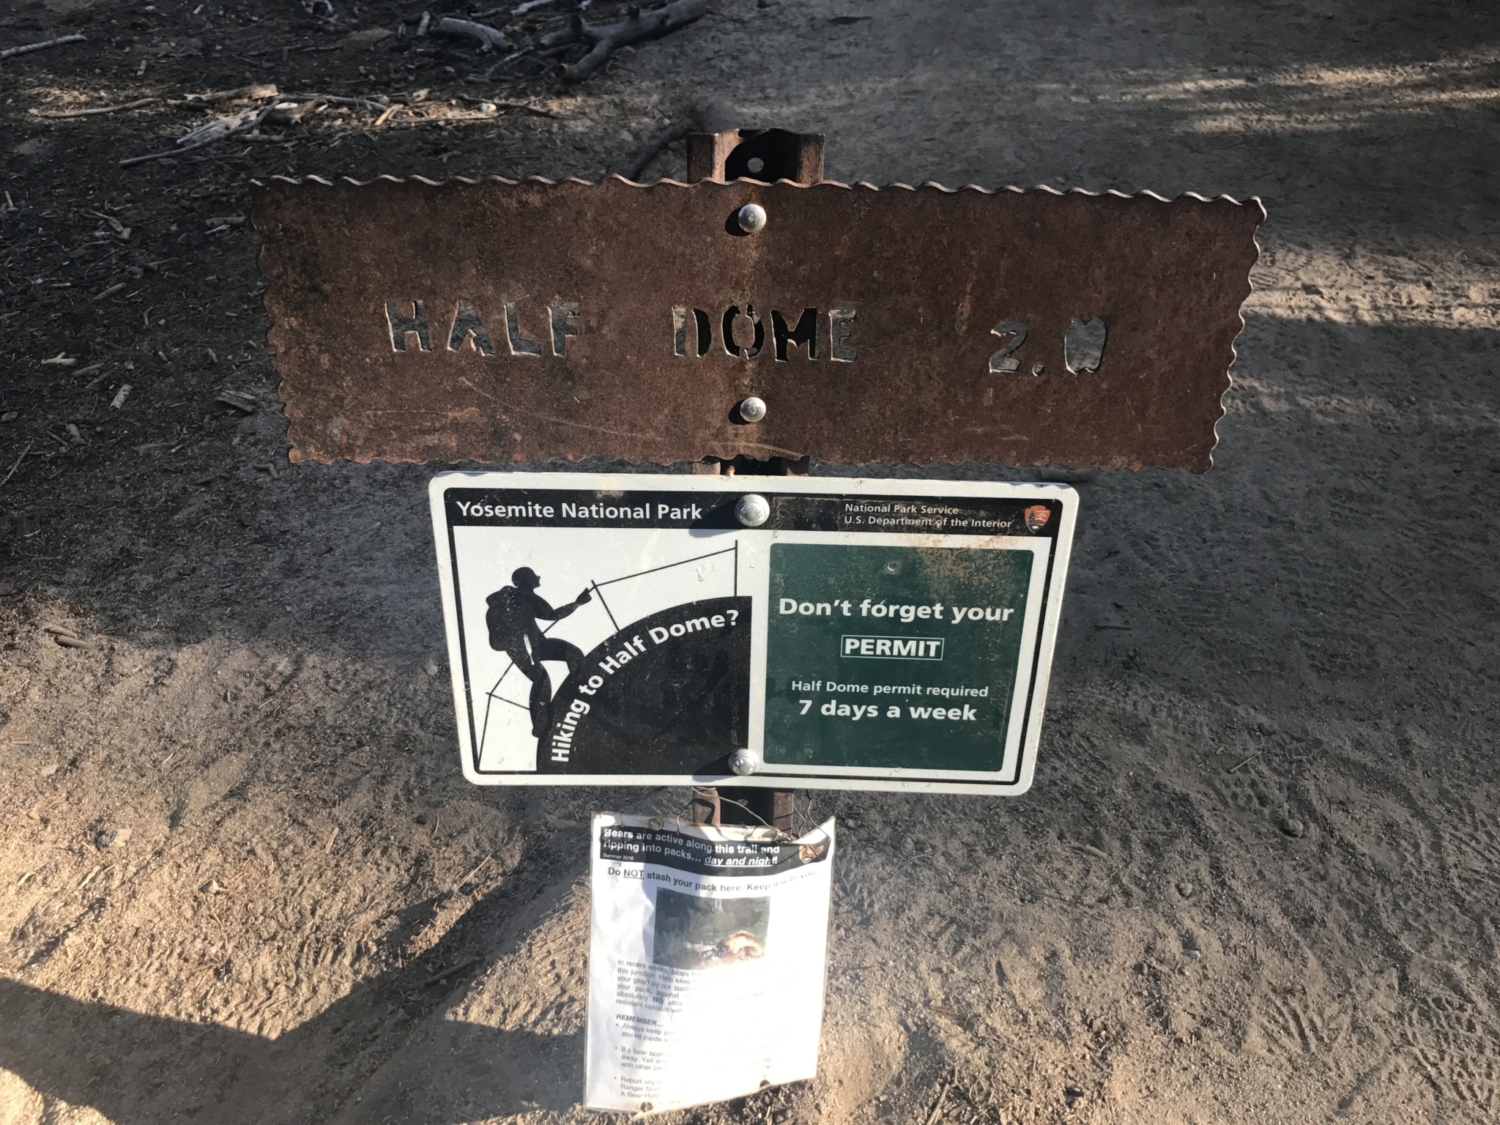
Several feet from the last sign we saw another sign letting us know we were 2 miles from our final destination. A warning sign indicates a permit is necessary to climb the cables. We followed the Half Dome Trail up the hill as it branched away from the John Muir Trail.

2.0 miles to go!
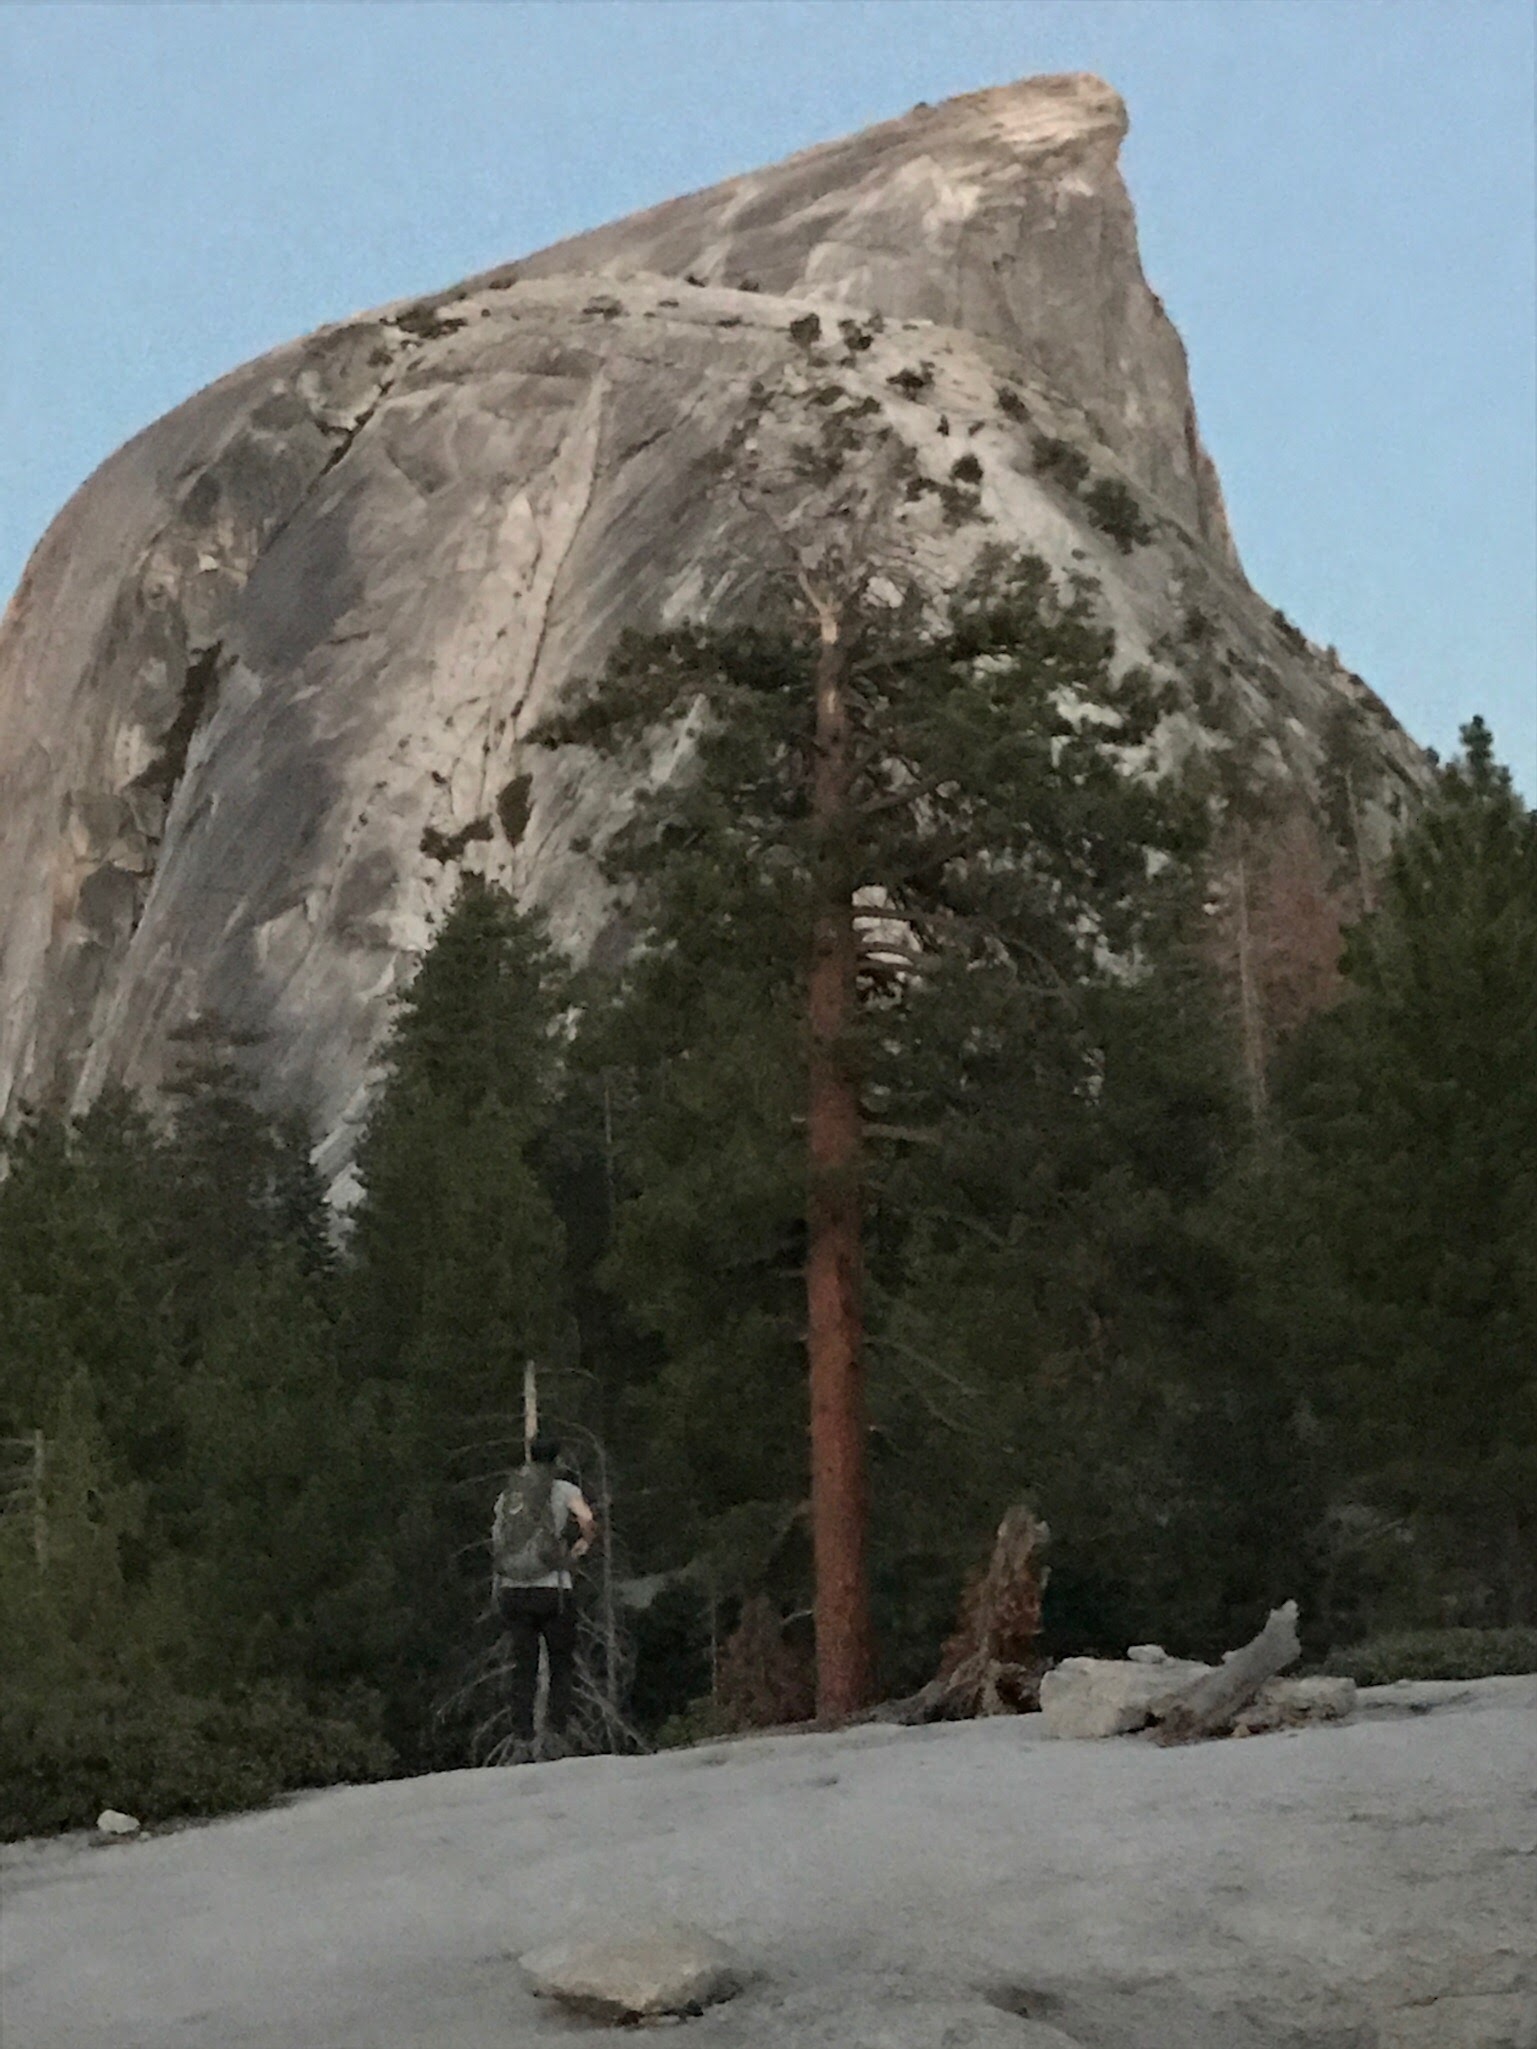
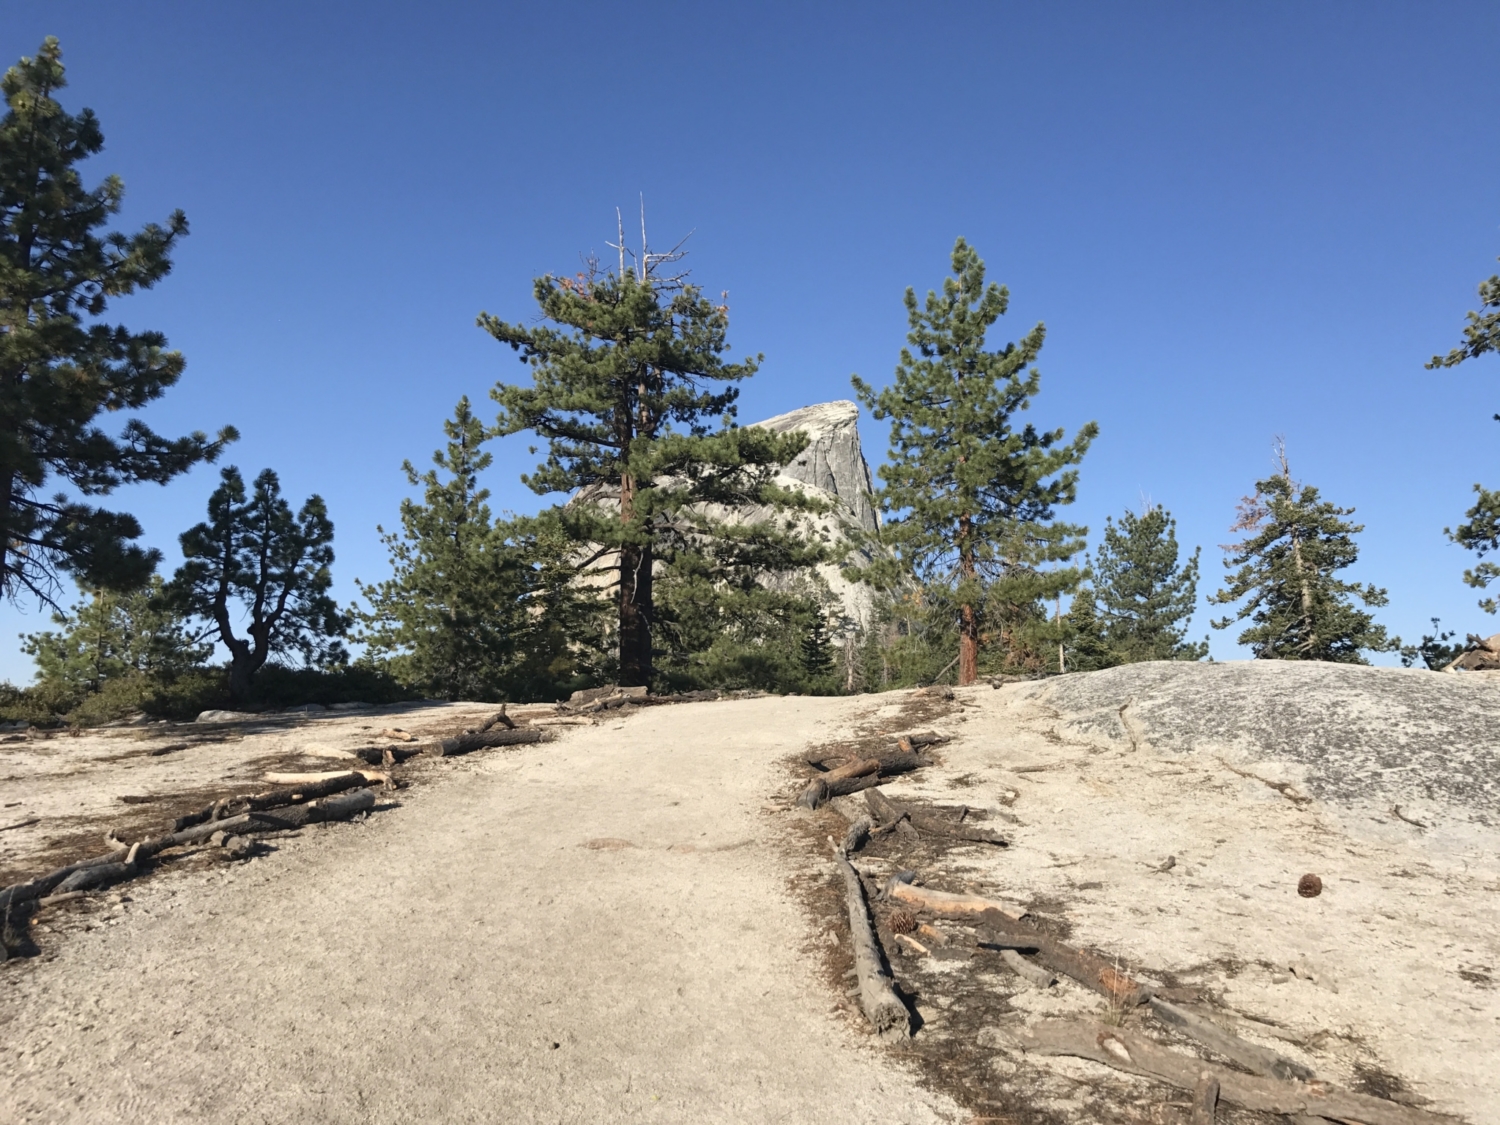
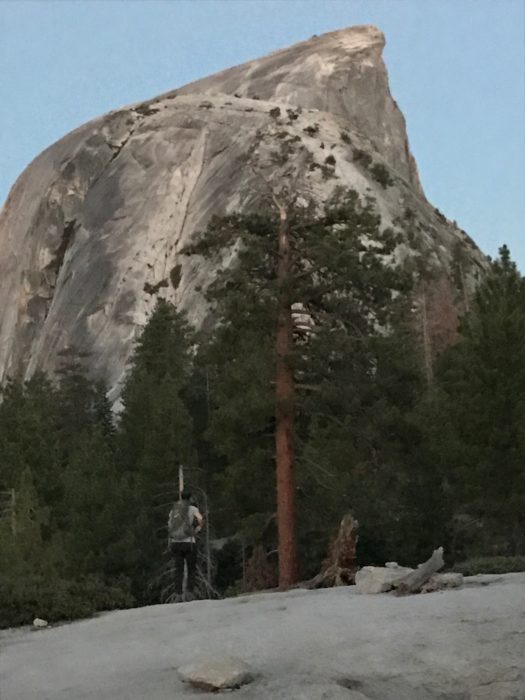
Half Dome began to loom in the distance and the woods began to get more sparse. We were starting to leave the forest behind and reaching the granite slopes of the subdome.

Half Dome behind the trees
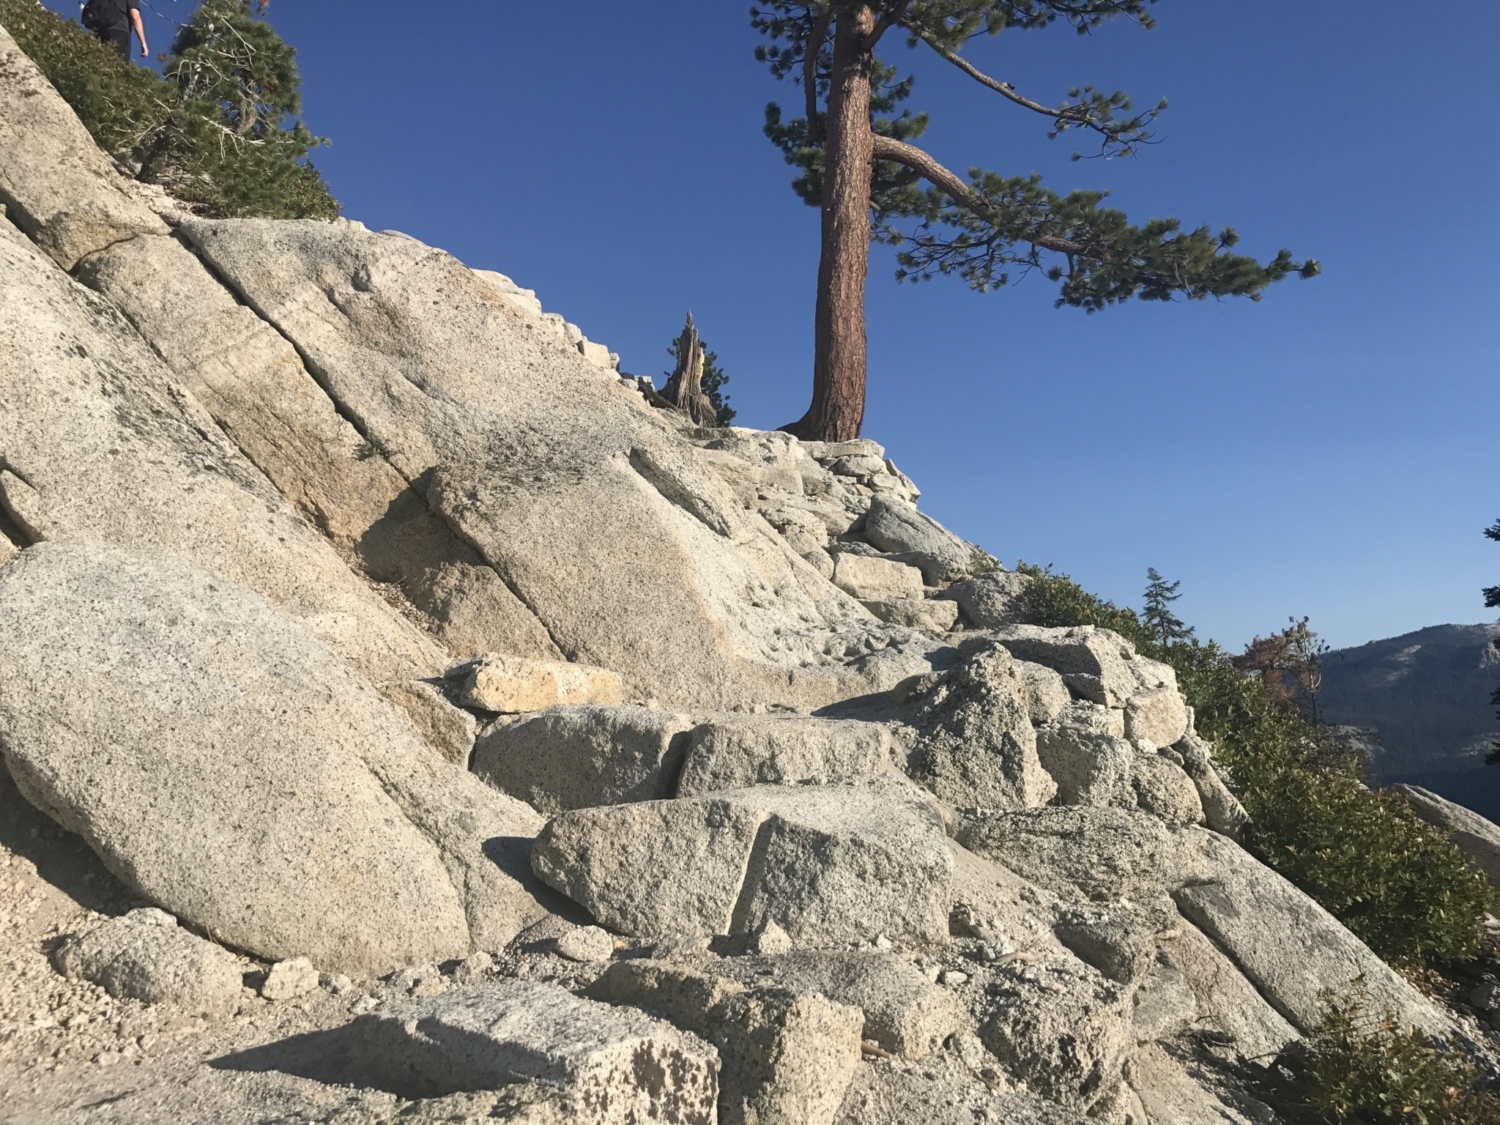
The subdome is the large granite dome that must be climbed prior to reaching the cables to ascend the main dome of Half Dome. The subdome itself is difficult and should not be attempted if there is any sign of bad weather.
Views of the subdome
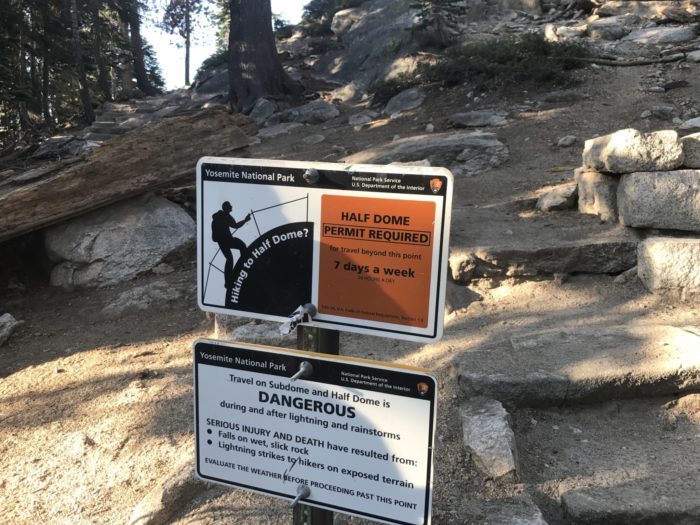
Permit required! Assess the weather!
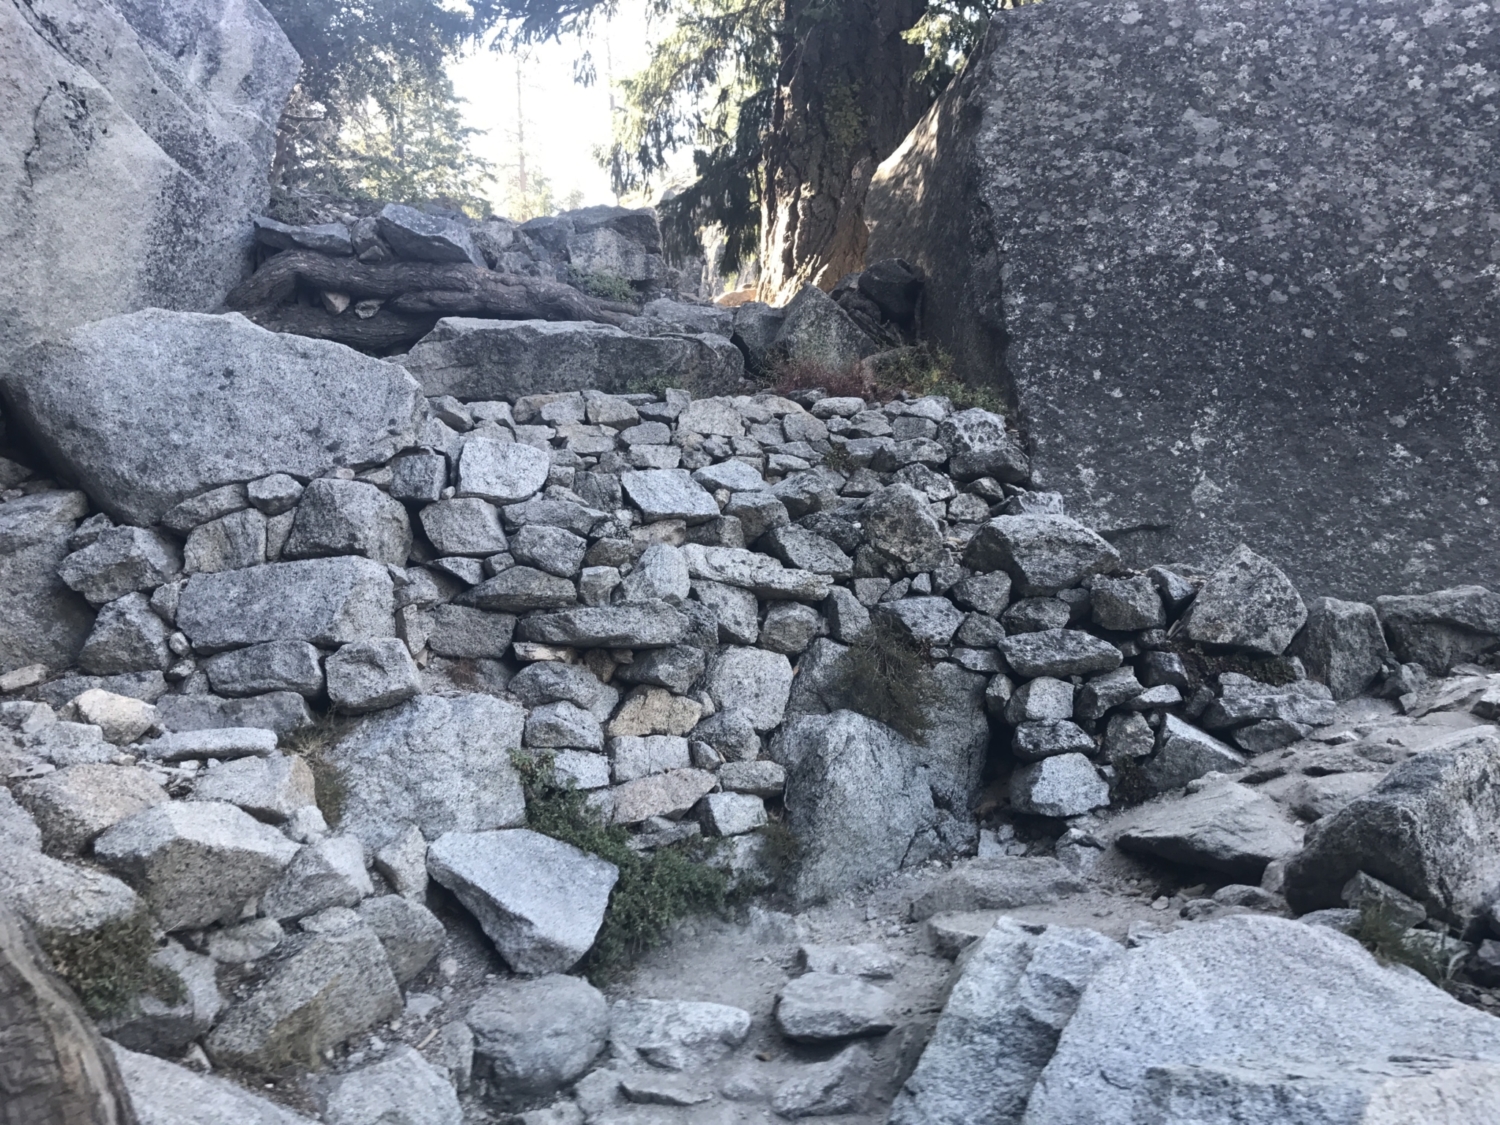
The steps gradually weave their way up the side of the subdome and make the steps near the waterfalls seem easy.
Climb up the subdome
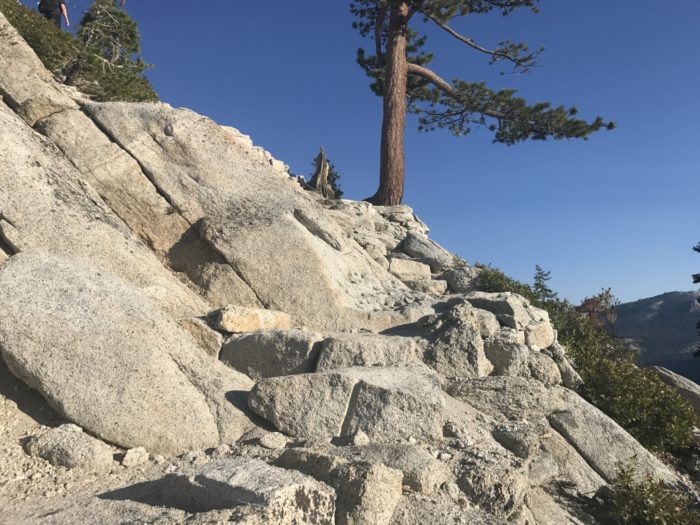
Soon the steps give way to a granite slope which should be ascended with caution. There is no established trail here, as you are walking on solid granite. Don’t deviate too far to the right or left and you should reach your destination safely. This is the final ascent of the subdome and it becomes painfully clear why this should not be attempted during any inclement weather.

Near the top of the subdome
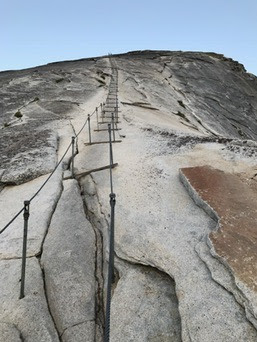
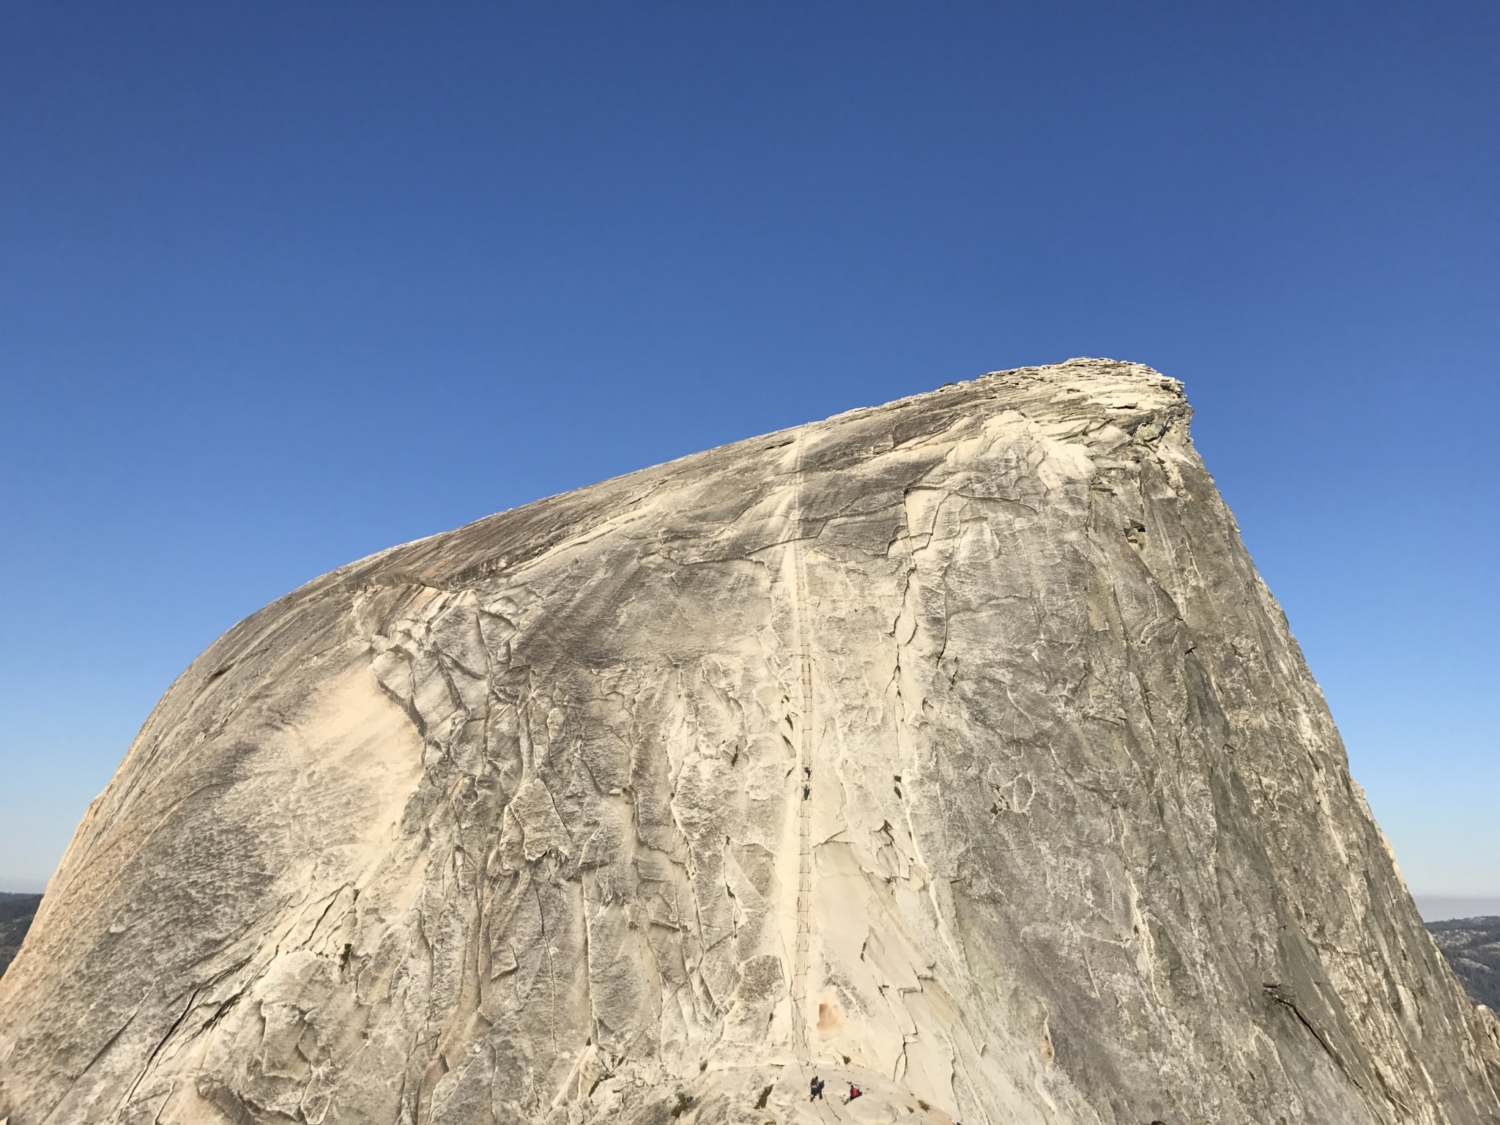
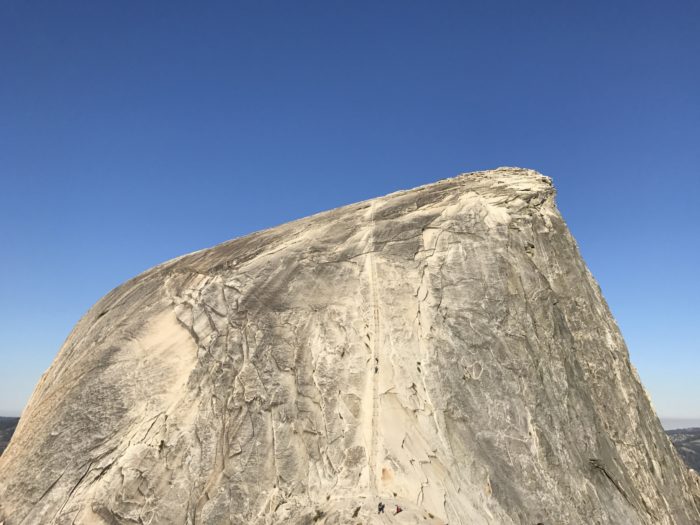
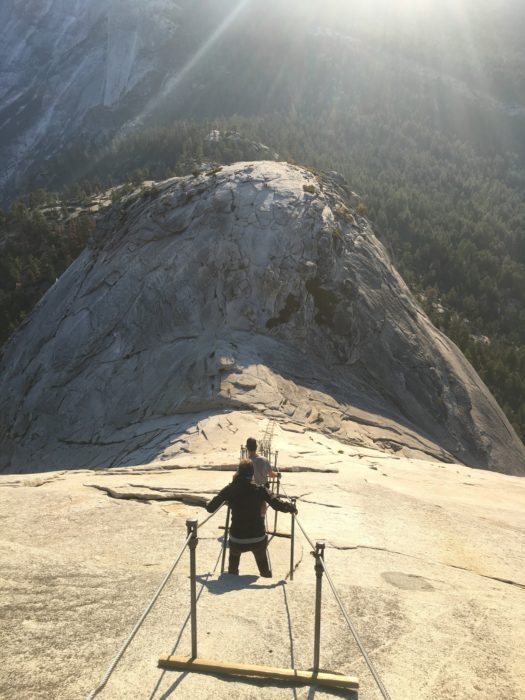
At the top of the subdome we finally saw the cables which steadily climb up the last 400 feet of elevation to the top of Half Dome. During our hike to this point, we kept discussing how it couldn’t be that steep if so many people do it every day, right? We were definitely taken aback as we viewed what was in store. The sun was now starting to peek over the mountains as we set our packs down at the top of the subdome and prepared to climb. We got our gloves out, decided who was going first, took a deep breath and began the ascent.
This section should be taken slowly and every step deserves caution. Gloves are a necessity. Please do not leave your gloves at the base of the cables (remember to “Leave no trace” always). There are wooden planks approximately every 6 feet that make good rest stops on the way up. This ascent definitely required more upper body strength and patience than any other hike I’d done before. Since we got to the dome so early, there were no people coming down the cables as we were ascending. We now realized why limiting the number of people on these cables is so important– one wrong step, or too many people, could easily lead to an unfortunate event.
The first view of the cables.
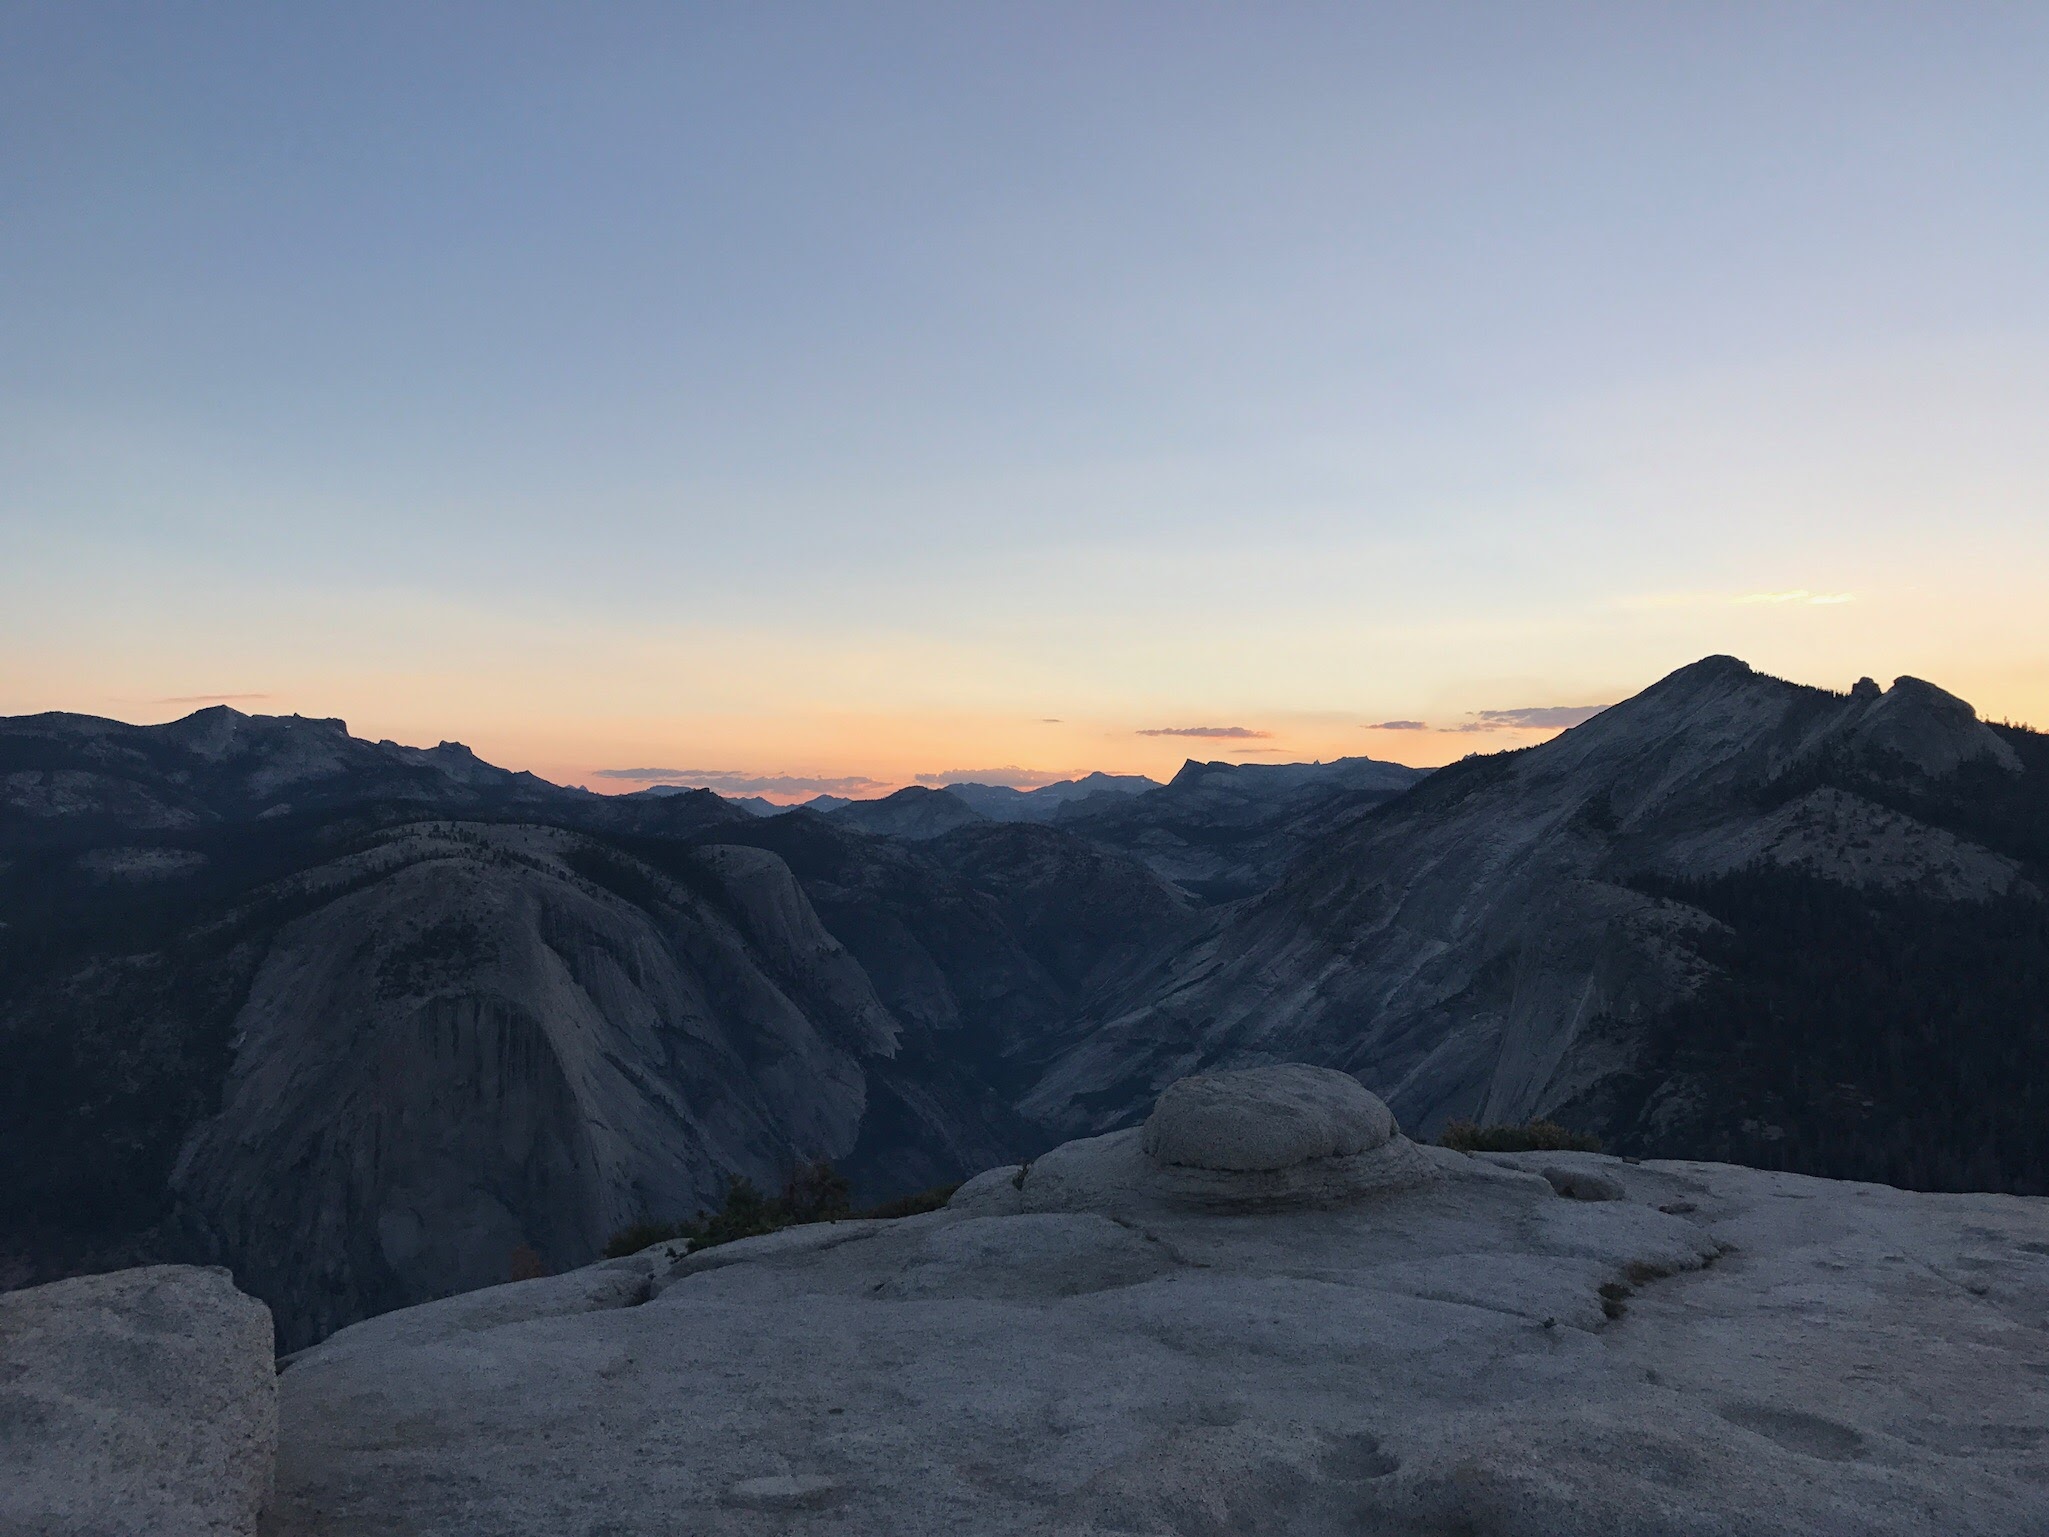
As we reached the top, the sun shone over the mountains and we breathed a sigh of relief. Time to appreciate the views while not thinking about the climb back down.
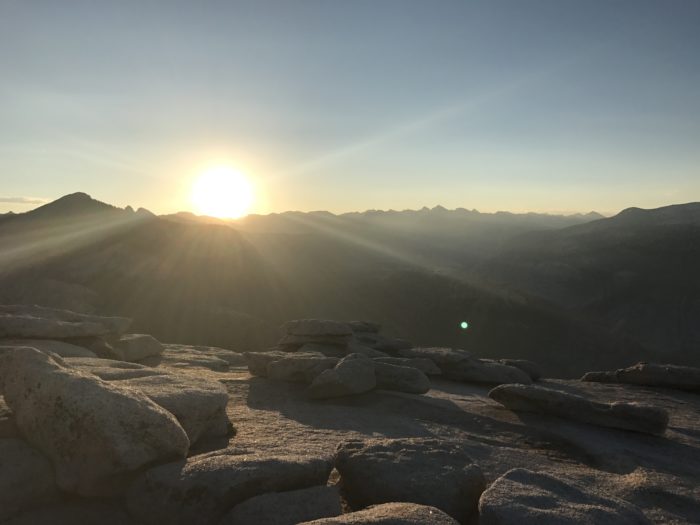
Sunrise over the Eastern Sierras
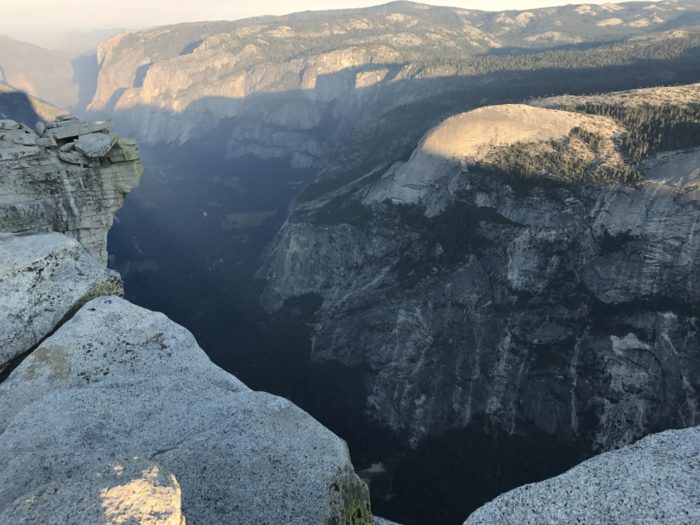
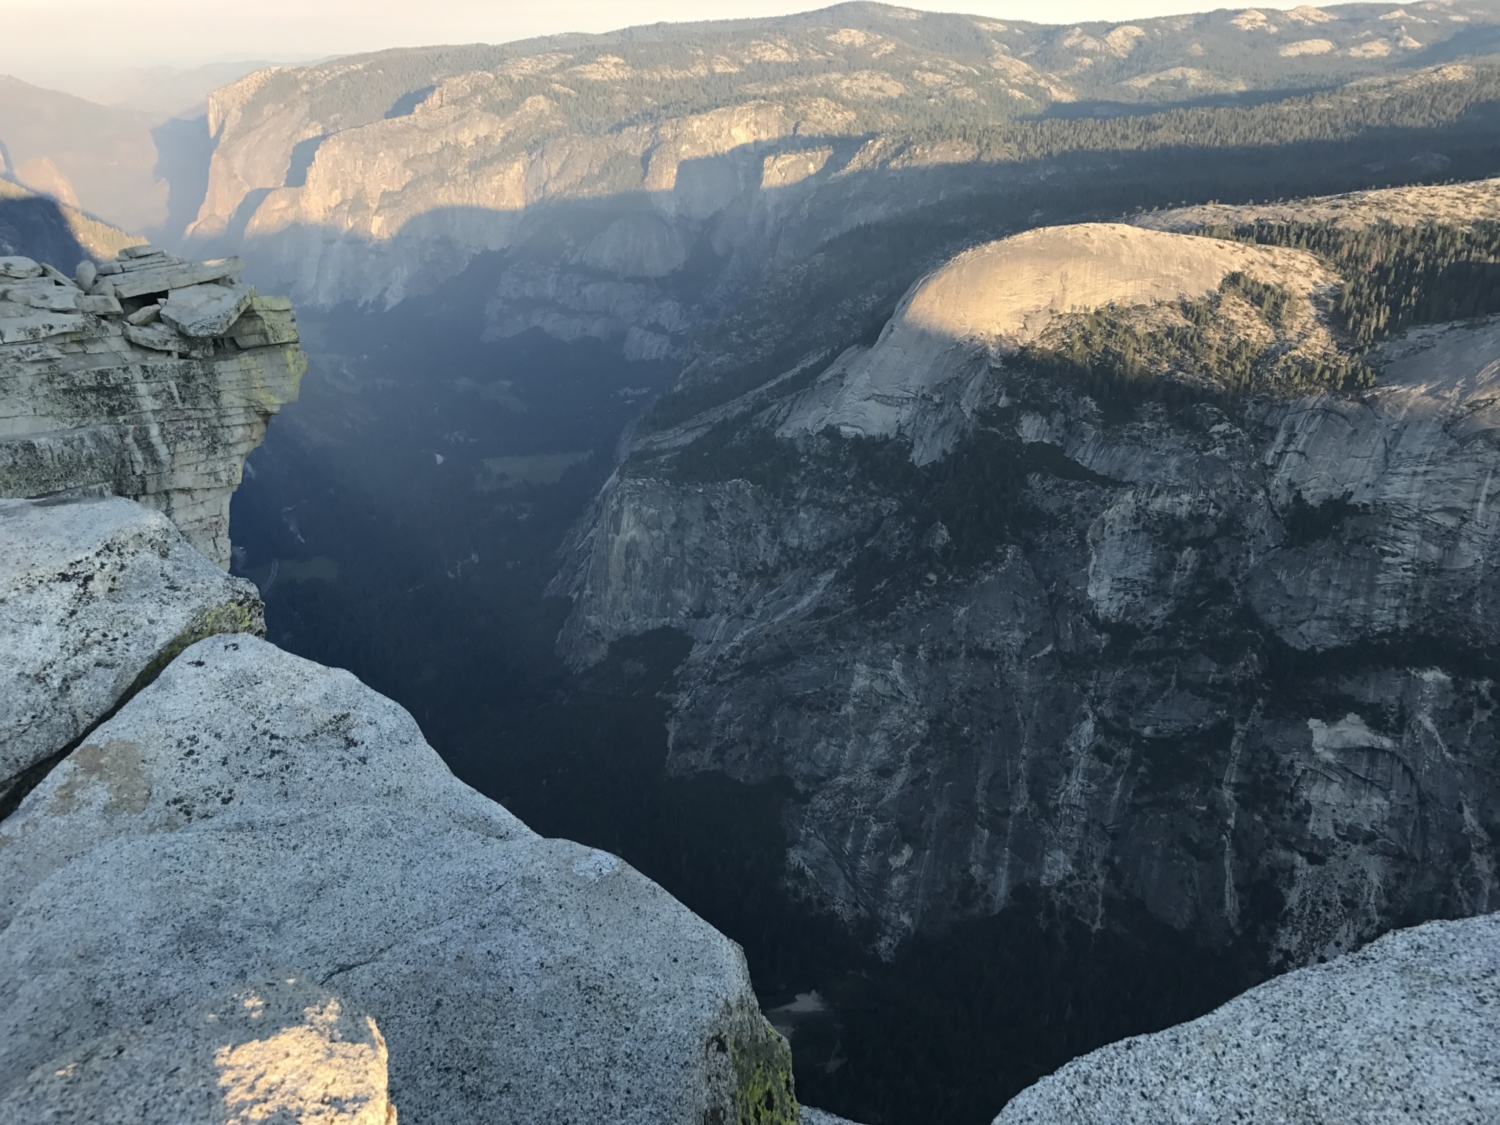
Yosemite Valley

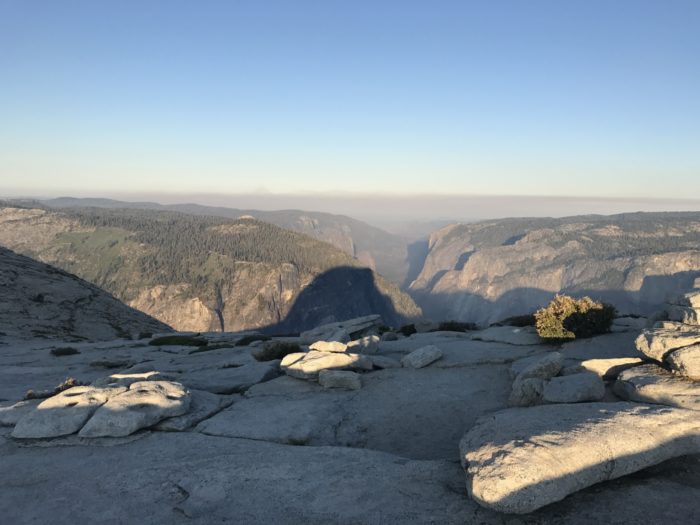
View towards Cloud’s Rest
Half Dome’s shadow

After taking it all in and regaining our mental stamina we knew it was time to head back. Slowly, but surely, we negotiated the cables to the bottom and assured the next group of worried adventurers that it could be done.
The descent
Follow the trail back the way you came and try not to get trampled by the steady stream of tourists on the way back down the Mist Trail!
Tags: cables, california, Climbing, half dome, Hiking, John Muir Trail, mist trail, National Park Service, Yosemite National Park, Yosemite Valley