Hahamongna Watershed Park, named after a tribe of the Tongva Nation who lived in the area, is a unique river basin where the Arroyo Seco first leaves behind the San Gabriel Mountains on its journey to connect with the Los Angeles River. In its native tongue, Hahamongna means “Flowing Waters, Fruitful Valley” – an apt descriptor of one of the last remaining alluvial canyons in Southern California. Taking hikers both into the watershed and up to gorgeous viewpoints, this 3.3-mile loop offers a comprehensive experience of one of Pasadena’s largest and most impressive outdoor spaces.
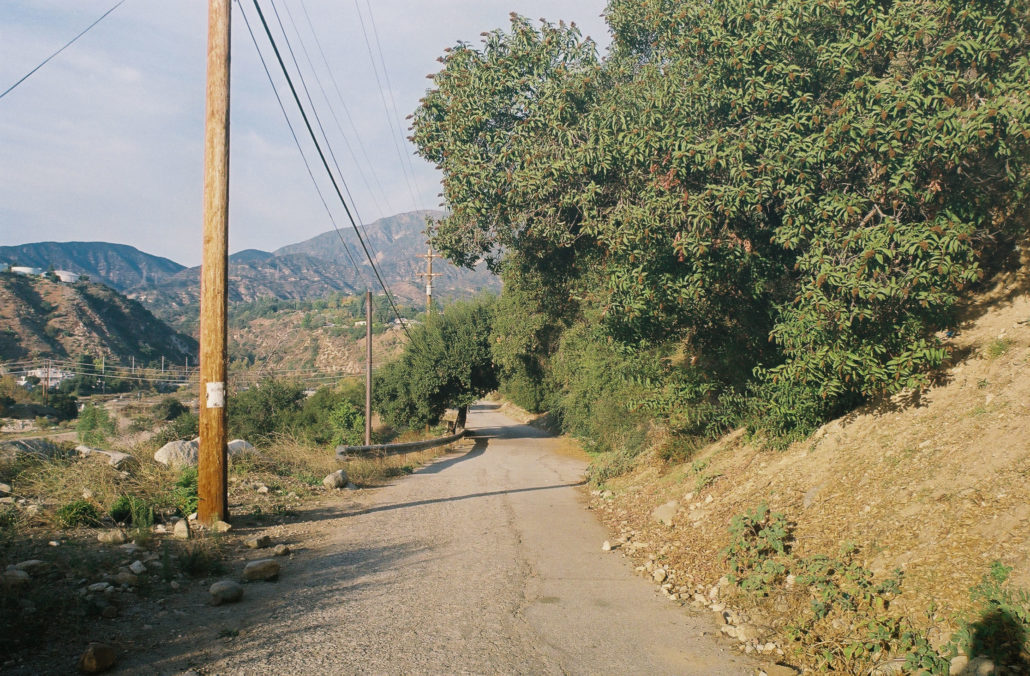
While you can start this trail from several locations along the loop, I decided to park by the Gabrielino Trailhead. Parking here on a Sunday afternoon was easy and I had no trouble finding a spot in the 40 to 50 car lot. Still, it will fill up during more popular times of the week (e.g. Saturday morning) and you may have to hunt for street parking nearby. Walk north toward the gate to start your hike.
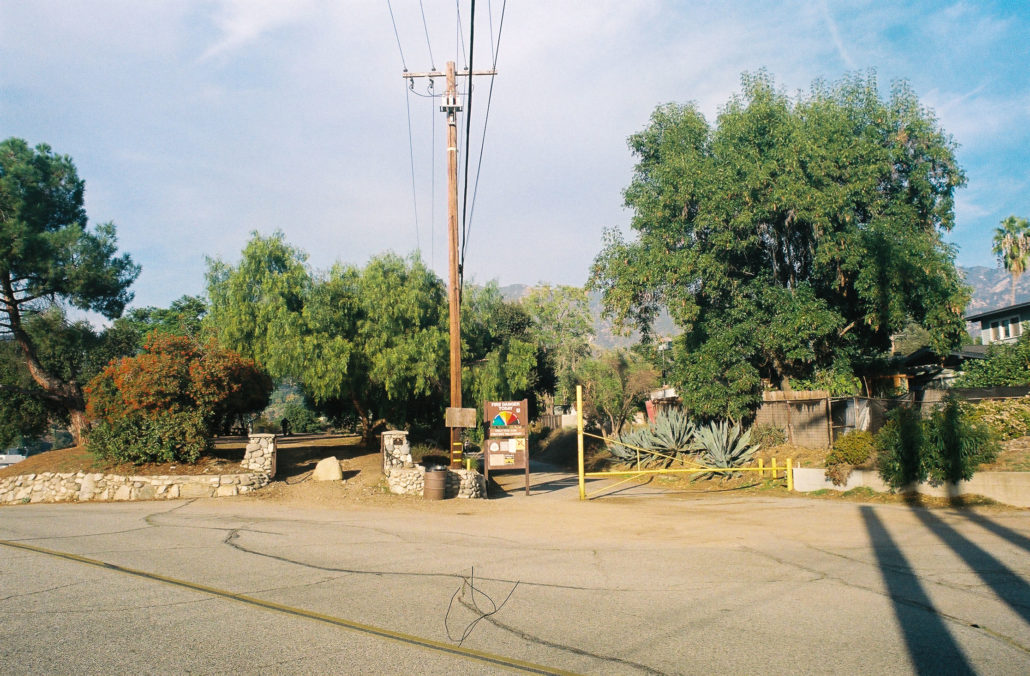
Hahamongna Watershed Loop/Gabreilino Trailhead. Shot on Fujicolor Superia X-TRA 400 film.
You can either head right on the paved Gabrielino Trail or left along an alternate dirt path for a more scenic route. I chose the latter and quickly ran into a small picnic area with tables and benches, trash cans, a water fountain, and a doggy bag dispenser. To your left are views of the watershed, NASA’s Jet Propulsion Laboratory (JPL), and the front range of the San Gabriel Mountains. After a tenth of a mile, you’ll rejoin with the main trail.
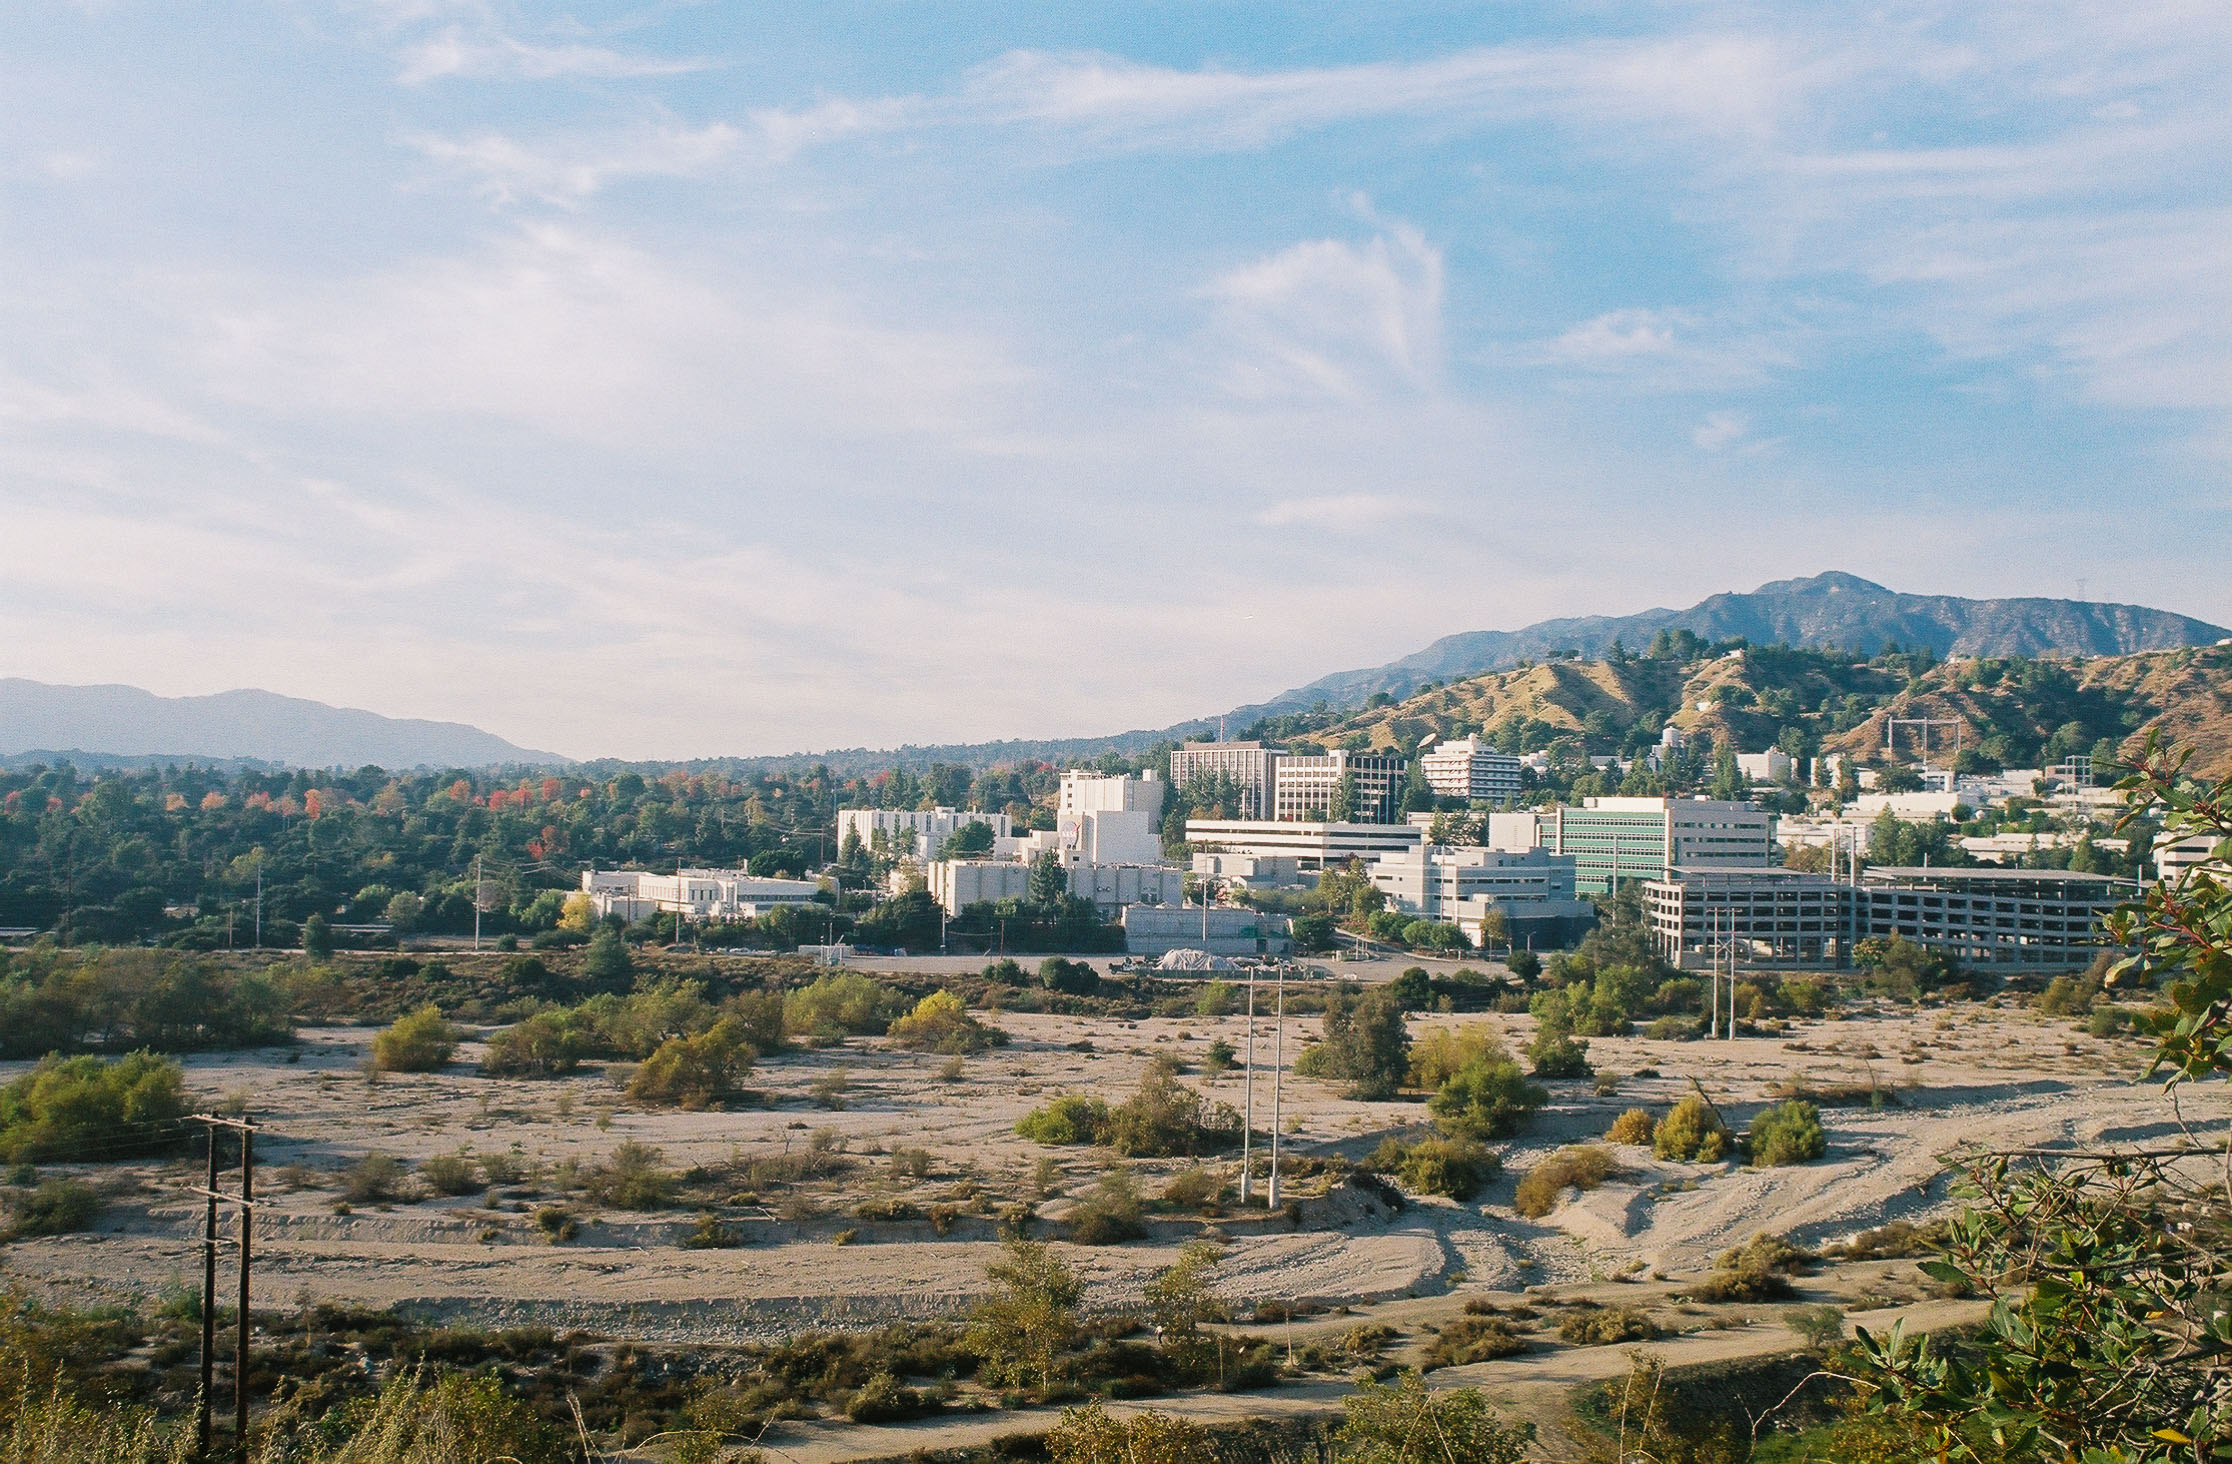
NASA’s JPL situated among the hills. Shot on Fujicolor Superia X-TRA 400 film.
The first half a mile of this loop follows the Gabrielino Trail. Established in 1970 as the nation’s first National Recreation Trail, this 28.8-mile route takes hikers from the Hahamongna Watershed in Pasadena to Chantry Flats in Sierra Madre. Unfortunately, hiking this trail end-to-end is currently impossible, as several segments are still closed due to the 2020 Bobcat fire. This section though is very much open and is easy to hike, as you’re on a paved flat road most of the time. It’s also popular with mountain bikers, so you’ll likely encounter several people speeding past you. Luckily, the trail is wide enough to safely accommodate everyone.
The paved road makes for easy hiking. Don’t worry, cars aren’t allowed. Shot on Fujicolor Superia X-TRA 400 film.
At 0.3 miles, you’ll see several spreading basins, designed to control the flow of the Arroyo Seco and prevent excess flooding. Then at the half-mile mark, you’ll head left and down the ramp, leaving the Gabrielino Trail behind. Continue until just before the bridge and look for a dirt trail to the right. Follow it down to meet up with the Arroyo Seco. Interestingly, you’ll also find markers on a bridge pier indicating several historical water levels. If you can, traverse across the water and rejoin the trail. However, if the river is impassible, head back up and cross the bridge. On the other side, head left and back onto the trail.
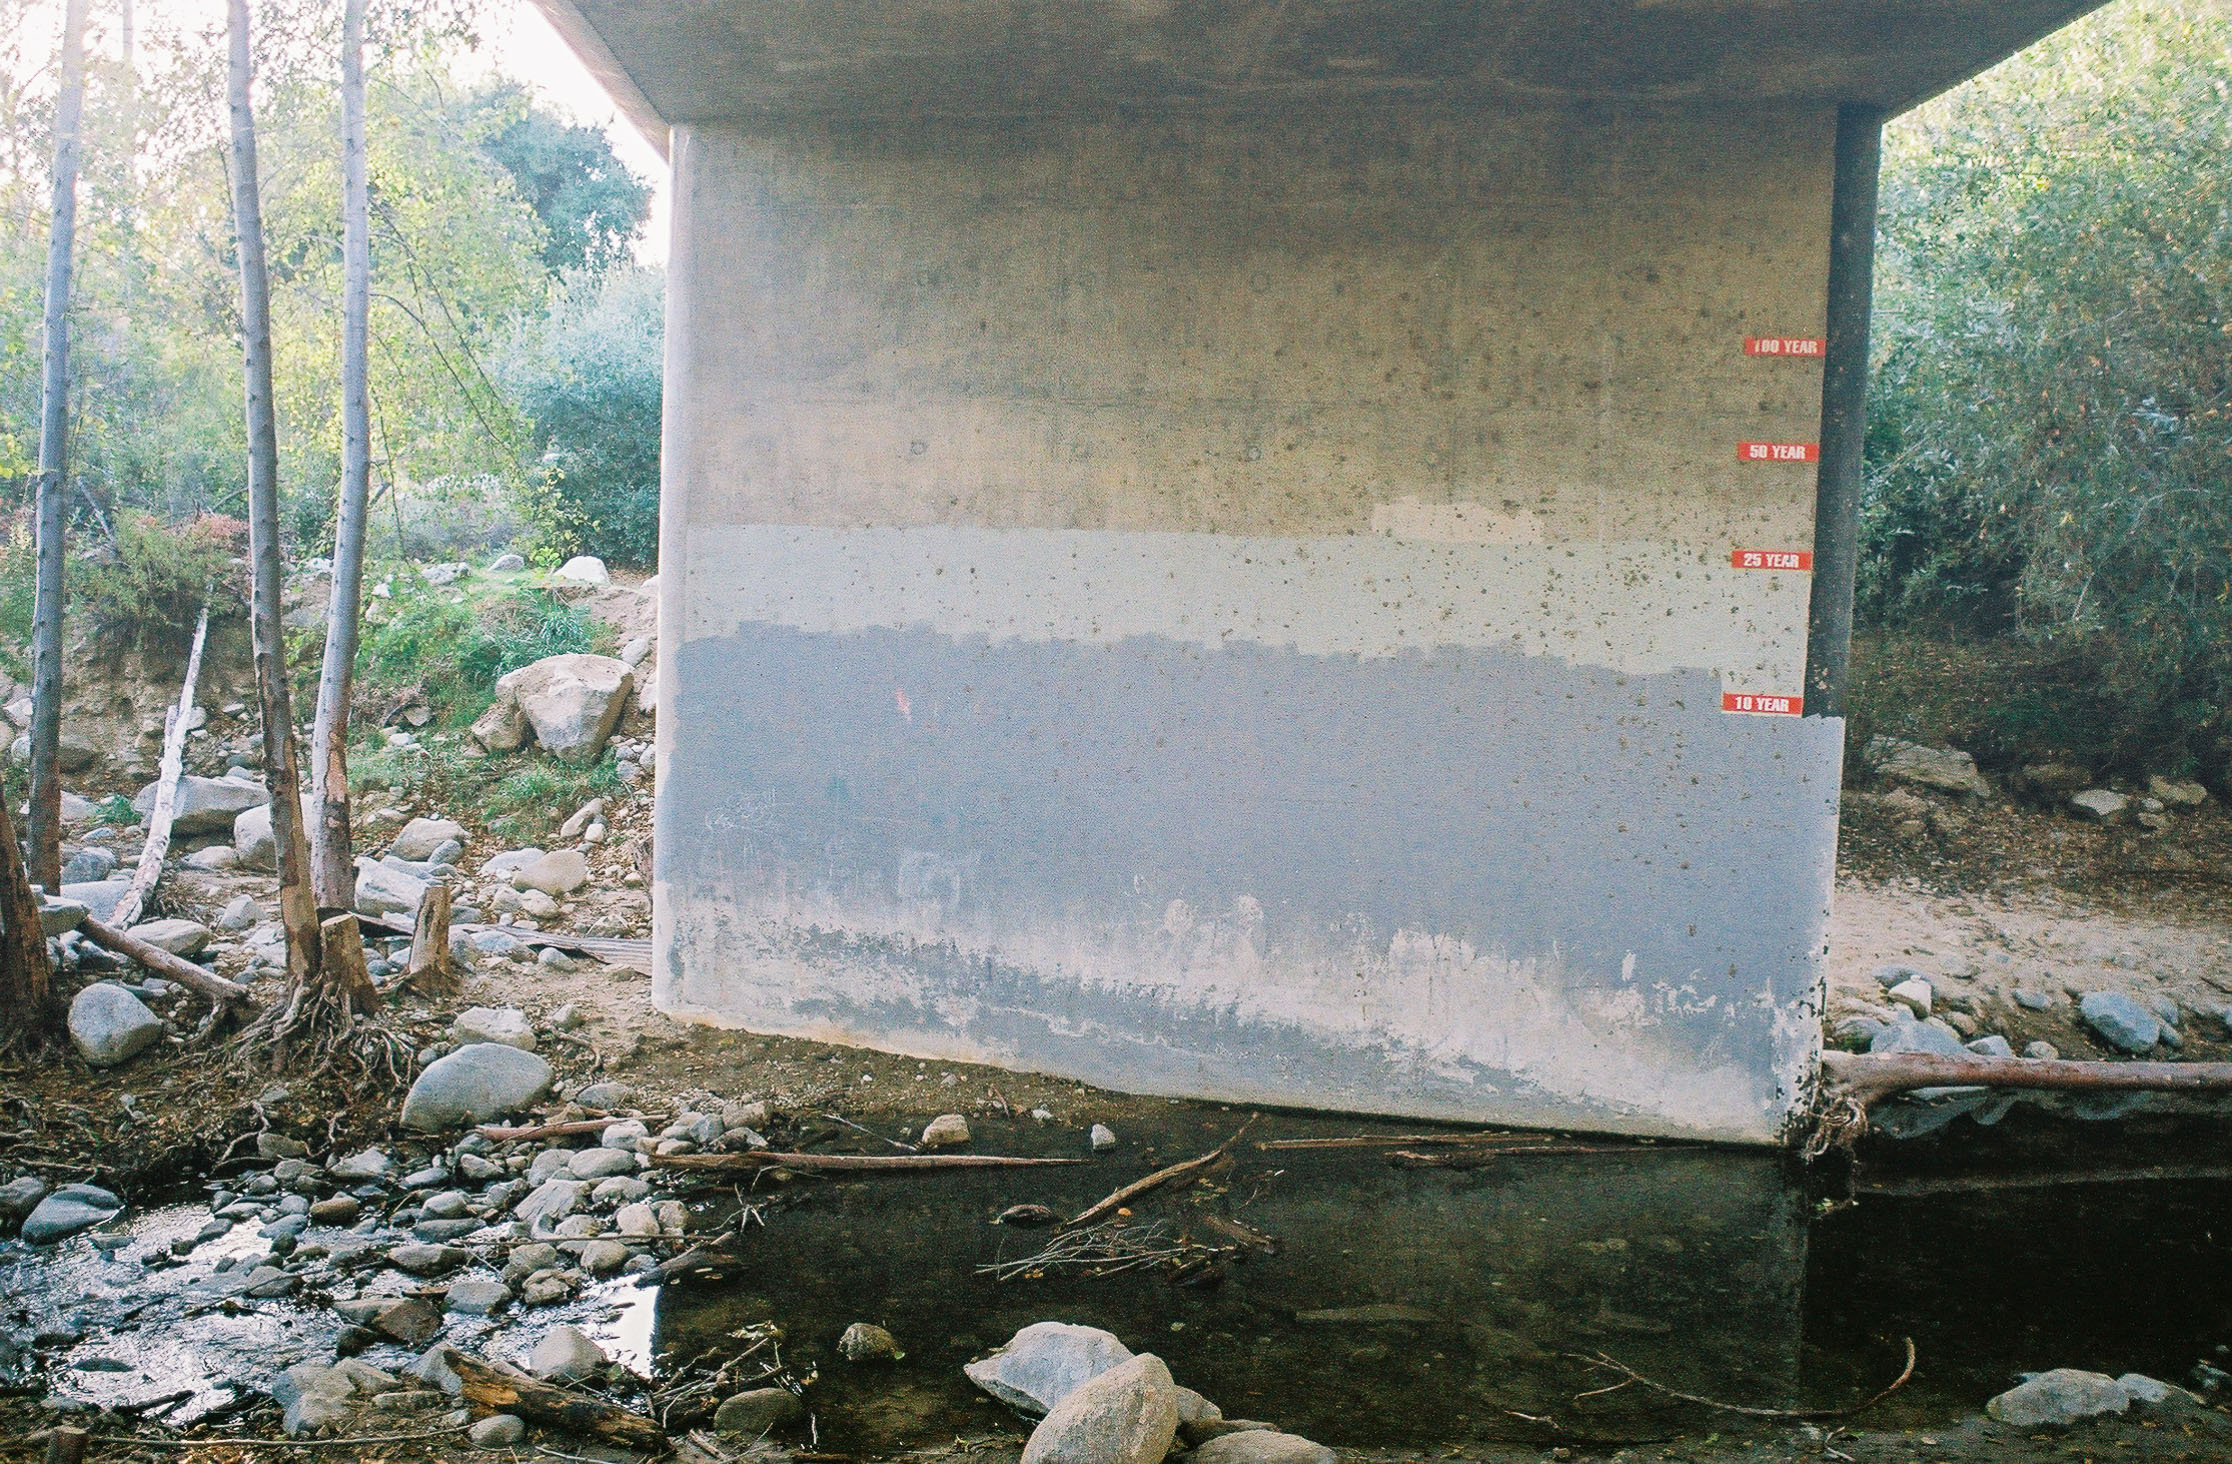
Crossing the Arroyo Seco. After winter storms, the river may be impassible. Shot on Fujicolor Superia X-TRA 400 film.
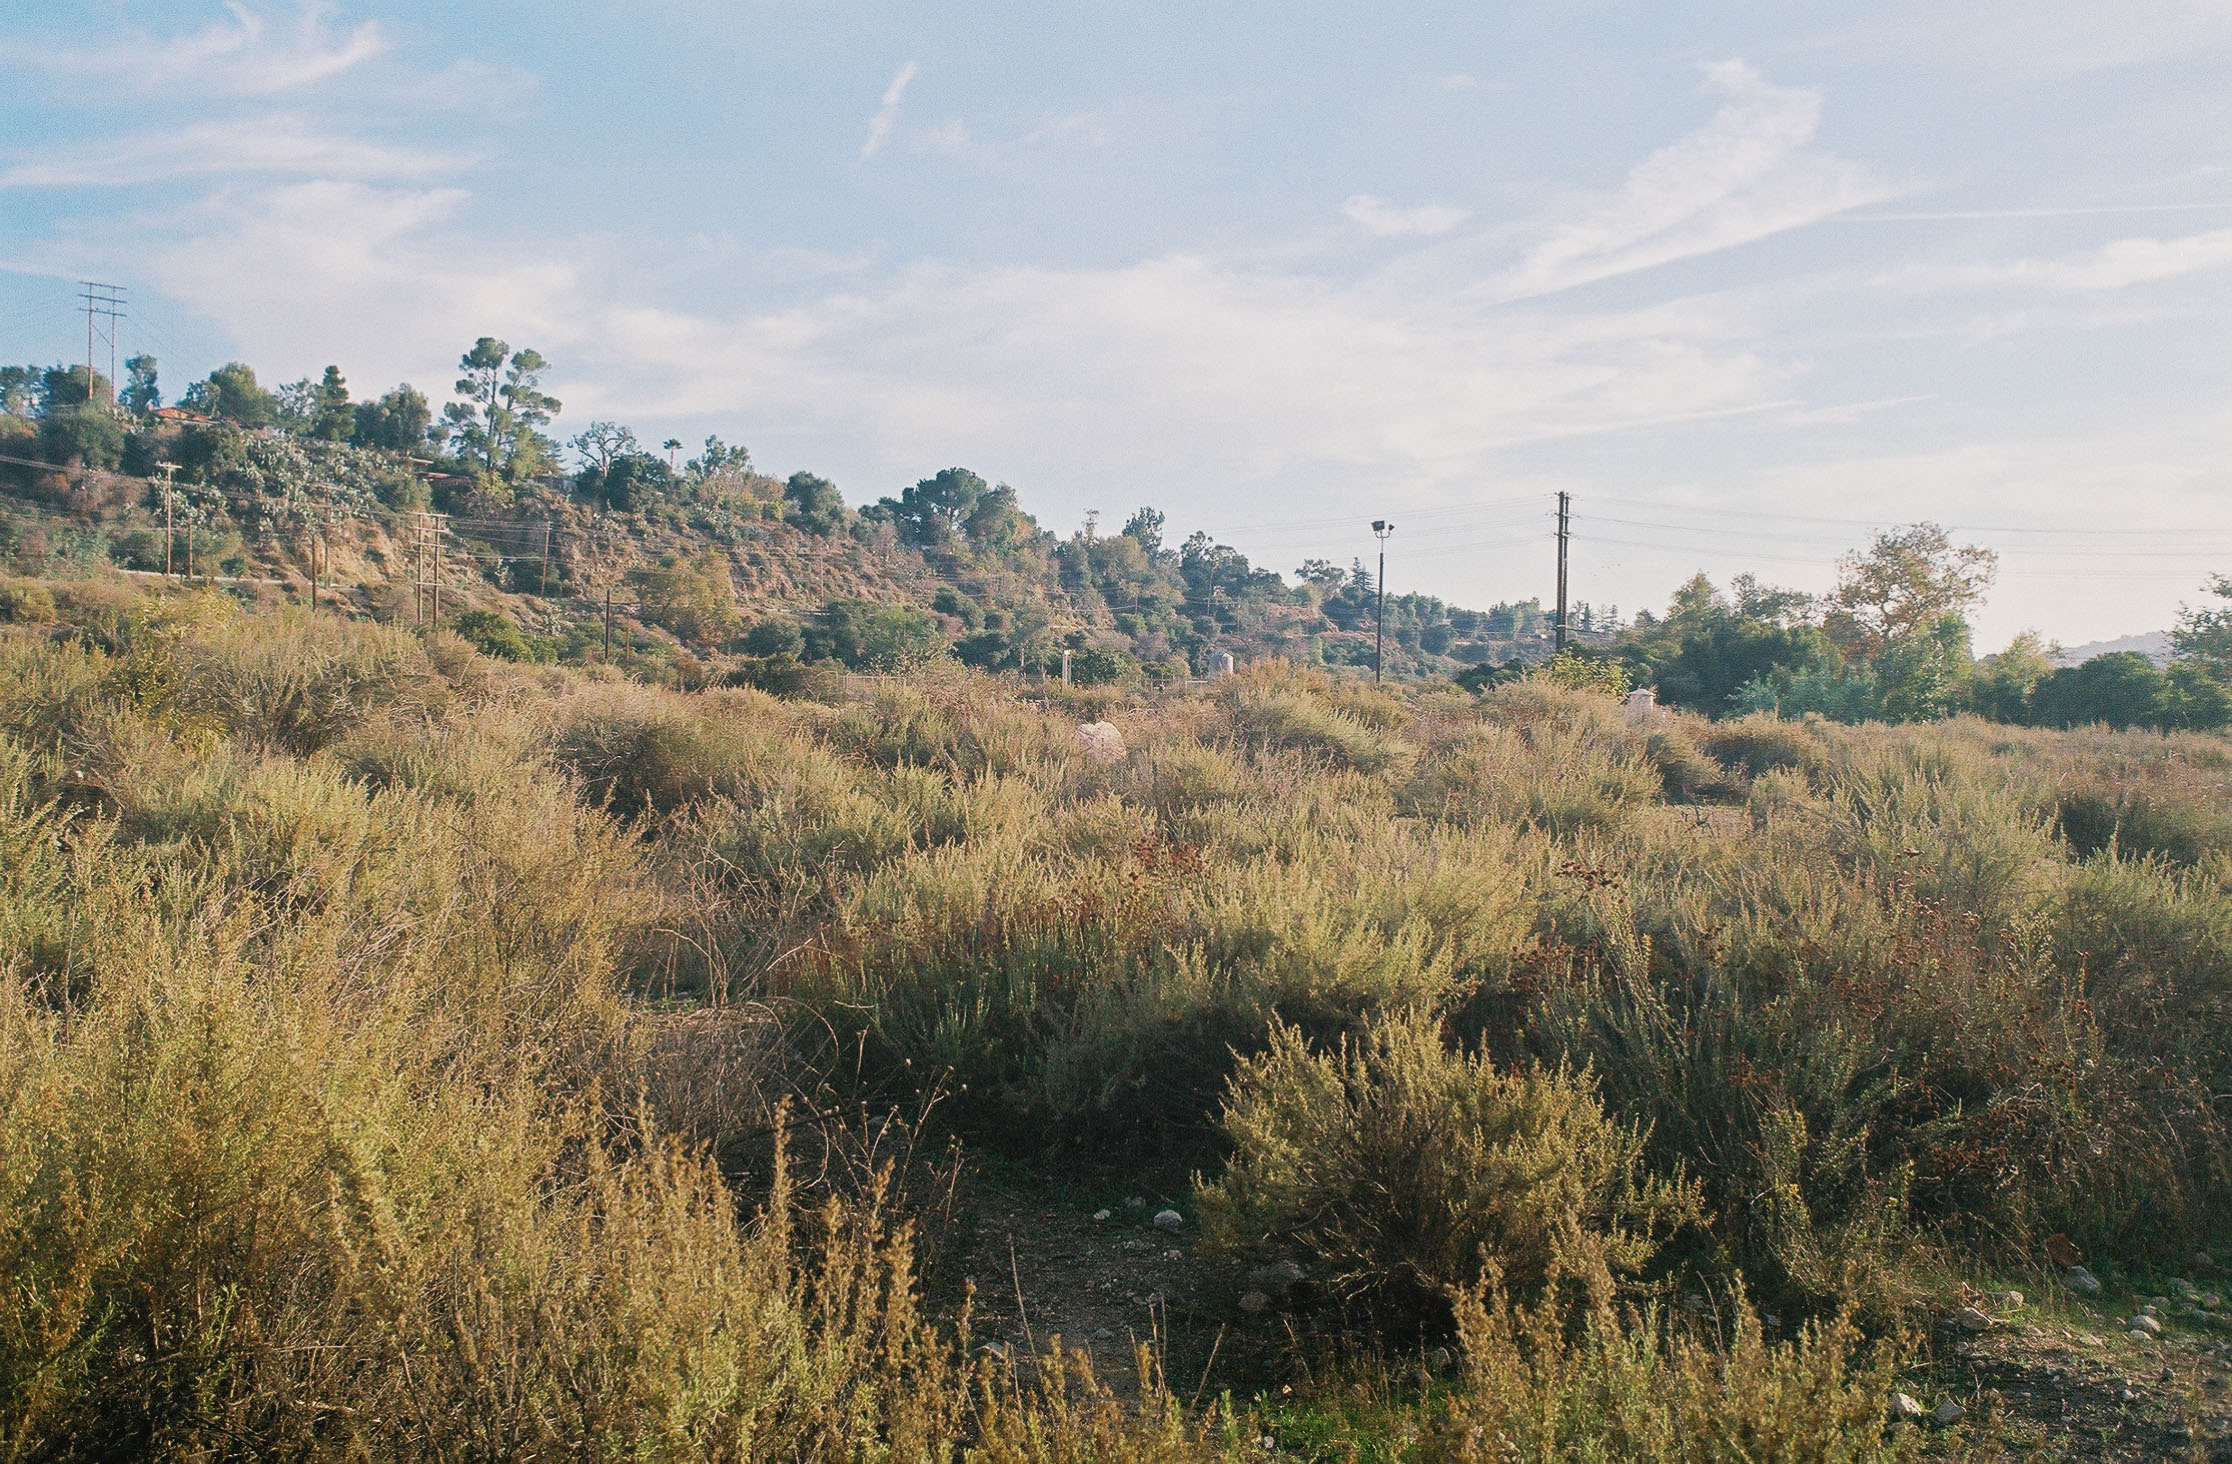
Three-fourths of a mile into your trek, you are now traveling within the watershed. A haven for native Southern California plants and animals, this open space recently underwent the Devil’s Gate Reservoir Restoration Project. Included in the plan was the revitalization of natural wetlands, riparian woodland, and riparian scrub ecosystems to help support a vibrant native plant population and a wide array of endangered wildlife.

A field of California sagebrush. Shot on Fujicolor Superia X-TRA 400 film.
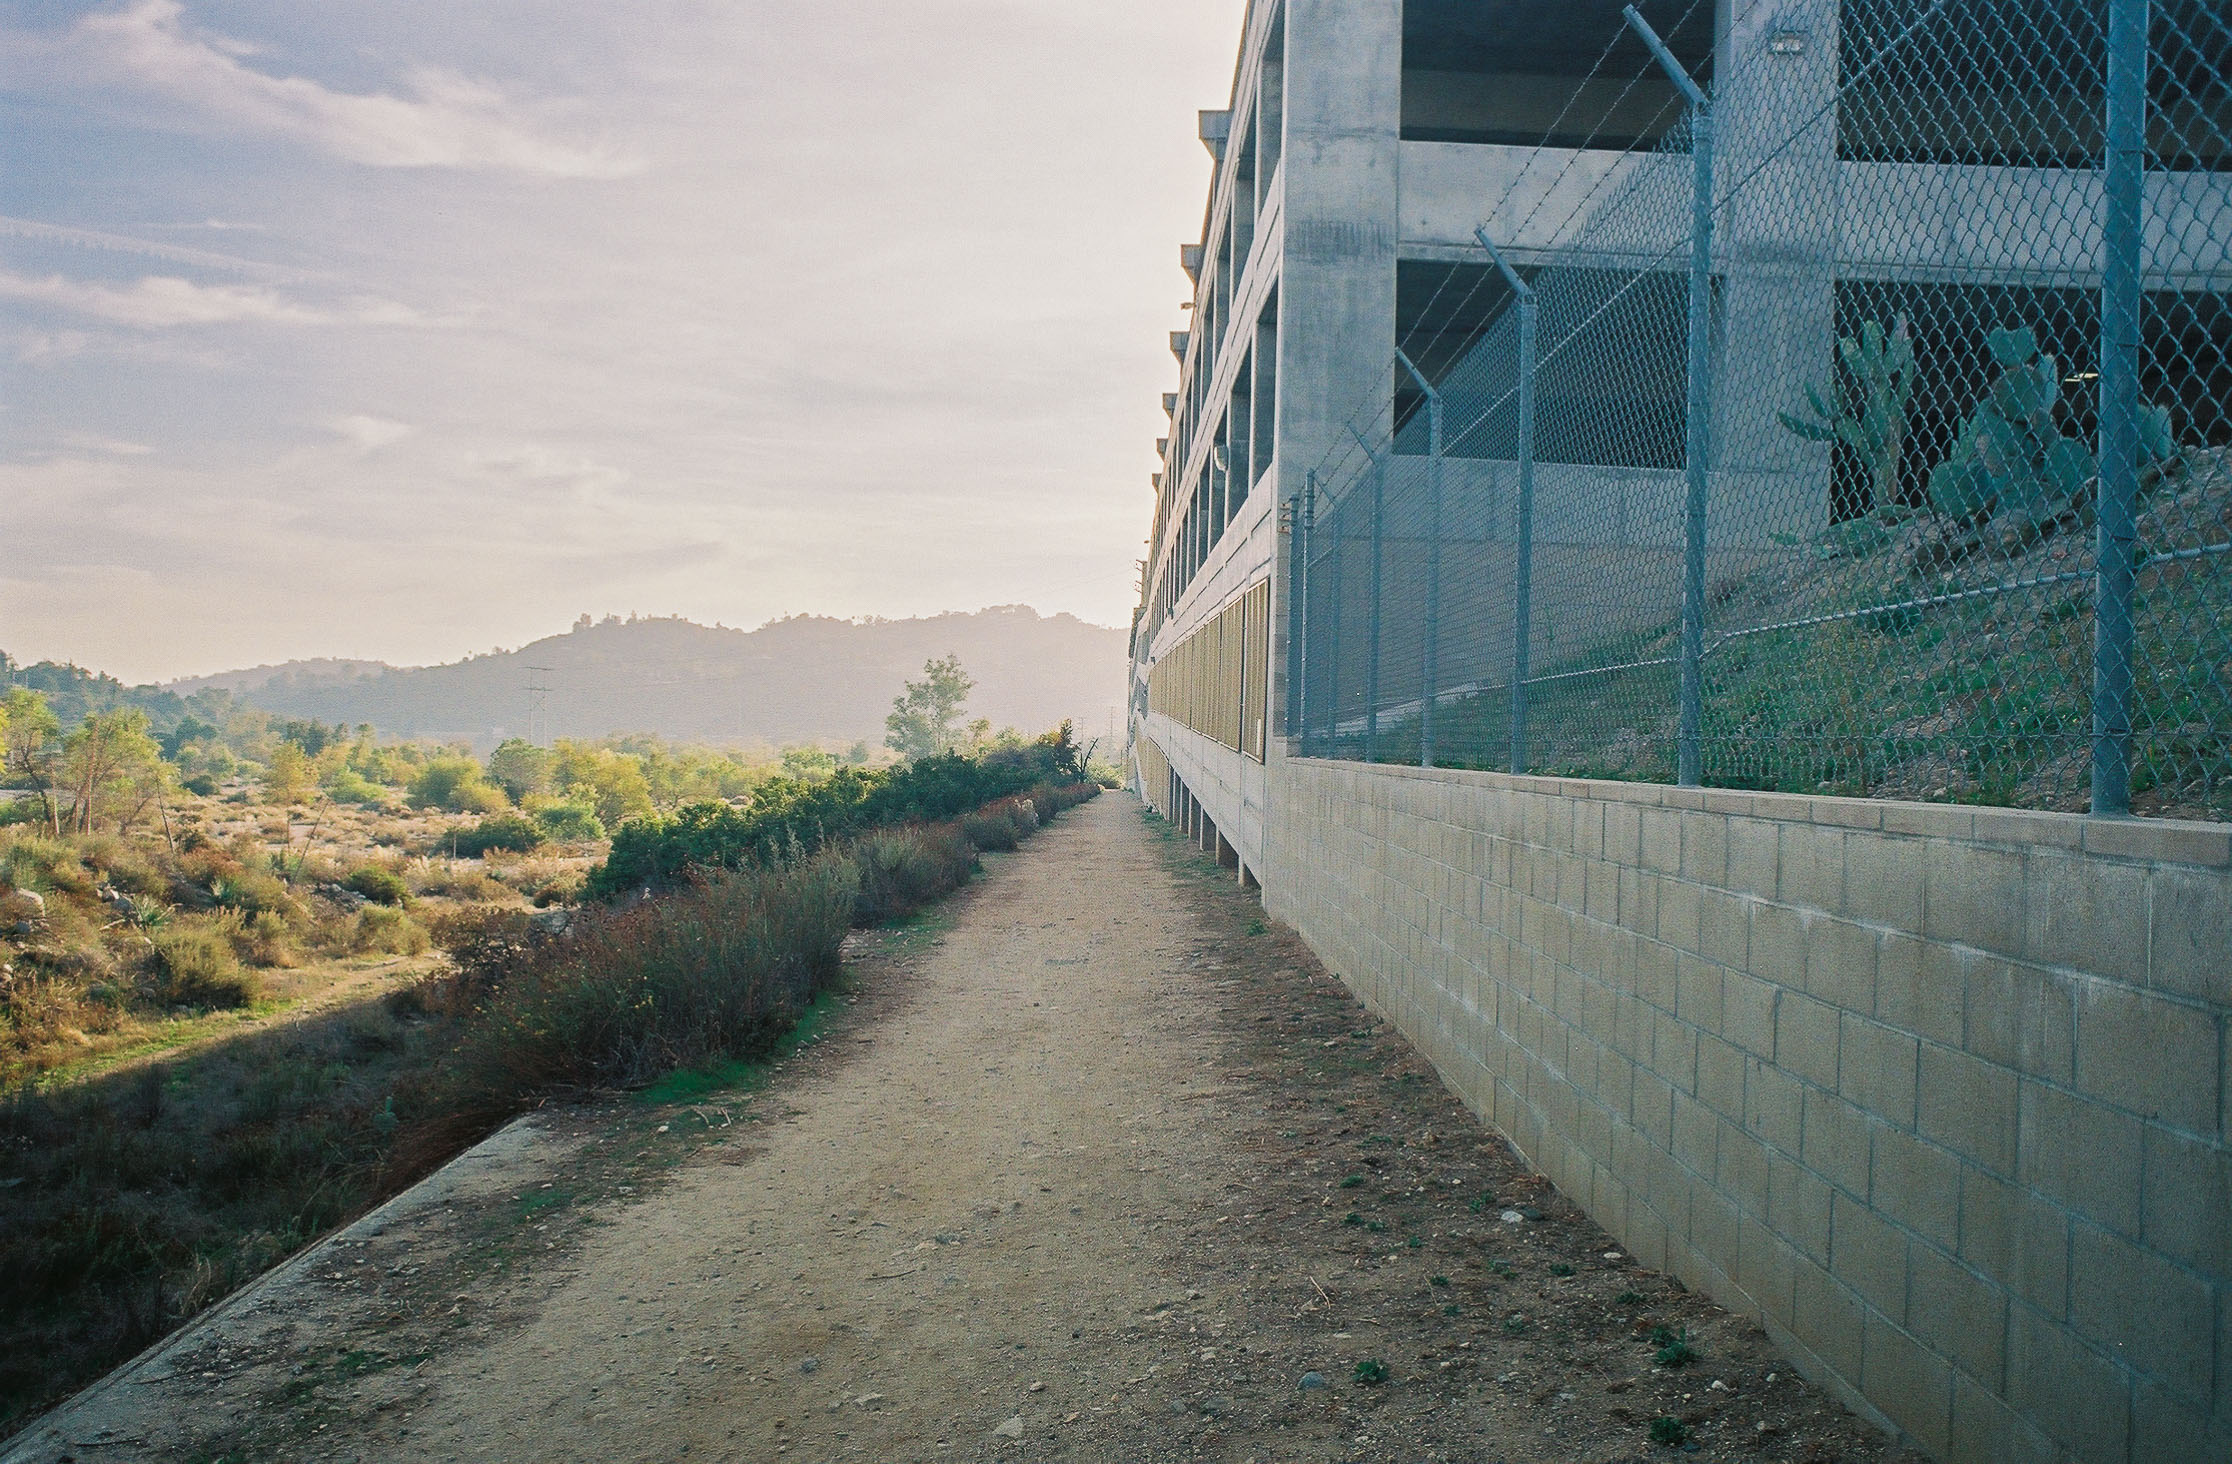
Following a mostly well-groomed and flat trail, you’ll have JPL on your right, the watershed filled with a massive volume of displaced sand and gravel to your left, and the San Rafael Hills straight ahead. Despite large concrete buildings and fences next to you, this section of trail is redeemed by plenty of lush plant life and calming aromas.
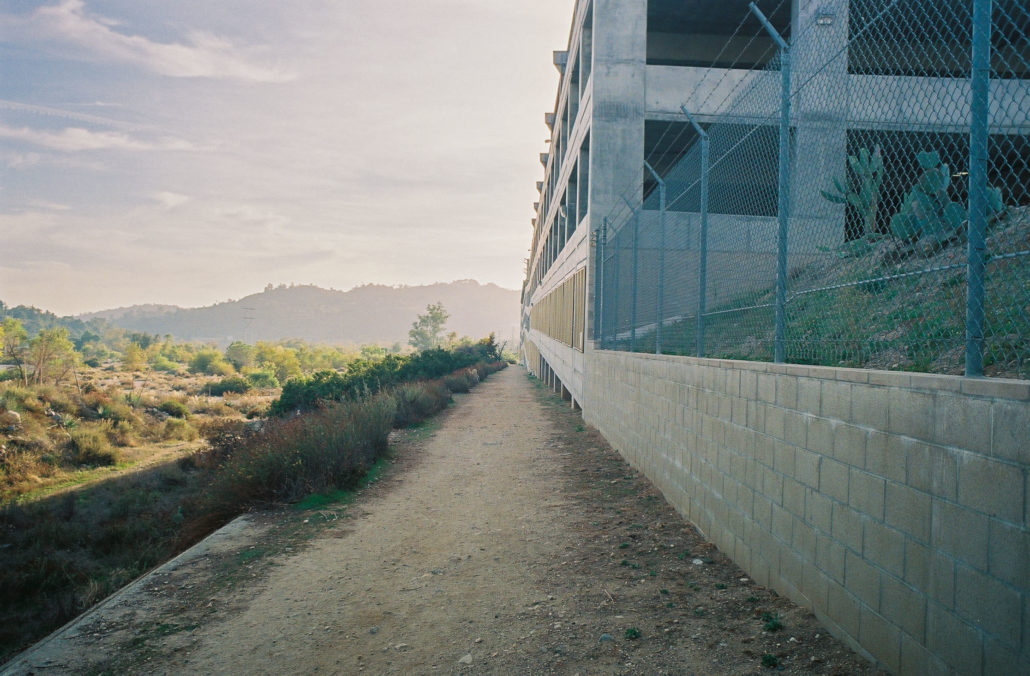
A JPL parking lot to your right and protected green space to your left. Shot on Fujicolor Superia X-TRA 400 film.
At mile 1.3 continue straight, making sure you keep the Rose Bowl Riders Equestrian Center to your right. Not surprisingly, you’ll start to encounter horseback riders along this section of trail. Also nearby are protected sections of flora are informational signs explaining the Devil’s Gate Reservoir Restoration Project in detail.
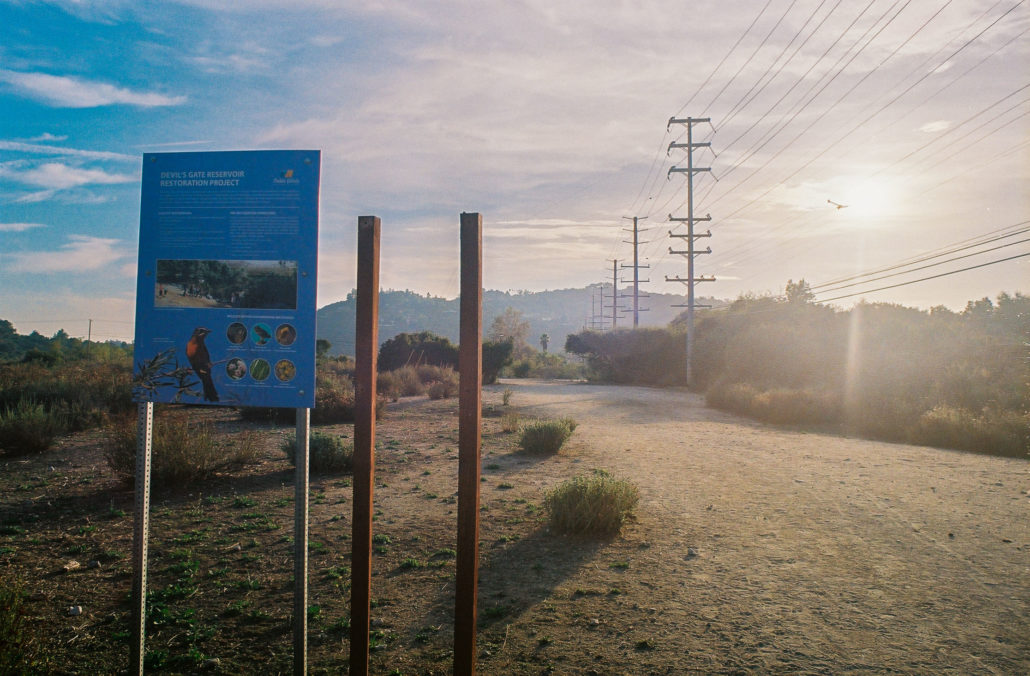
Information signs are situated along the trail. Shot on Fujicolor Superia X-TRA 400 film.
A tenth of a mile further the trail takes you through the Oak Grove Disc Golf Course, the first disc golf course in the country. Again, continue straight to stay on the trail and watch for flying frisbees. At mile 1.6 you’ll pass a park to your right, complete with large sports fields, restrooms, and potable water.
Hiking through the Oak Grove Disc Golf Course. Shot on Fujicolor Superia X-TRA 400 film.
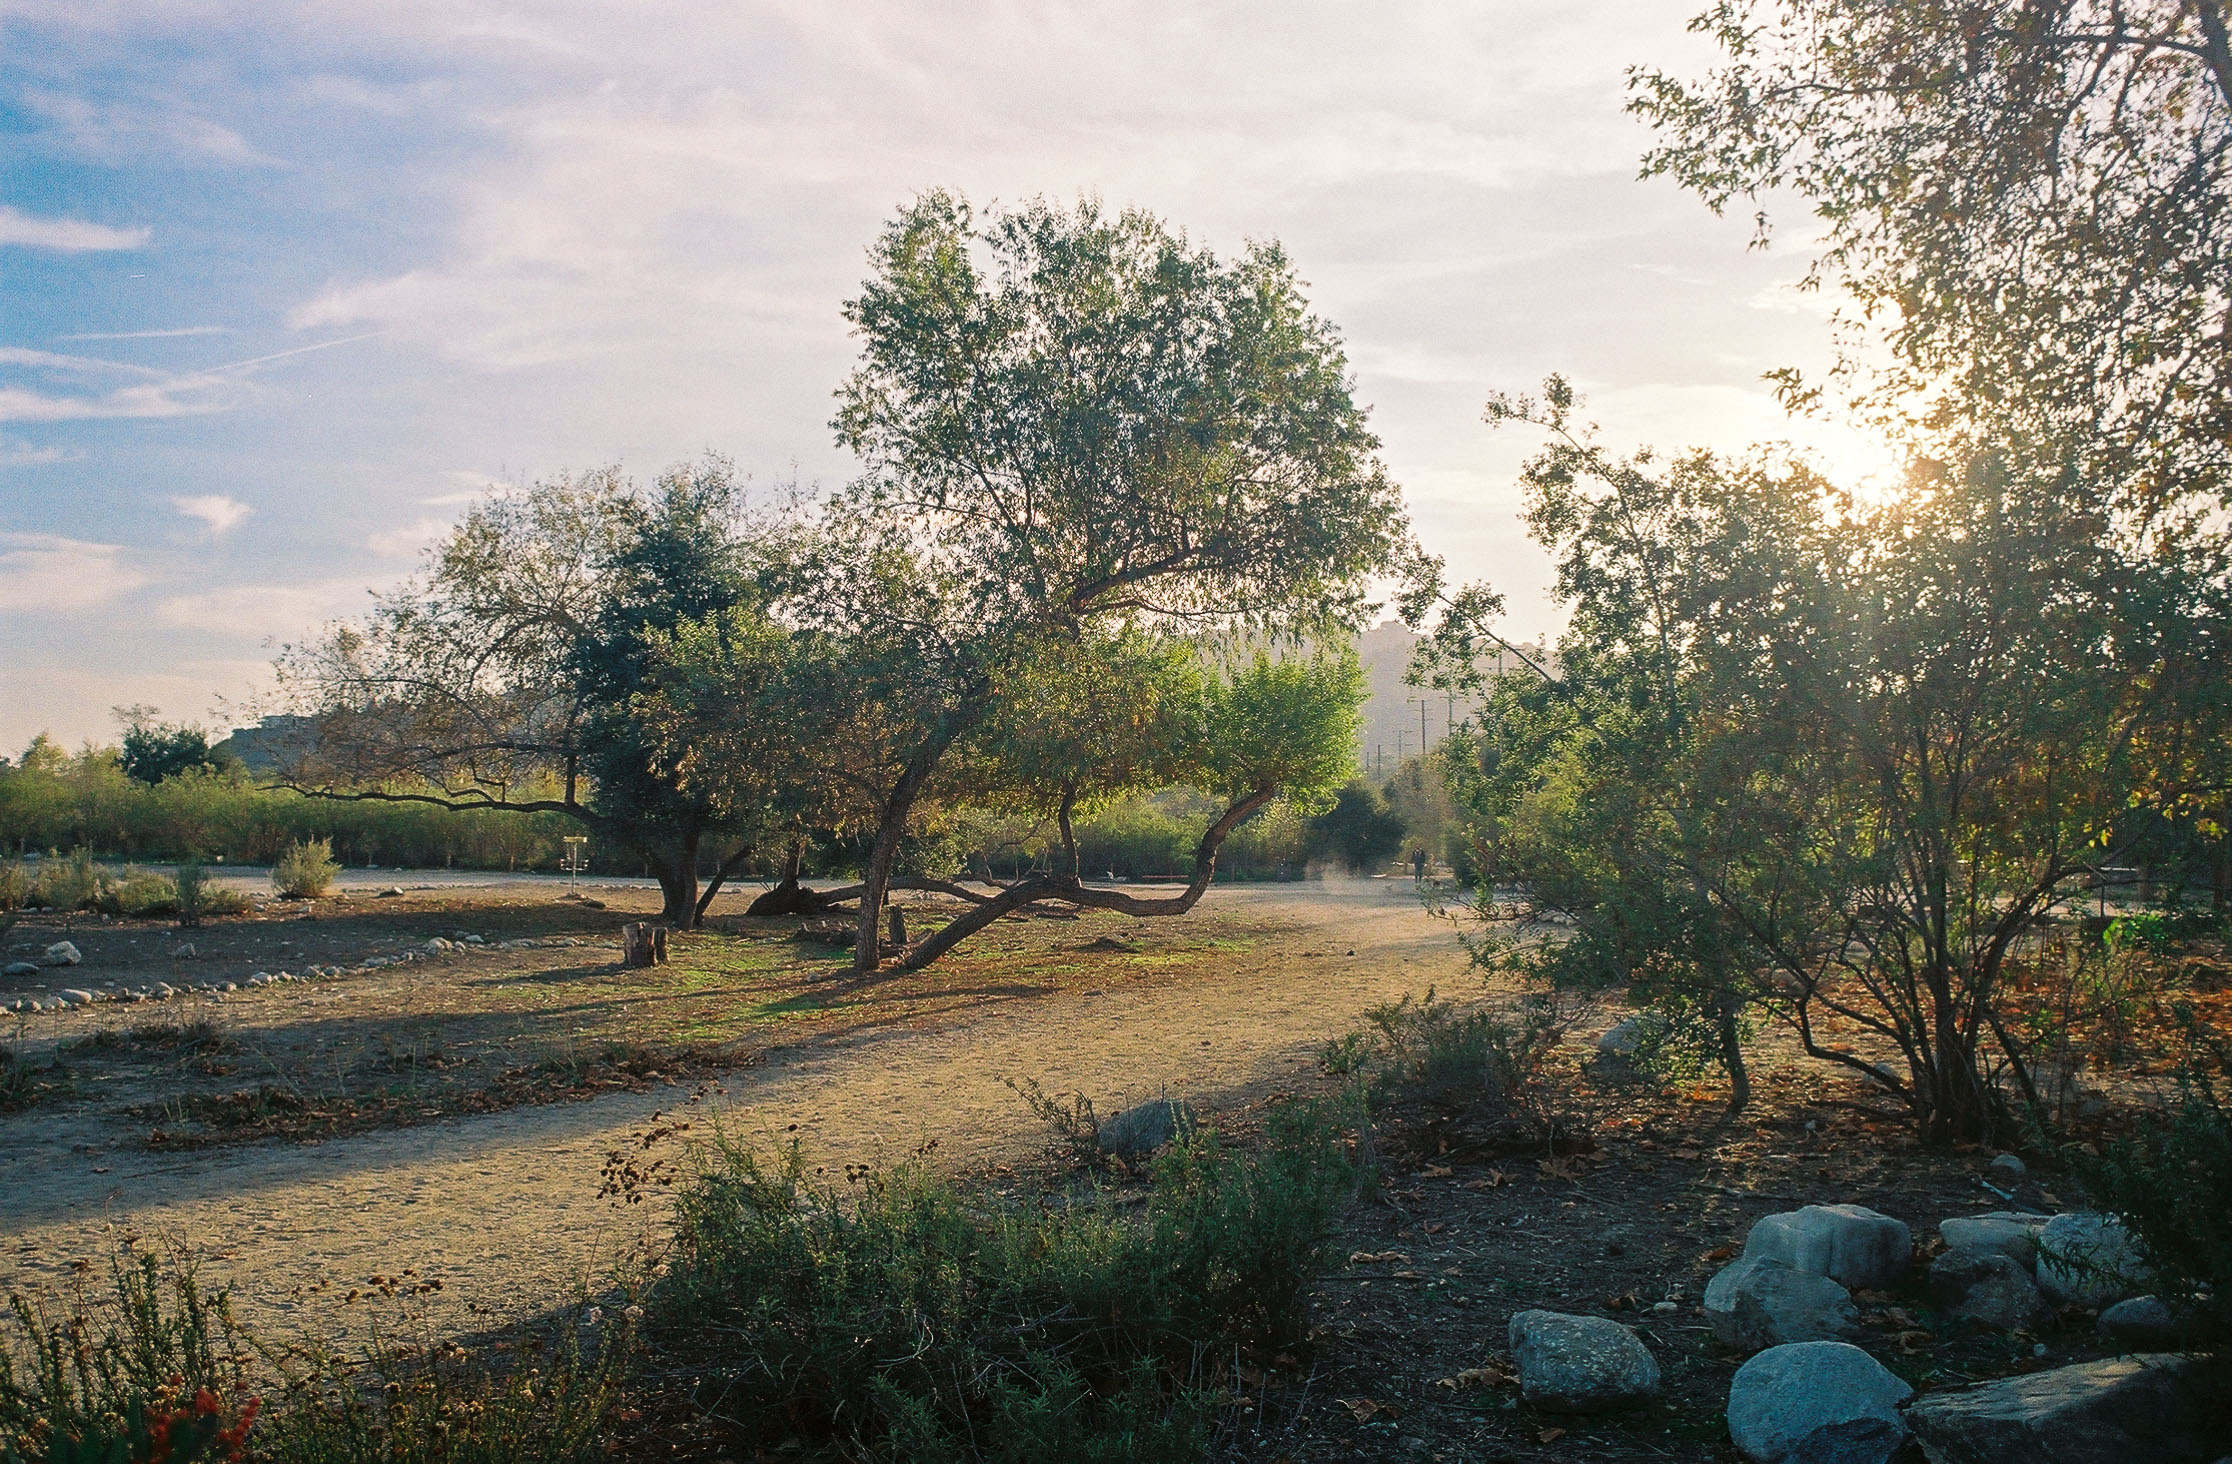
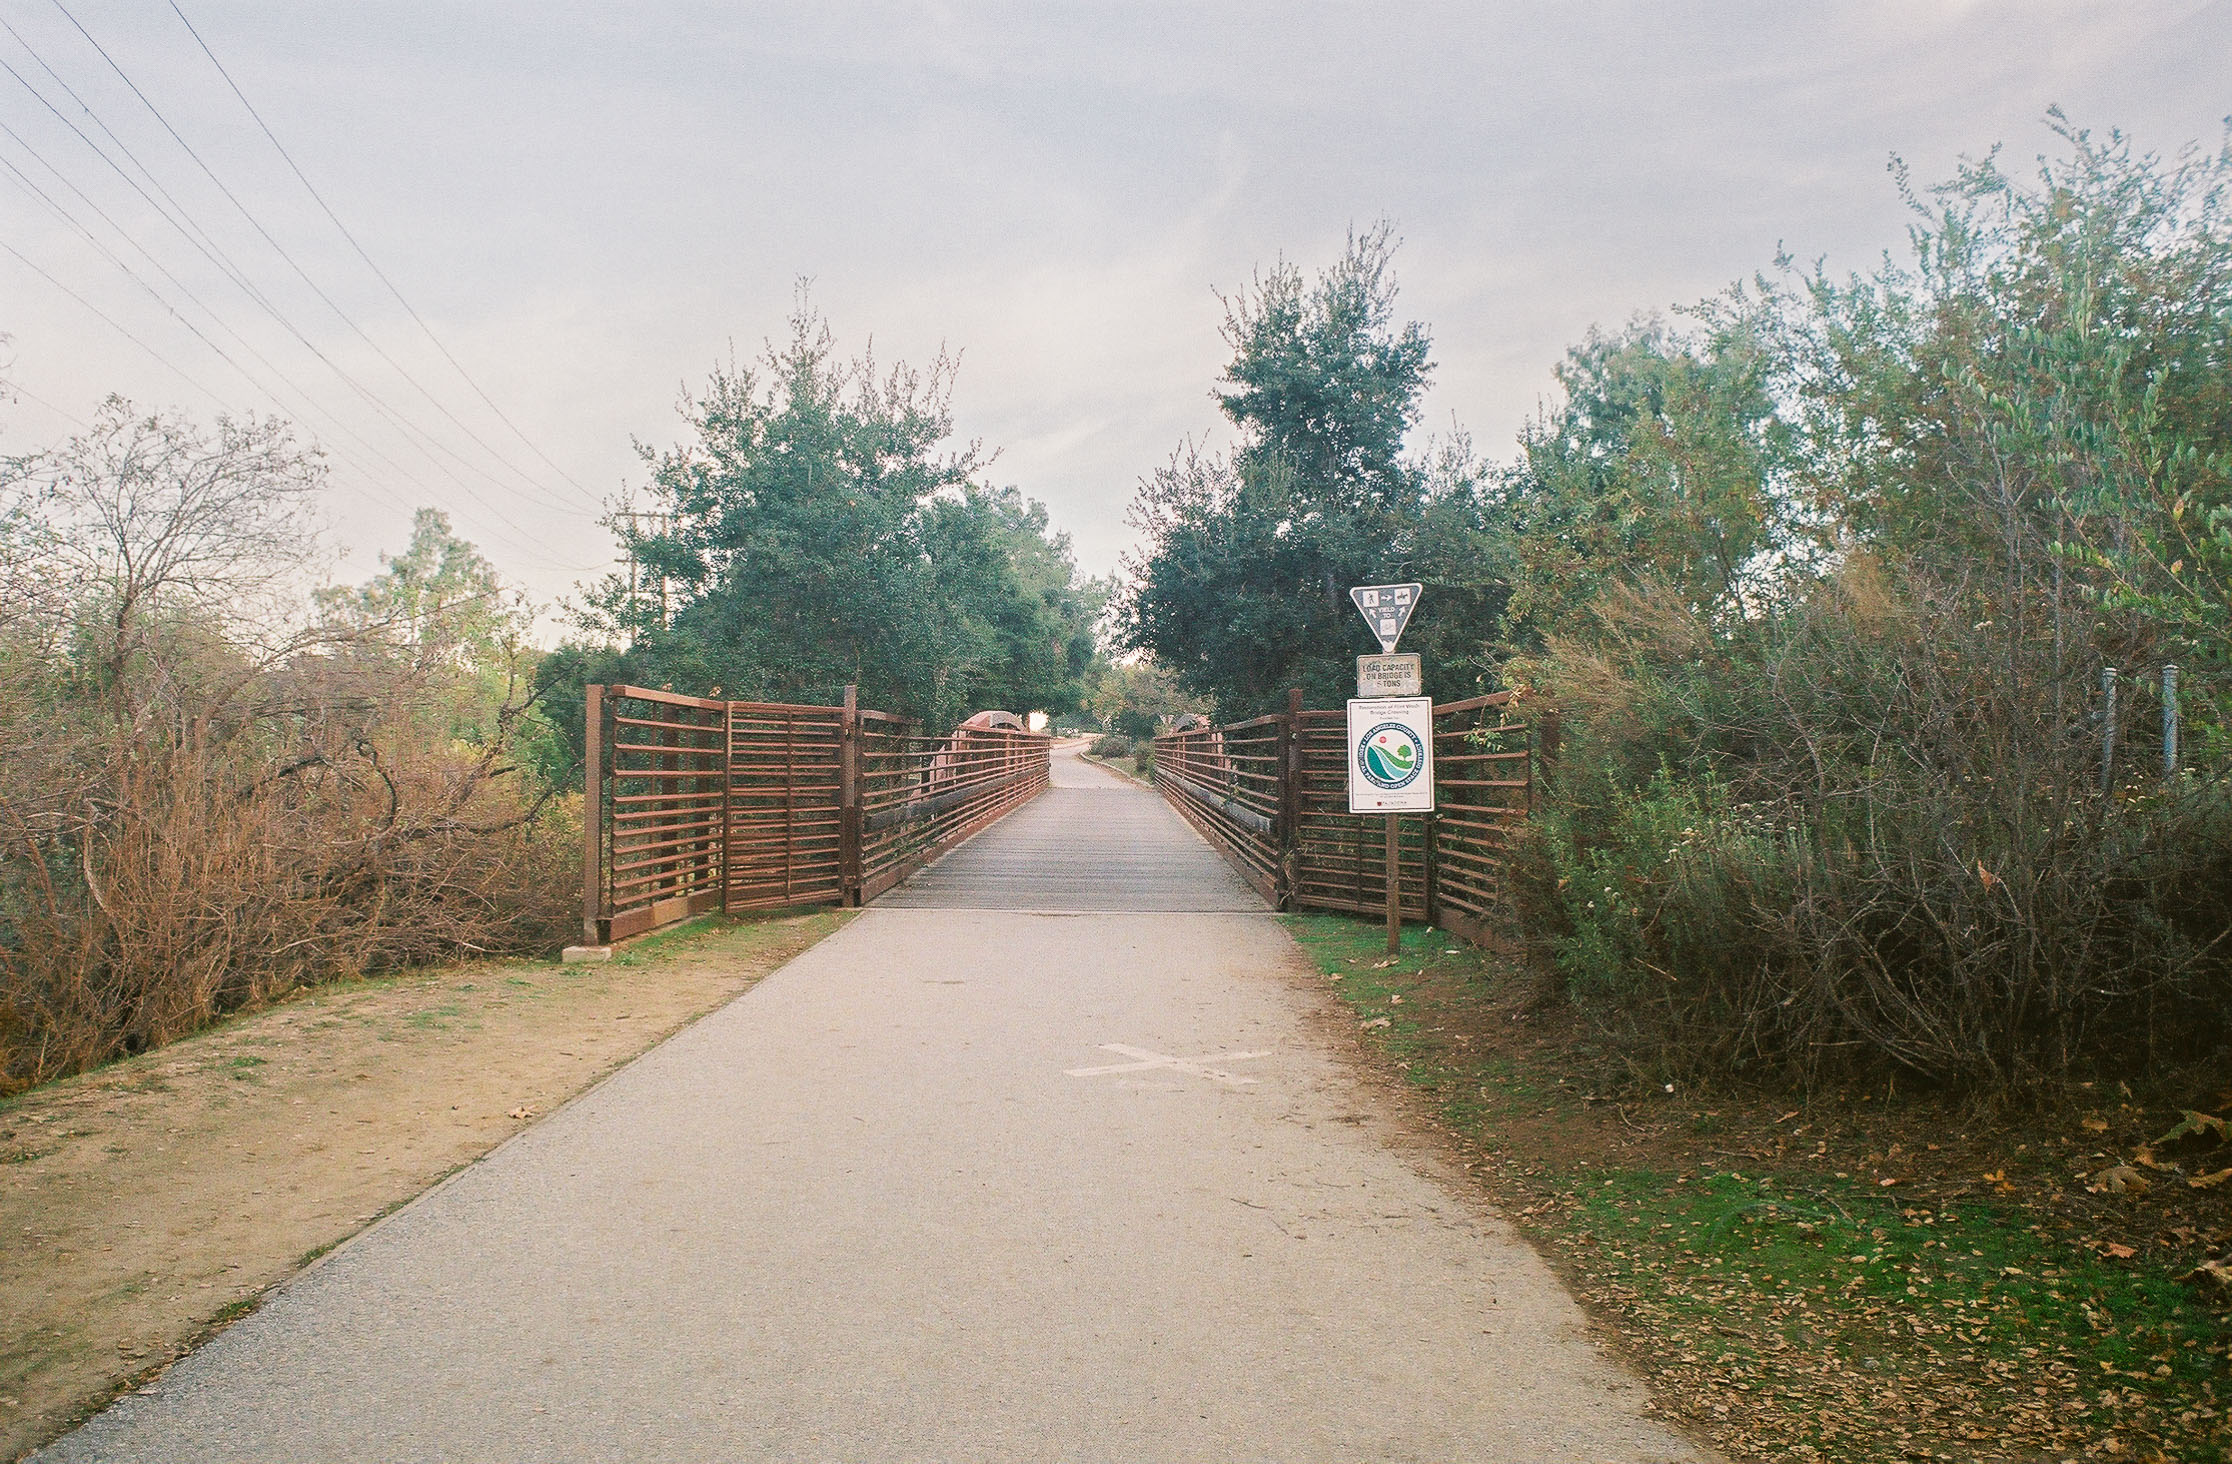
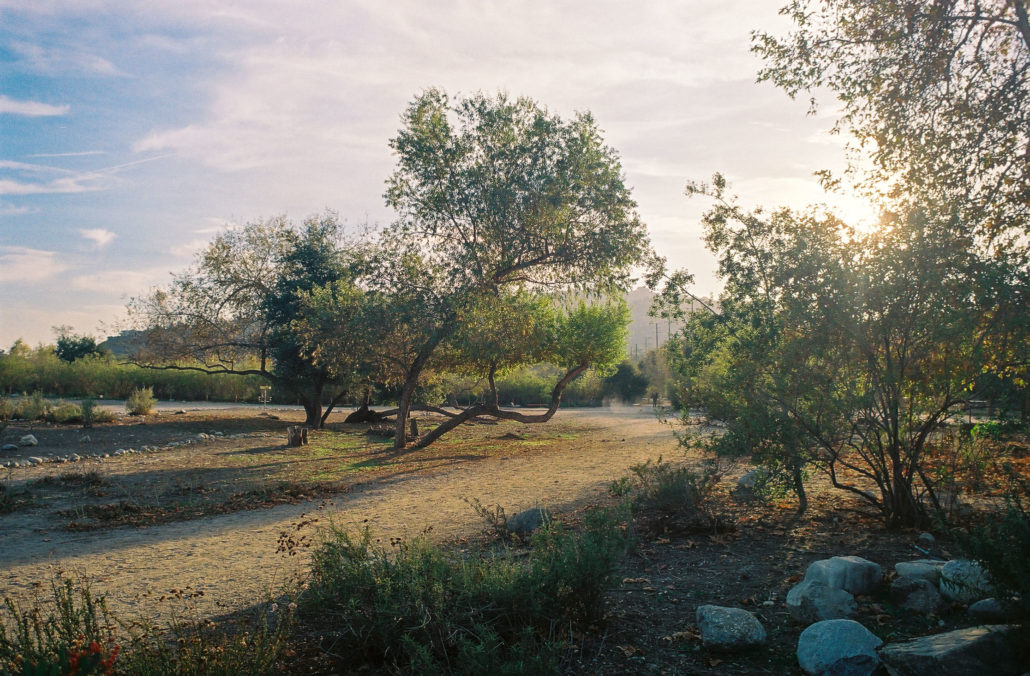
As opposed to the rest of your hike thus far, once past the park, the trail feels less arid. Large oak and ash trees line your path, creating a cooler and shadier environment. Even the air feels heavier. At mile 2.1, you’ll cross a wooden bridge over a small creek and head left to start hiking along a road. Soon, a small picnic area with bathrooms, grills, trash cans, and picnic tables emerges to your right. Continue following the road across the Flint Wash Bridge Crossing.

The Flint Wash Bridge. Shot on Fujicolor Superia X-TRA 400 film.
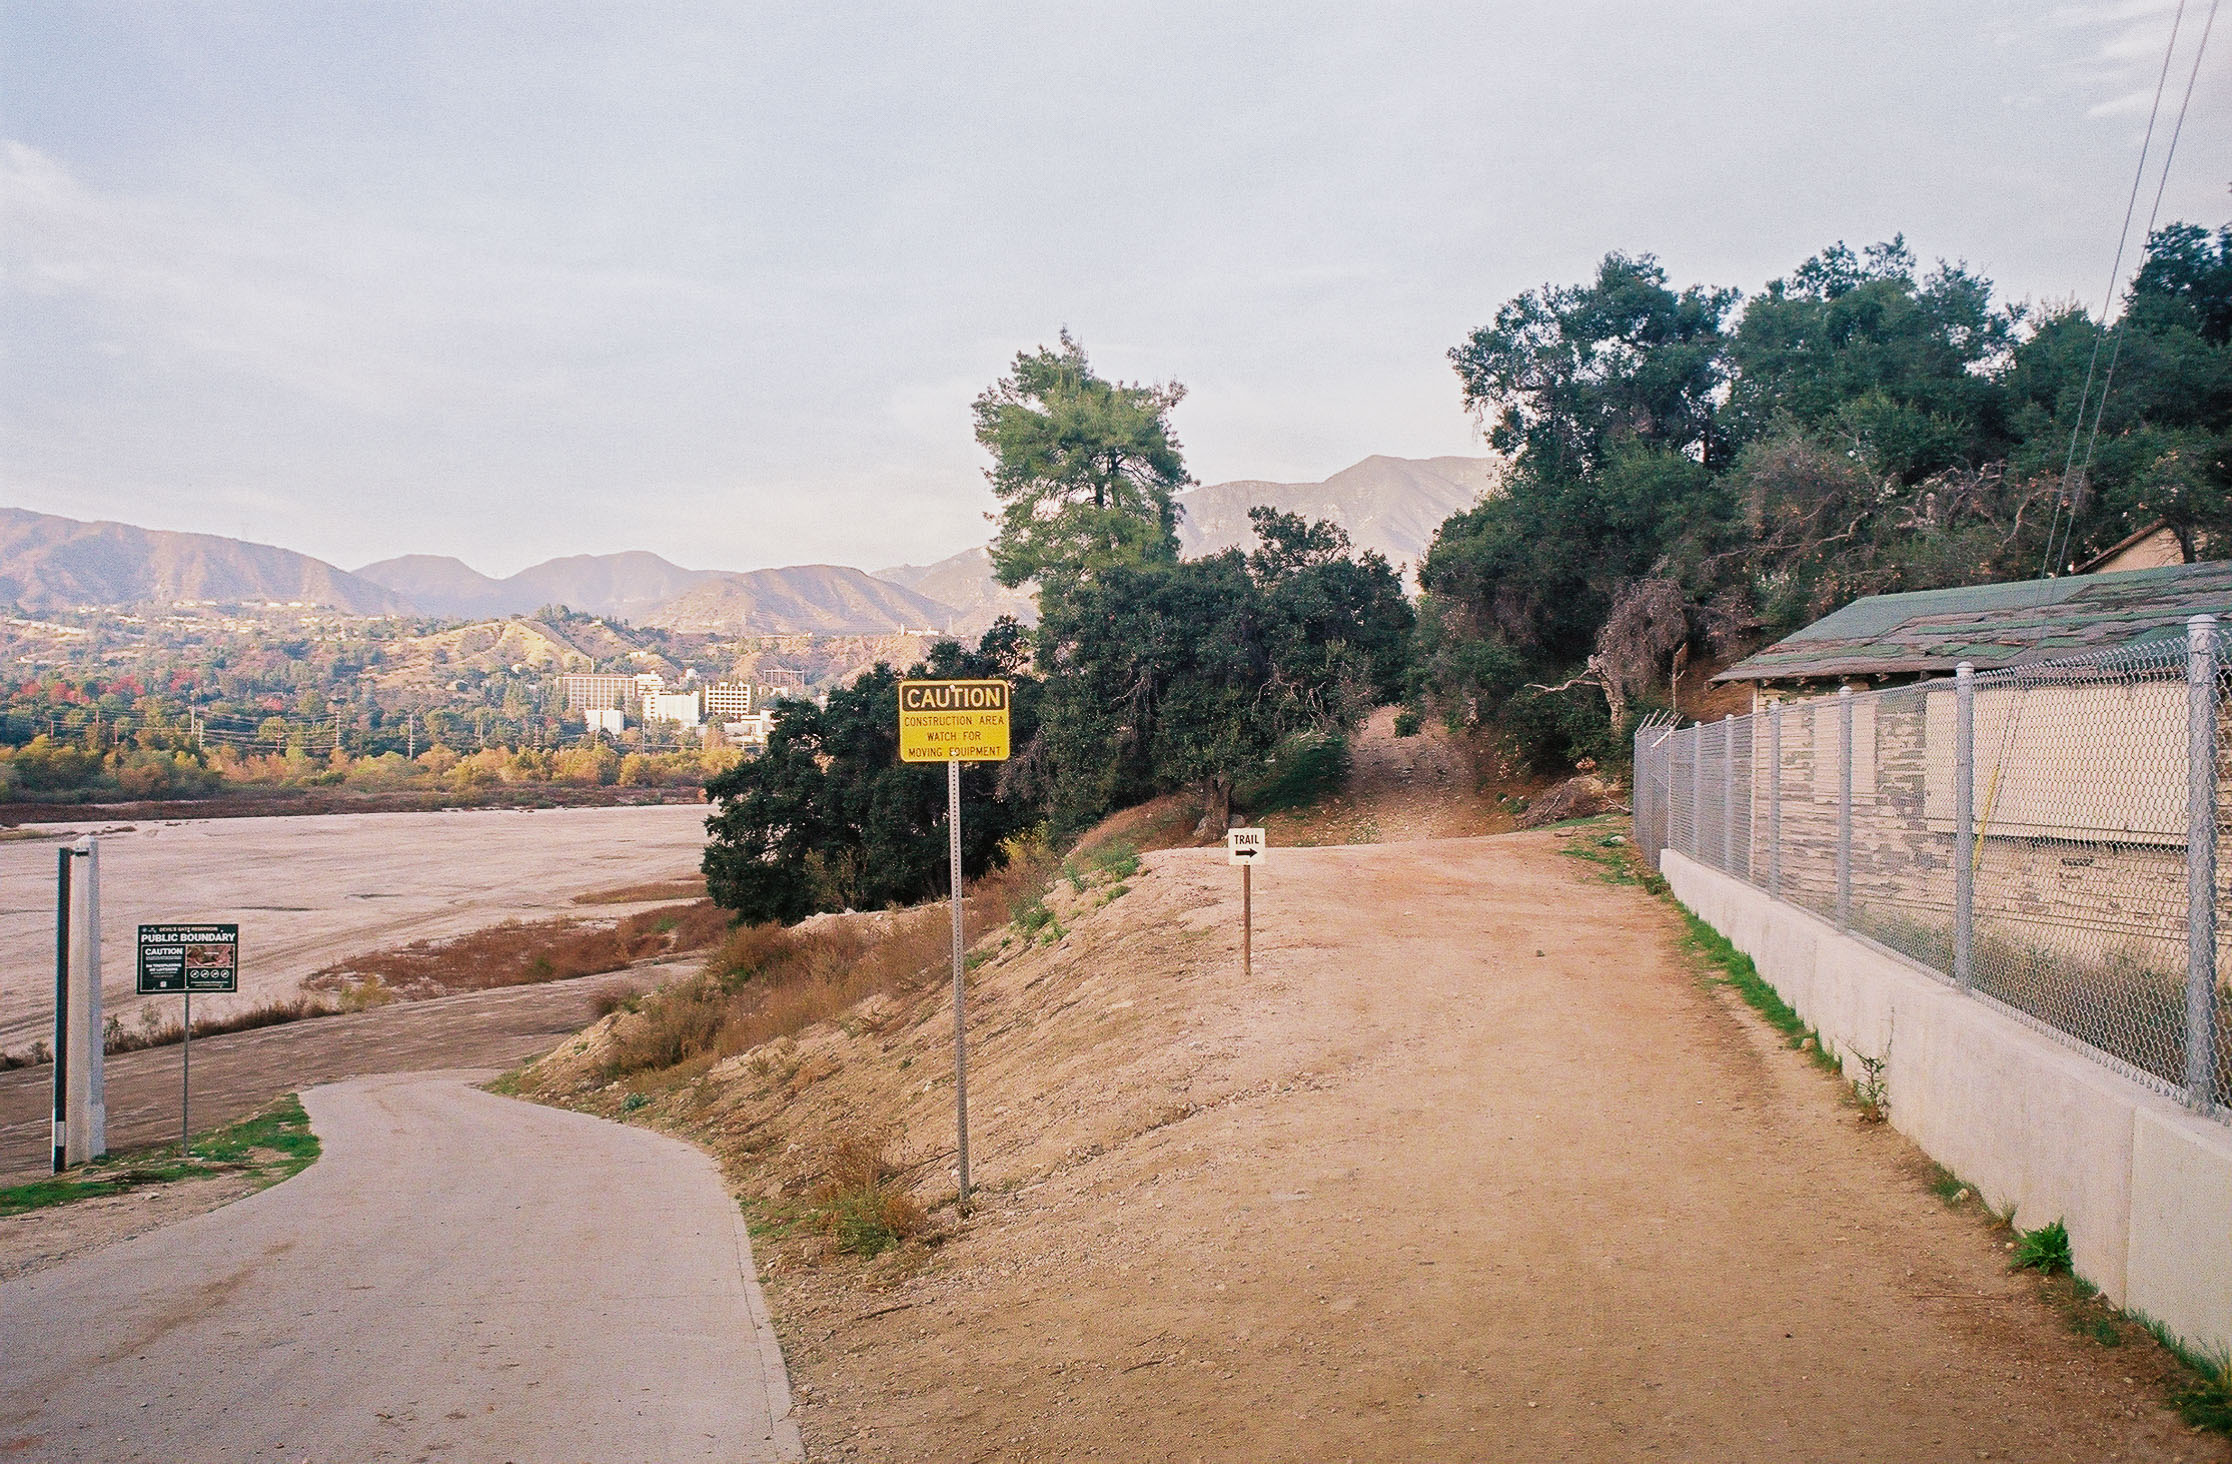
At mile 2.3, you’ll walk across the Devil’s Gate Reservoir. Here you’ll find the best views of your entire hike. Despite annoying powerlines sightly obstructing the view, from this vantage point, you can see the watershed, JPL, the San Gabriel Mountains, and the Verdugo Mountains.
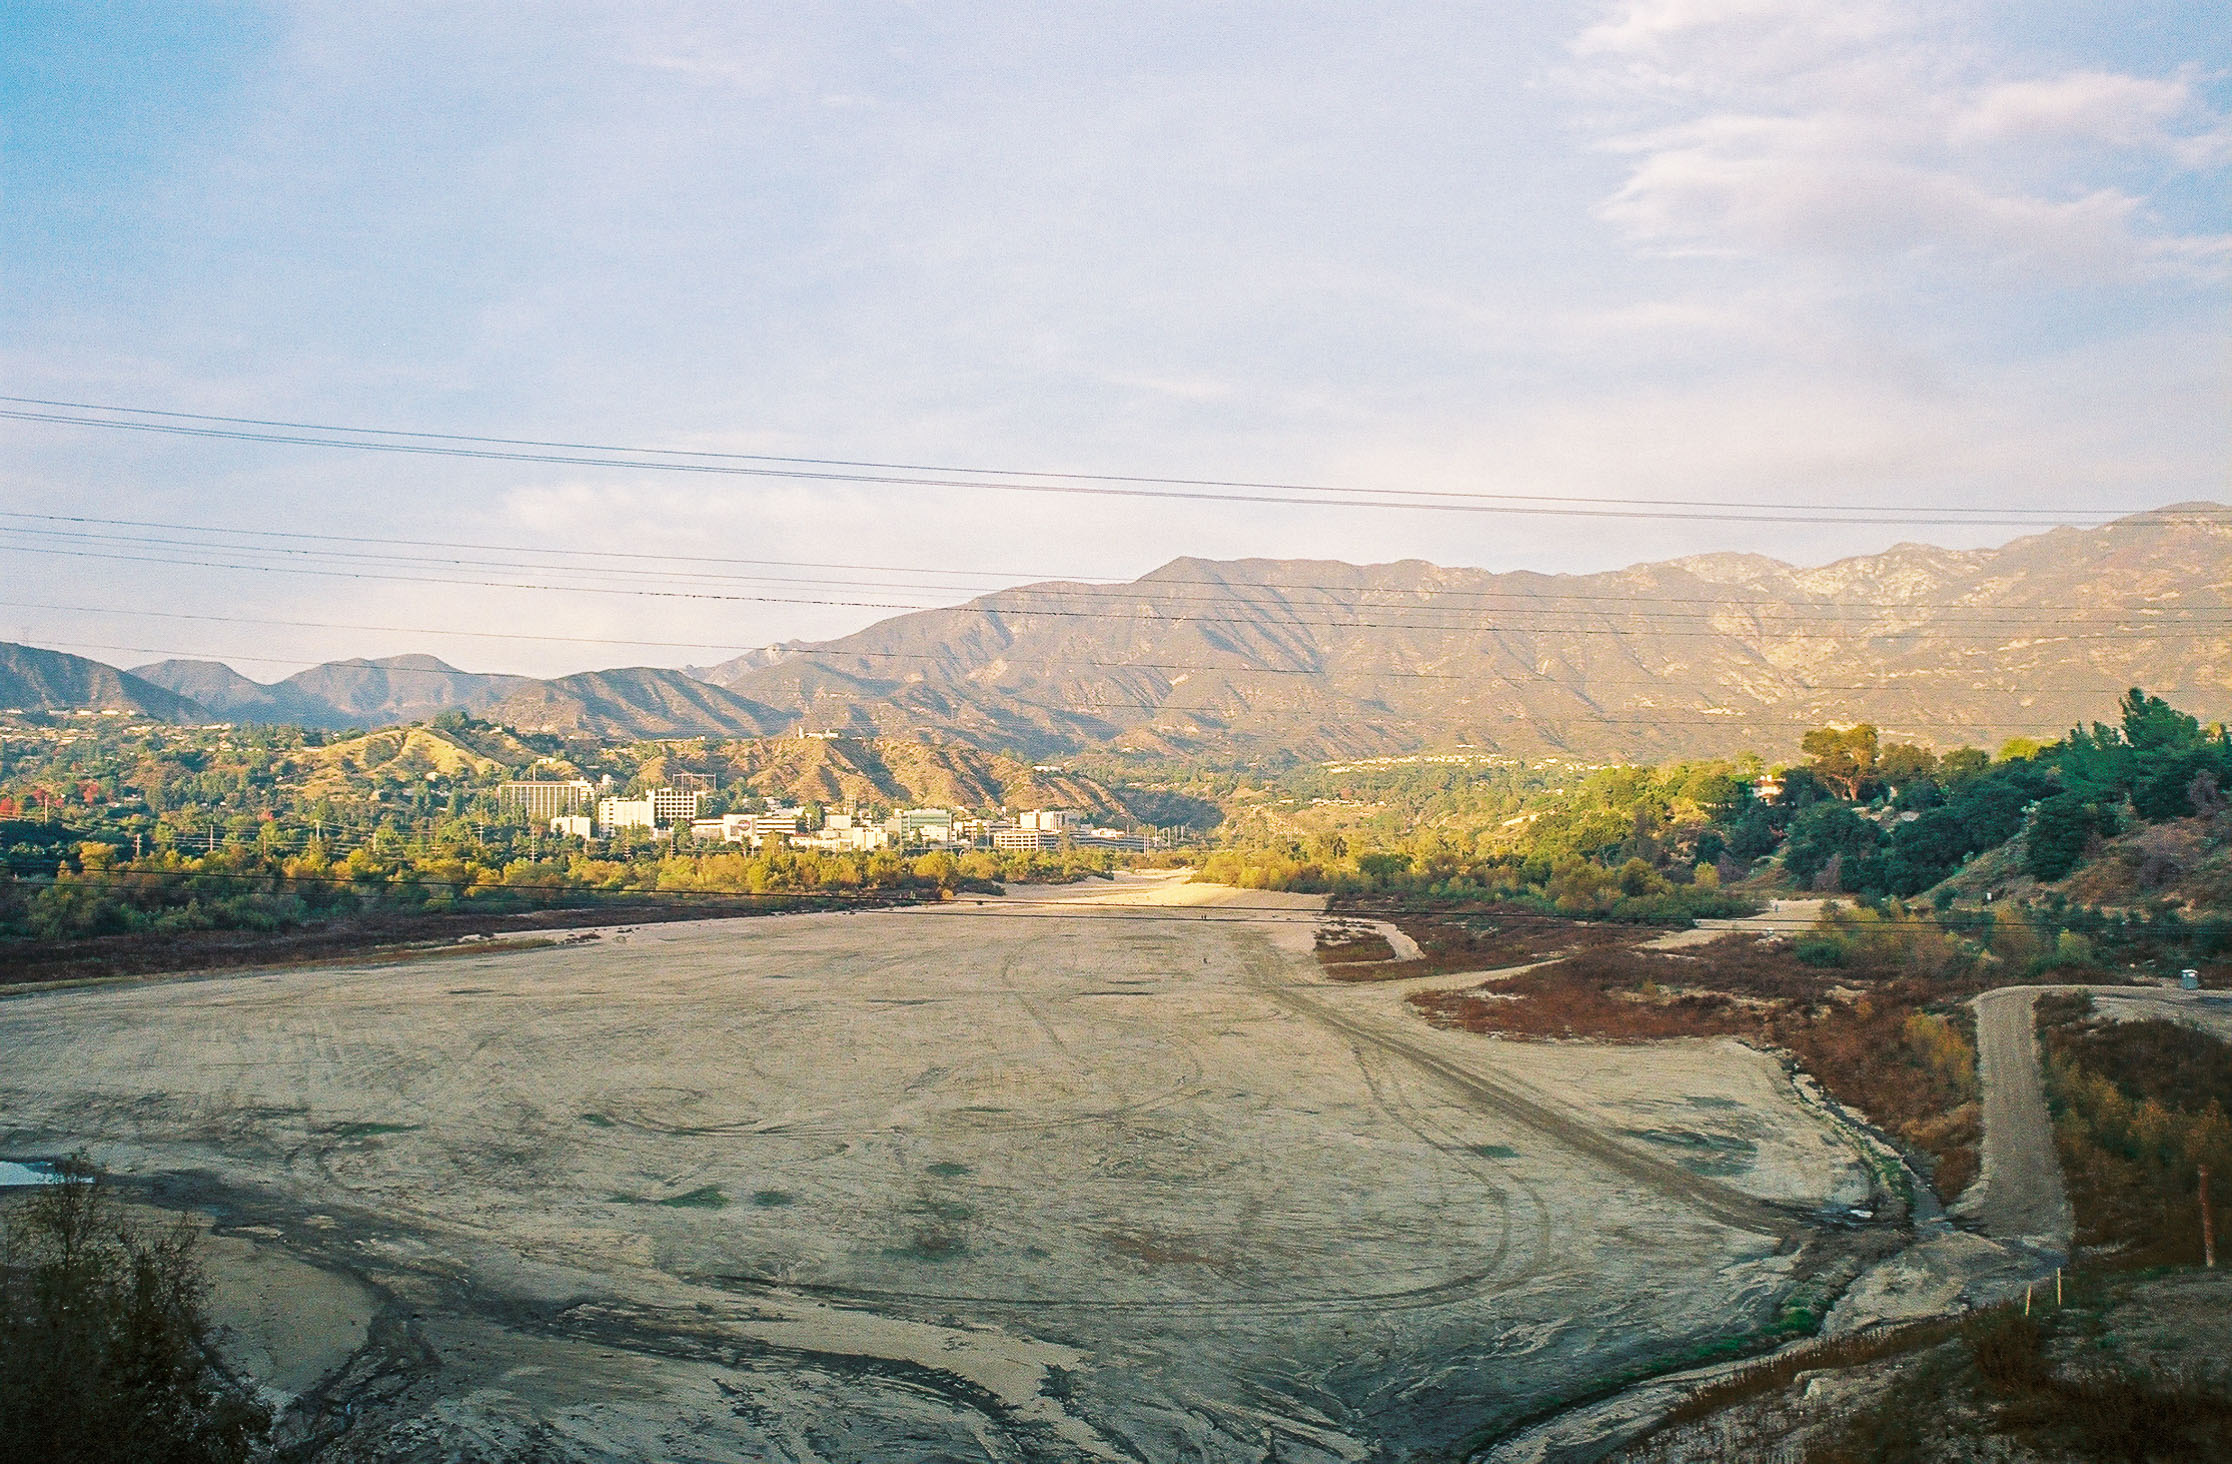
Panoramic views standing on the Devil’s Gate Reservoir. Shot on Fujicolor Superia X-TRA 400 film.
On the far side of the Dam, turn left to finish the loop. If you head right through the tunnel, you’ll connect with the Upper Arroyo Seco Loop, Rose Bowl Loop, and eventually the Lower Arroyo Seco Loop.

Avoid the concrete ramp into the watershed. Shot on Fujicolor Superia X-TRA 400 film.
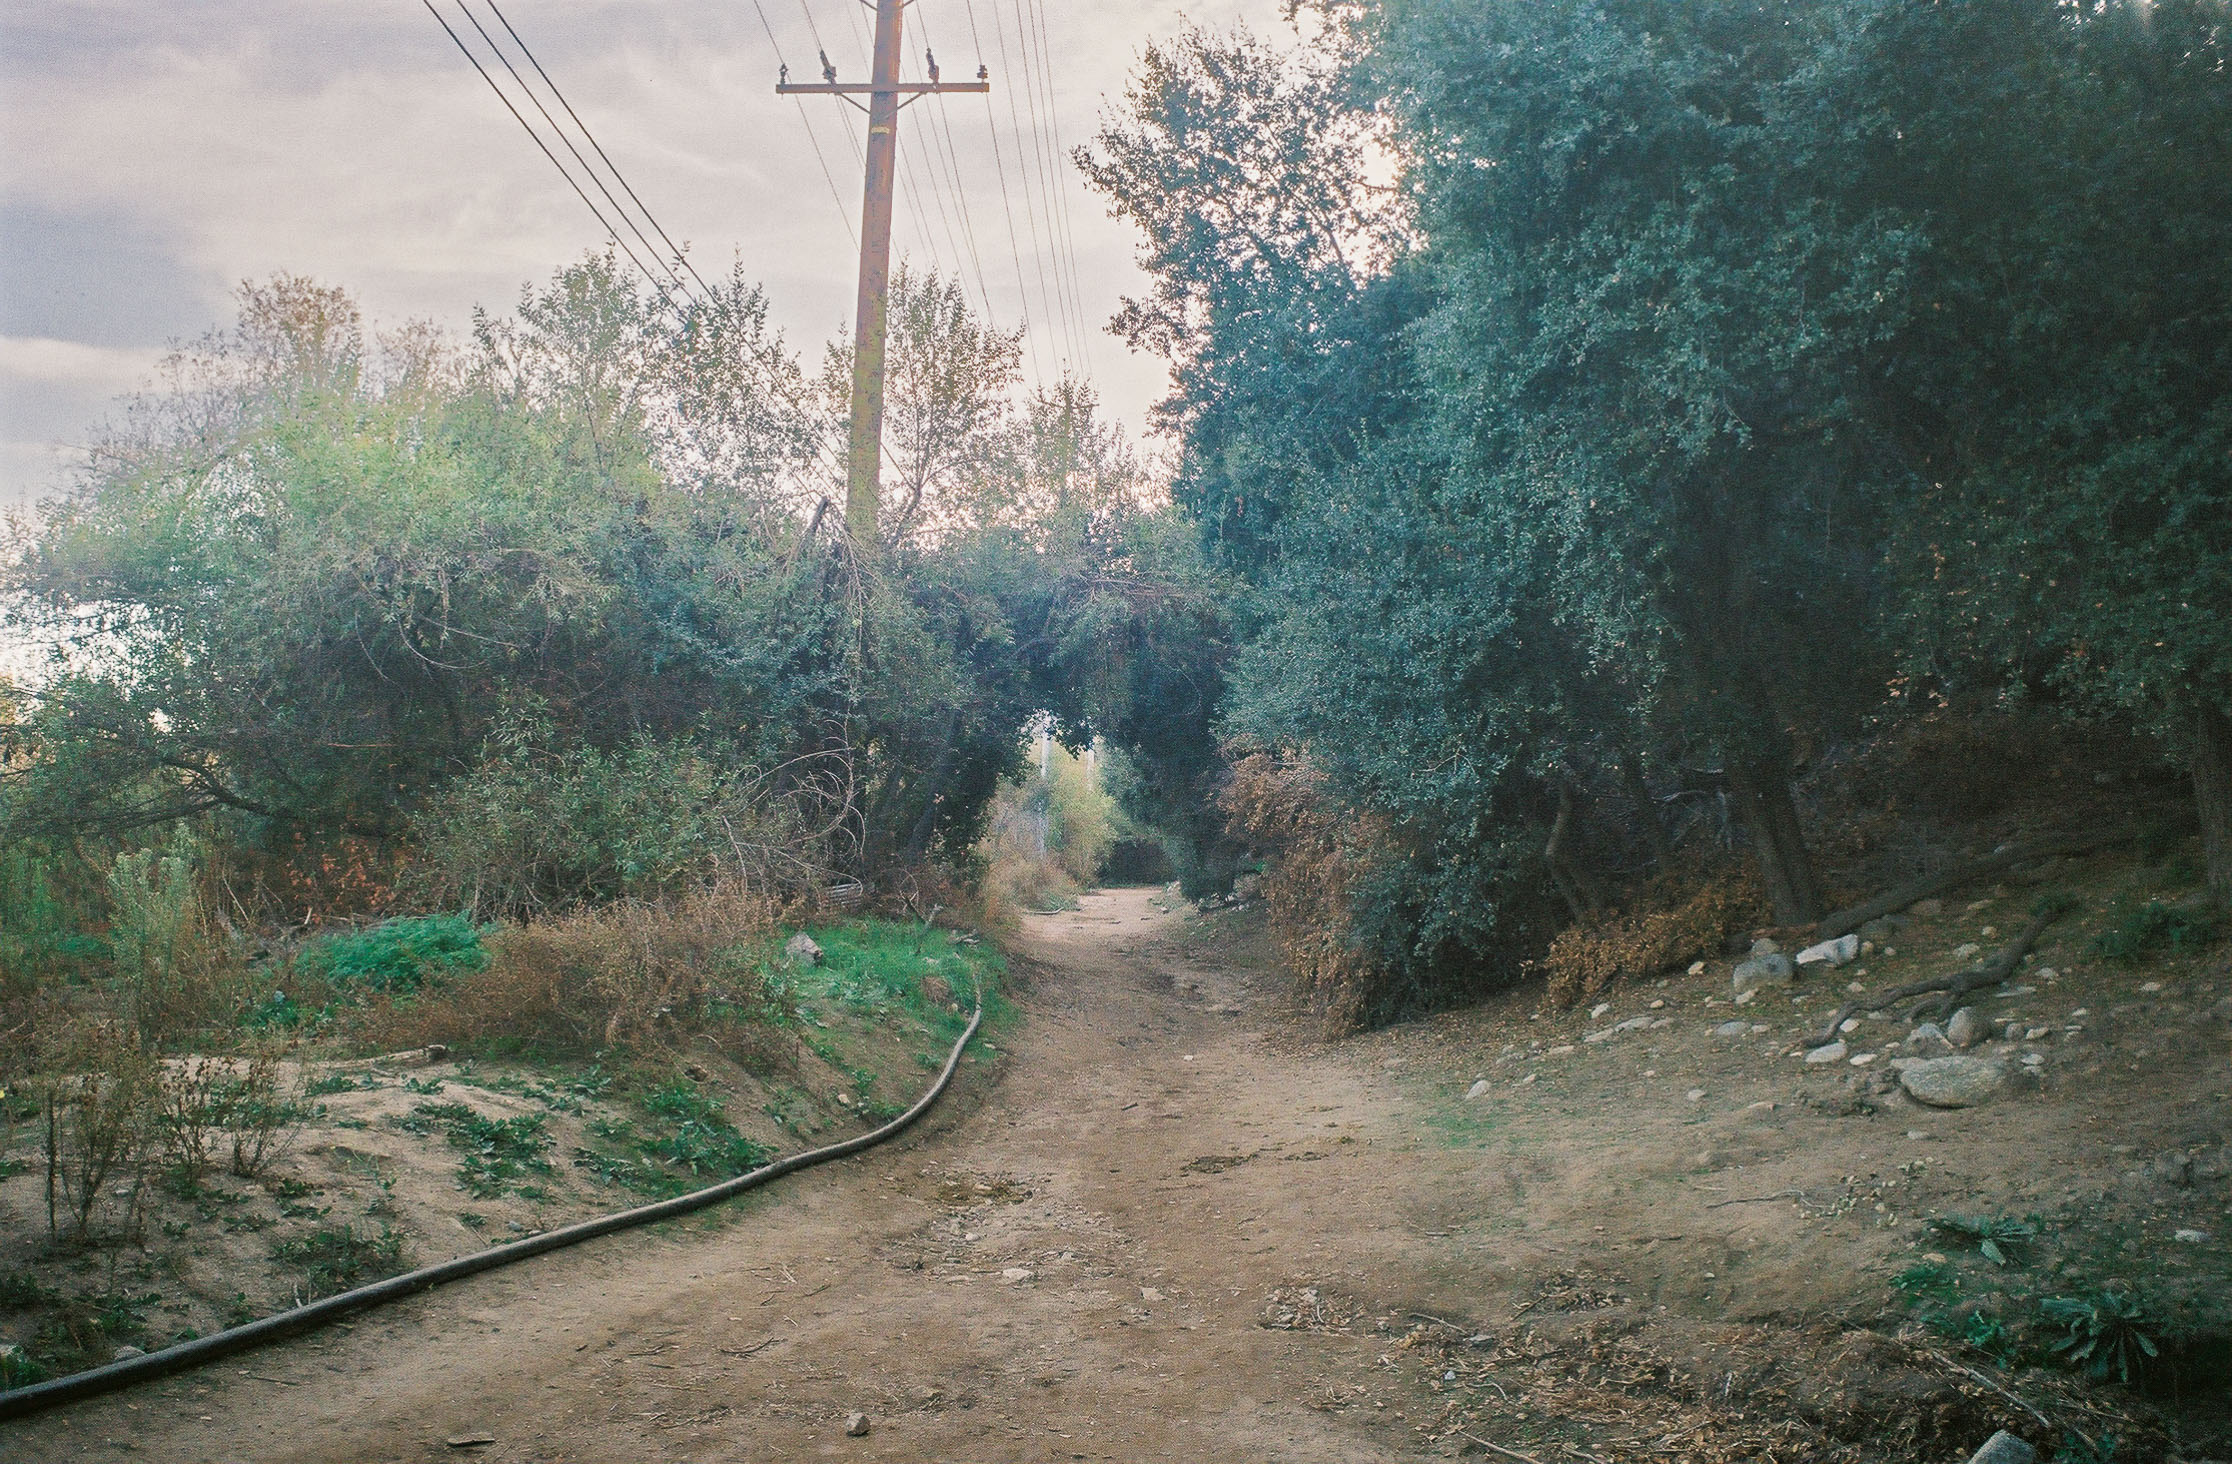
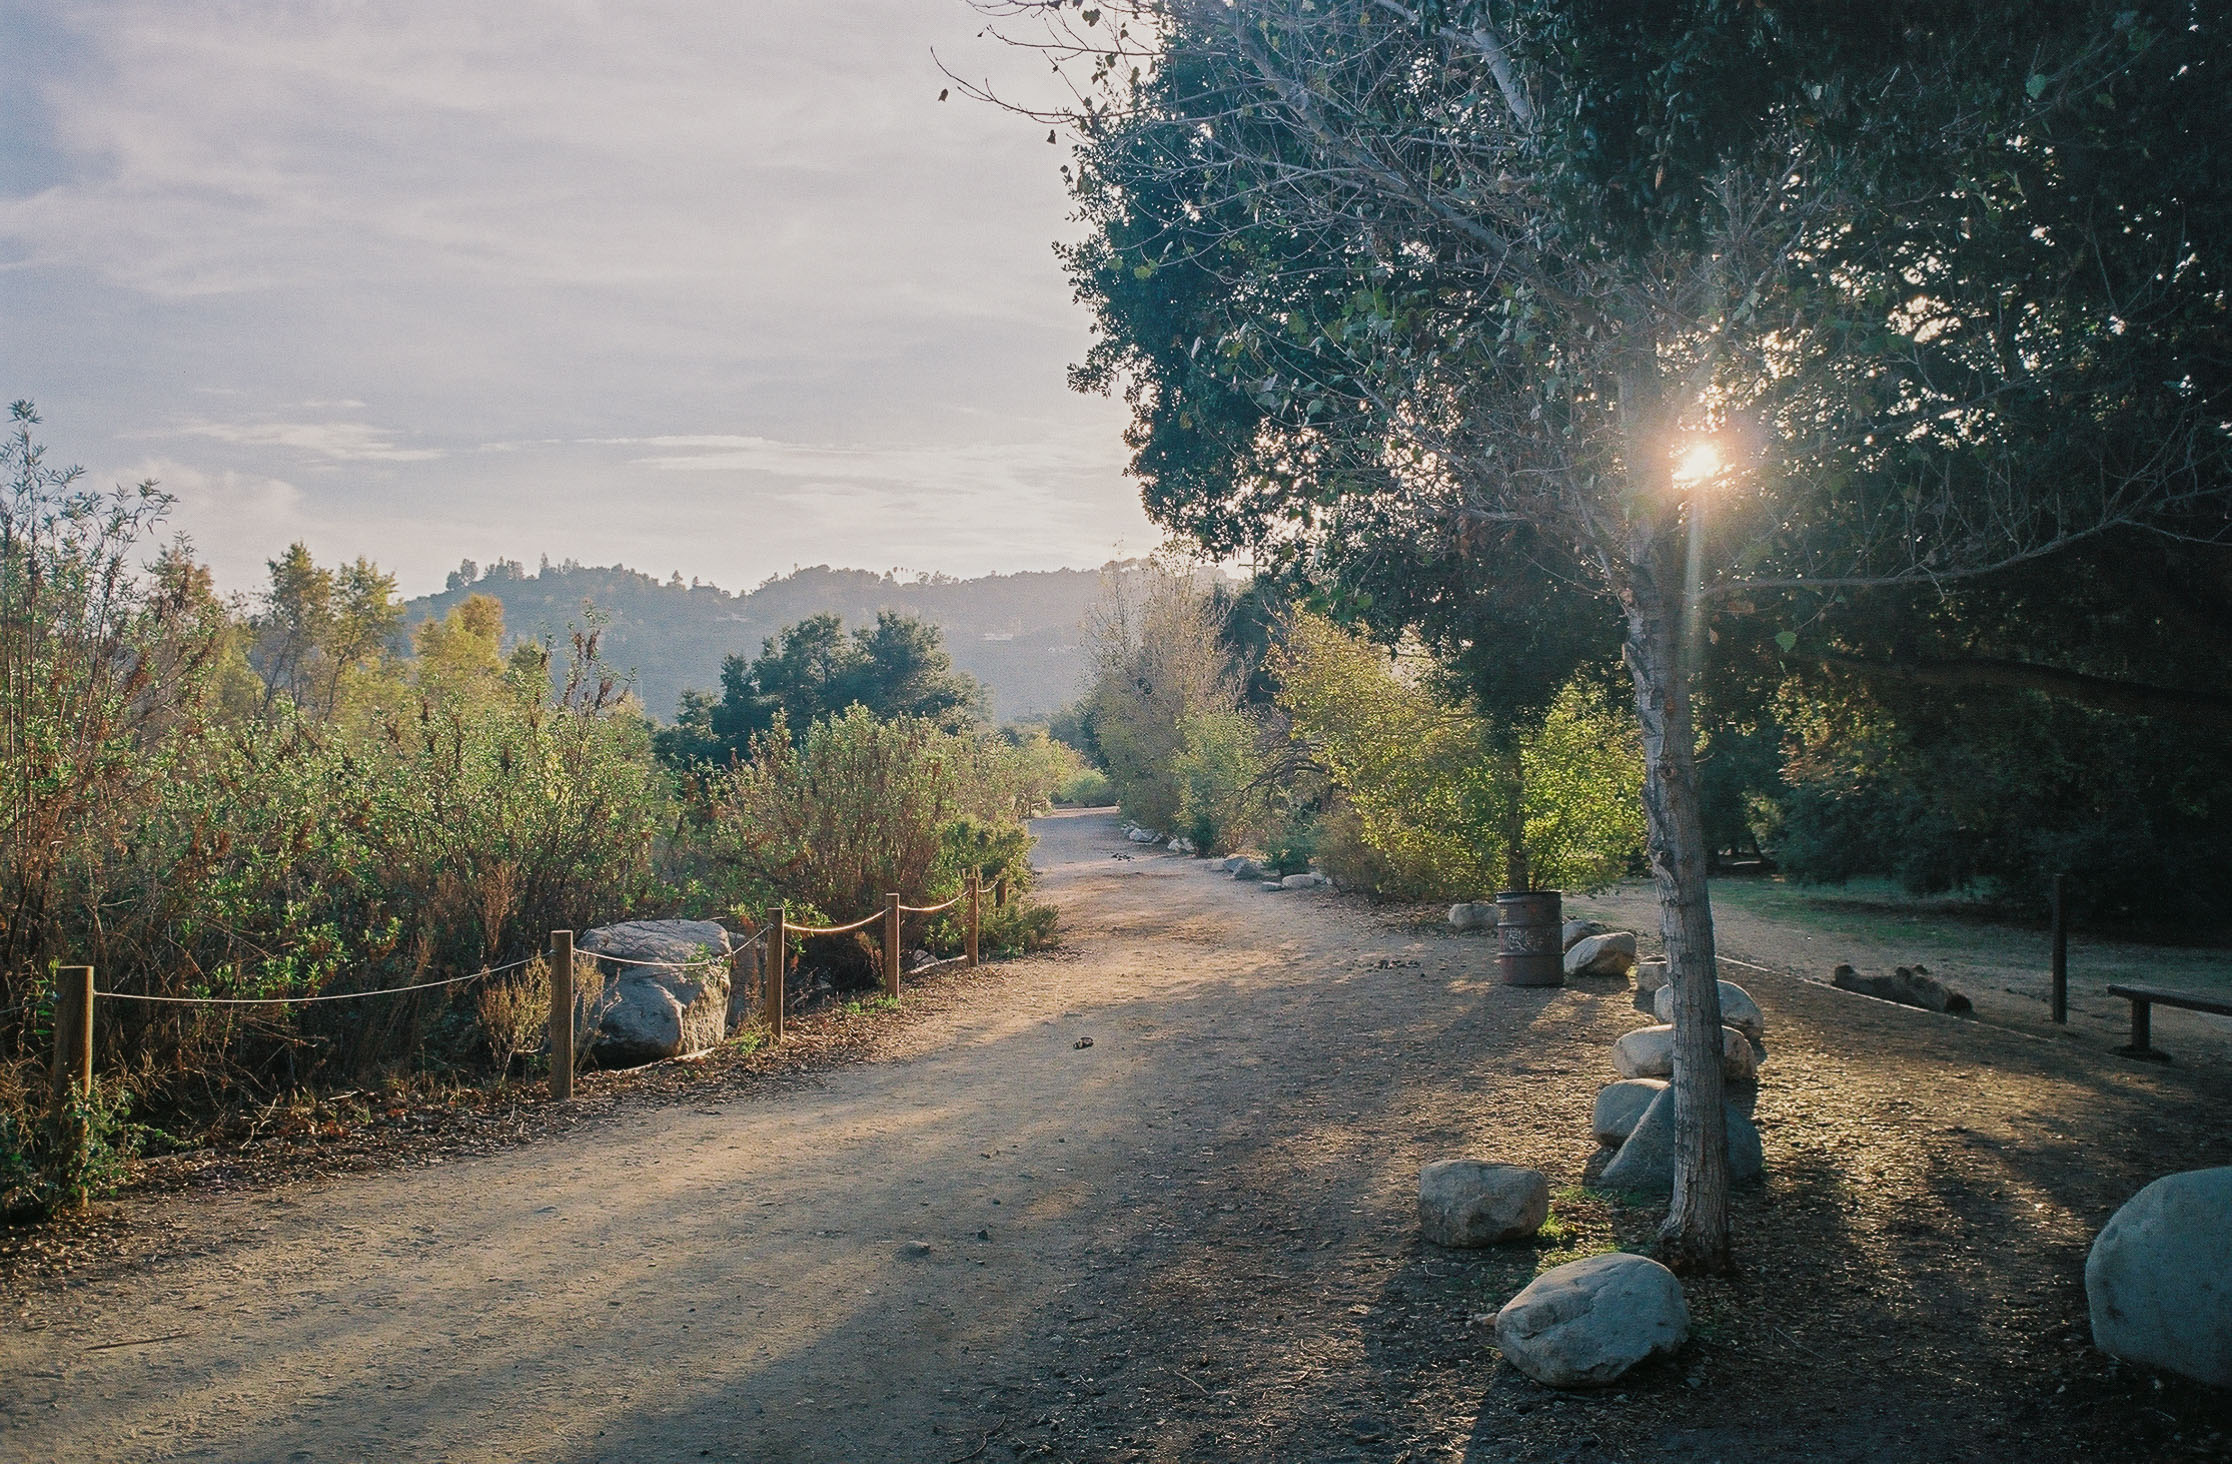
Here you’ll find several paths in front of you – stick to the dirt trail to continue on the correct route. After a few paces, it’ll split in two. While both options will take you back to the trailhead, I opted to stick to the right as it offered the best views.
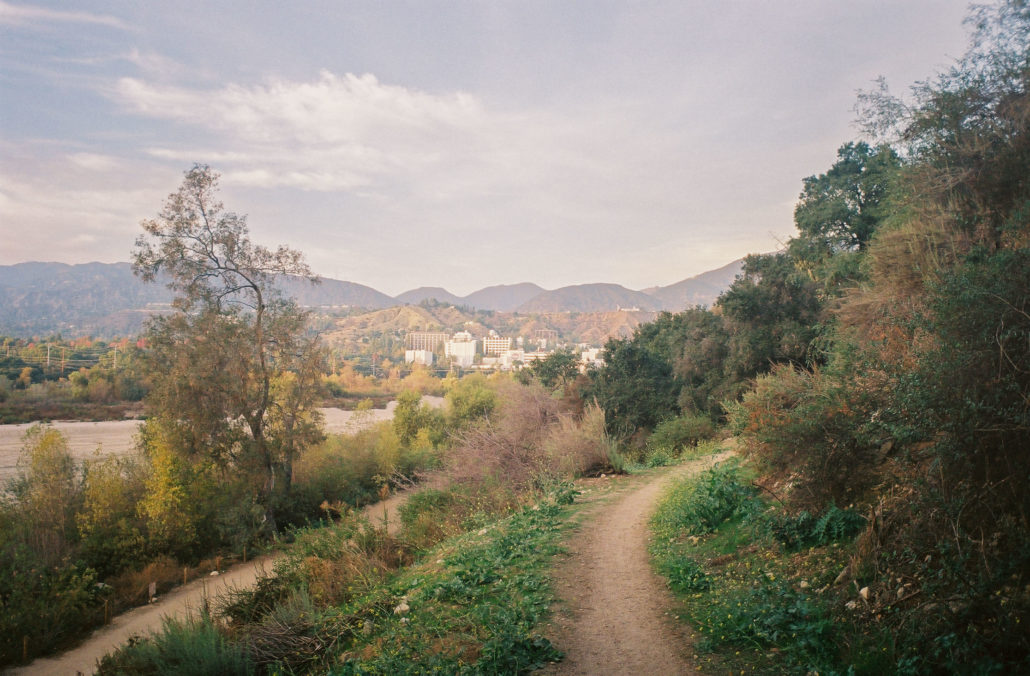
The two parallel trails you can take back to the trailhead. Shot on Fujicolor Superia X-TRA 400 film.
For either option, you’ll hike for about 0.8 miles before traversing up some small switchbacks back to the parking lot.
Tags: Devil's Gate Reservoir, Gabrielino Trail, Hahamonga Watershed Park, Pasadena, urban hike