Have you ever been asked if you’d rather have the power of flight or the power of invisibility and found it difficult to decide between the two? With Yosemite’s Pohono Trail, you don’t have to choose – you’ll have a bird’s-eye view of the famed Yosemite valley and beyond, along with the kind of solitude that makes you feel like you own the place.
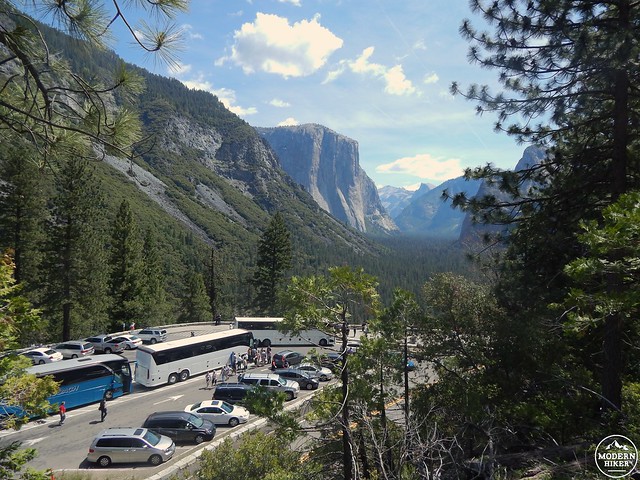
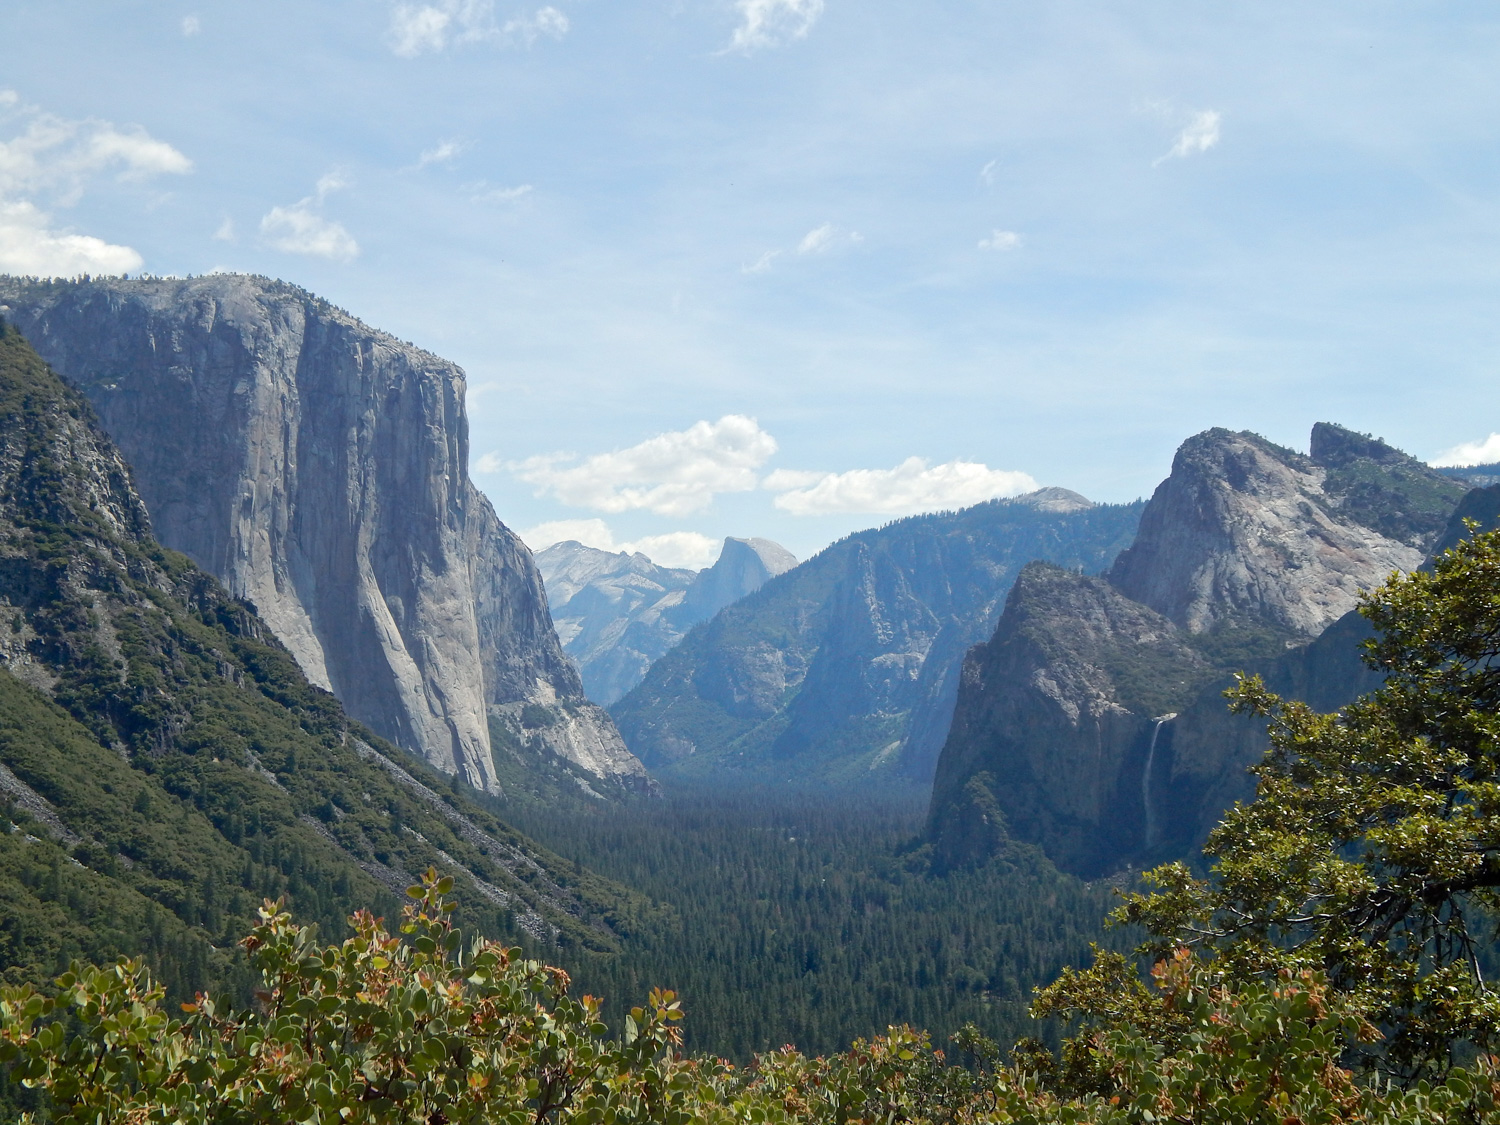
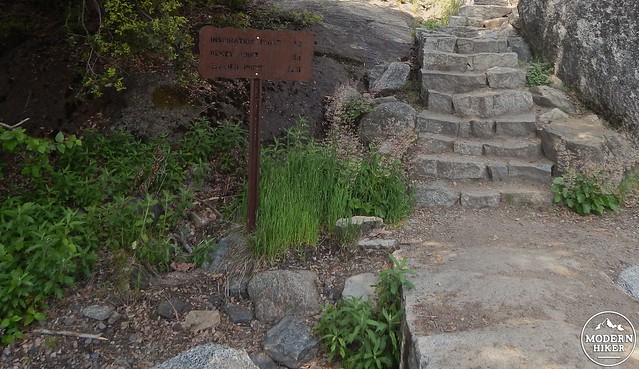
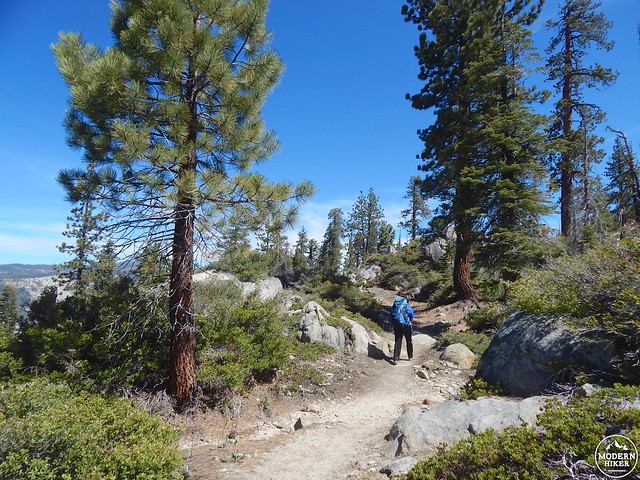
The Pohono Trail begins its steep and steady climb out of the Yosemite valley from the parking lot located to the right of Tunnel View (also known as Discovery View) on the south side of Wawona Road. Most people pull over at this iconic viewpoint as soon as they exit from its namesake tunnel, leading to traffic bottlenecks, egregious honking, and suffocating crowds – but you can avoid all of this by skipping the mayhem and heading up the stone steps at the start of the trail, quickly switchbacking through the verdant forest.
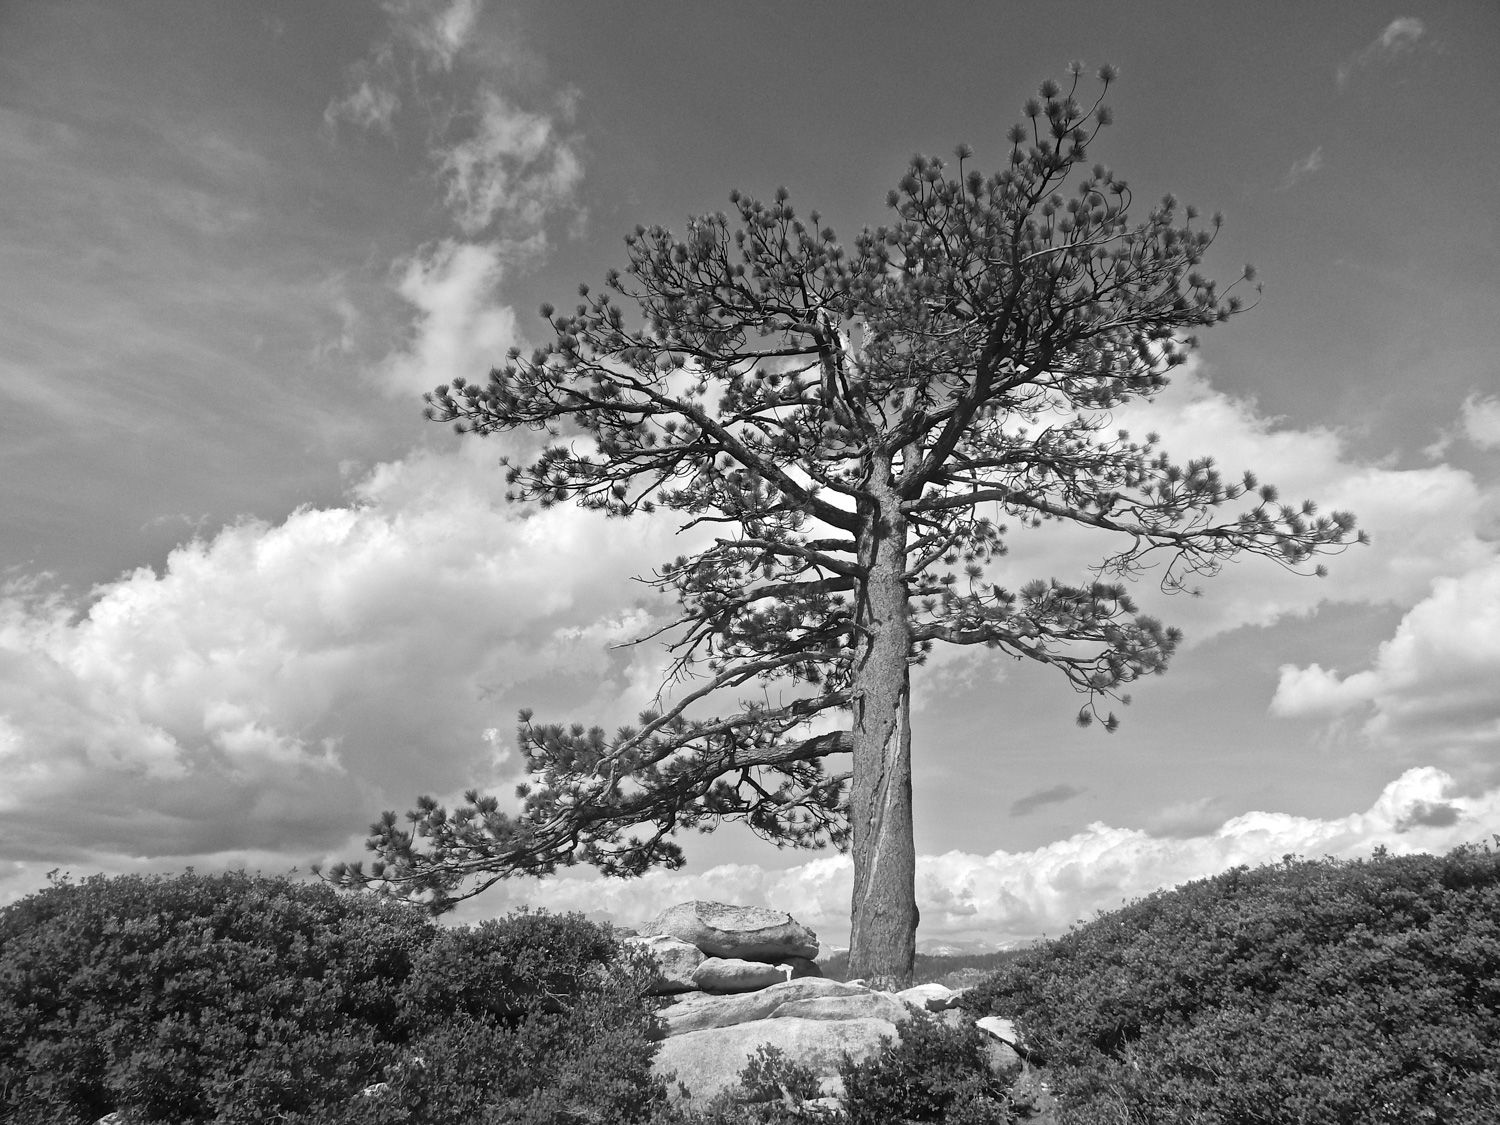
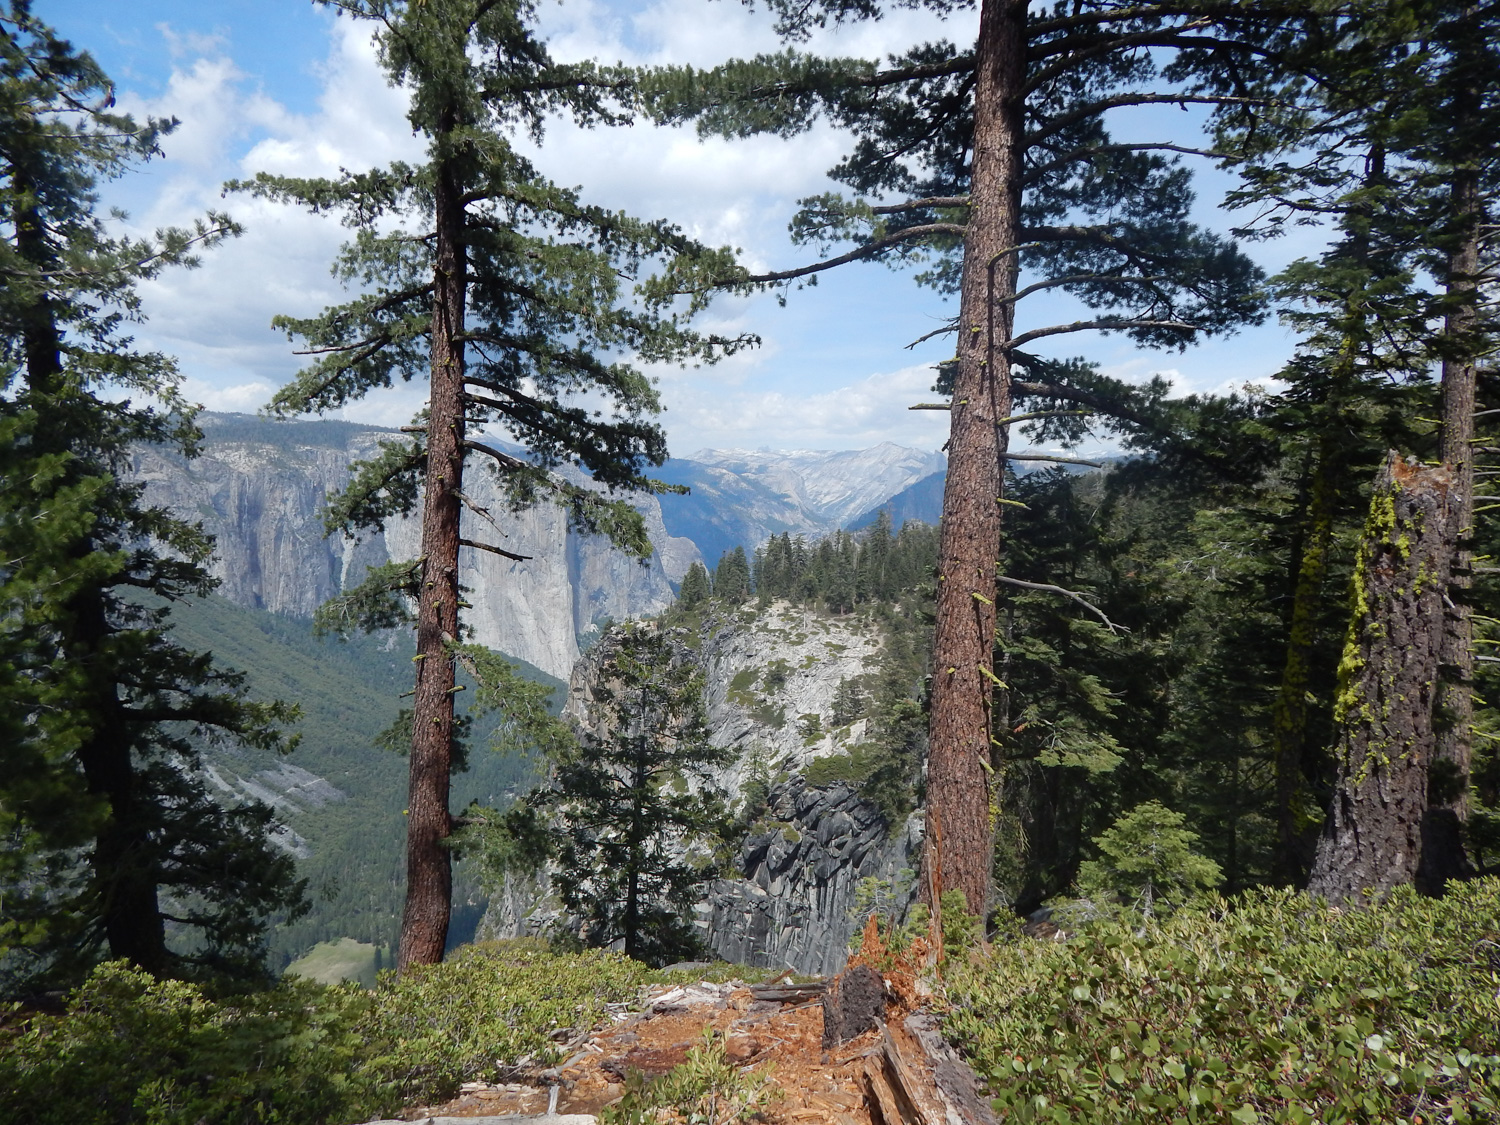
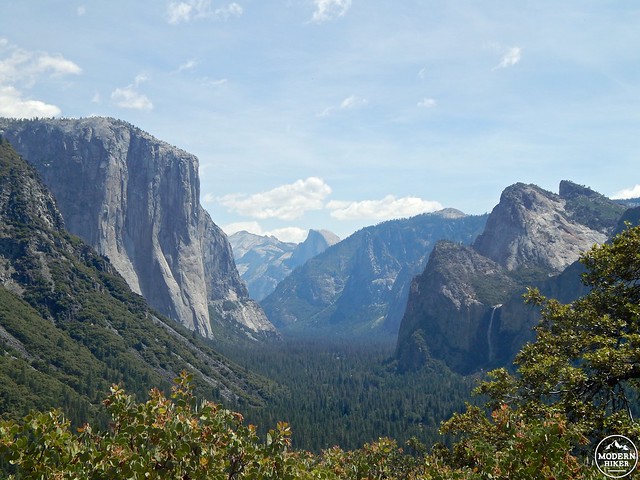
This early portion of trail is steep and rocky, and will send your blood pumping and your lungs huffing – but the payoff is that within minutes, the crowds and sounds are a distant memory, leaving you with nothing but fresh air and gorgeous views – just remember to keep looking over your shoulder from time to time!
At about 0.6 miles, you’ll reach the intersection with one of several old stagecoach roads in the park, a relic from simpler times. If you were to hang a right, you’d end up walking towards Wawona, if you were to hang a left, you’d head towards Artist’s Point, Bridalveil Falls, and the valley beyond, but considering that the valley’s southern rim is your destination, you’ll go past the road and head straight up, up, up.
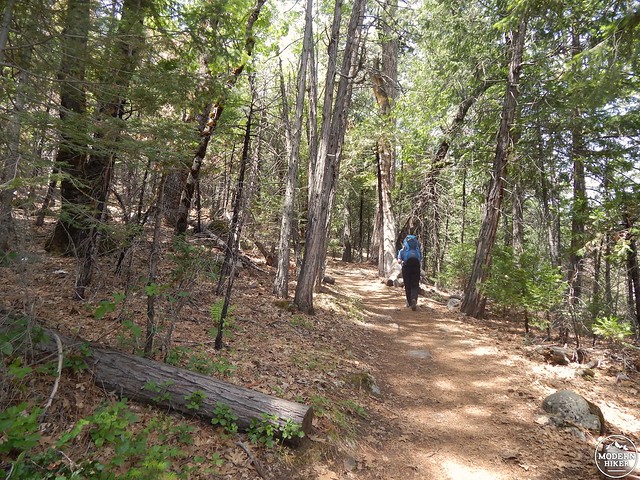
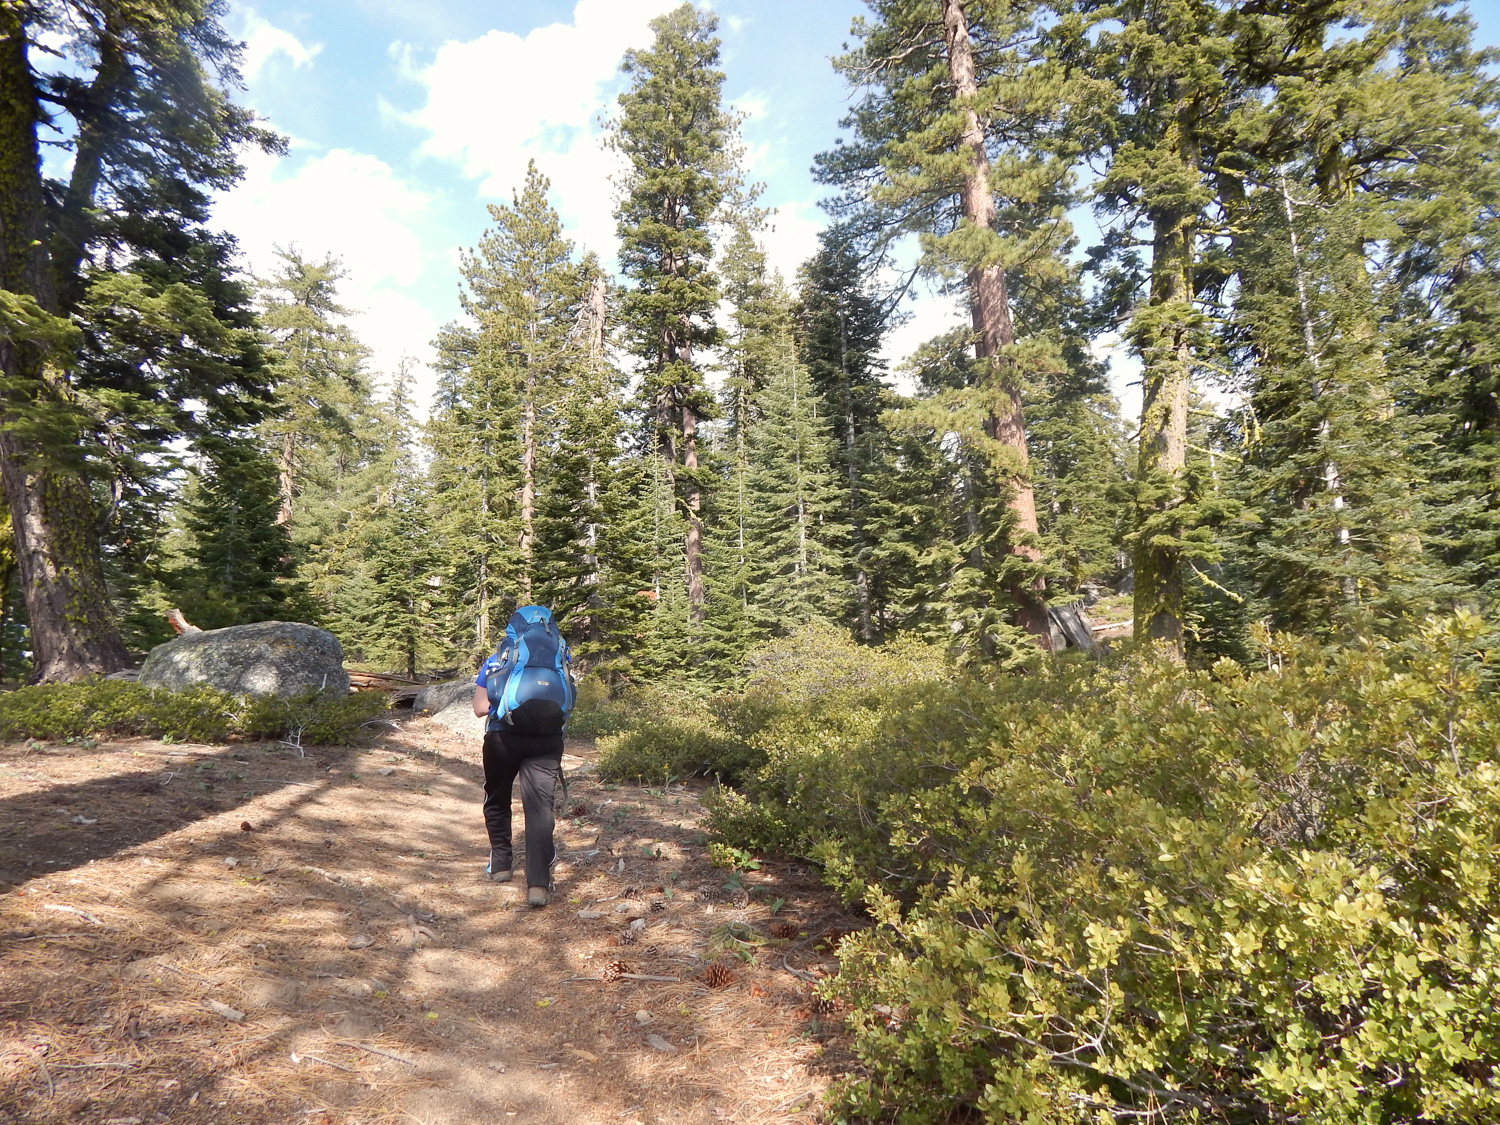
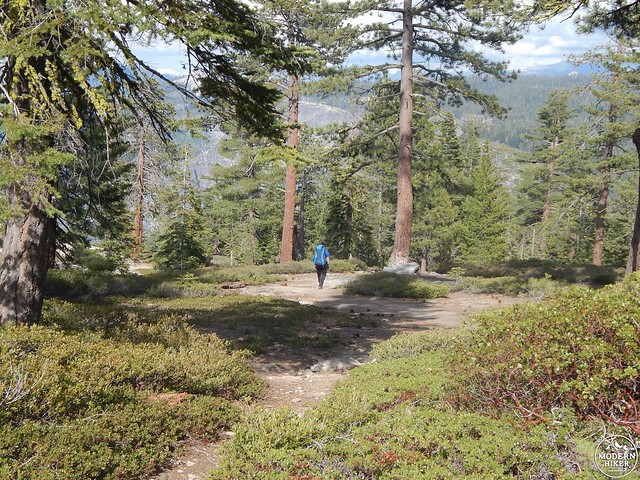
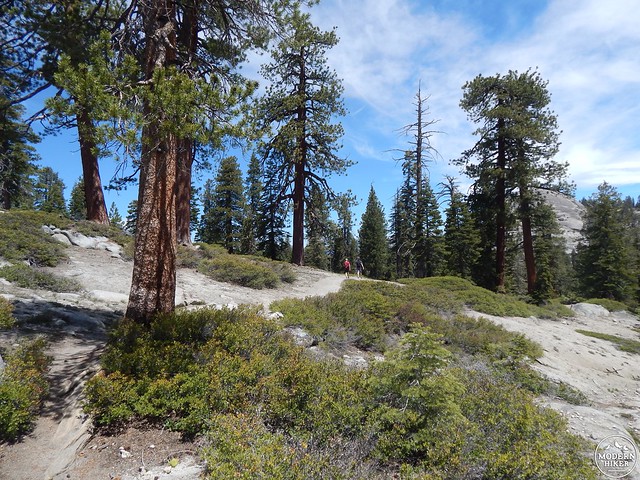
Winding your way up through a vibrant mixed forest, you’ll reach an intersection at about 1.2 miles that features a metal mileage sign and trail on the left and an open plateau on the right that was once the site of the long-gone Inspiration Point parking lot. The viewpoint itself is down to your right across the open area (there are obvious paths that will lead you there), but I’m going to engage in some sacrilege and suggest that you skip this one, as the valley views were better on your hike up than they will be here – plus, there’s some pretty spectacular stuff ahead. So head left and continue making your way up, up, up through the forest. It’s pretty dang beautiful in here, and chances are you’ll have it all to yourself – enjoy the solitude!
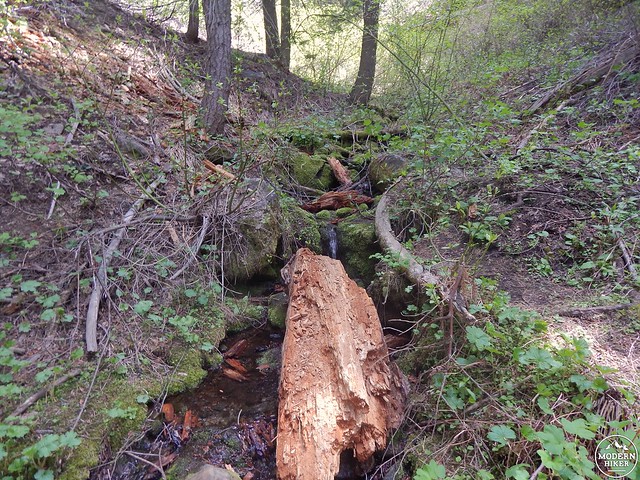
The first water you’ll cross on the trail is around 2.7 miles at Artist Creek, which was barely a gurgle thanks to our current drought. This is a good time to mention that when you pick up your Wilderness Permit, you should check with the rangers on two things – water levels and snow levels. In a dry year, several of the water sources may dry up by early summer (if not earlier), and in a wet year, snow can linger in shaded areas well into July.
A few minutes past Artist Creek, you’ll reach a potentially confusing area where several use trails branch out to the left. Look for two metal mileage signs spaced a few feet apart, facing one another – this is how you’ll know you’re at the turnoff for Old Inspiration Point…which judging from its far-superior views, should still count as New Inspiration Point in my book. Head left on the use trail between the metal signs and enjoy the good stuff.

Don’t linger too long, though – it might be hard to believe, but the views are going to keep improving the further you travel along the rim. As you make your way deeper into the peaceful solitude, you’ll cross Meadow Brook, which becomes Silver Strand Falls once it spills over the granite. This has a slightly stronger flow than Artist Creek and is a good place to fill your water reservoirs.
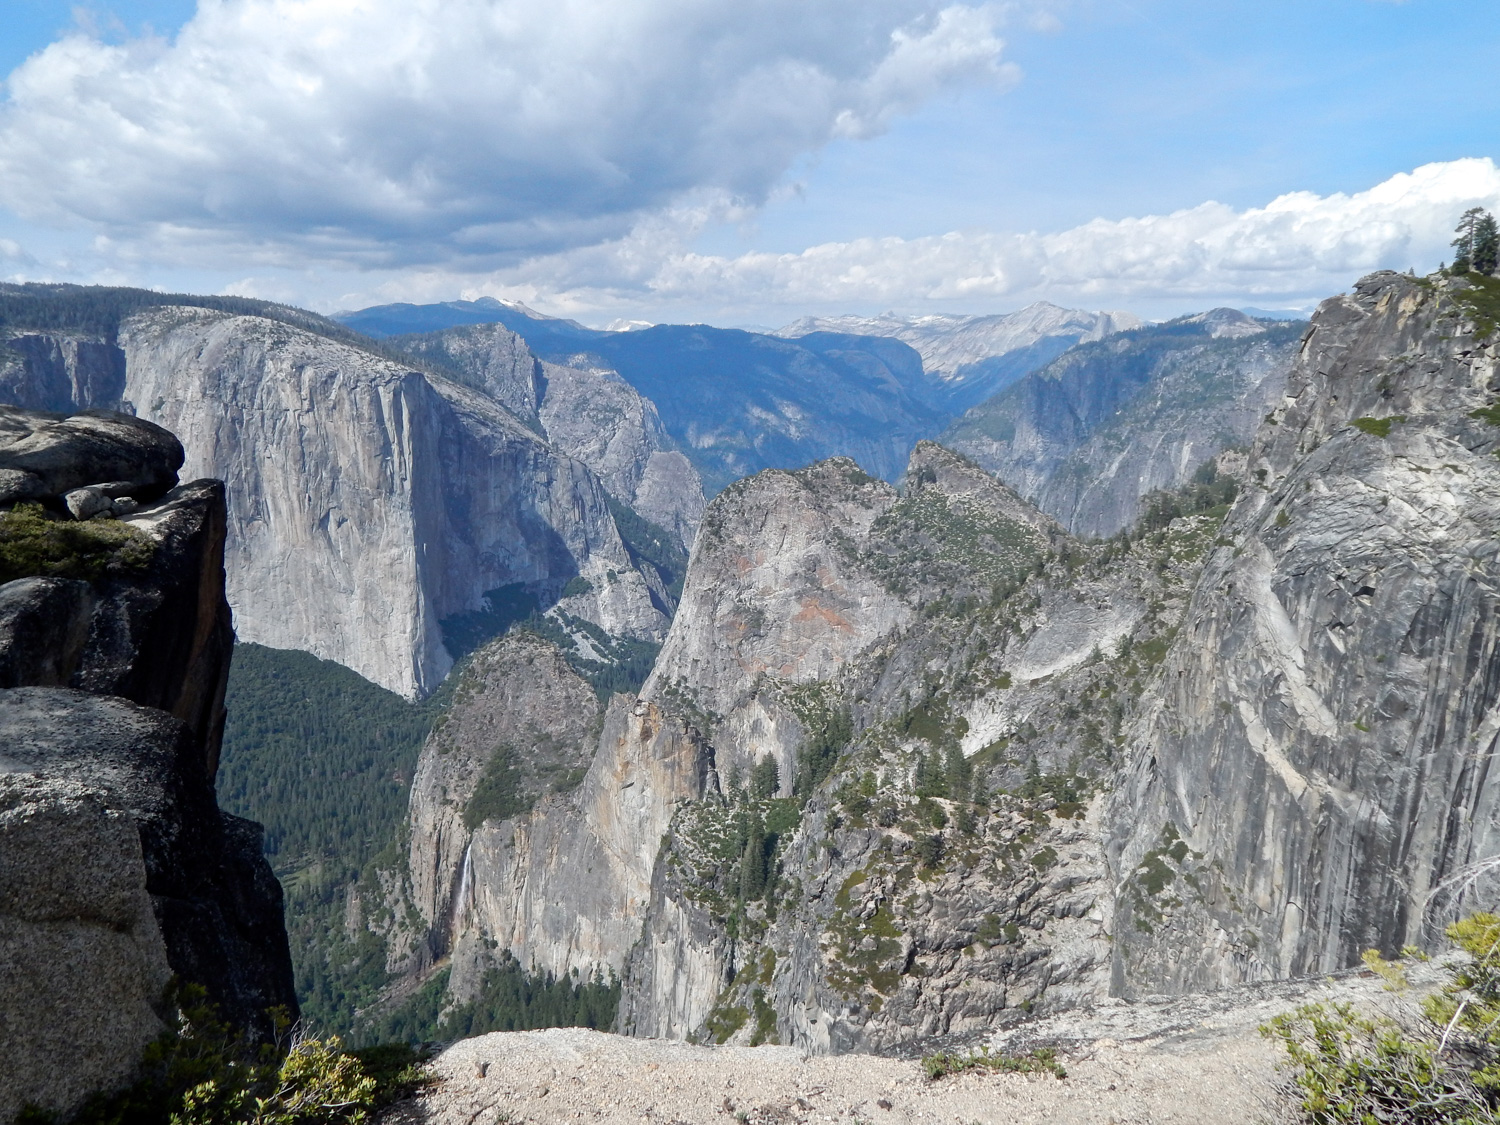
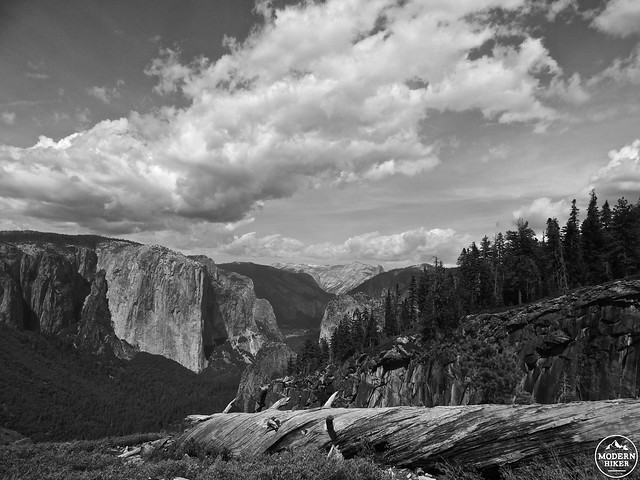
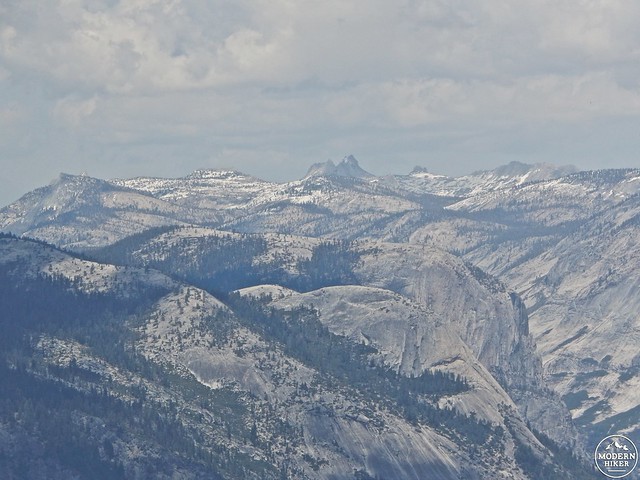
At about 3.7 miles, you’ll reach another pair of metal signs and this time, they guard the path to one of my favorite viewpoints on the trail, Stanford Point. From here, your valley views get a bit more vast and you see even more of the northern Yosemite backcountry, including the Cathedral Range.
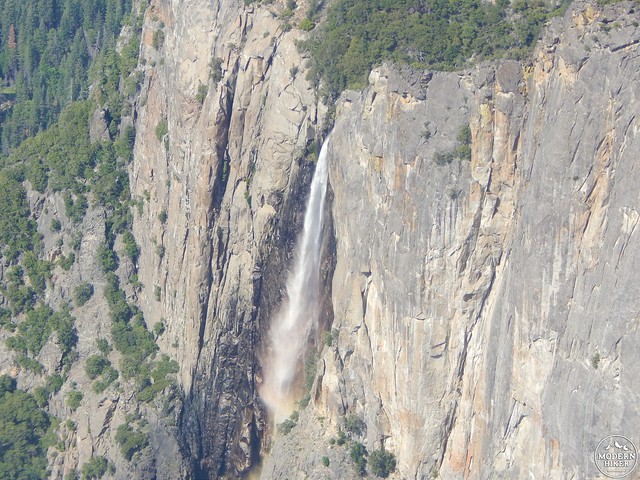
If you’re up for some more epic vistas (of course you are!), continue onwards (and upwards) and pull over to another use trail around the 4.4 mile mark – this time, you’re headed to Crocker Point, which offers a top-down view of Bridalveil Falls.
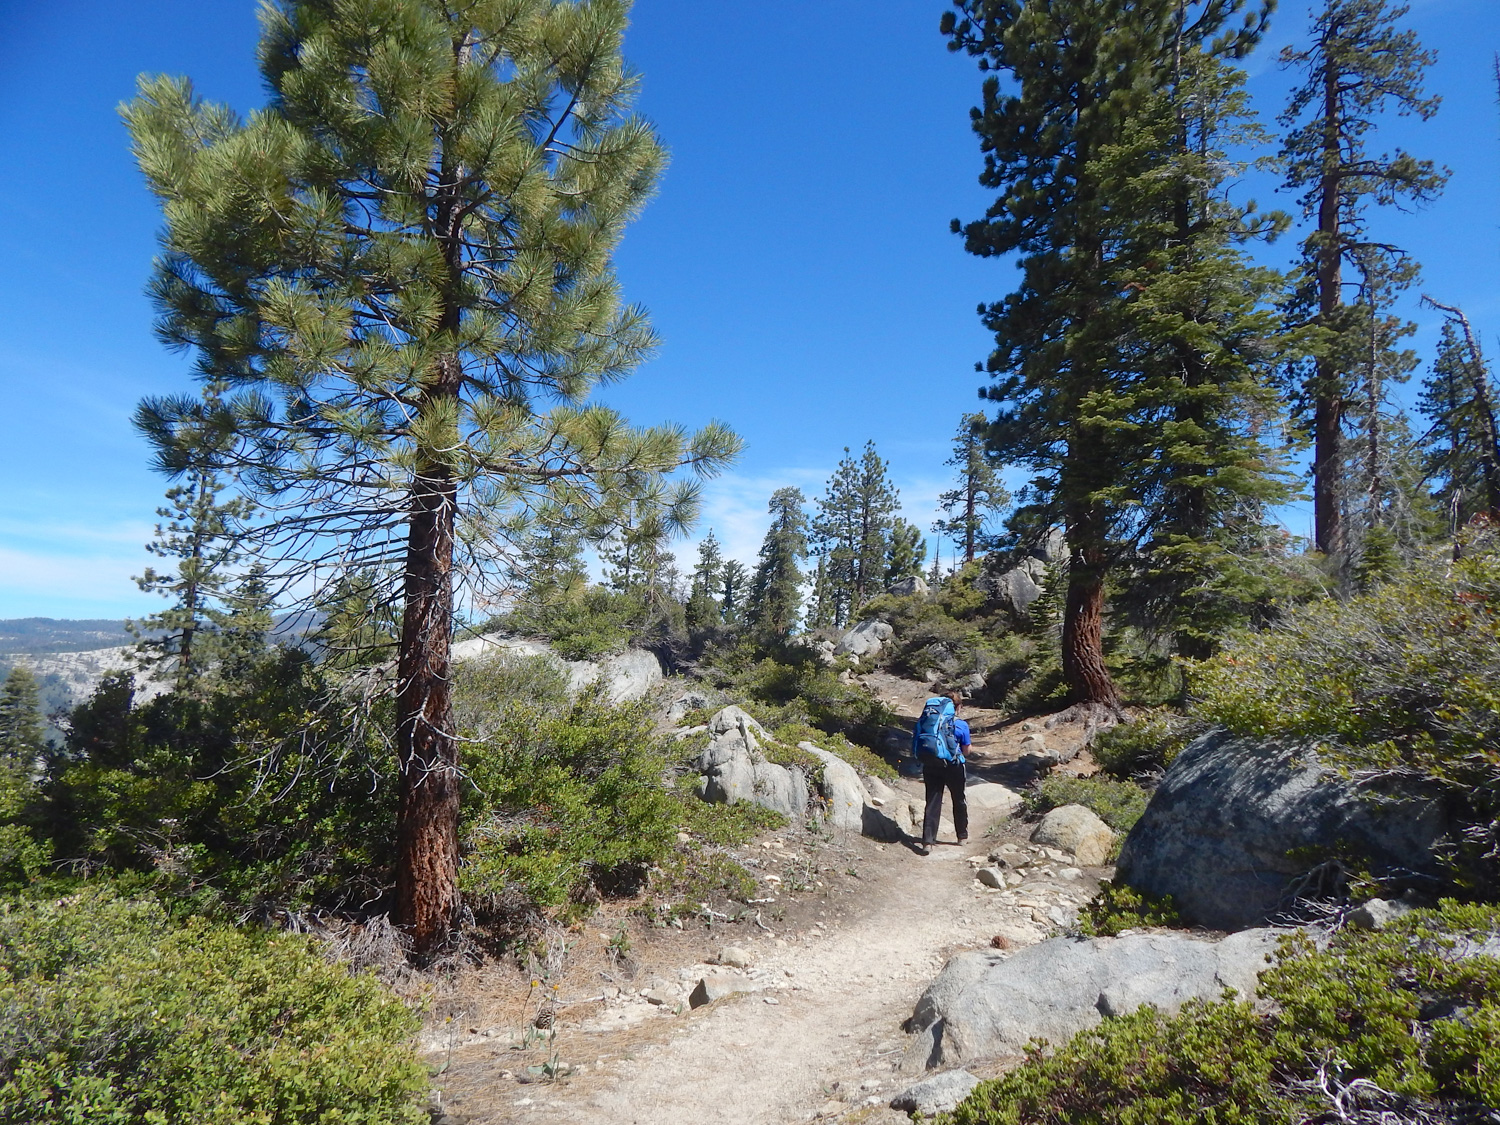
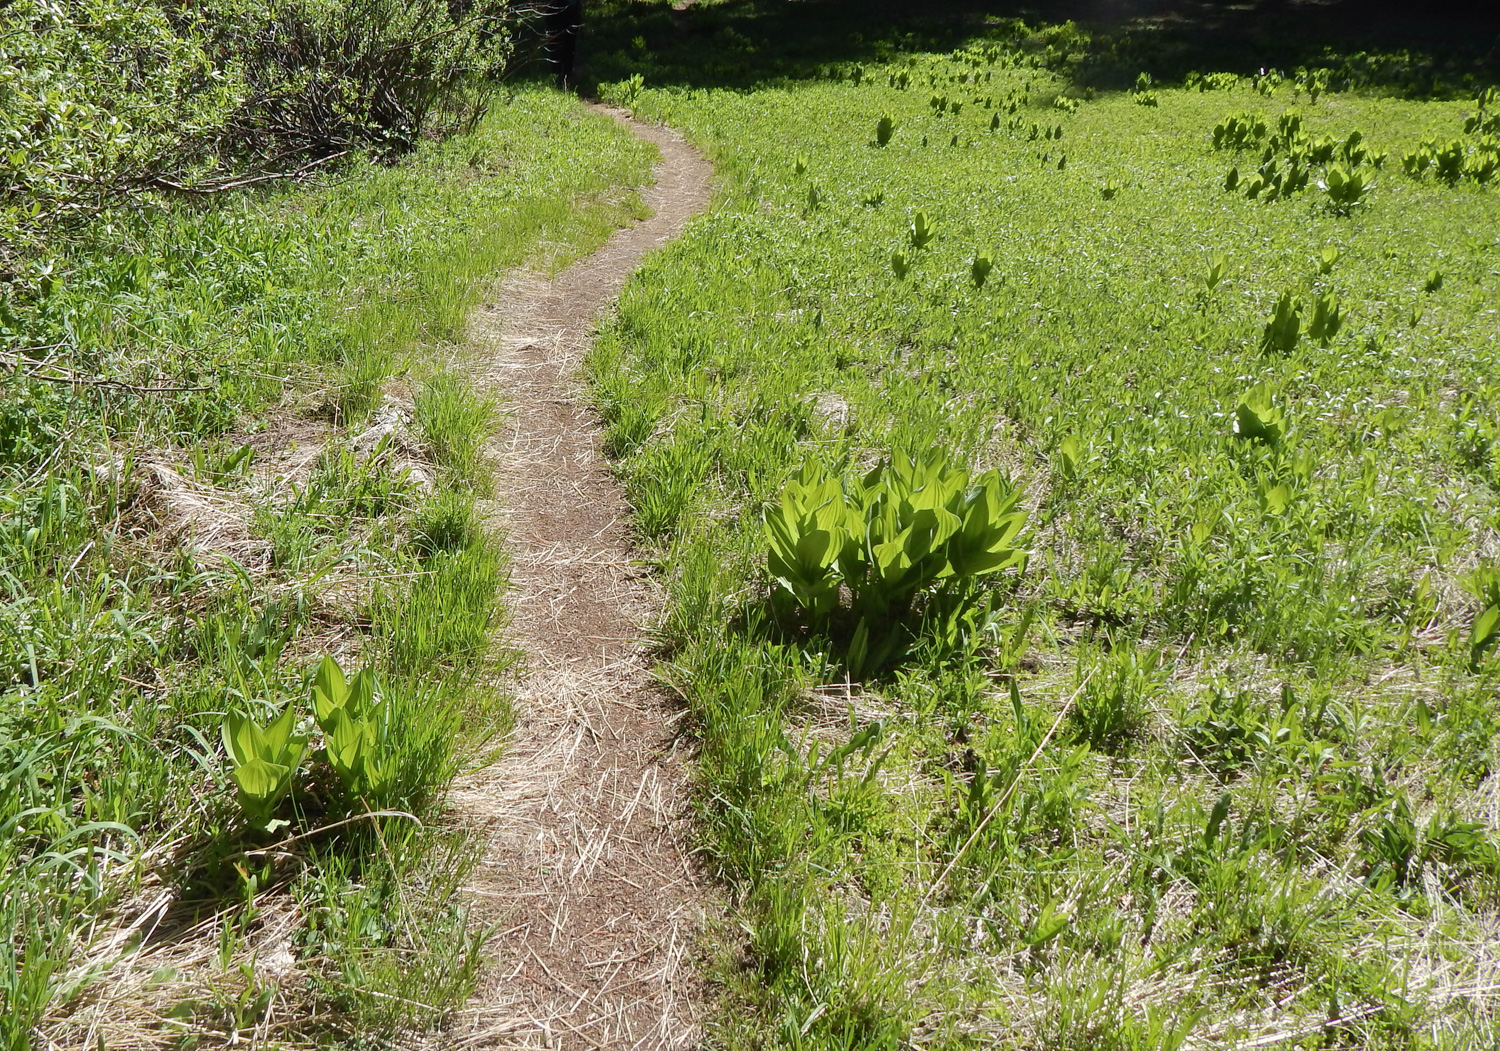
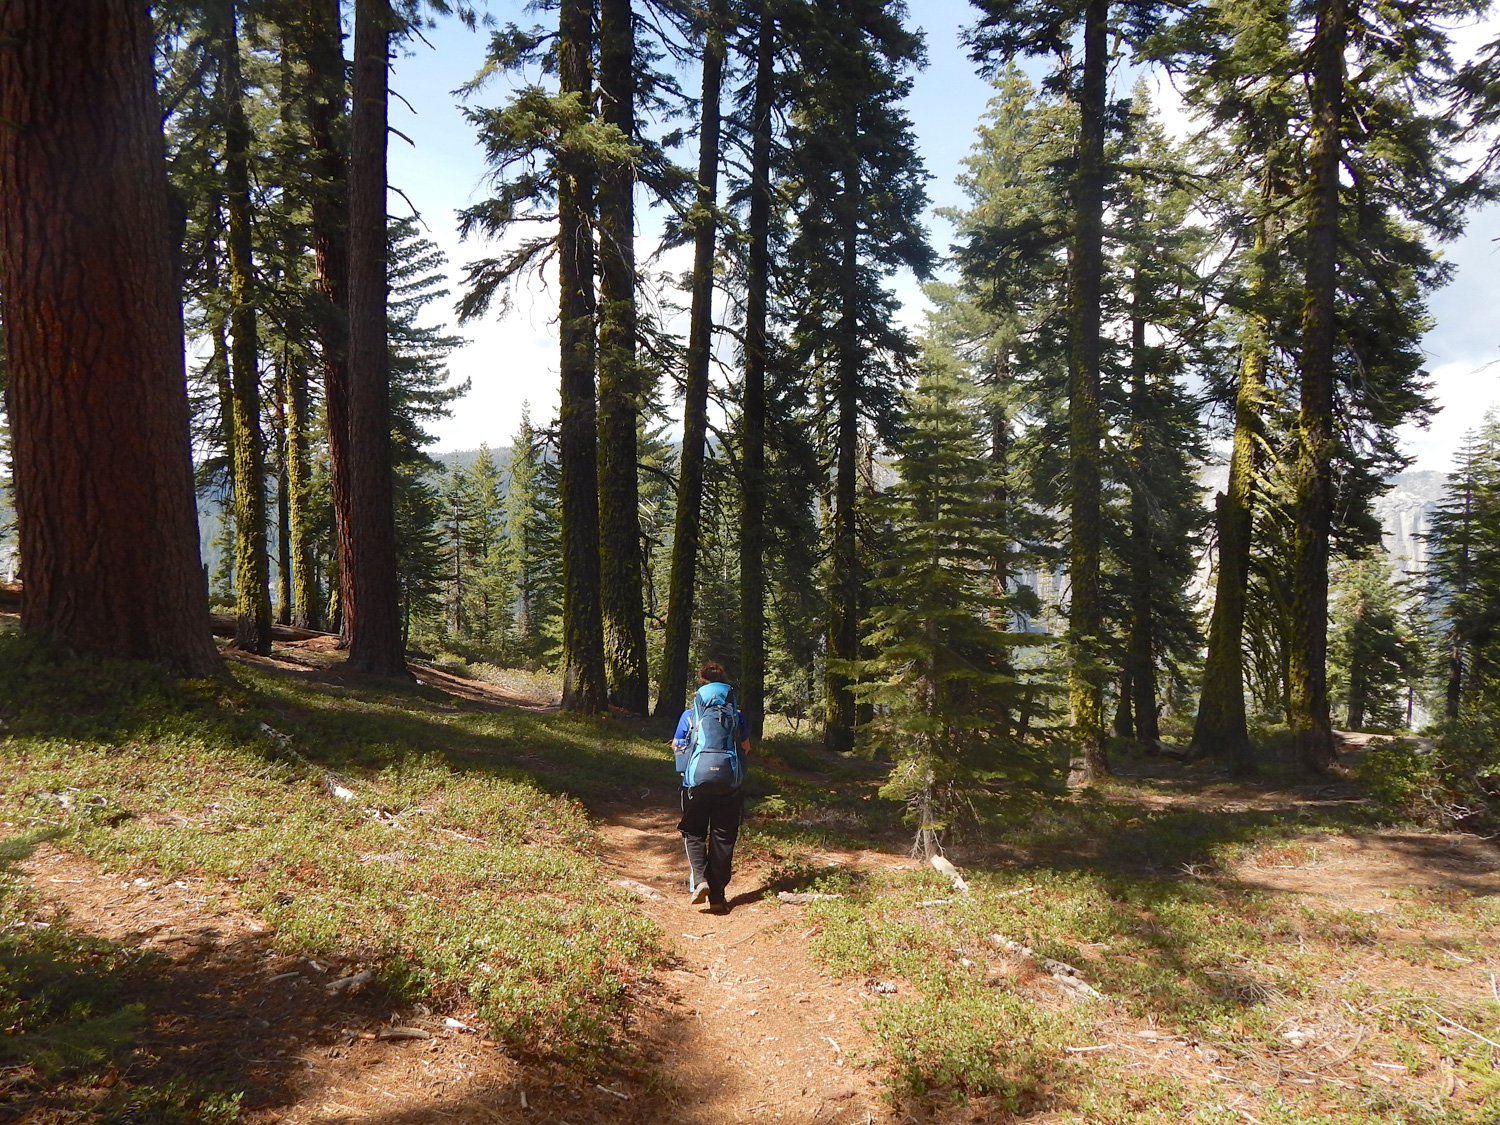
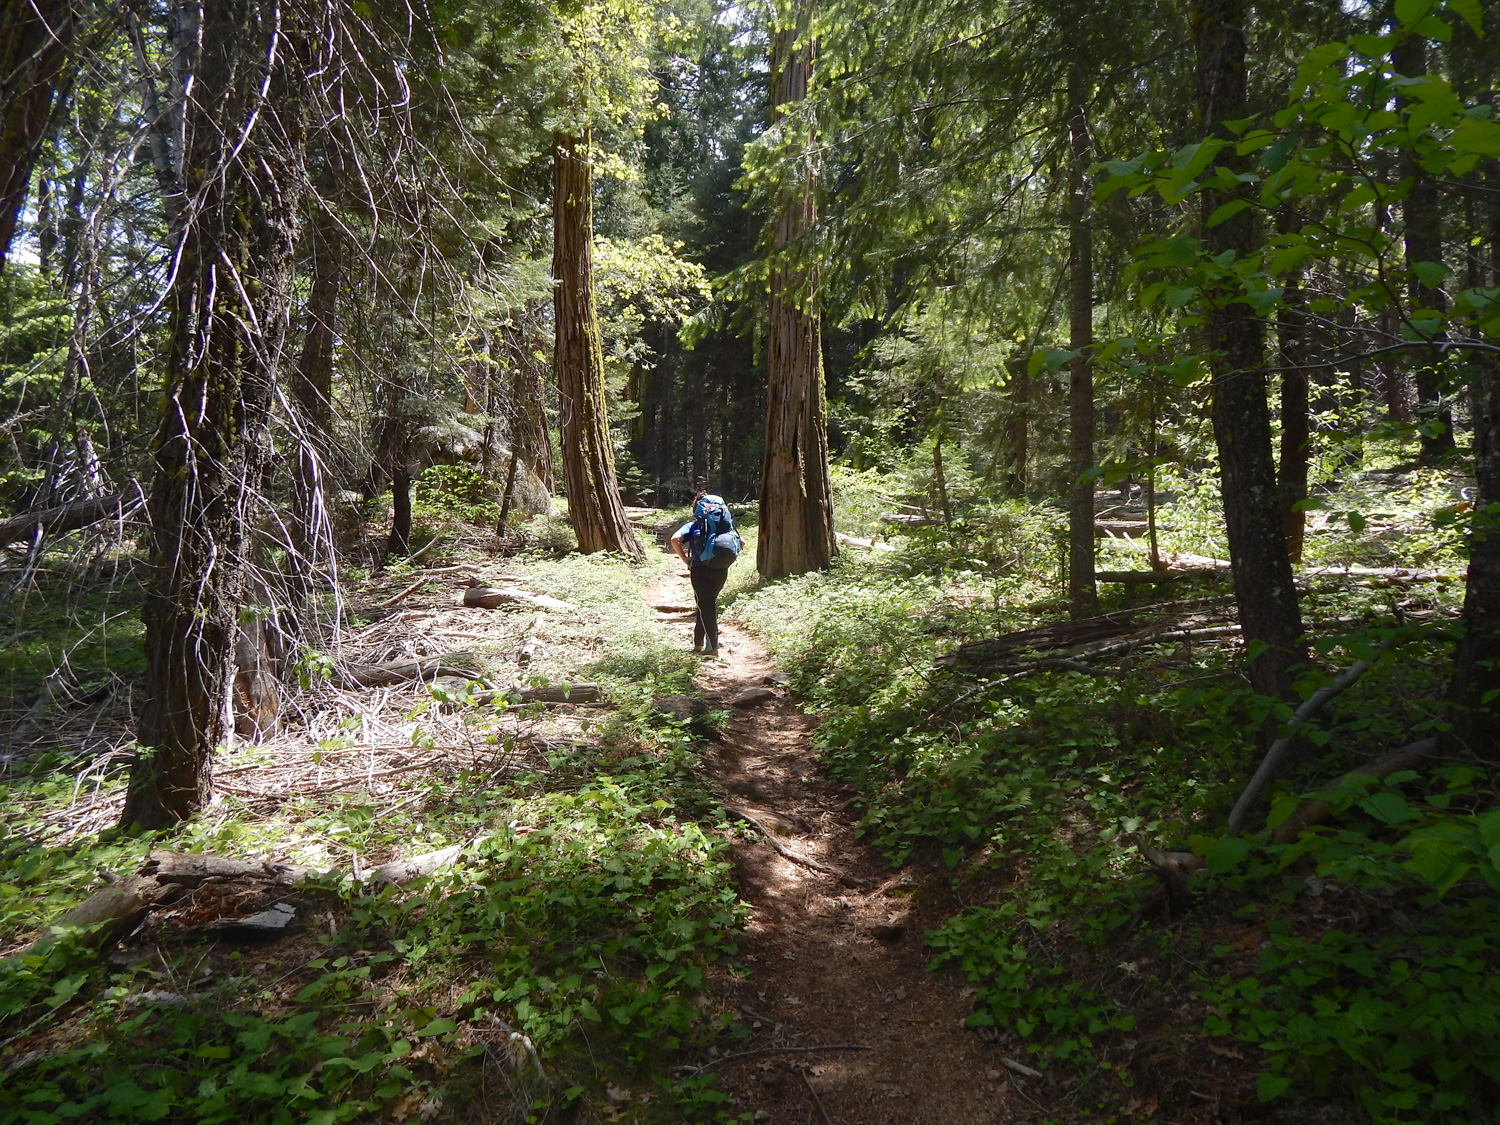
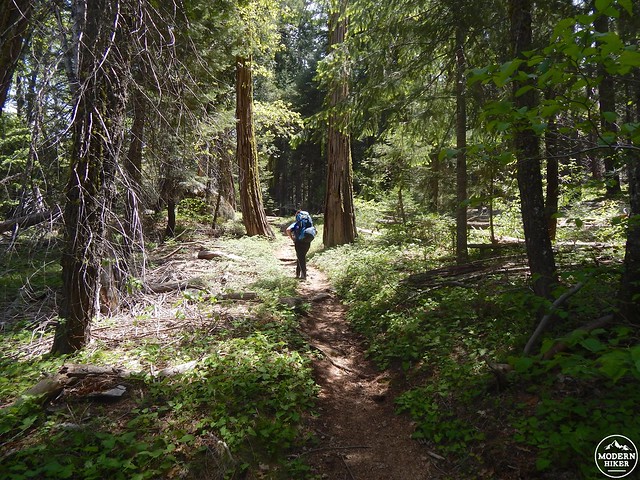
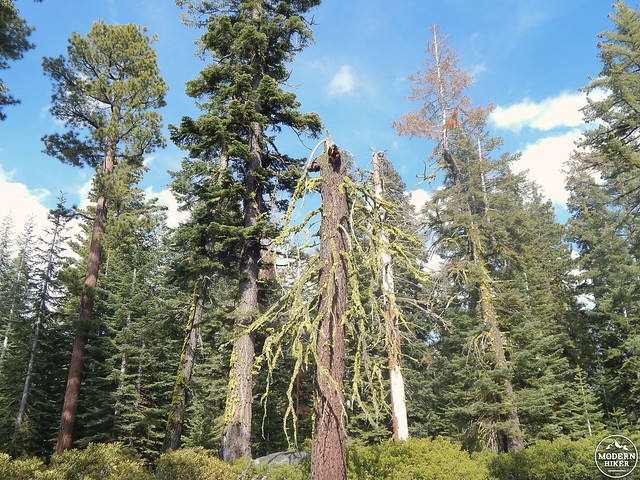
By the way – make sure you’re also taking the time to appreciate the forest you’re hiking through – the colors and variety of plant life are incredible and worth just as much of your attention as the cliffside views!
If your jaw was on the ground at Crocker Point, just leave it there for Dewey Point. Located about 5.1 miles into the hike, this dramatic outcropping is the crown jewel of today’s vistas. It’s so epic that I couldn’t fit it all into one photograph, and trust me when I say that these shots don’t even capture 1/100th of the beauty and tranquility of this magical spot.
It might be kind of a letdown knowing that once you leave this granite perch, you’re going to spend the rest of today’s hike moving through the forest, further away from the dramatic views, but I promise there are treats ahead.
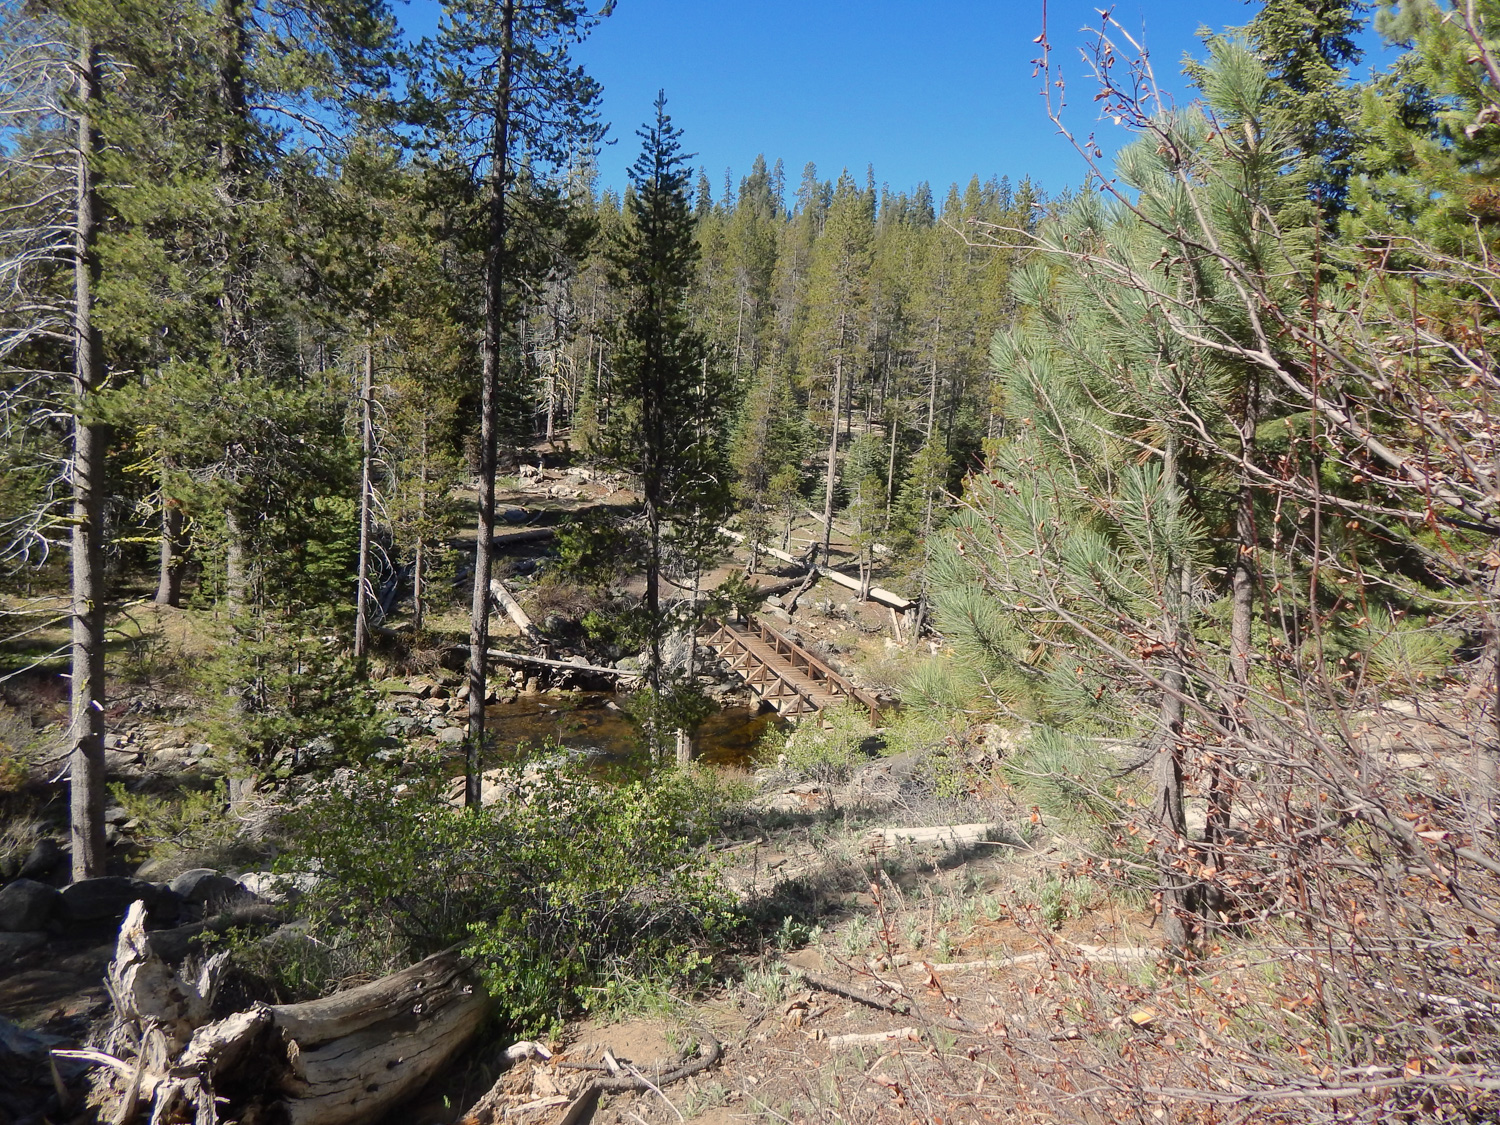
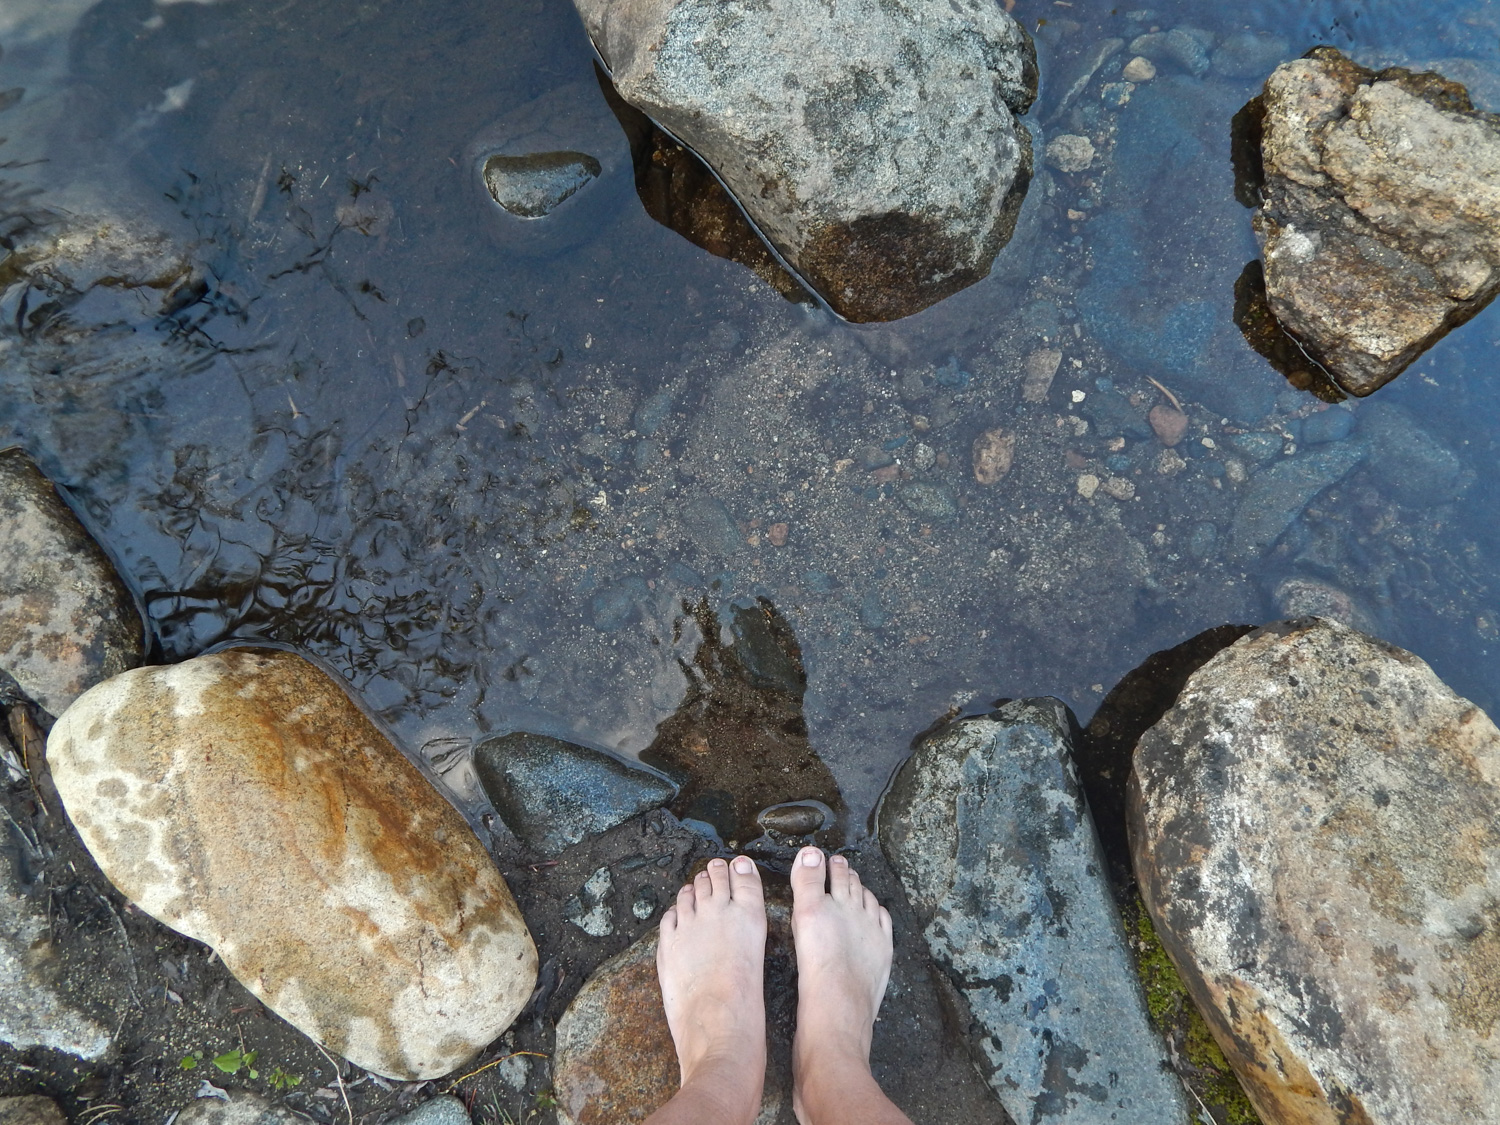
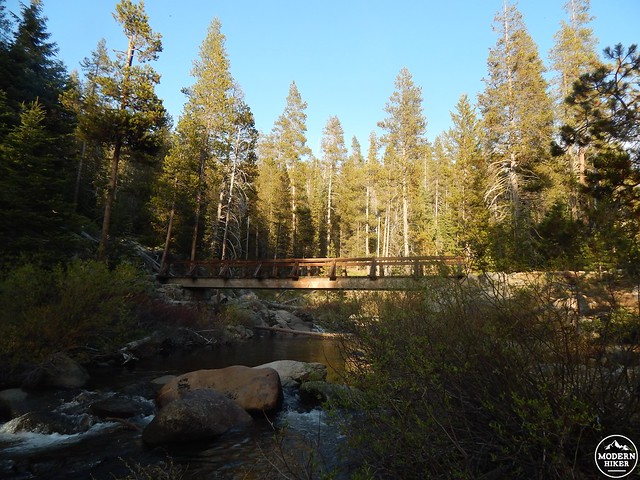
You’ll enjoy some downhill respite on portions of this last leg, crossing over several branches of Bridalveil Creek, this evening’s destination. At about 7.4 miles, you’ll come to a pair of intersections with the McGurk Meadow trail – keep going straight and a few minutes later, you’ll be rewarded with gorgeous Bridalveil Creek and its idyllic footbridge…a perfect place to not just refill your water reservoirs, but also dip your weary toes. Just think – your feet just touched the water that will eventually cascade down as Bridalveil Falls!
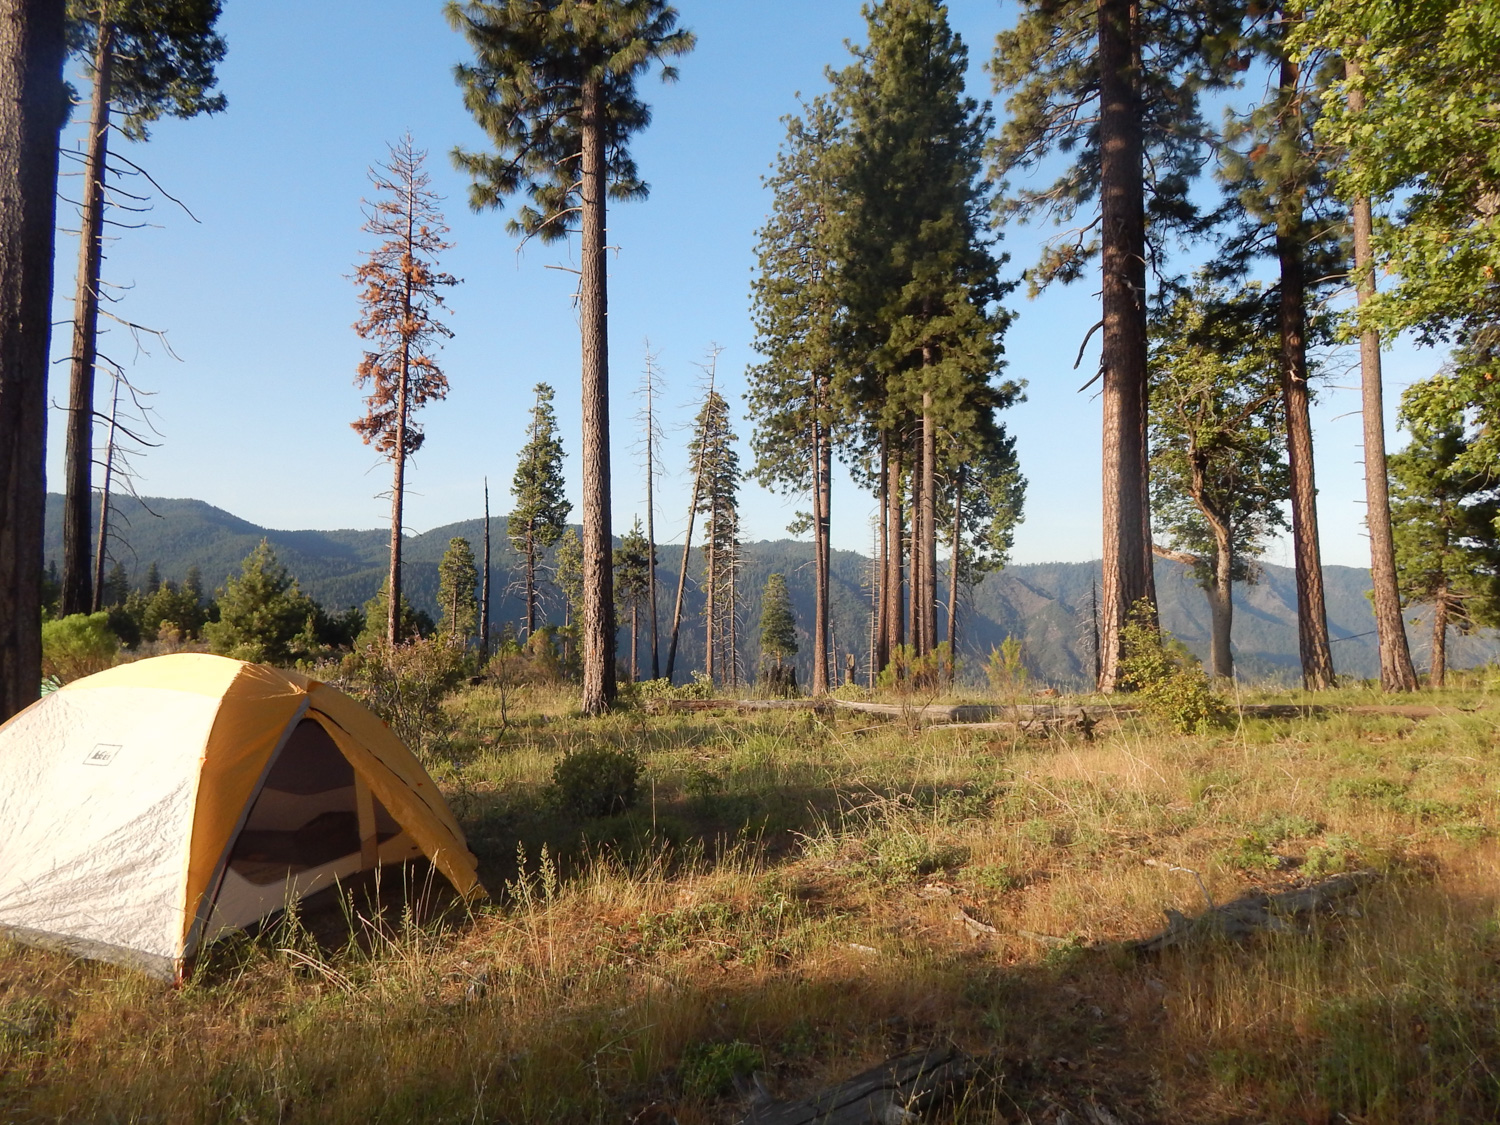
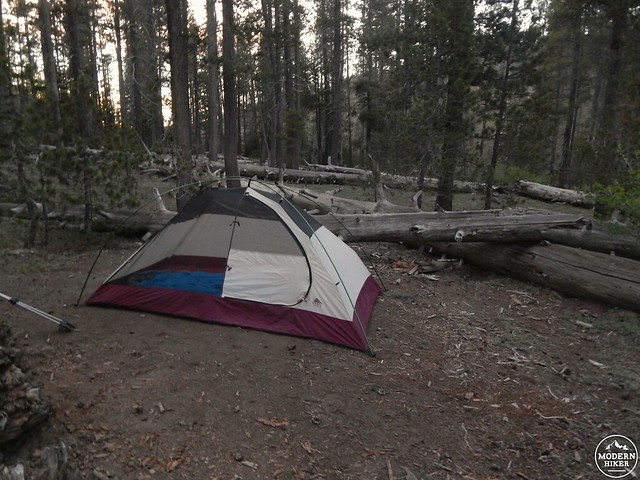
As the rangers will explain when you pick up your permit, there are a lot of camping restrictions along the Pohono Trail – and it turns out that west of the bridge is one of the only areas where you can pitch your tent…which is just as well, because it’s perfect. There’s easy access to water, plenty of flat spots, and even some established fire rings. Since this is wilderness, you must practice Leave No Trace principles and make sure your camp is situated far enough away from the water and that your campfire is located in an established ring, using only dead and downed wood.
I highly recommend poking around to the south of the trail, just up the hill from the western side of the bridge – there are some fantastic spots tucked away in here and if you’re as lucky as we were, you’ll have solitude…and a perfect gap in the trees for stargazing.
***
Good morning, campers!! Once you’ve had a chance to dangle your feet off the bridge while enjoying your morning coffee, it’s time to boogie. Chances are, your quads and calves and hips and back and everything will be sore today, so take it easy on yourself – that elevation gain yesterday was no joke!
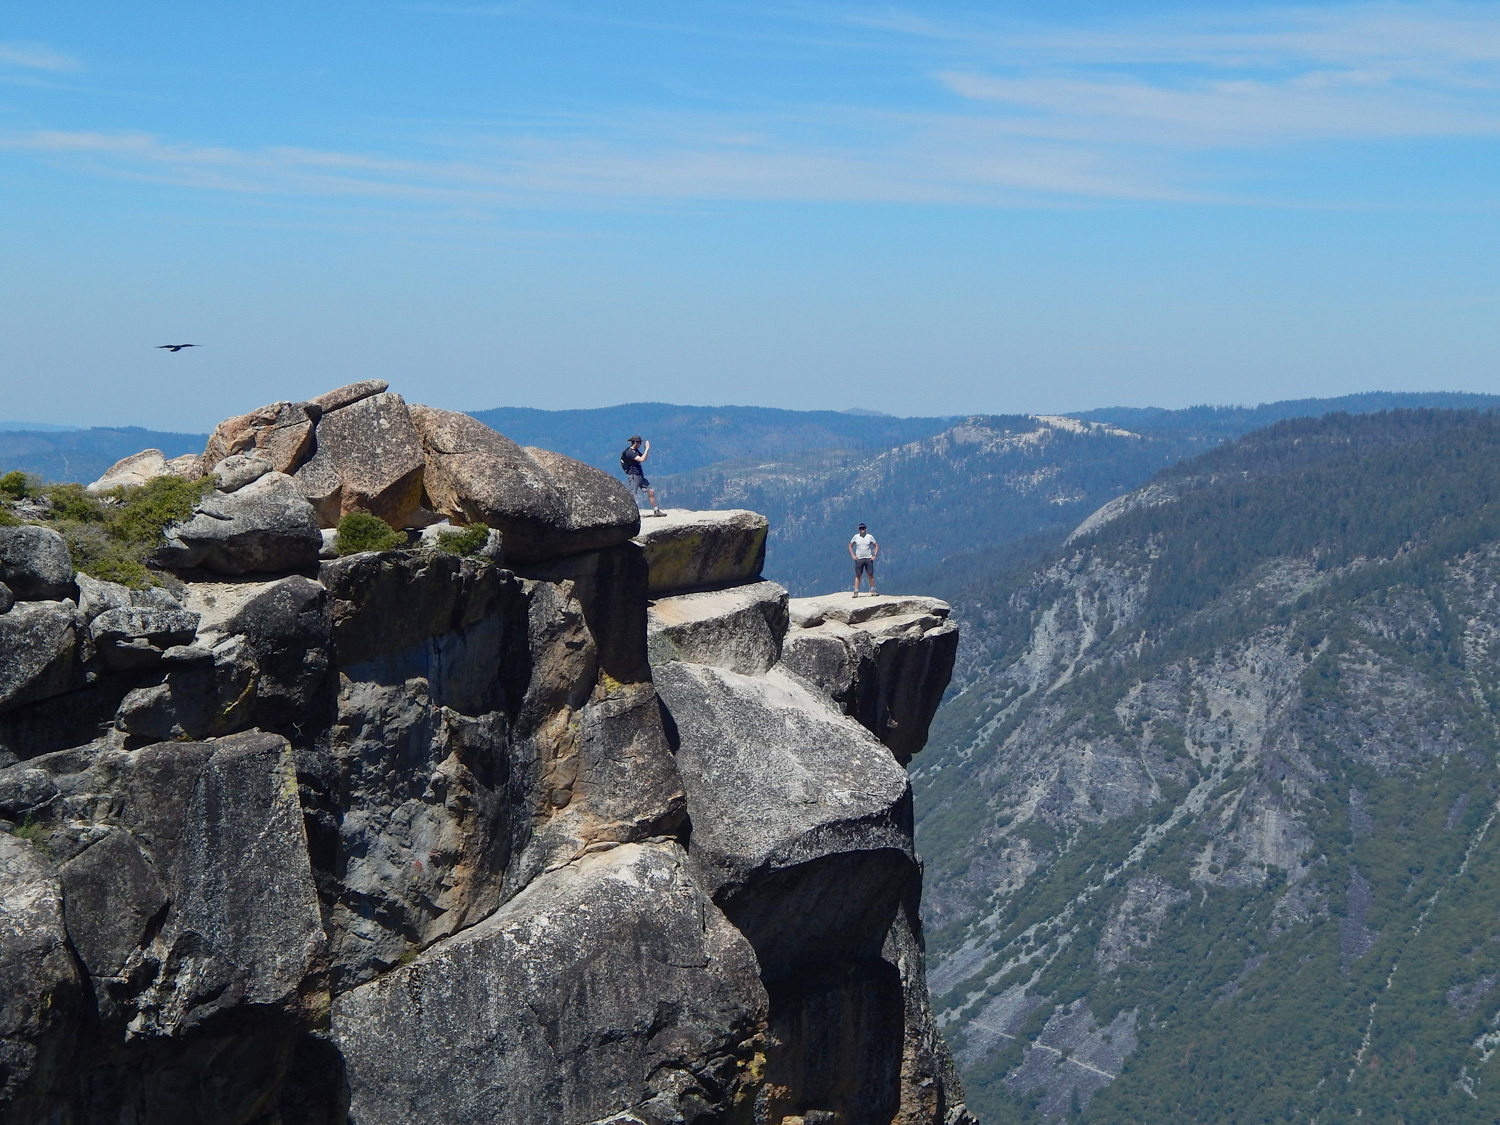
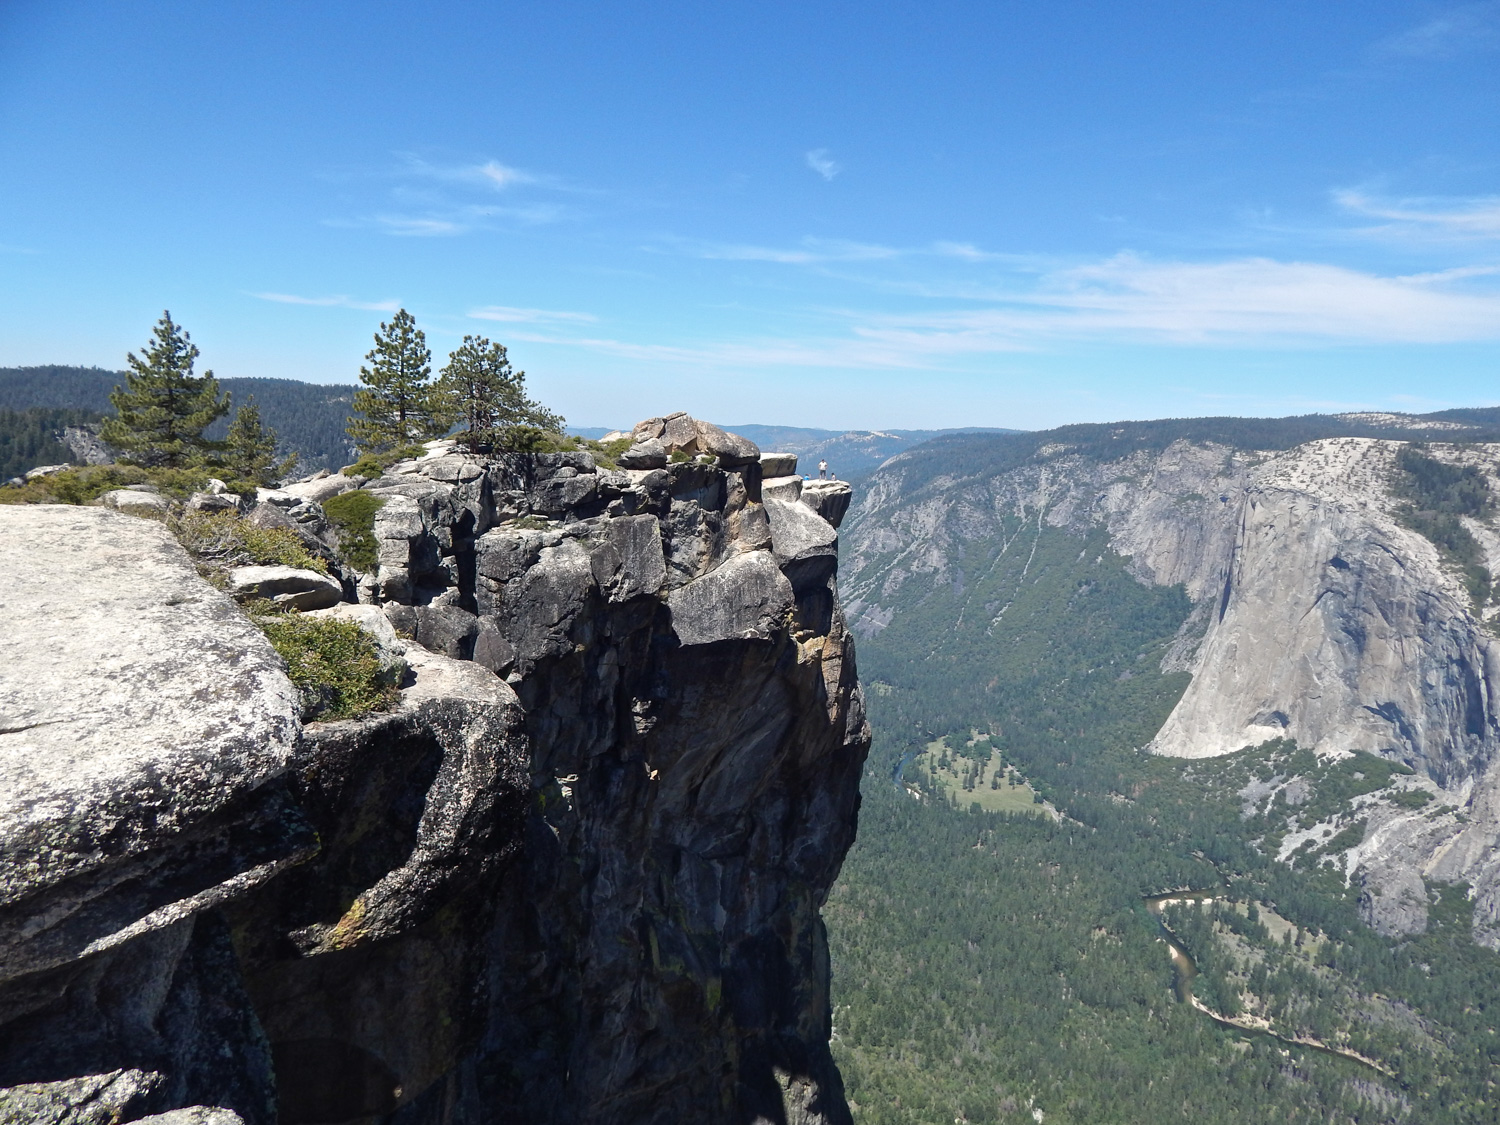
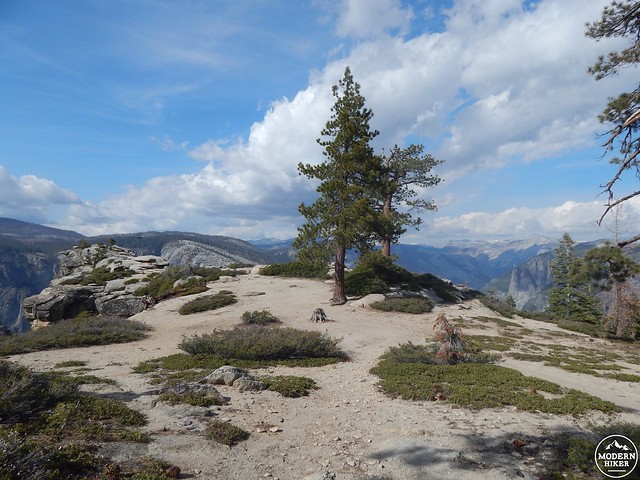
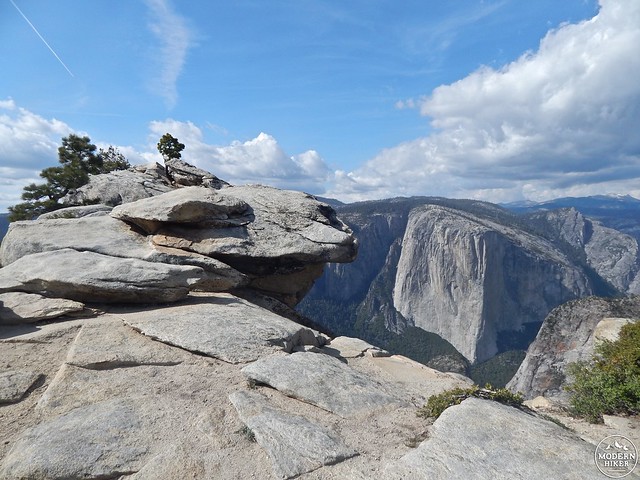
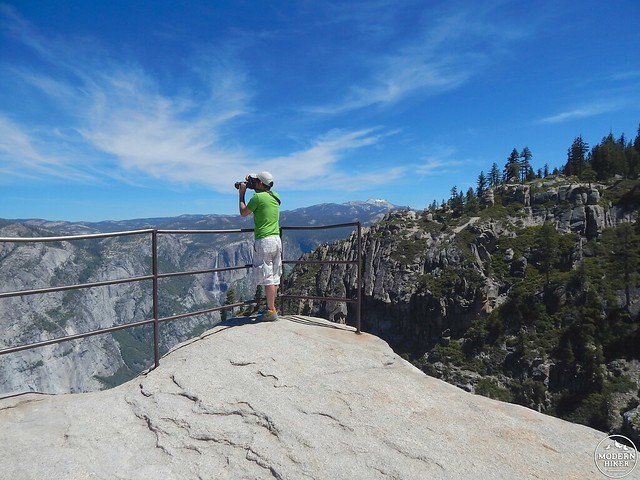
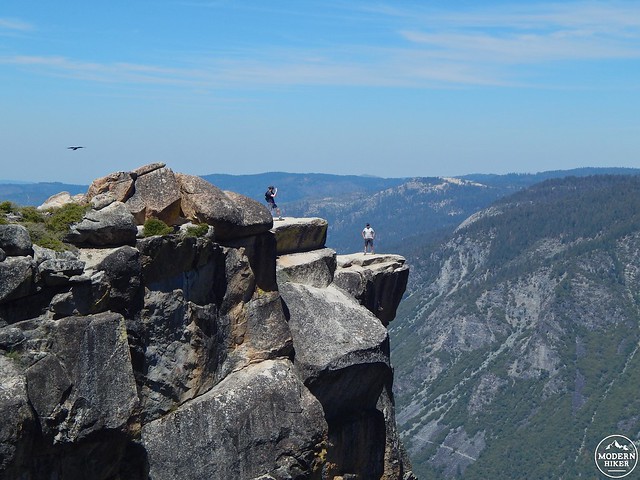
OK, today’s elevation gain is no joke, either – but I promise that while the climb to Taft Point might feel rough, it’ll be over soon enough. From camp, it’s about 2.5 miles to the viewpoint and you’ll know it when you see it – not only is the broad plateau leading up to the point fairly obvious, but you’ll also likely encounter some of the first people you’ve seen since leaving Tunnel View. Try not to feel disappointed, though – there’s a reason those other people are here and that reason is More Epic Views. Left, right, straight ahead, and down – there’s a little bit of everrrrrything here.

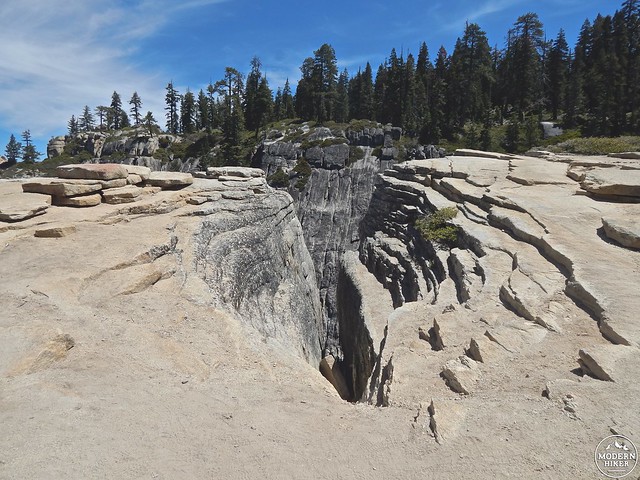
Once you’ve pushed your vertigo to the limit, come back down from the point and look to your left to view perhaps the spookiest thing on this entire hike – The Fissures. These are a series of beautiful, if a bit stomach-dropping cracks that barrel straight down to the valley floor…it suffices to say, watch your footing.
Leaving The Fissures, you’ll hop back on the trail, gaining elevation for a few minutes before coming to a fork – the right heads to Glacier Point Road, but you’ll continue on to the left to escape the crowds and enjoy a few more miles of relative peace and quiet. Keep an eye out for Sentinel Dome, which will make an occasional appearance through the trees to your right.
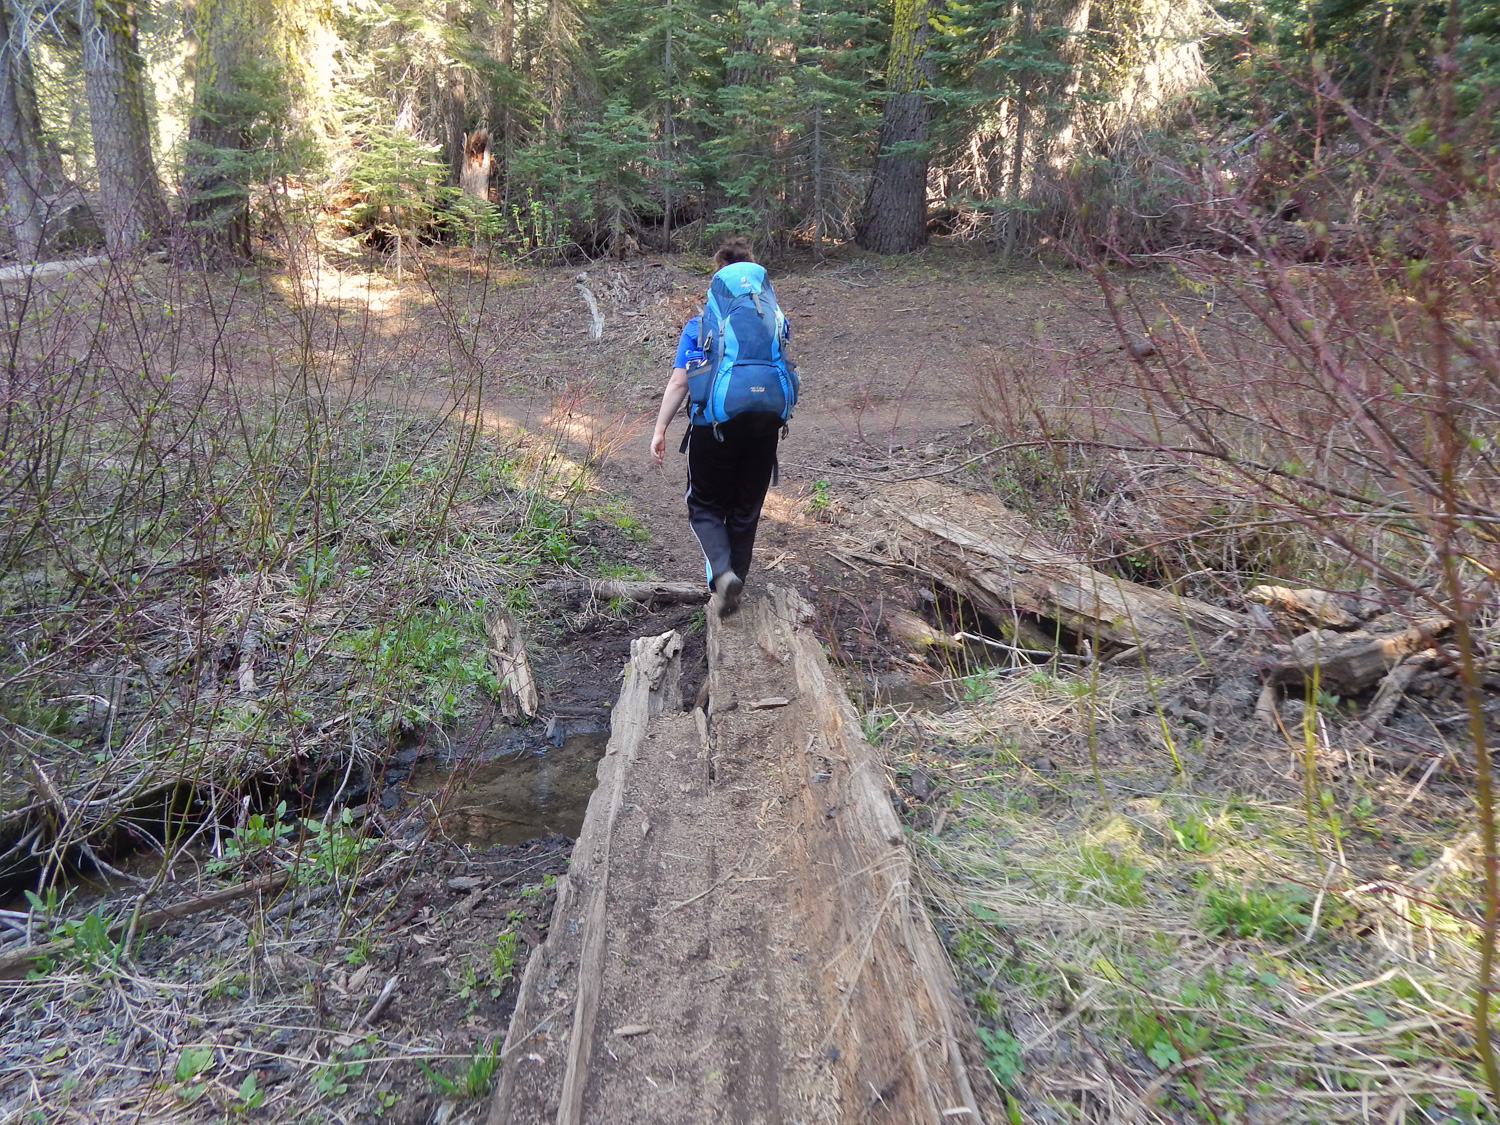
After a short while, you’ll cross Sentinel Creek – this is the only water crossing that gave us pause due to some slippery logs spanning the water, so I slung my boots around my neck and enjoyed the refreshing glacial melt on my tired tootsies.
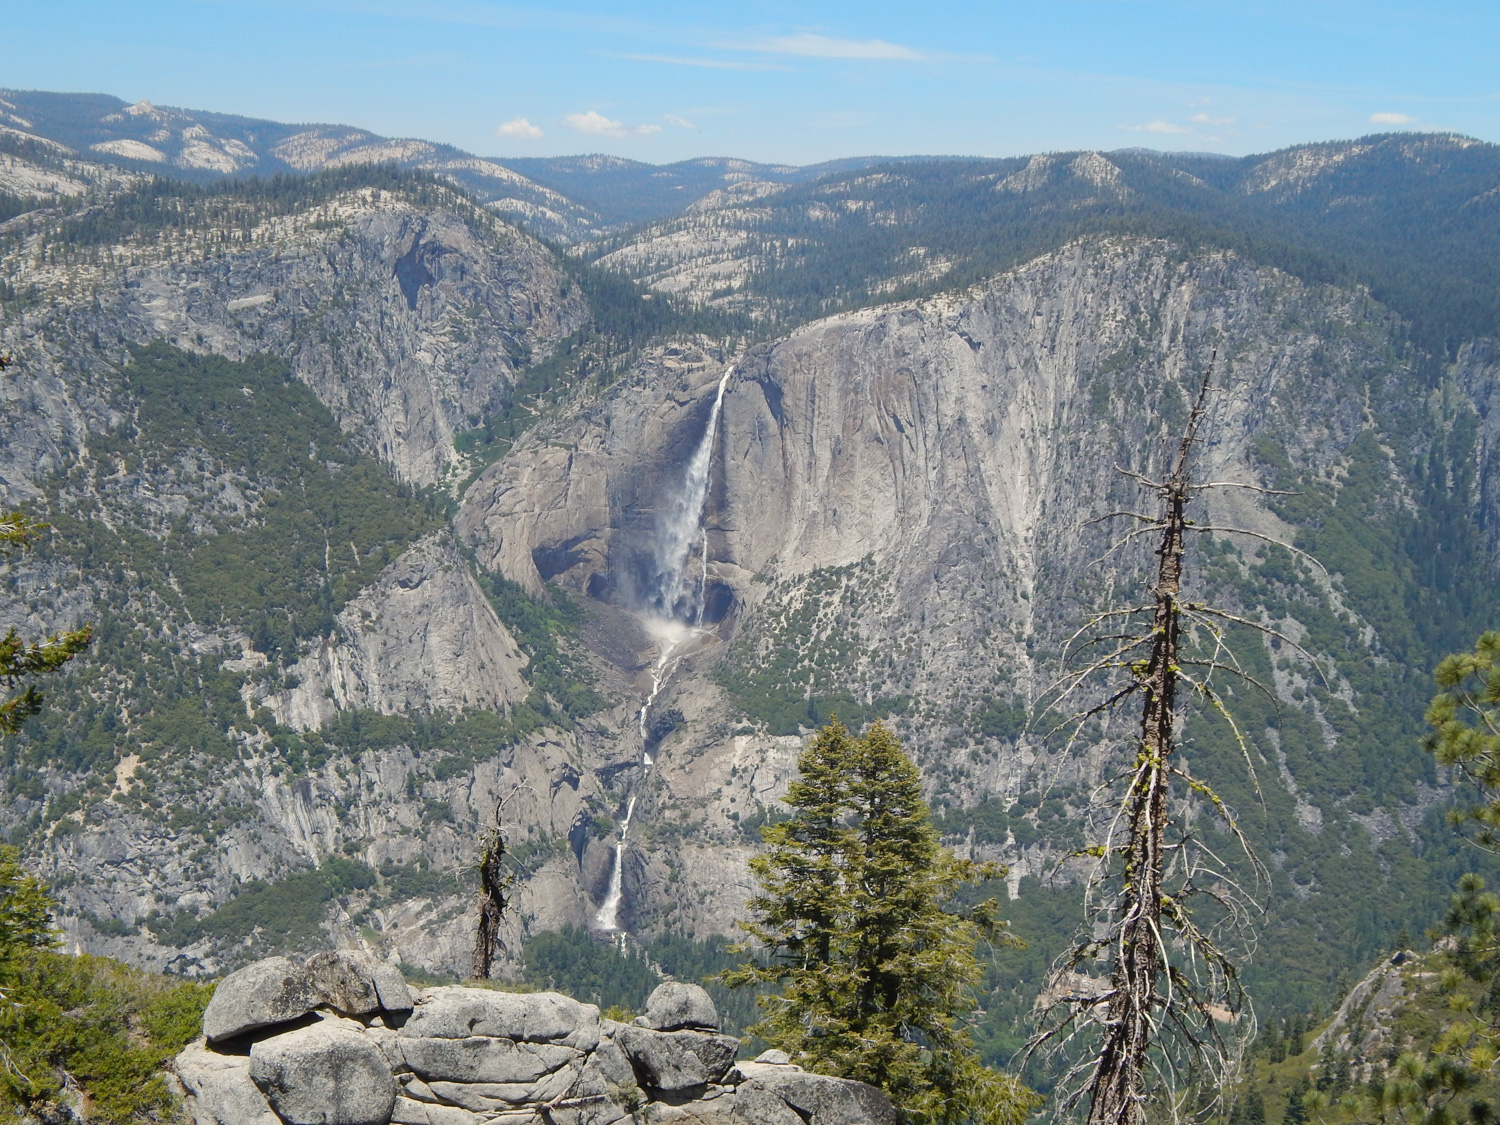
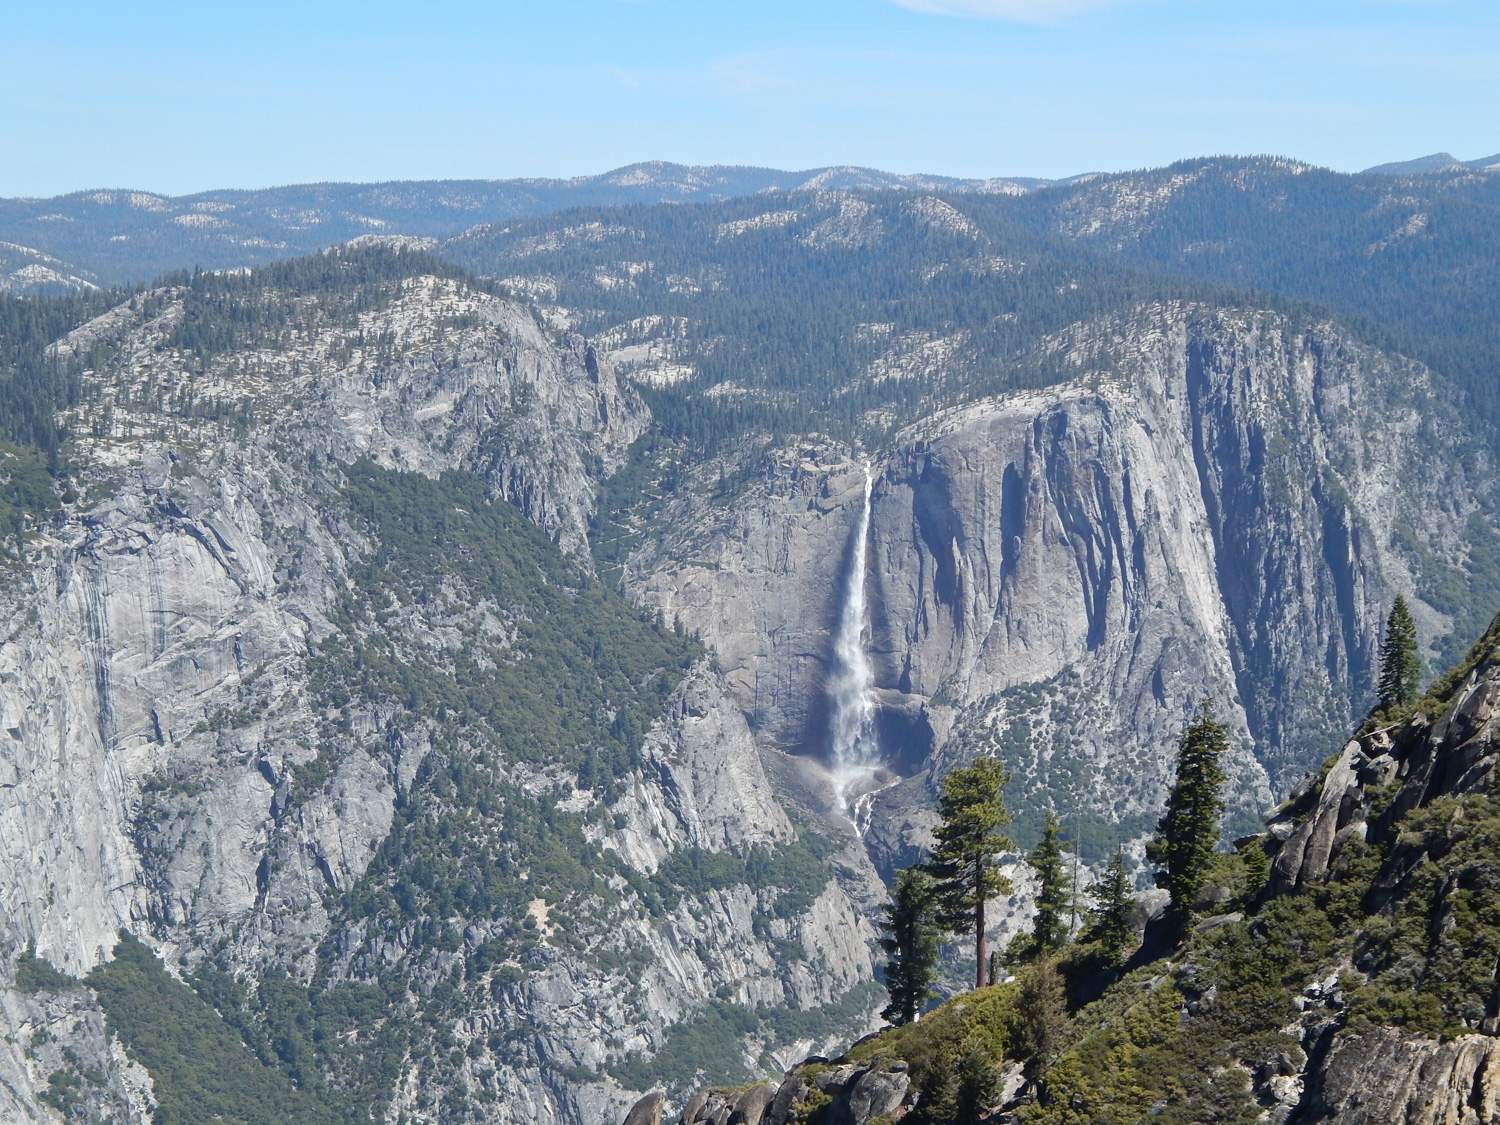
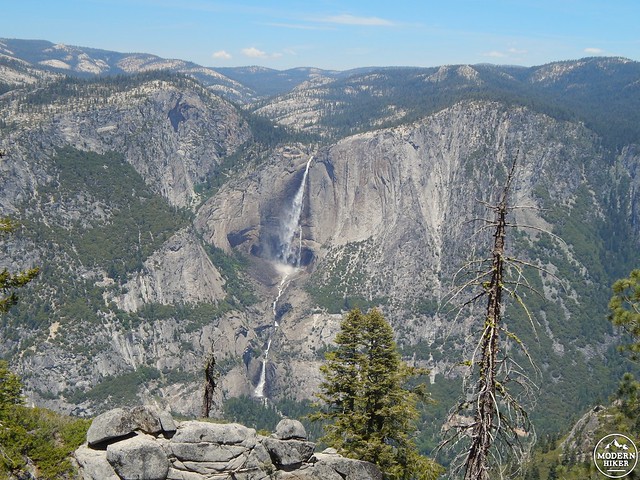
On the other side of the creek, you’ll reach another fork in the trail – while I believe both will converge again before you reach Sentinel Dome, we chose the left fork to stay close to the rim and snag a few more views, including a nearly full look at both Upper and Lower Yosemite Falls – and the squiggles of its namesake trail to the left.
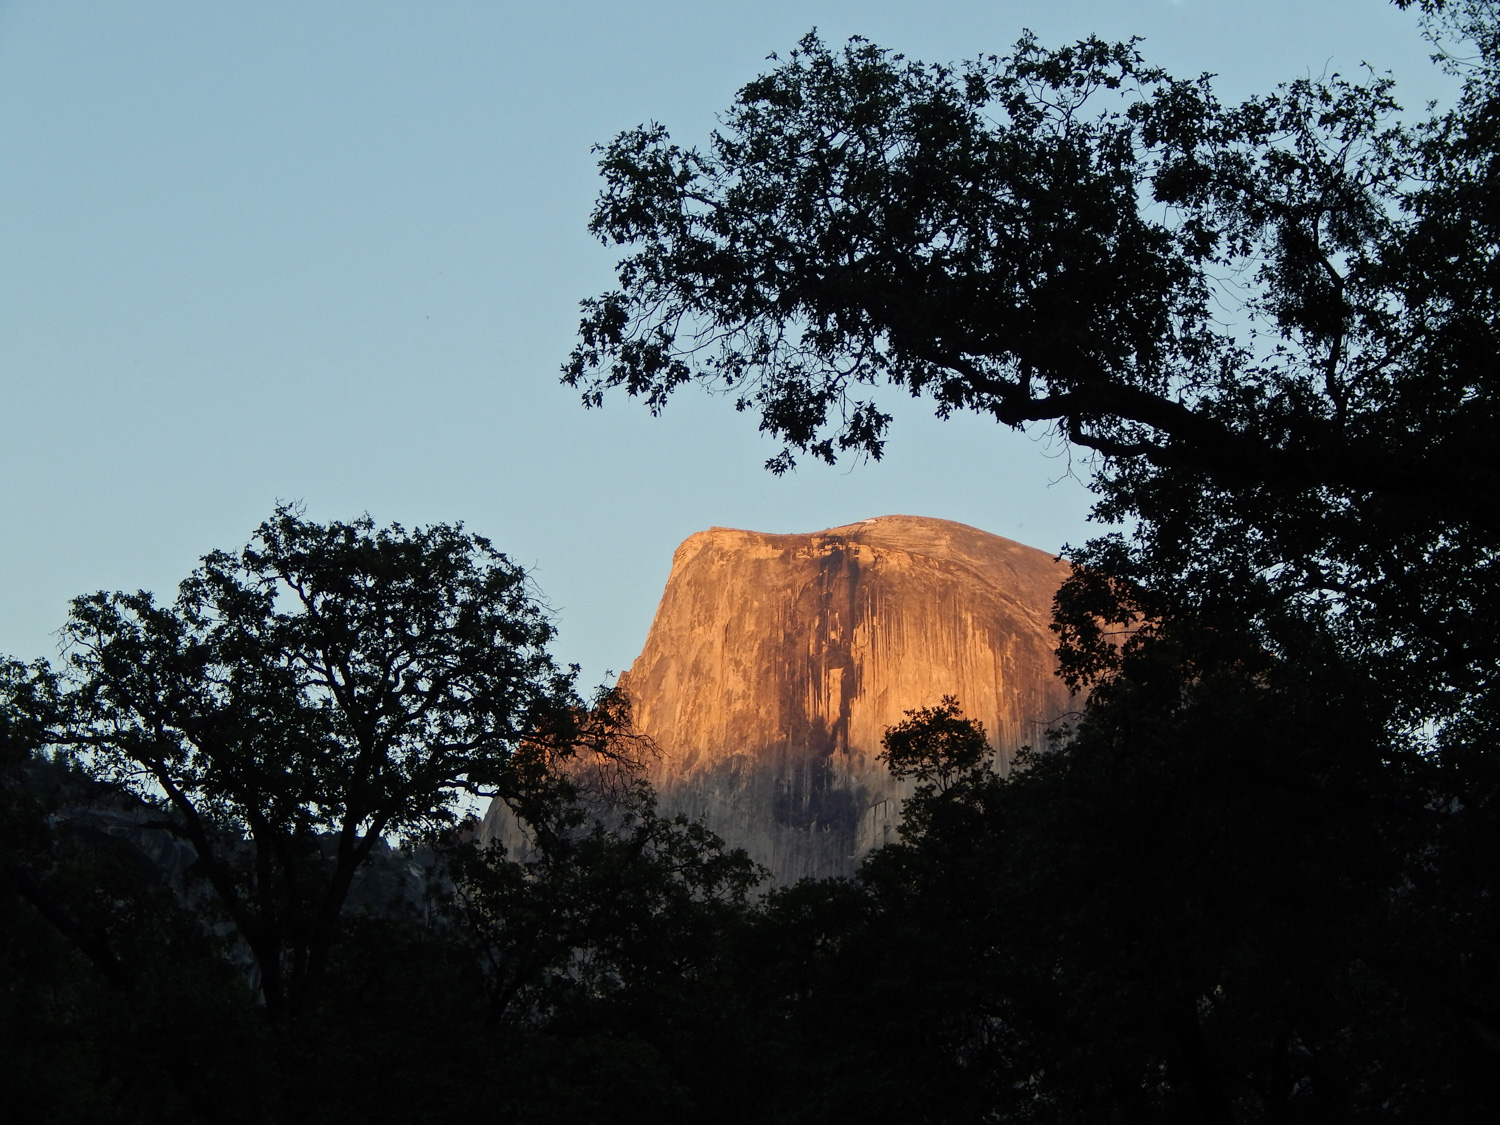
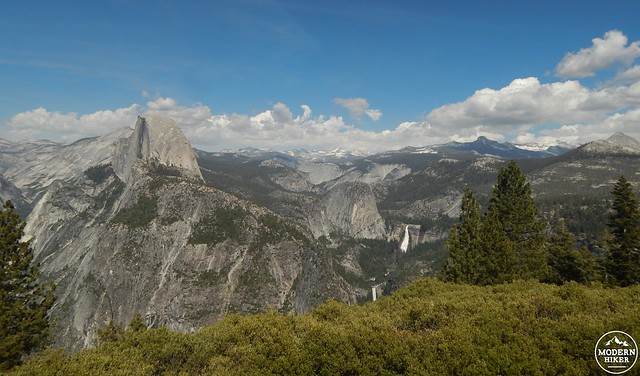
Let those views reenergize you for the last bits of uphill. You’ll switchback up, probably groaning a bit as you do, passing the junction for an optional climb of Sentinel Dome (we were too exhausted to make an attempt). Just when you think your tank is empty, you’ll round a curve and the profile of Half Dome will snap you awake (see photo at the top of this page).
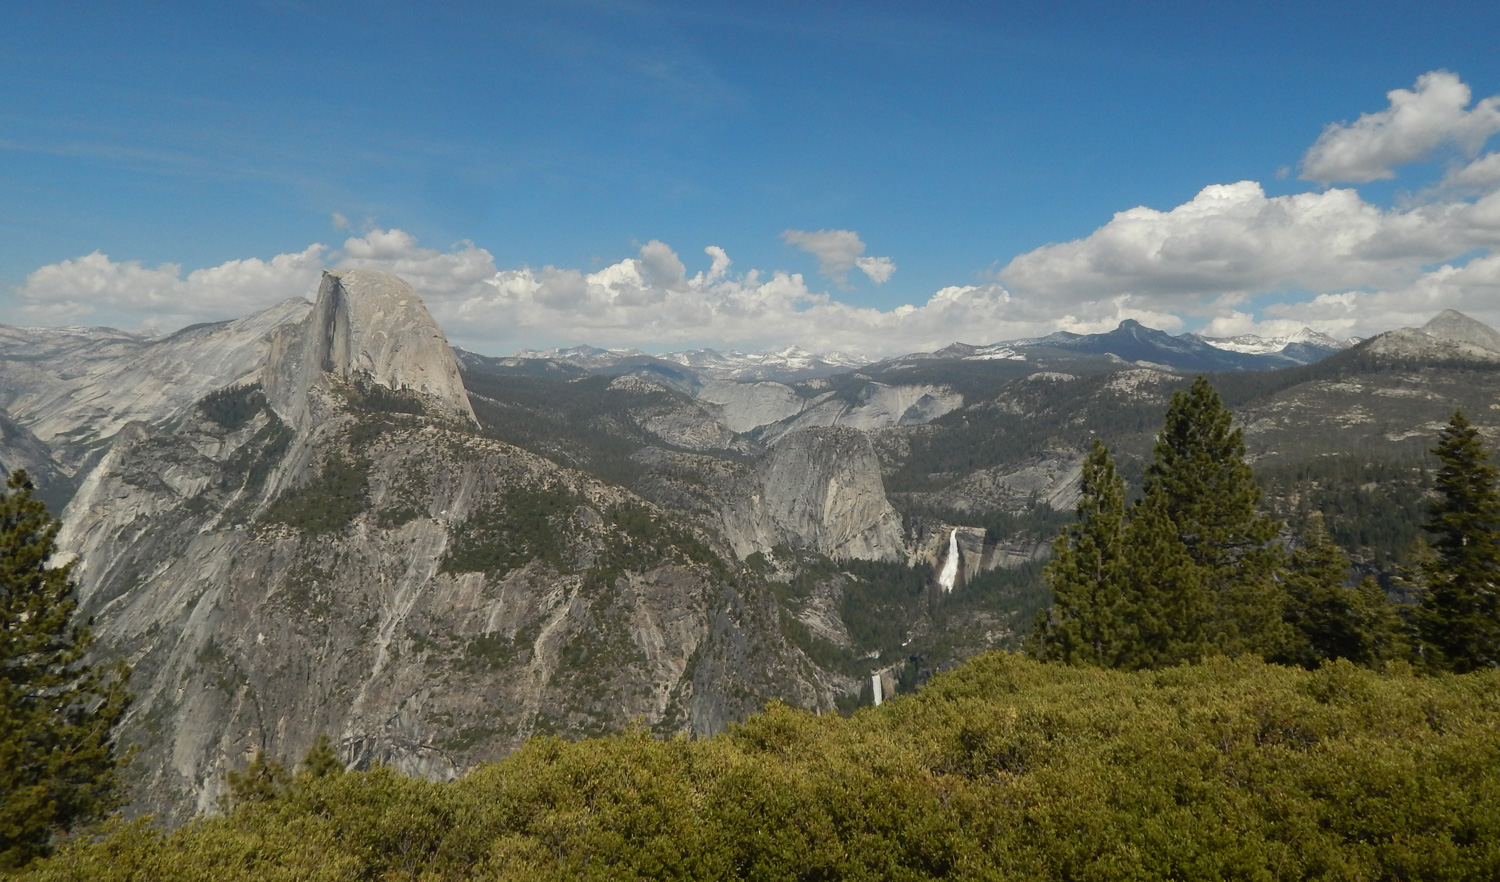
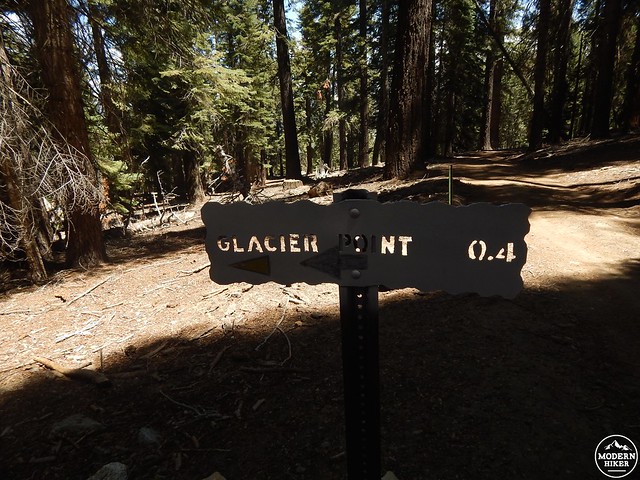
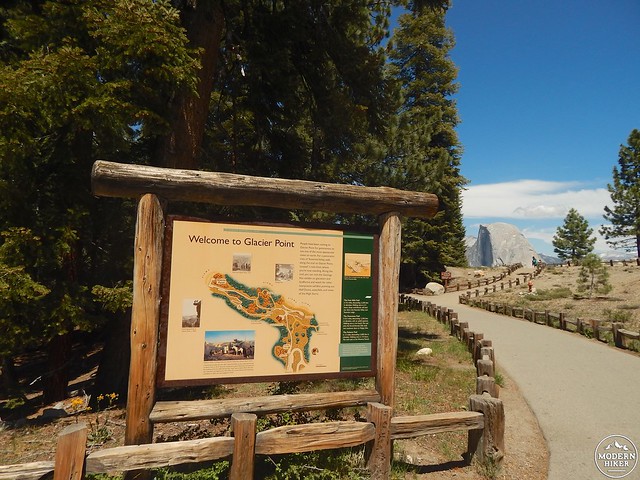
Floating on this natural high, follow the signs to cross over Glacier Point Road a few times, headed for the overpopulated expanse of Glacier Point itself. Once there, fling your pack in the dirt, buy yourself an ice cream cone, ignore the hordes of tourists, and find a cozy spot where you can soak in one of the park’s most iconic views – you earned it!
NOTE: This was my first time using a fancy GPS device, and as a result, you’ll be able to tell by the manic squiggles exactly when I stopped for lunch, when I filtered water, and when I enjoyed a pee break. From Point A to Point B, the trail is a bit closer to 13.8 miles than the 14.8 you’ll see on the GPX file.
Detailed Trailhead Options: This is the most difficult part of the hike, and probably the reason we saw only a handful of other people during a busy holiday weekend! The Pohono Trail lies inside Yosemite National Park, running between Tunnel View on Wawona Road and Glacier Point, off of Glacier Point Road. To get to the trailhead, your options are as follows: A) Arrange a car shuttle with fellow hikers, leaving one vehicle at Glacier Point and one at Tunnel View; B) Leave your car in the Valley at Visitor Parking, then have someone drop you off at Tunnel View – plan to hike down from Glacier Point via the Four-Mile Trail, then walk back to the parking lot; C) Leave your car at Visitor Parking, walk over to the Yosemite Lodge, and take the Glacier Point shuttle bus ($25 one way, reserve ahead via the Lodge) to Glacier Point, hiking the trail in the reverse of this description; or D) Park at Glacier Point, then catch the first shuttle bus back down to Tunnel View to begin your hike. The only problem is that the shuttle is only reservable when going up to Glacier Point; going down, you’re taking your chances that there will be extra seats available (note: on a busy holiday weekend, we had no problem). If you choose this option, let the driver know before you board that you’ll need to be dropped off at Tunnel View.
Note that descending via the Four Mile Trail adds an extra 4.8 miles to the route.
Tags: Backpacking, Crocker Point, Dewey Point, glacier point, inspiration point, Pohono, Pohono Trail, Stanford Point, Taft Point, The Fissures, transit accessible, Yosemite, Yosemite National Park