I’m sure we’ve all heard the quote (likely misattributed to) Ralph Waldo Emerson, “It’s not the destination, it’s the journey.” I try to avoid using such clichés, but I can’t help but find that it aptly fits this hike from Reseda Boulevard to the Vanalden Cave.
I won’t bury the lede – Vanalden Cave has seen better days and better treatment. If visiting it is your only goal, there’s a short, 0.5-mile trail that you can take. However, if you’re looking for an adventure through the Santa Monica Mountains that touches on L.A. history, showcases many impressive views, AND just happens to end at a unique cavern, then this hike is for you. At just under 3 miles and with 525 feet in cumulative elevation gain, it’s a perfect half-day adventure that will get your blood pumping without forcing you to exert too much energy.
You’ll drive to Marvin Braude Mulholland Gateway Park to reach the trailhead. This open space is named after the L.A. councilman who advocated for many environmental causes, including the preservation of land in the Santa Monica Mountains. There is plenty of parking here, with over a hundred paid and free spots, as well as several accessible spaces. Near the trailhead, there are portable toilets, a picnic table, and a trash can for hikers to use. In this same area is a display sharing information about the park’s namesake, “Dirt” Mulholland, trail safety, and local flora and fauna.
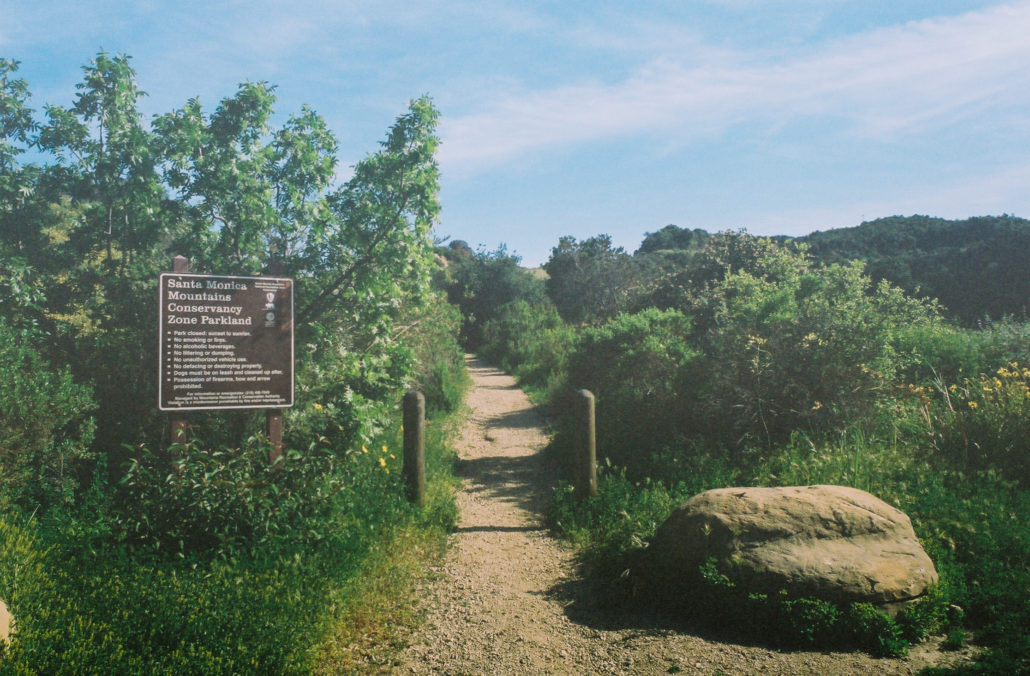
This alternate trailhead gives hikers a peaceful start to their hike. Shot on Kodak Portra 400 film.
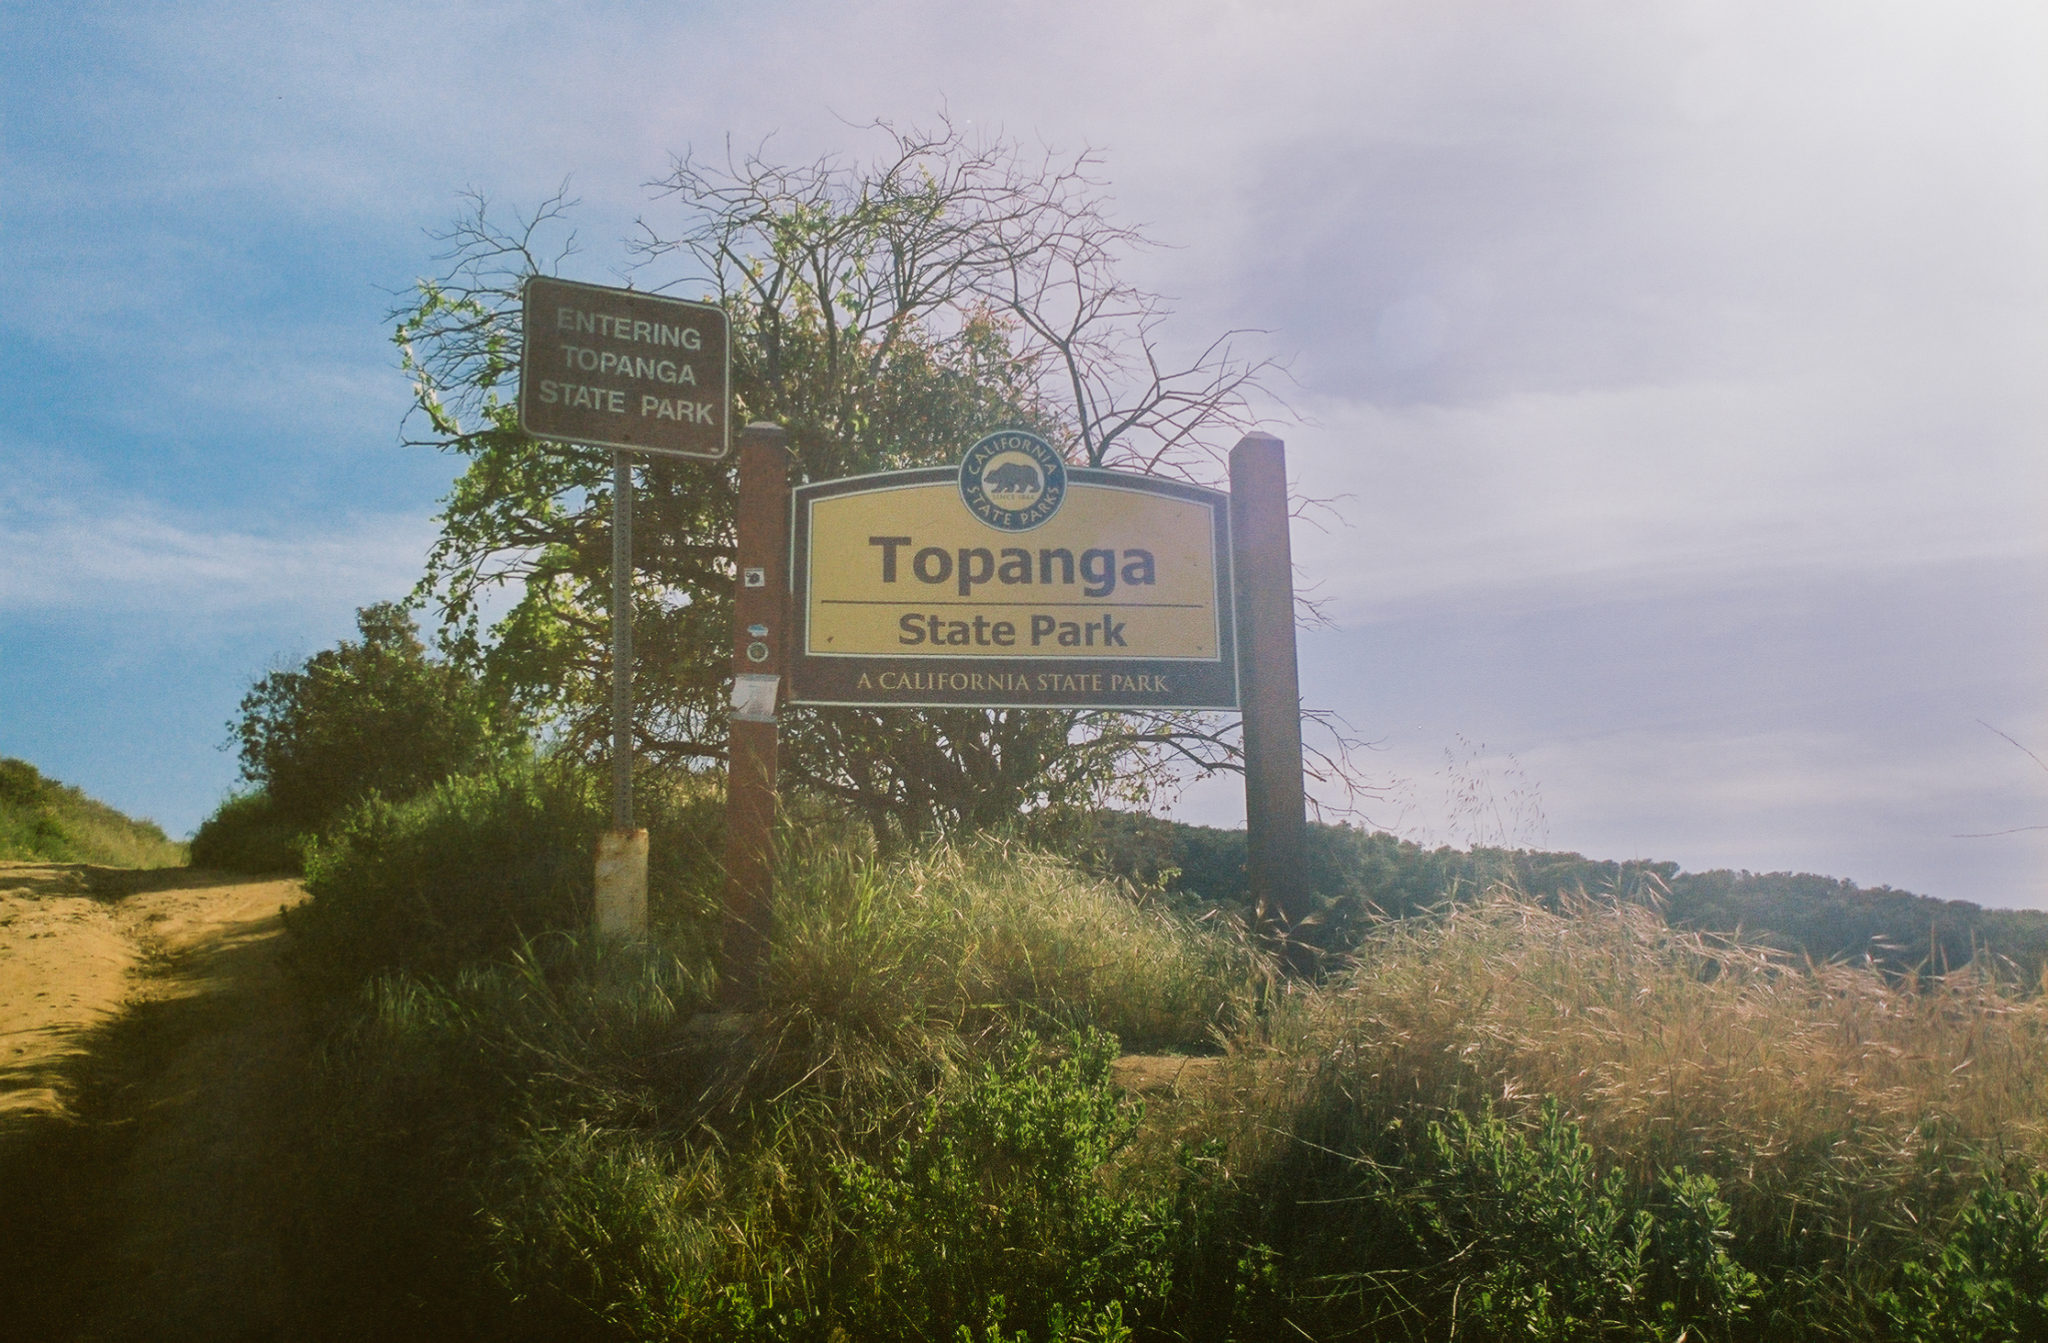
This trail starts with an initial ascent that isn’t overly strenuous but will likely cause you to break a sweat. And while it technically begins along the large fire road at the end of Reseda Boulevard, I opted to take the smaller, more manicured neighboring single-track path. This alternate was calming and peaceful, and I felt as though I was walking through a botanical garden. However, after about a tenth of a mile, I rejoined the fire road as my path started to head in the wrong direction. It was around this same time when I crossed a sign indicating that I was now in Topanga State Park.

The sign welcomes you to Topanga State Park. Shot on Kodak Portra 400 film.
You’ll continue to climb for about a quarter of a mile until reaching your first trail junction. Along the way, you’re greeted with your first taste of many expansive views of the Santa Monica Mountains and the San Fernando Valley. Note that the trail is very exposed here, so sunscreen and plenty of water, especially in the summer, is highly recommended.
Turn right and onto “Dirt” Mulholland. This unpaved section of the storied L.A. boulevard now caters to hikers, horseback riders, and mountain bikers, but back in the 1920s, it was constructed to showcase homes in the Hollywood Hills and the Valley. While hiking, I was passed by several two-wheel aficionados. However, for the most part, I encountered relatively few people – though that may just be because I hiked this trail on a weekday afternoon.
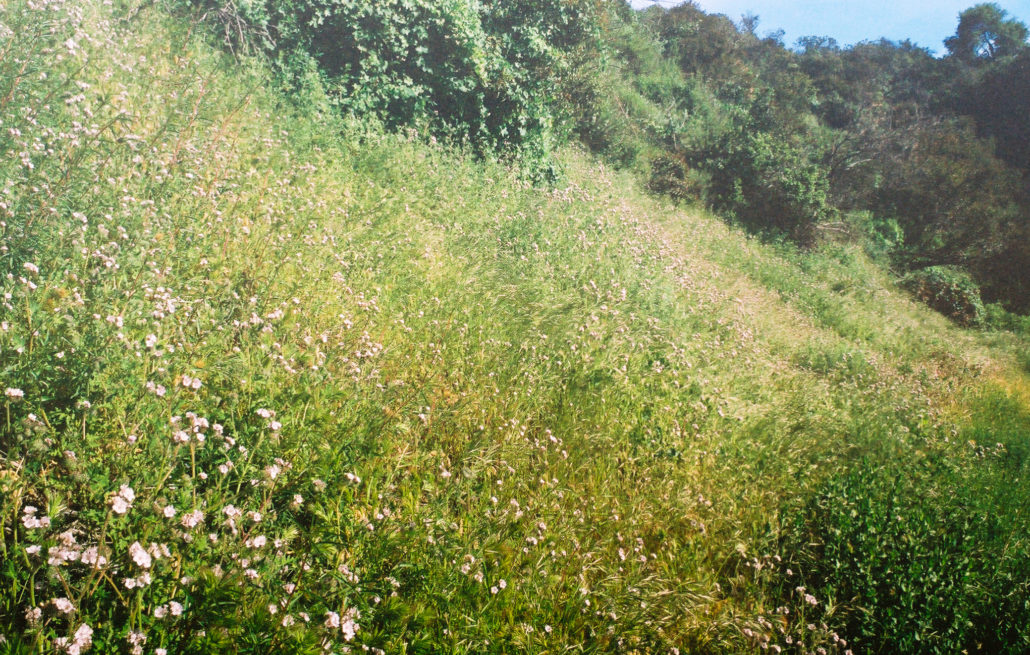
Caterpillar Scorpionweed blooming along the trail. Shot on Kodak Portra 400 film.
This section of the hike begins to flatten out, making it easier to appreciate the vegetation around you. Along with the more permanent trees, it was calming to see the still-green brome sway in the afternoon wind, knowing full well that it’ll turn dry and brown come summer. Caterpillar Scorpionweed’s light-lavender petals and California brittlebush’s sunny, daisy-like flowers were also on full display. Unfortunately, sharing the spotlight were the distinct yellow blooms of black mustard plants, an invasive species introduced by Spanish colonizers that both increase California’s wildfire risk and outcompete native flowering plants including poppies, lupines, and goldfields.
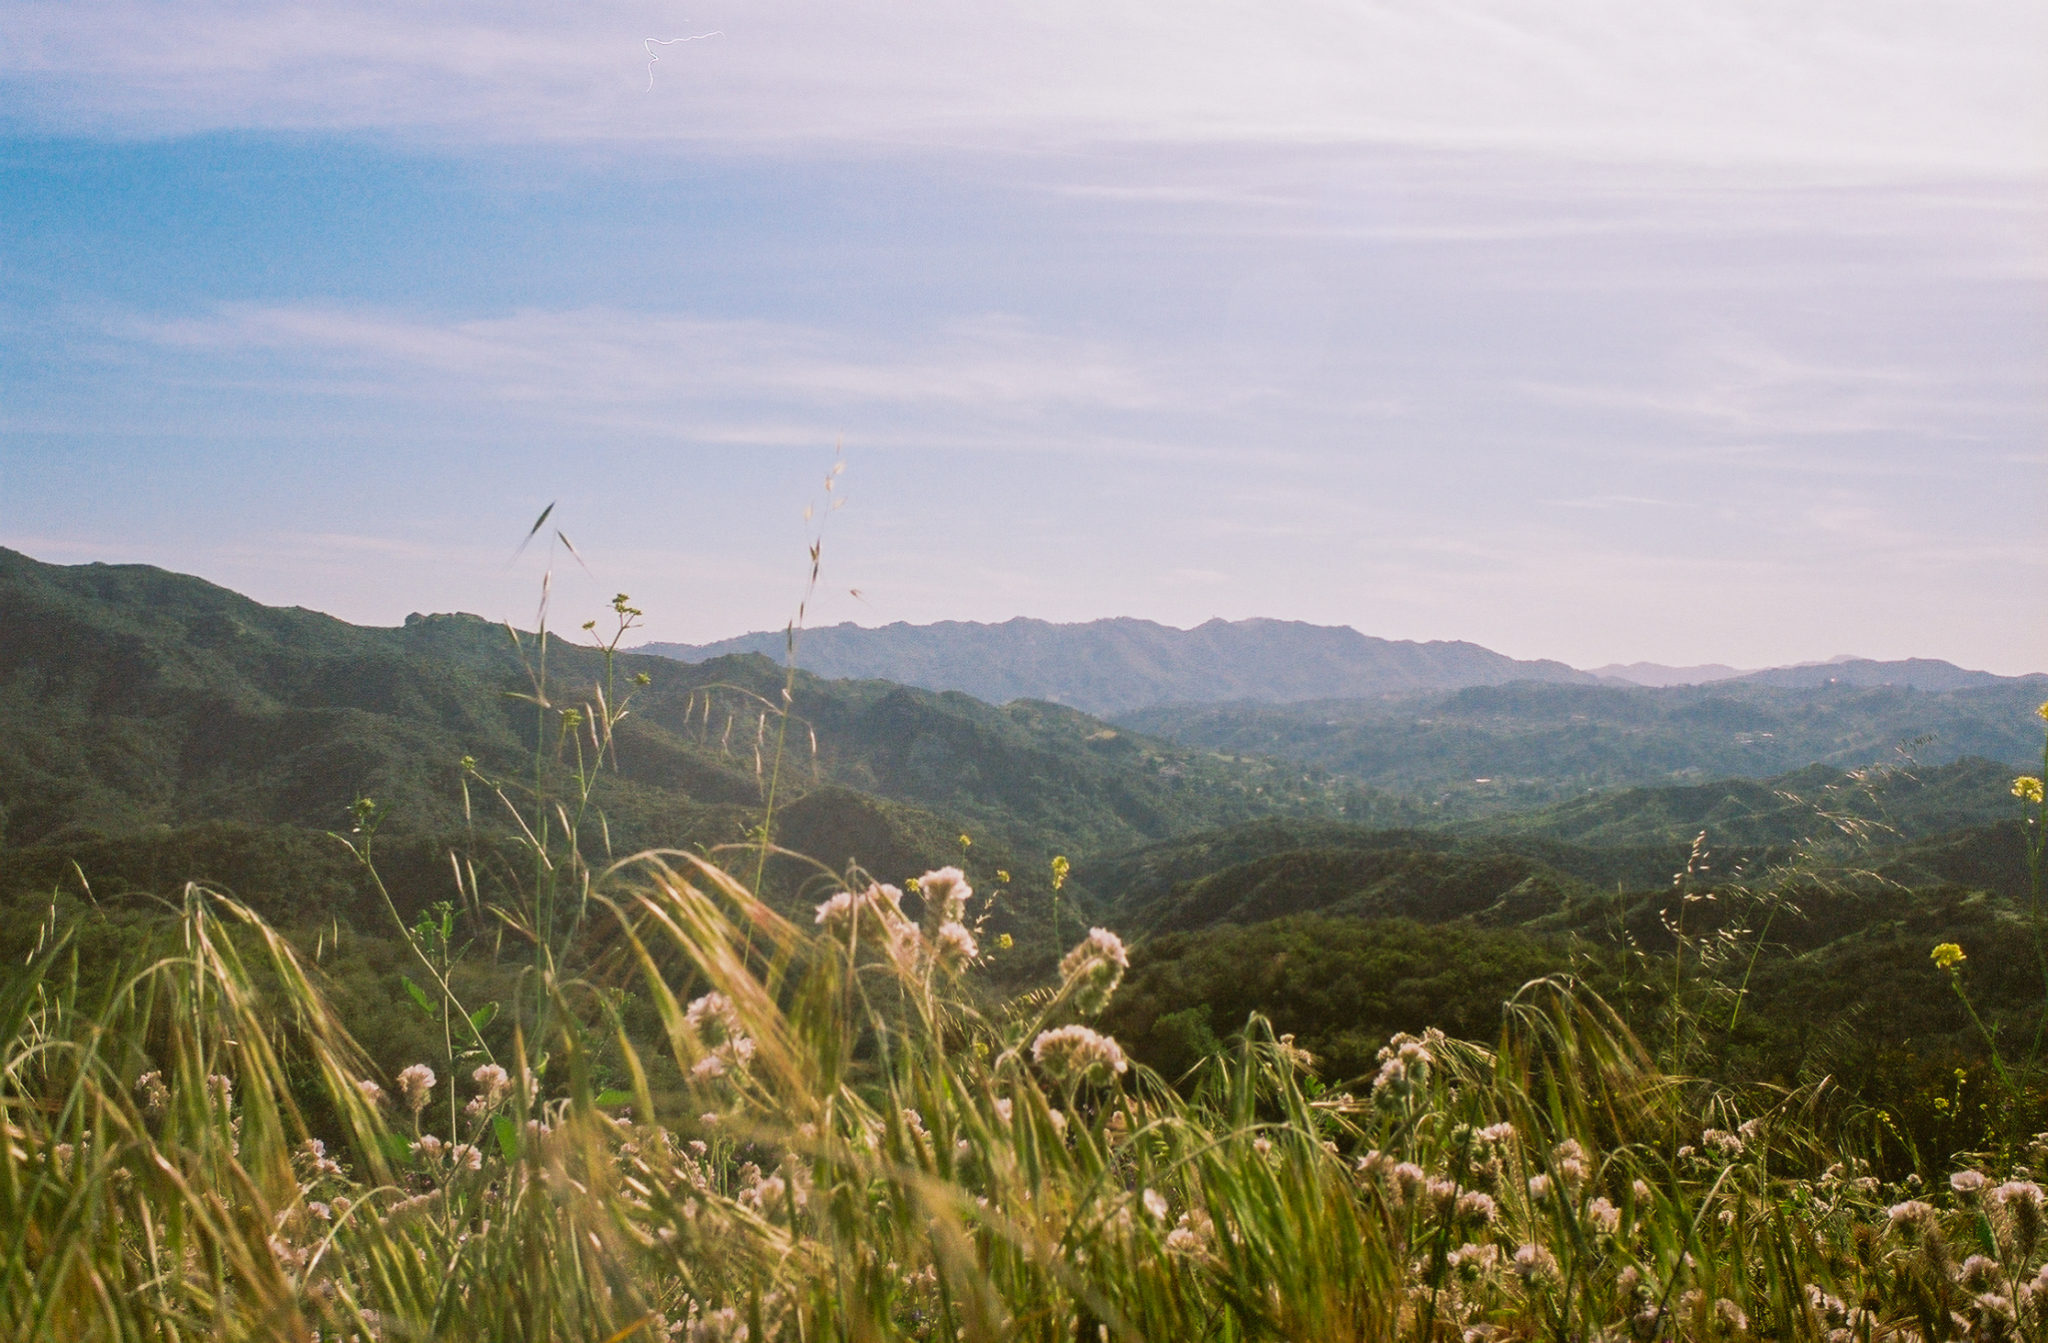
At 0.5 miles, you’ll reach another junction and the highest point on trail. Head right to stay on the correct path. But before leaving, be sure to enjoy the beautiful views of the rolling Santa Monica Mountains.

Views of the interior Santa Monica Mountains. Shot on Kodak Portra 400 film.
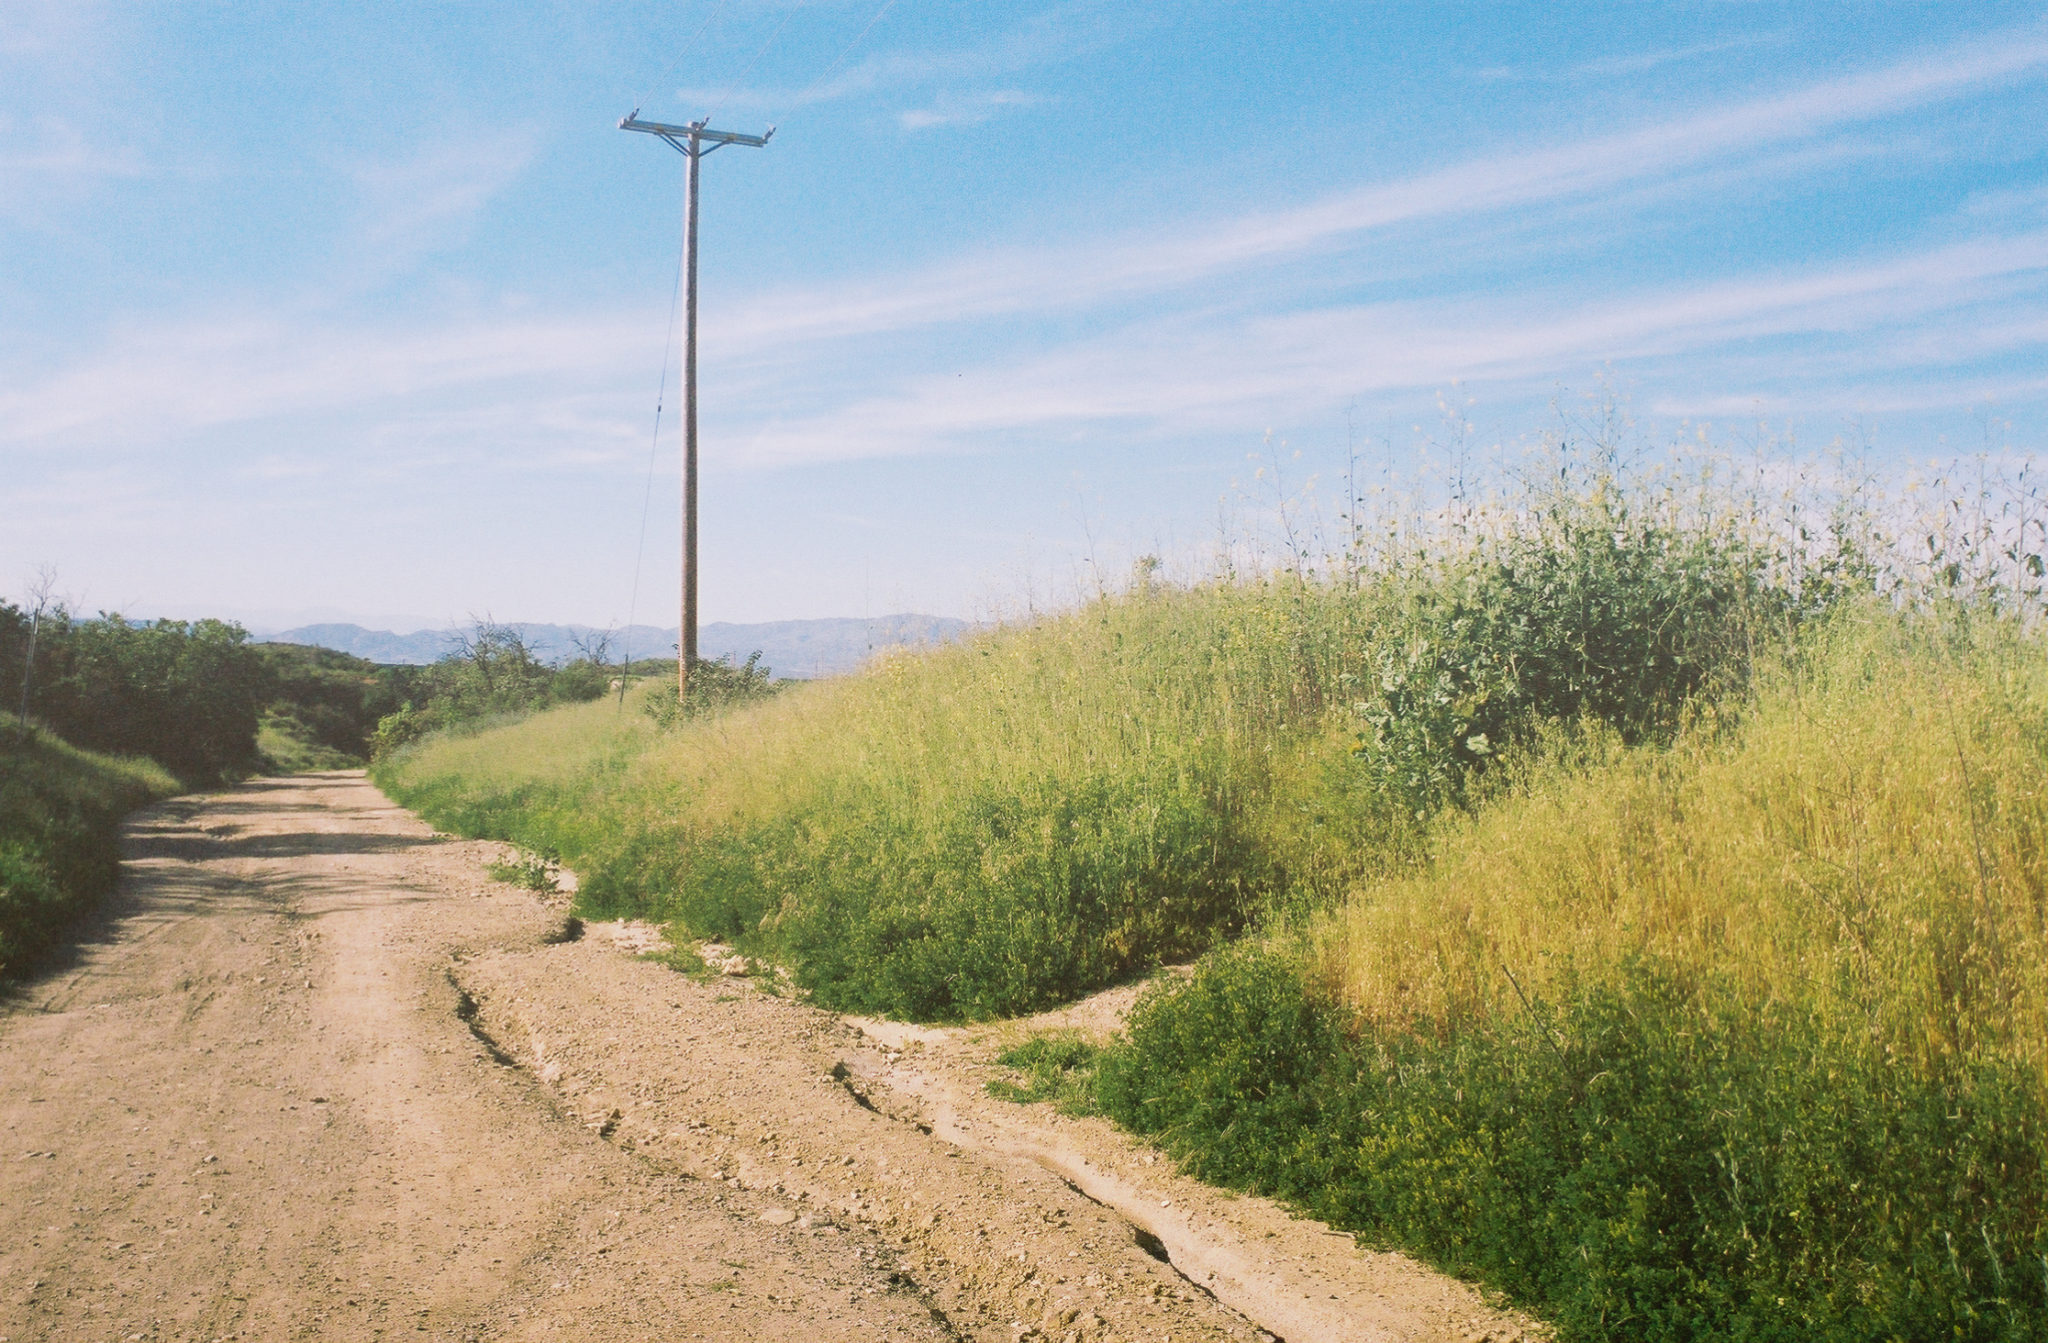
As the trail starts to descend, you’ll now be hiking next to a string of powerlines – a reminder of the suburban sprawl around you. Despite the signs of encroachment, this section of the hike is very scenic. There are several spur trails that you can take to get a better glimpse at the expansive views around you. And as you hike, far in the distance you can see the Santa Susana Mountains by Simi Valley shadowed by even larger mountains further out.
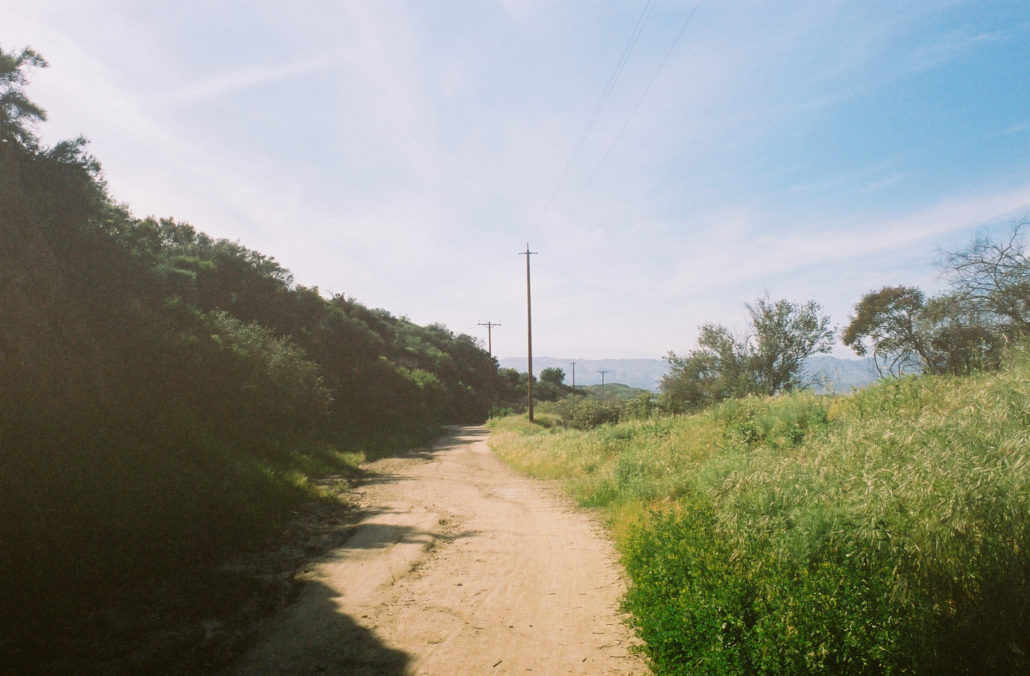
This section of trail follows a series of power lines. Shot on Kodak Portra 400 film.
At mile 1.1, you will pass a fenced-off section of LADWP property. You’ll now want to keep your eyes peeled to your right for a small, nondescript trail that will take you to Vanalden Cave. Believe me that it’s easy to miss – I accidentally walked past it the first time.

The elusive side trail that will take you to Vanalden Cave. Shot on Kodak Portra 400 film.
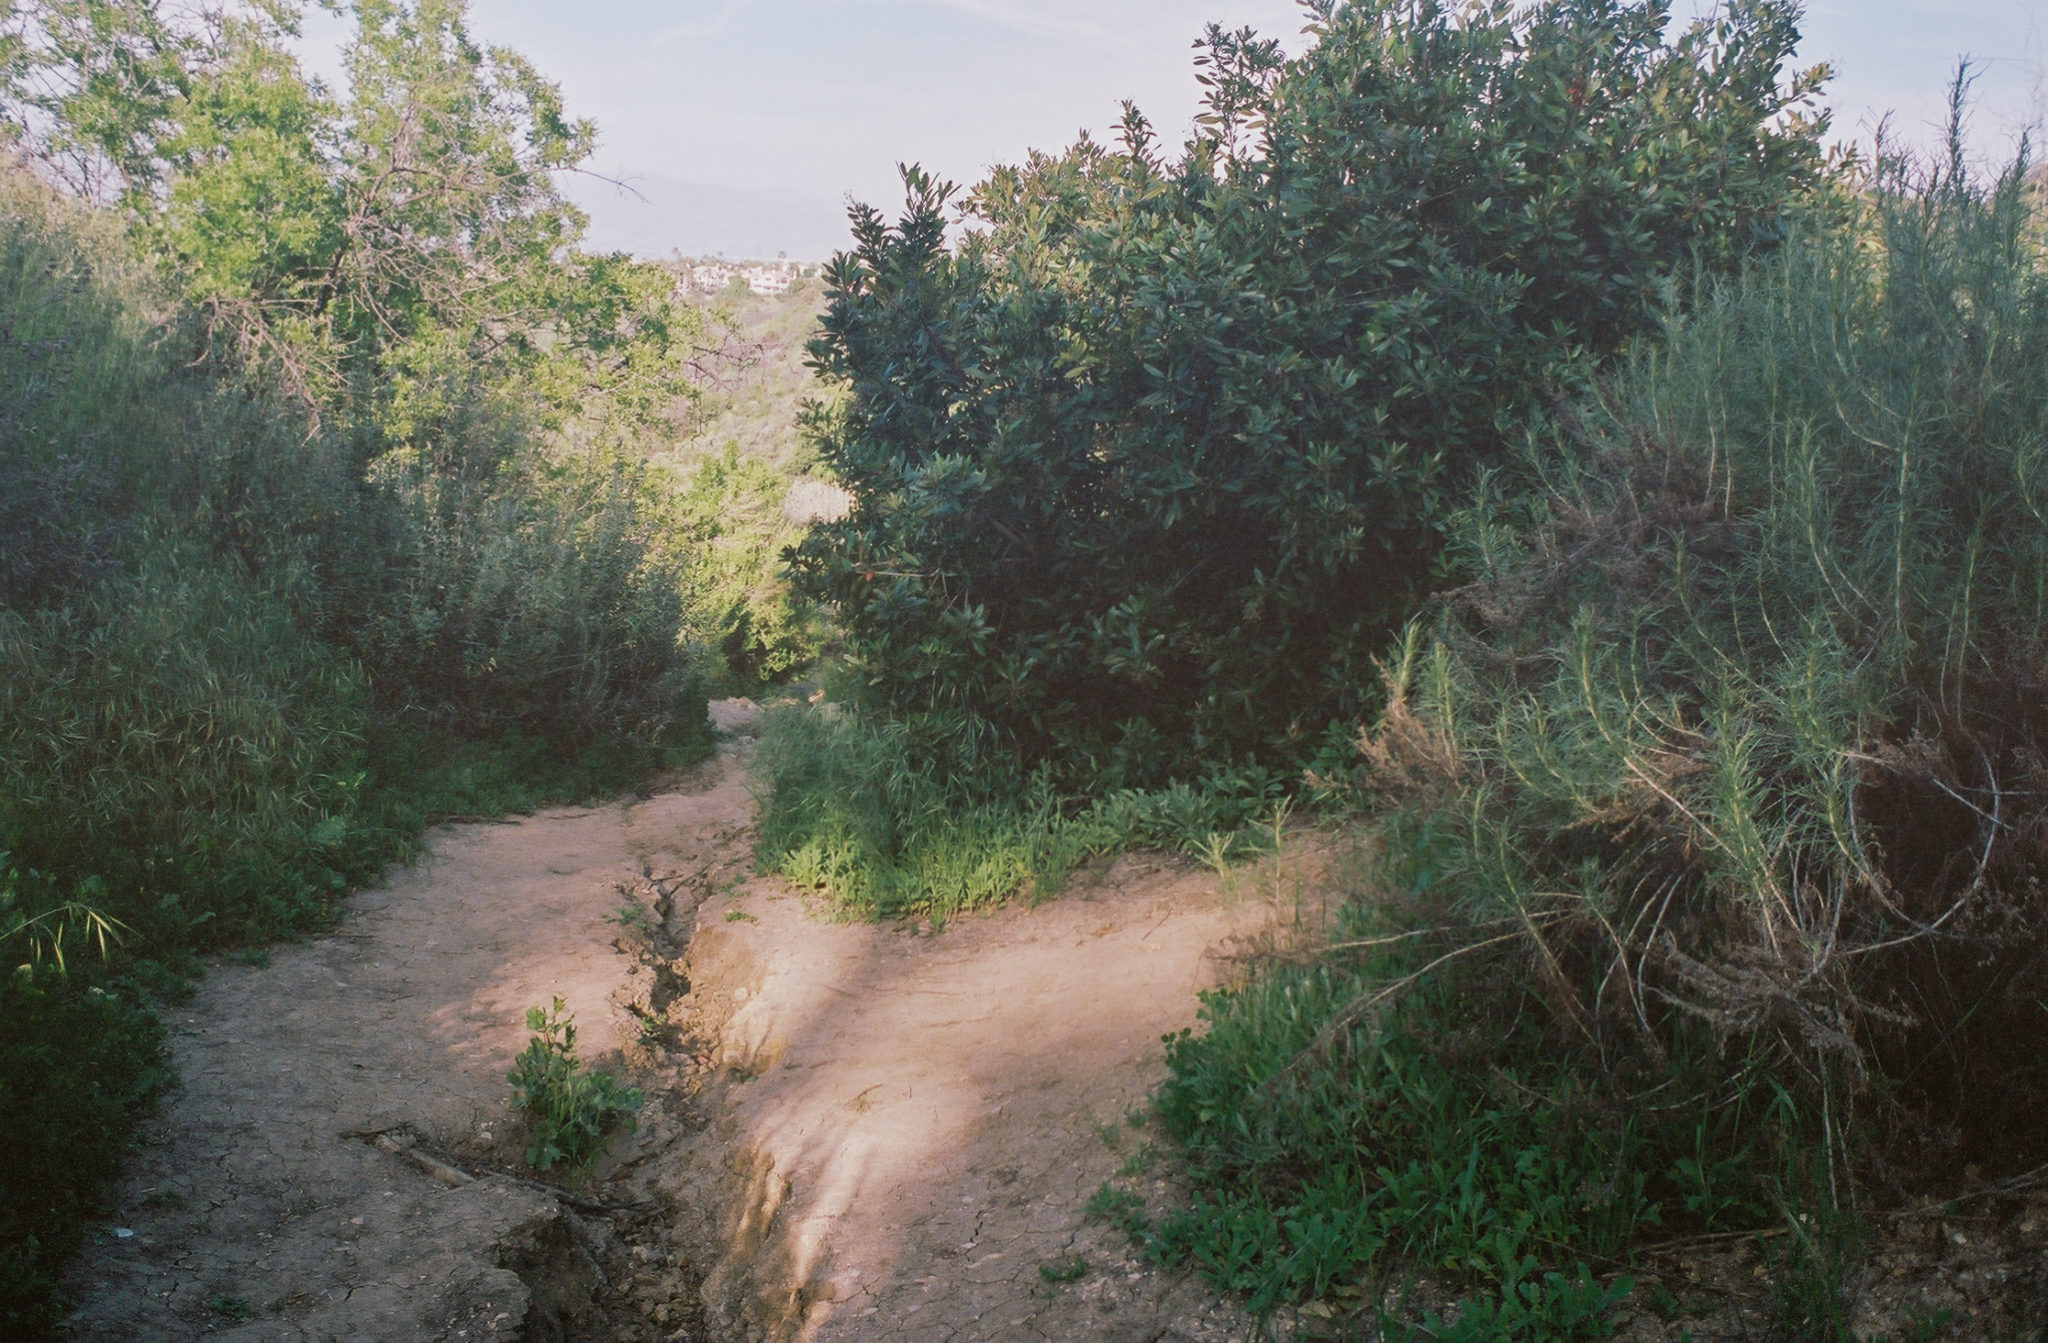
This part of your hike dramatically changes. No longer on an exposed, well-maintained, wide path, you now have to traverse through the steep, overgrown, and washed-out single-track trail. Almost immediately you will reach an intersection. While both trails will soon reconnect, head to the right as it’s easier to hike.
At mile 1.4 take the trail to your right. Again, it’s easy to hike past this intersection. Make sure to check your map or GPS often. After about a tenth of a mile, you’ll encounter a streambed. Follow it upstream and you will soon reach the cave.
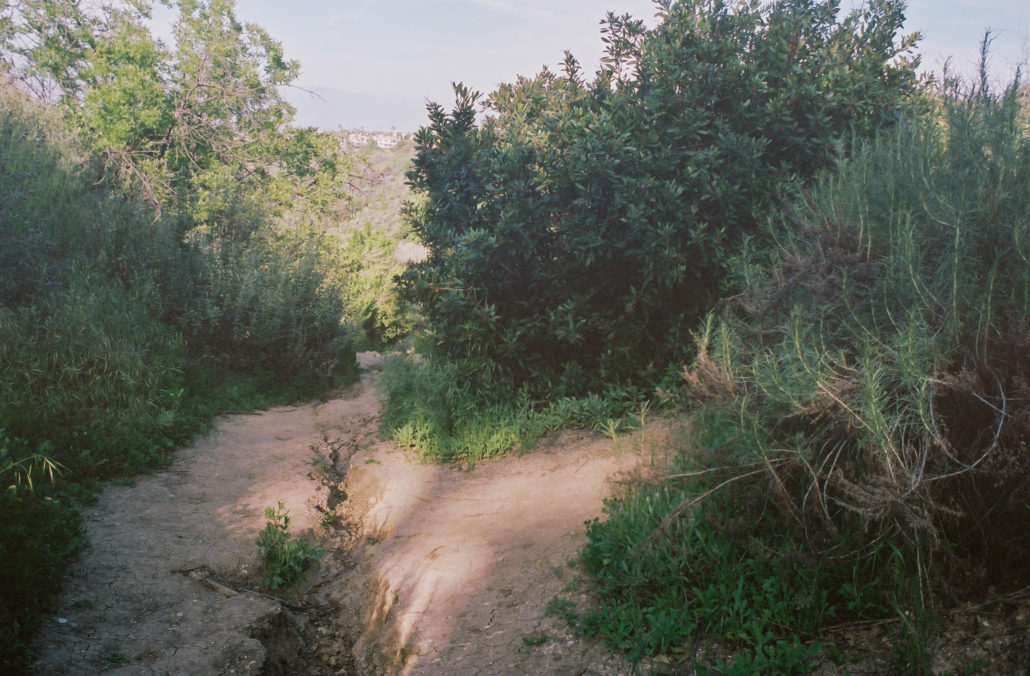
The trail intersection at mile 1.4. Shot on Kodak Portra 400 film.

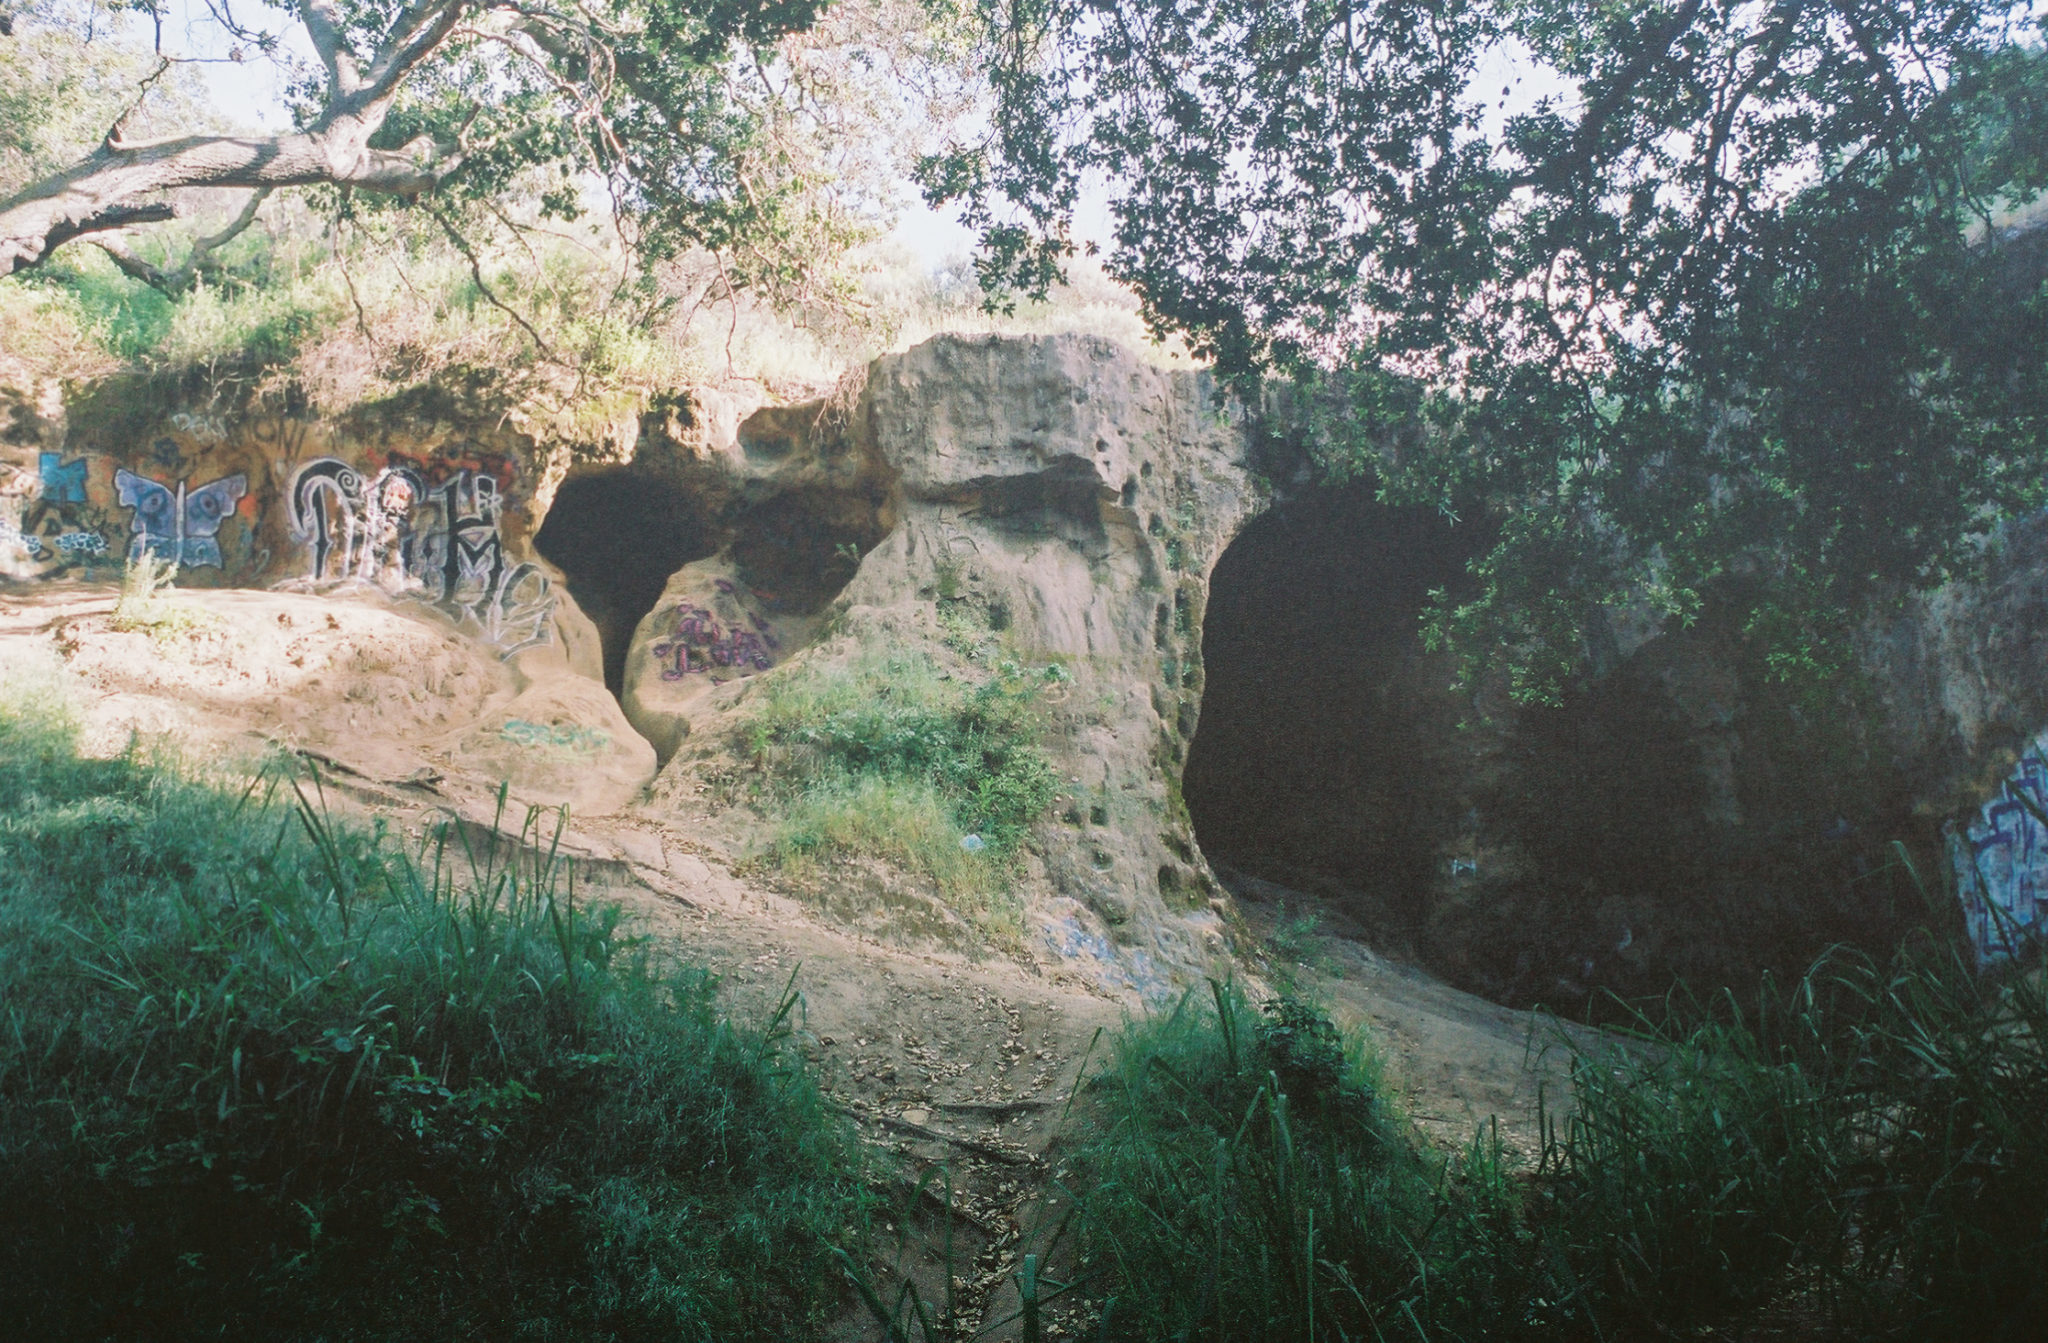
Graffiti and trash plague this otherwise impressive cave. Shot on Kodak Portra 400 film.
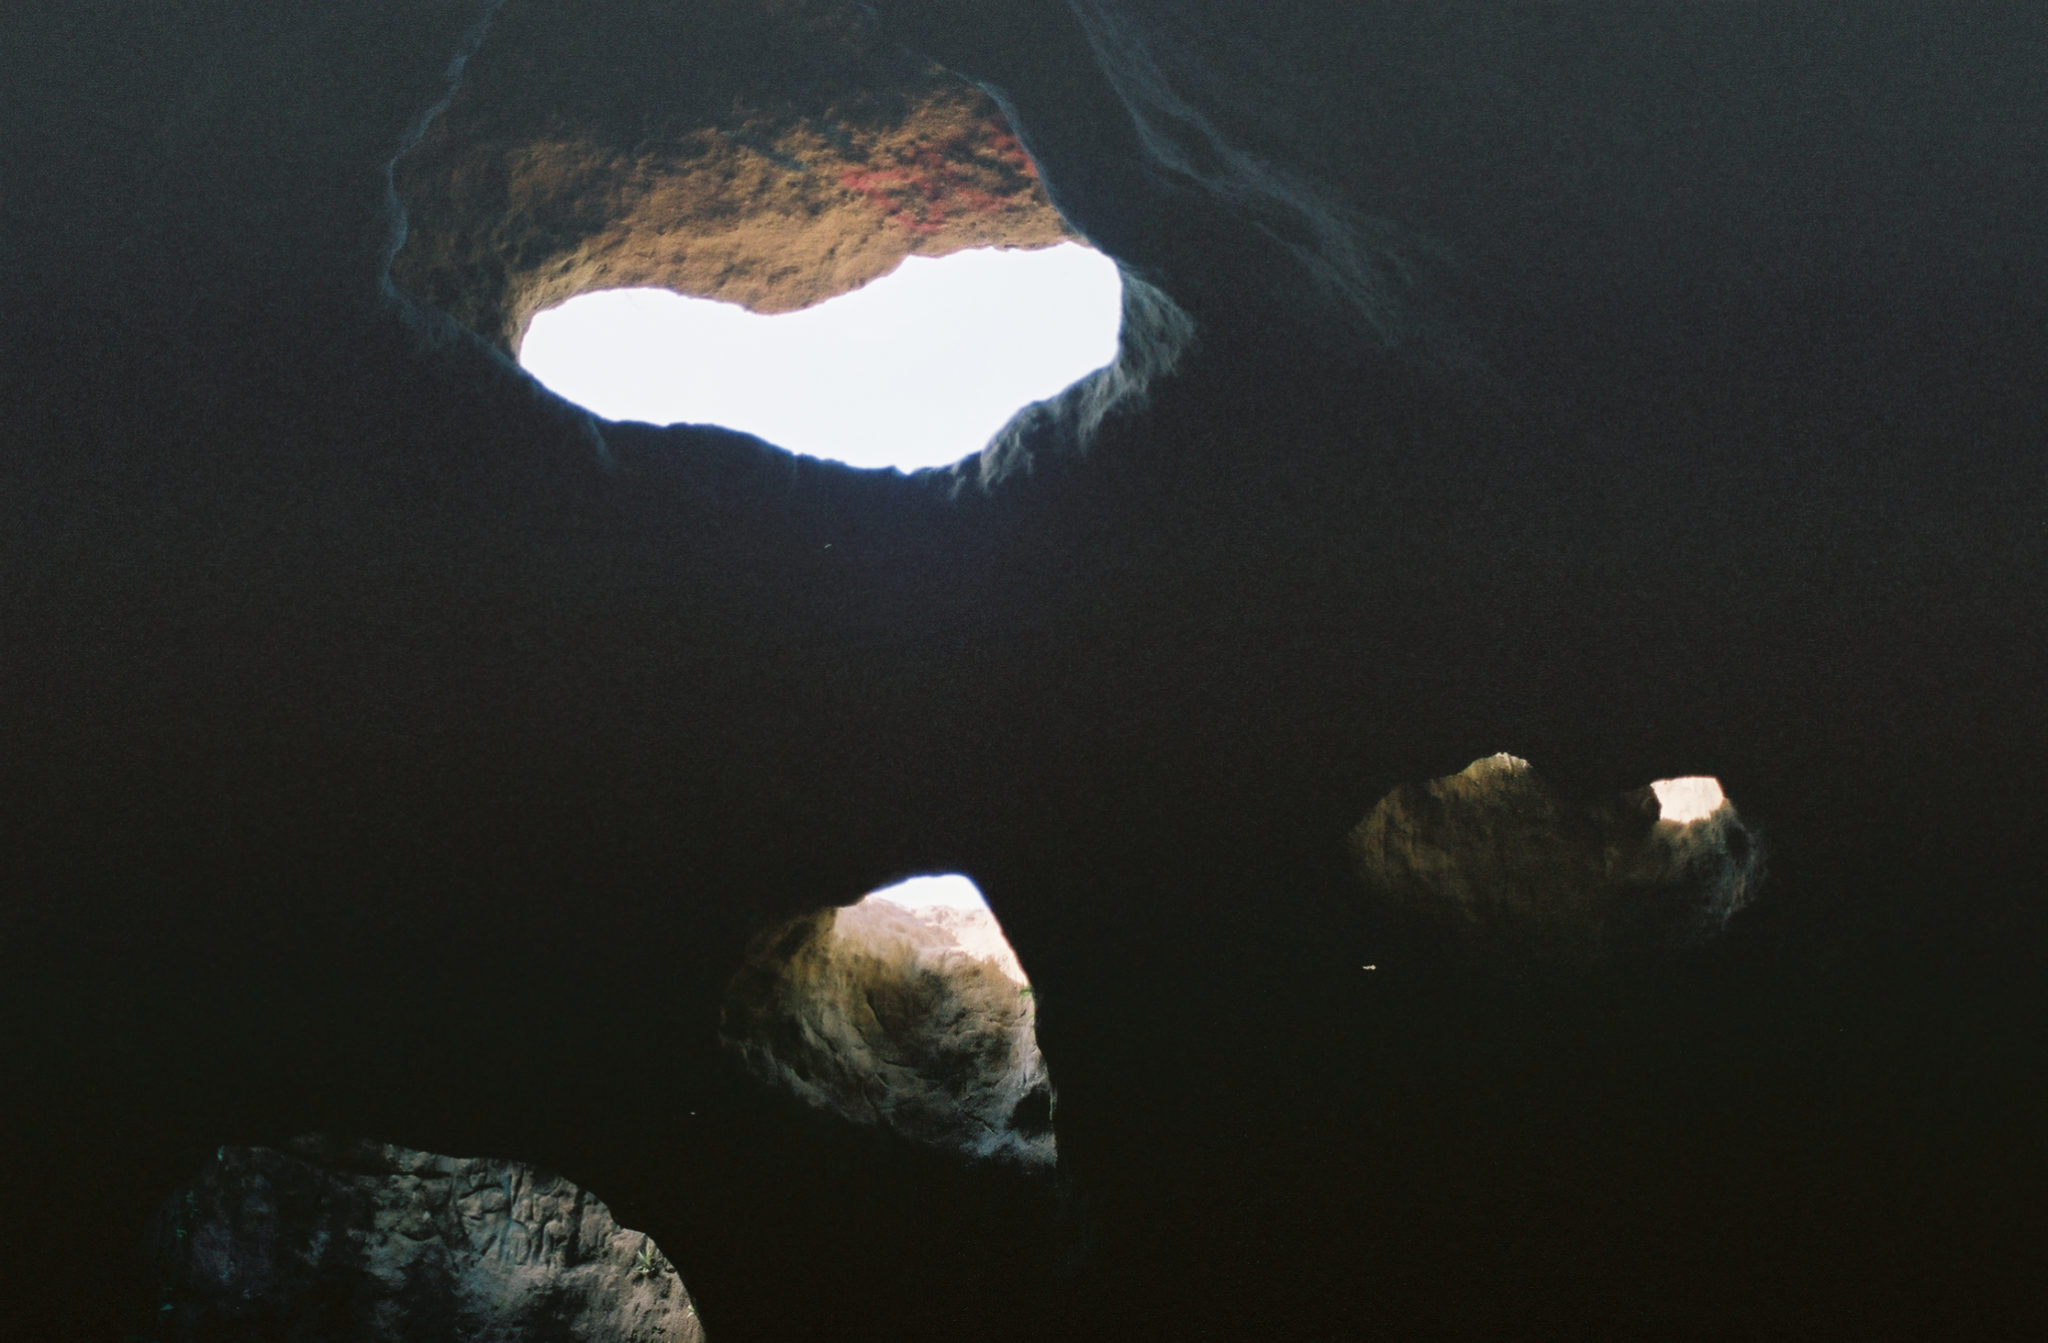
Honestly, reaching Vanalden Cave was anticlimactic. I’m sure at one point it was an interesting and unique destination, but it’s a shame that these days it’s covered in graffiti, with trash and broken glass lying around. Witnessing this sandstone formation and experiencing the natural skylights was a fun treat, but its decrepit state takes away from this otherwise fascinating piece of geology. If you’re looking for better-preserved caverns, I would head to the Cave of Munits.
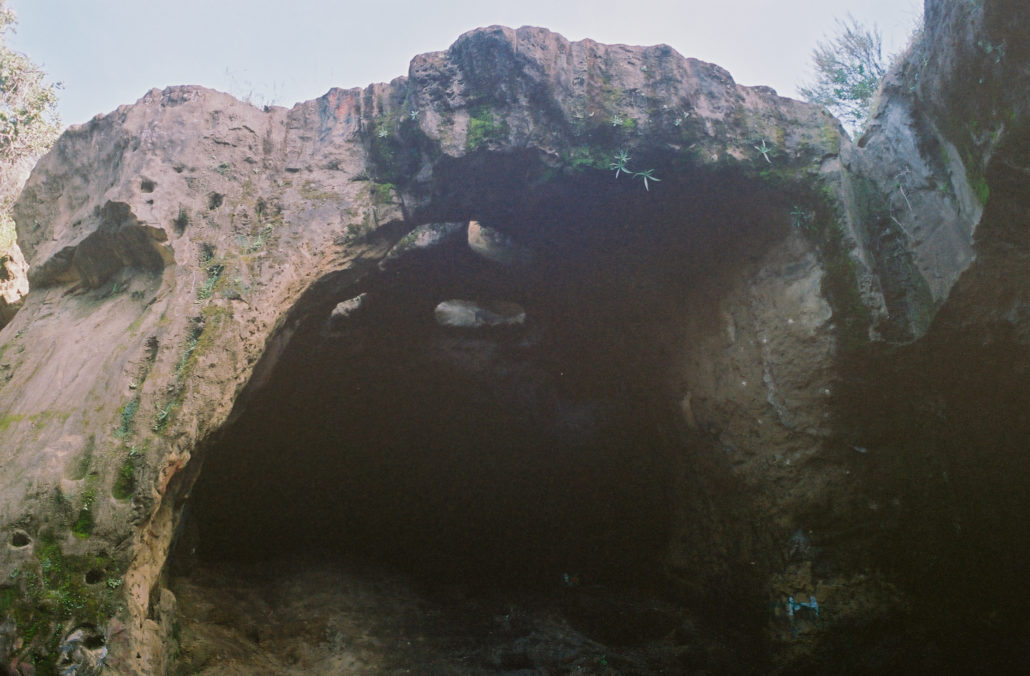
Vanalden Cave. Shot on Kodak Portra 400 film.
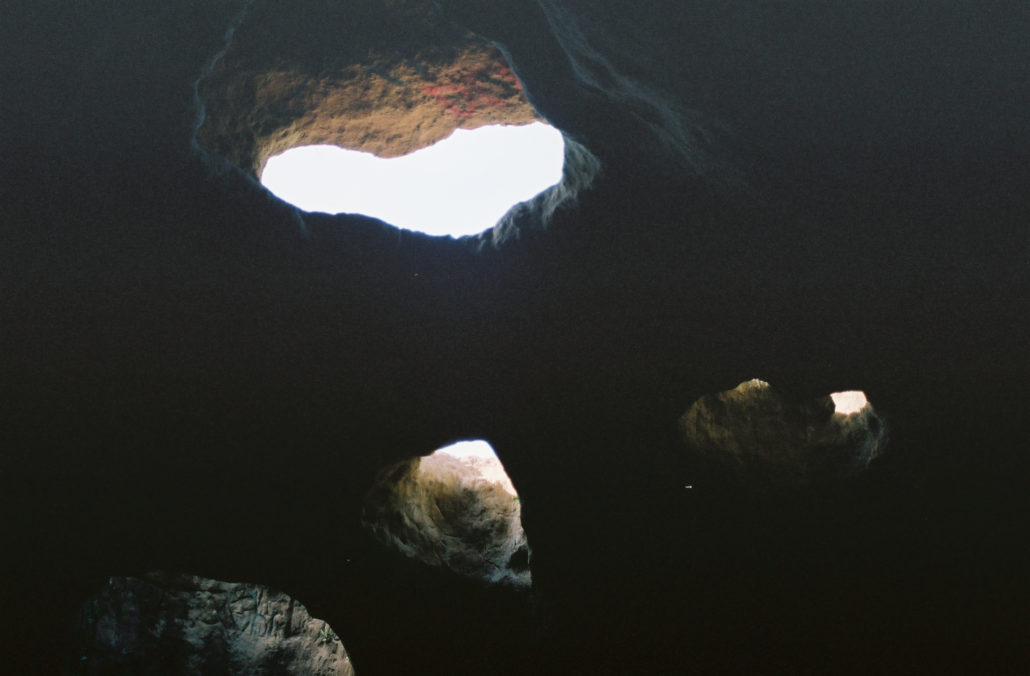
Sunlight pours into Vanalden Cave. Shot on Kodak Portra 400 film.
Once you’re done exploring, head back the way you came. To end your hike on a more scenic note, take the 0.3-mile Rita Waters Trail alternate. It will be on your left at around mile 2.4 and drops you off near the trailhead.
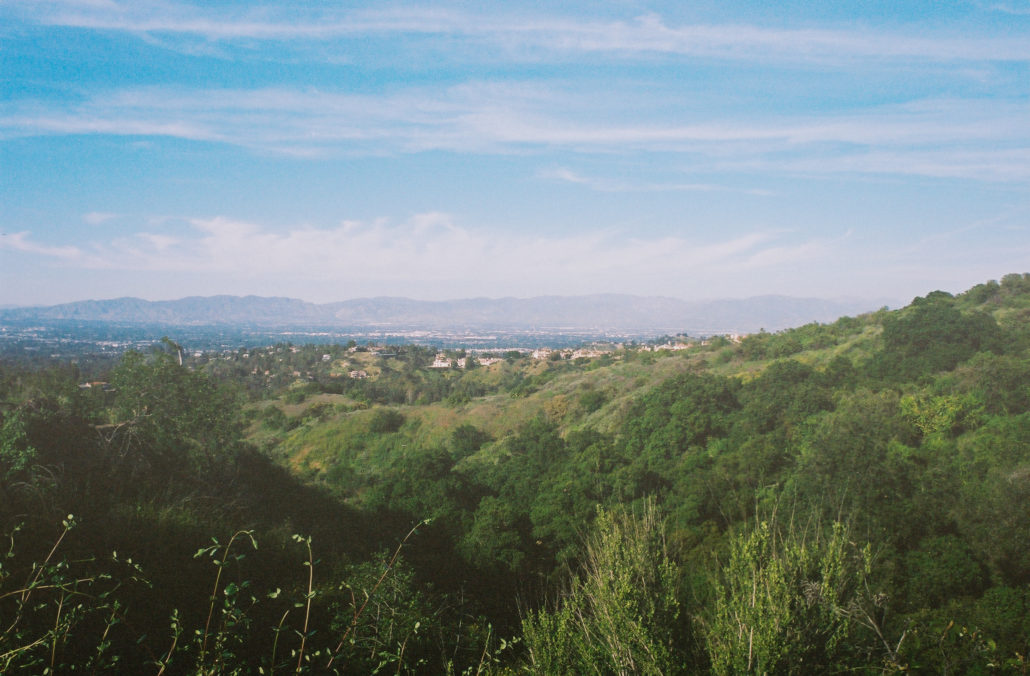
Views of the Valley from the trail. Shot on Kodak Portra 400 film.
Tags: california wildflowers, dirt mulholland, Reseda Boulevard, Santa Monica Mountains, Vanalden Cave