Picket Post Mountain is a butte that rises dramatically from the desert. At the base of this bold mountain today, you will see cars in the parking lot, little brown hubs for restrooms, and hikers and campers scattered around — but back in the late 1800s, this was a very different scene.
Around 1870, General George Stoneman and his troops built a camp at the base of this mountain. Their mission was to seize the land from the Yavapai and he figured this would be a perfect safe spot. The butte would act as a strategic barrier. For this reason, the men nicknamed this mountain Picket Post and the name has since stuck throughout the years.
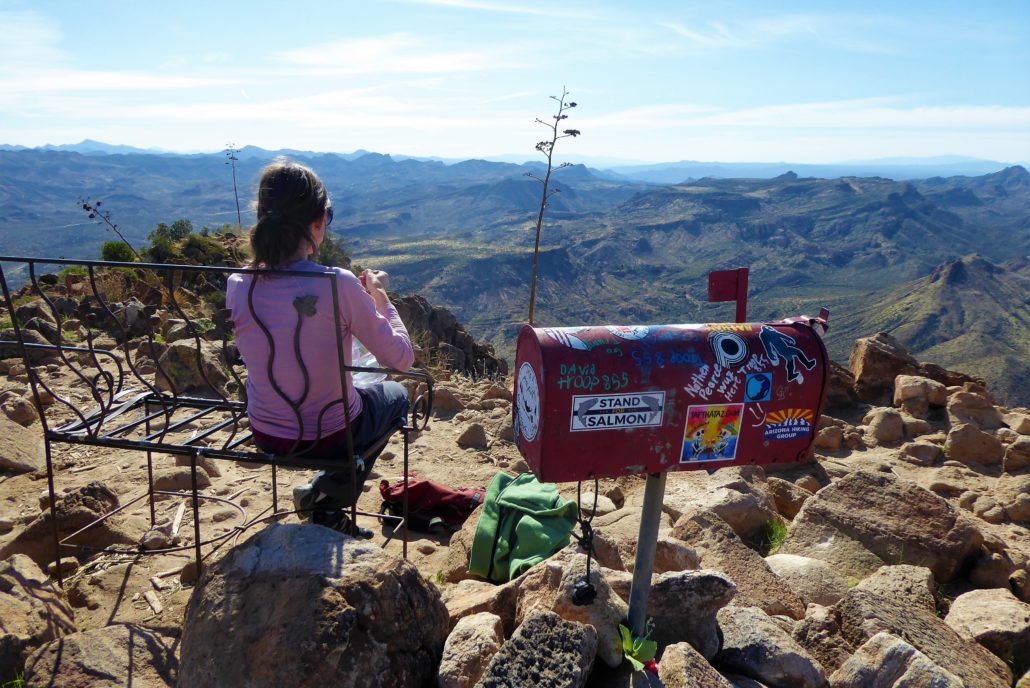
The Picket Post Trail invites hikers on a difficult journey up to the summit, where there is a bench and a single red mailbox.

This unusual trail feature invites the victors of Picket Post to place a note inside the mailbox for future hikers to read. Or if you’re in the mood, you might want to leave something a bit more “trail magical” inside the box, too — extremely lucky hikers have been known to discover cans of beer here, although we can’t vouch for how cold they were when they were found.
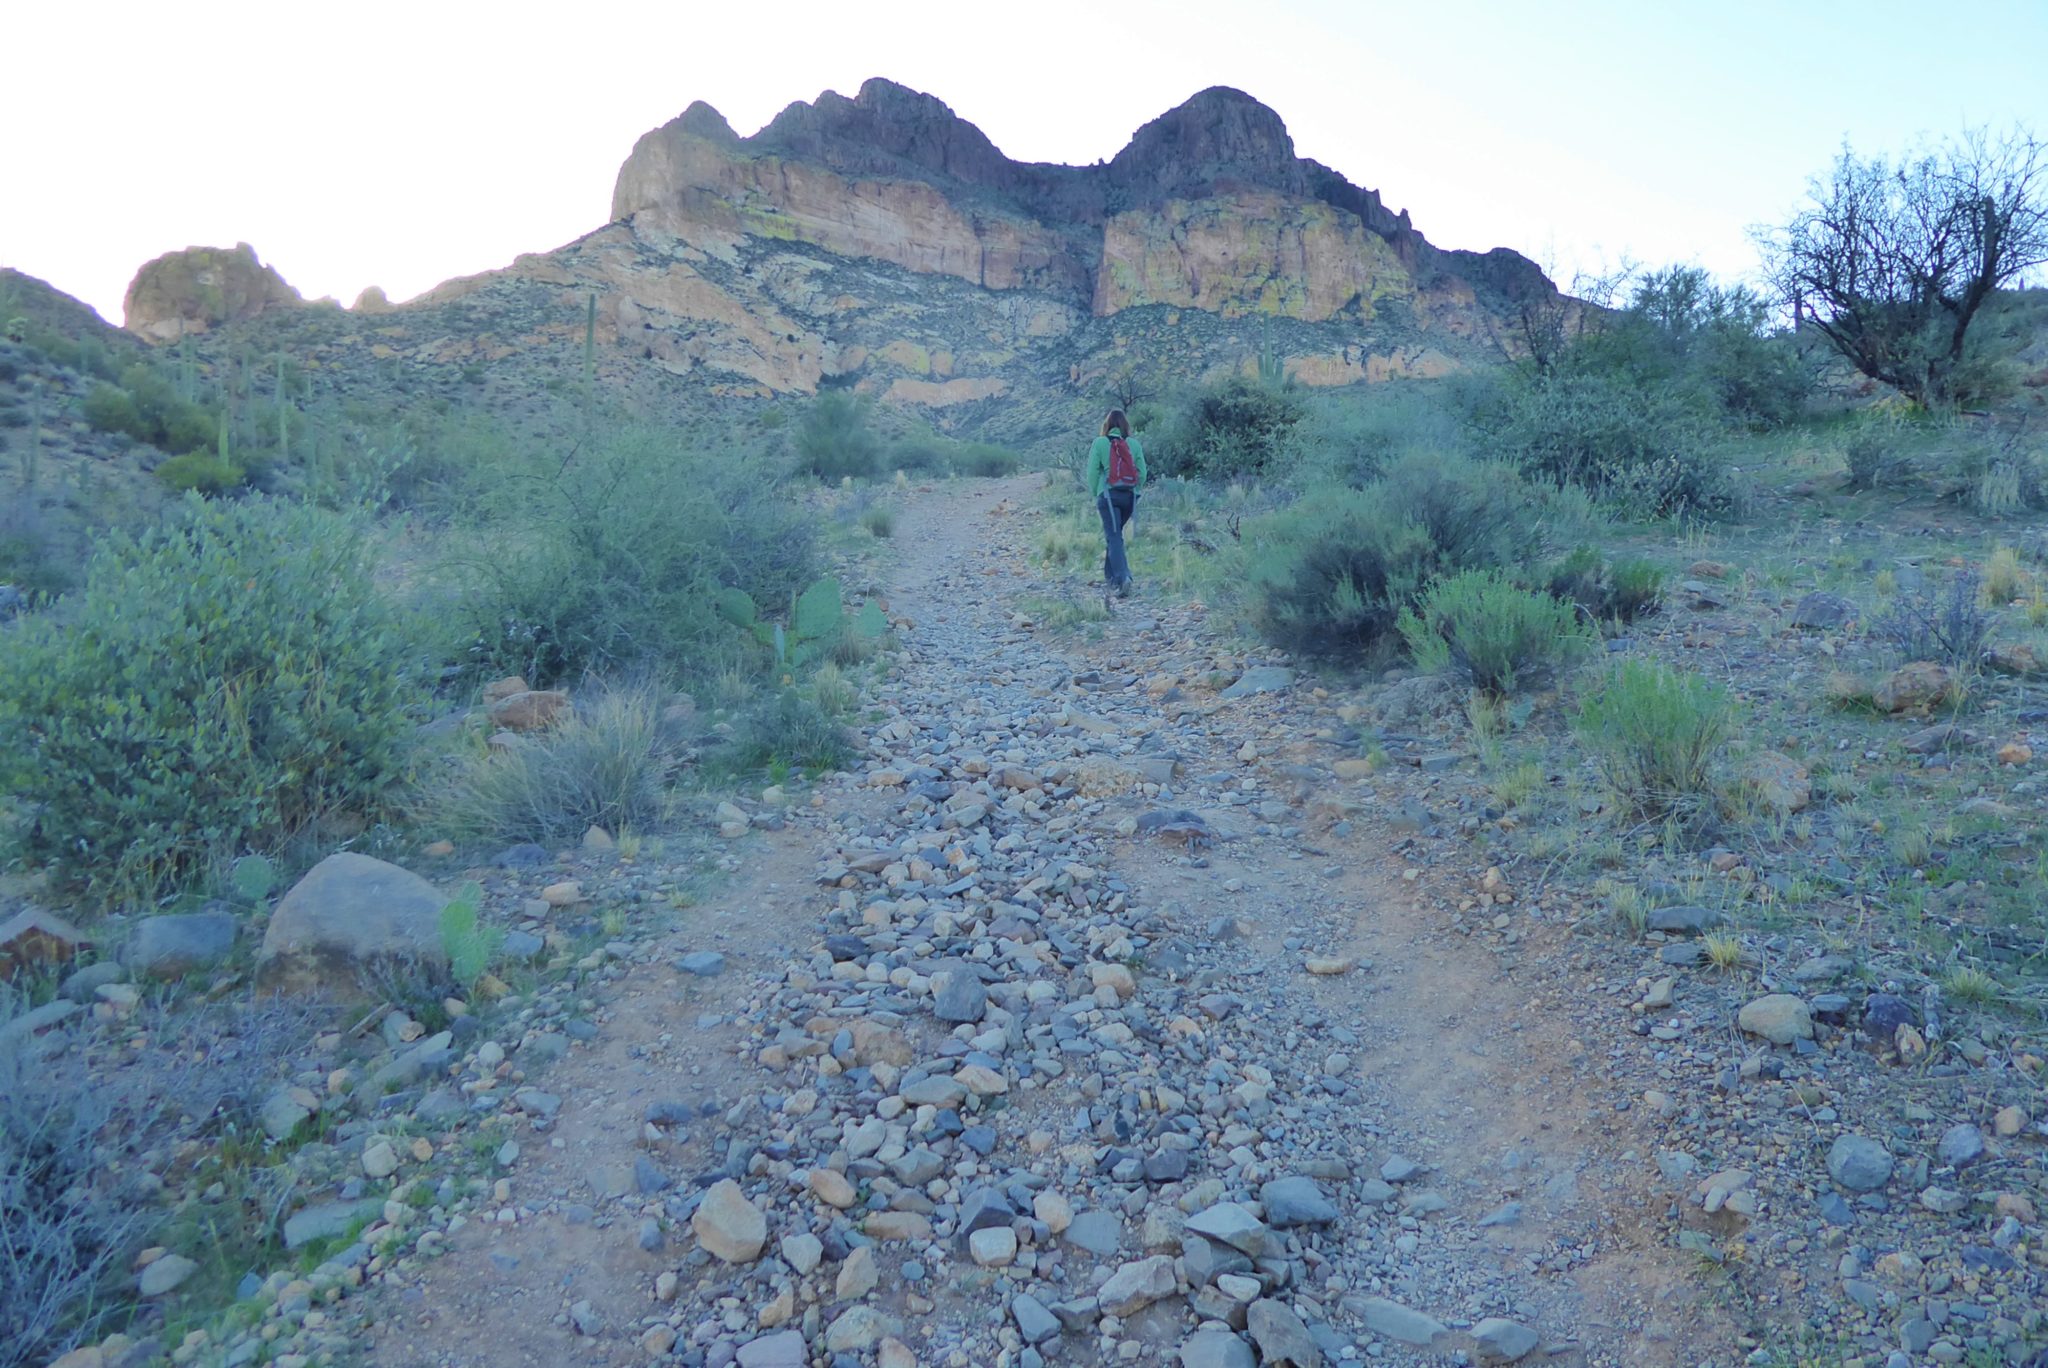
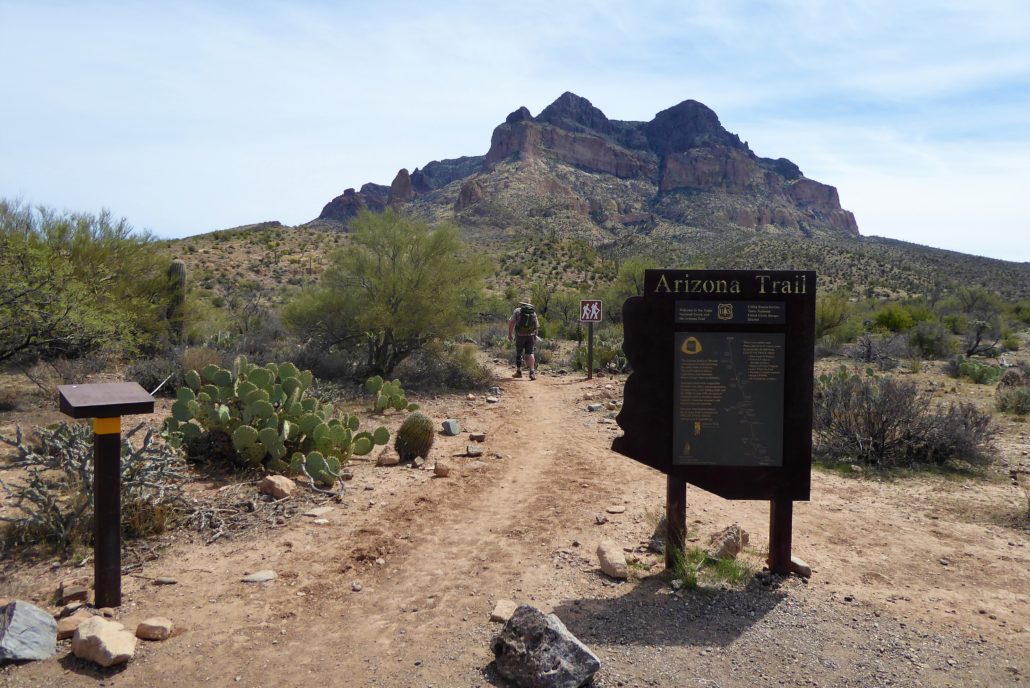
The journey to the summit begins at Picket Post trailhead, which is where the Arizona Trail runs through. You travel on the Arizona Trail for about .02 mile until you see a sign directing you to the summit. There will be a series of three actual signs directing you to the summit, but after that the only trail markers are cairns and spray painted white dots and/or drawn on blue chalk arrows showing the direction of the trail, so keep your eyes peeled.
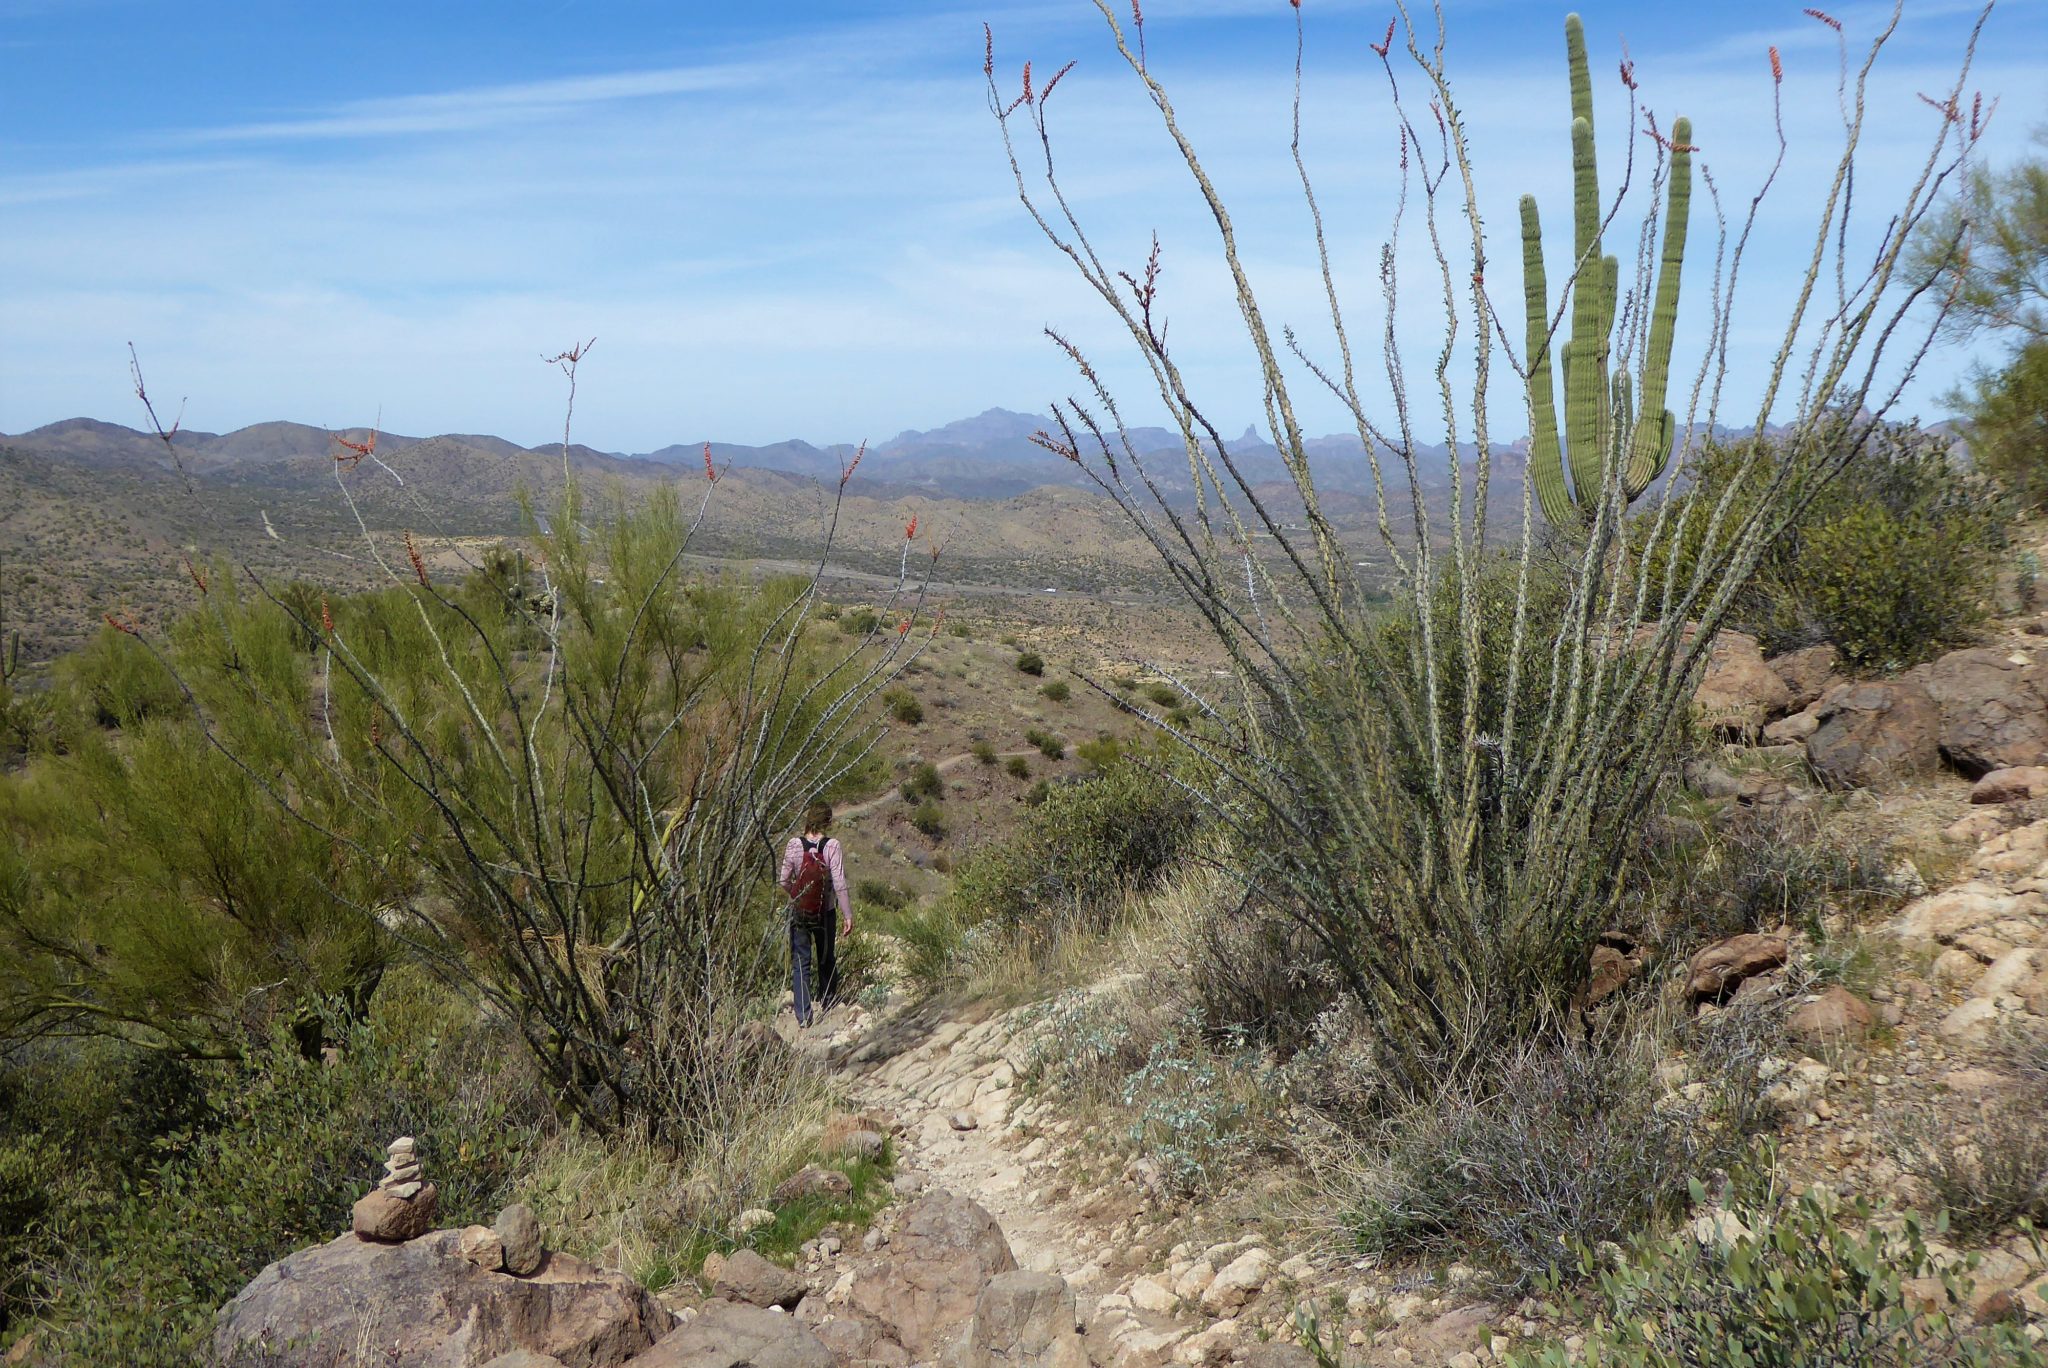
In the beginning, the dirt path is clear to make out and there are a few switchbacks gradually taking you up. As you hike along this peaceful and calm part of the trail, the emerging saguaro cactuses and ocotillo are supersized and have a healthy glow.


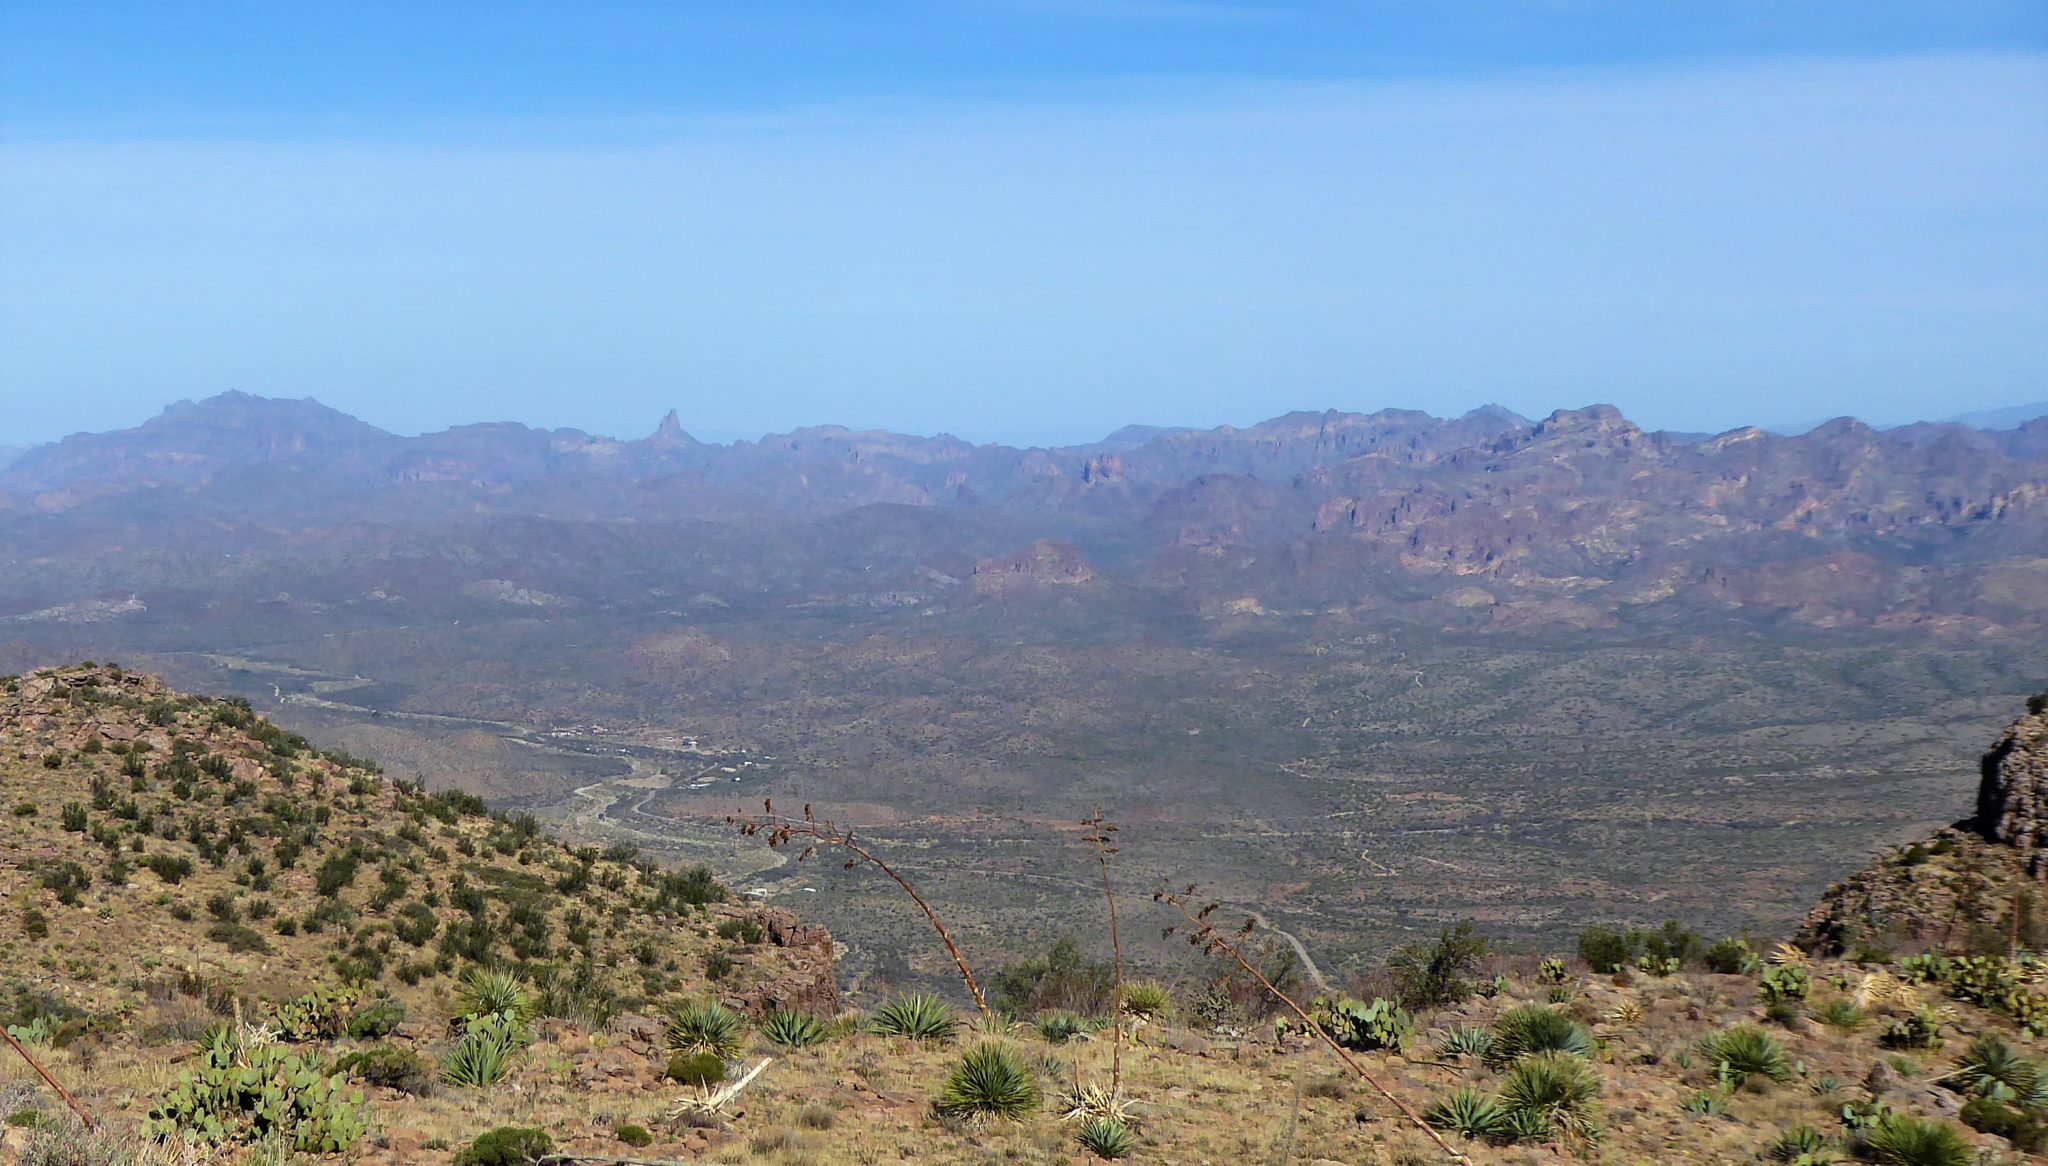
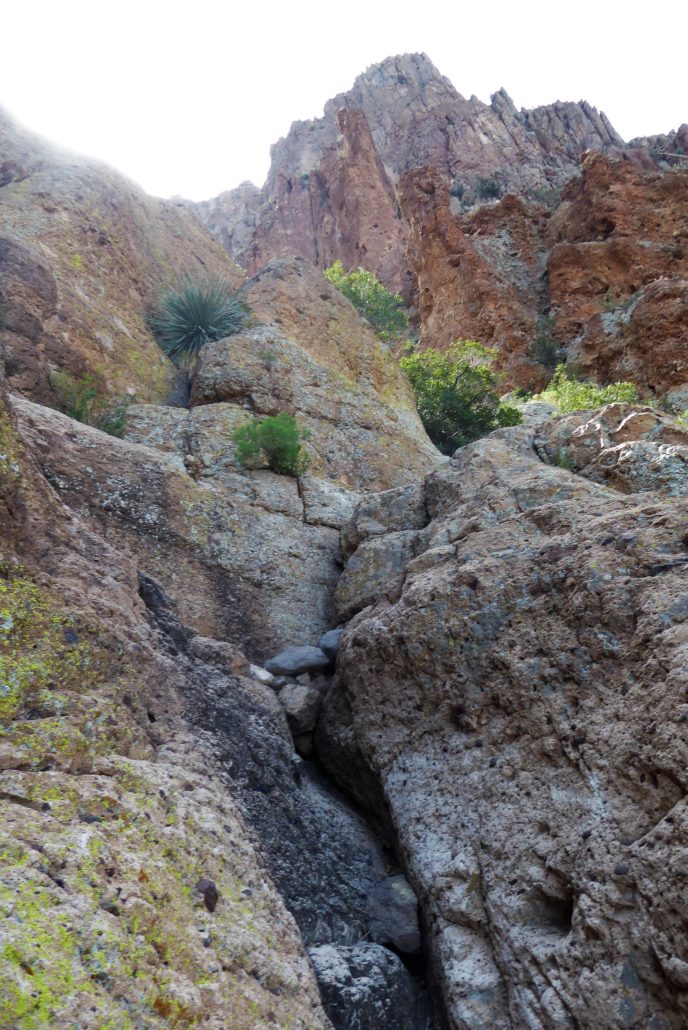
With each emerging step advancing higher along the trail, there is a progressively exceptional view of the nearby Superstition Mountains. Iconic Weavers Needle is in your view almost the entire time.
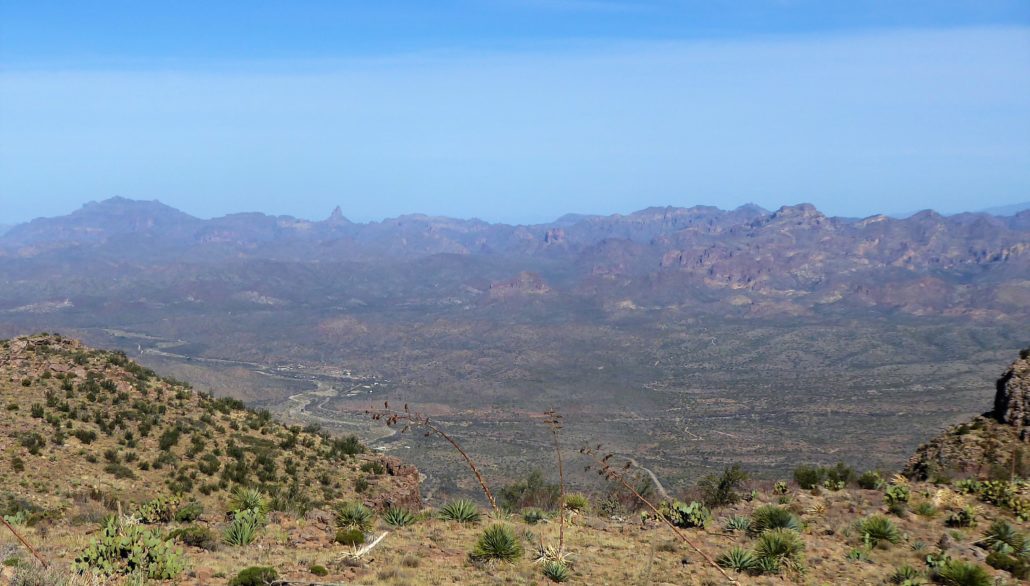
Weavers Needle is located to the left
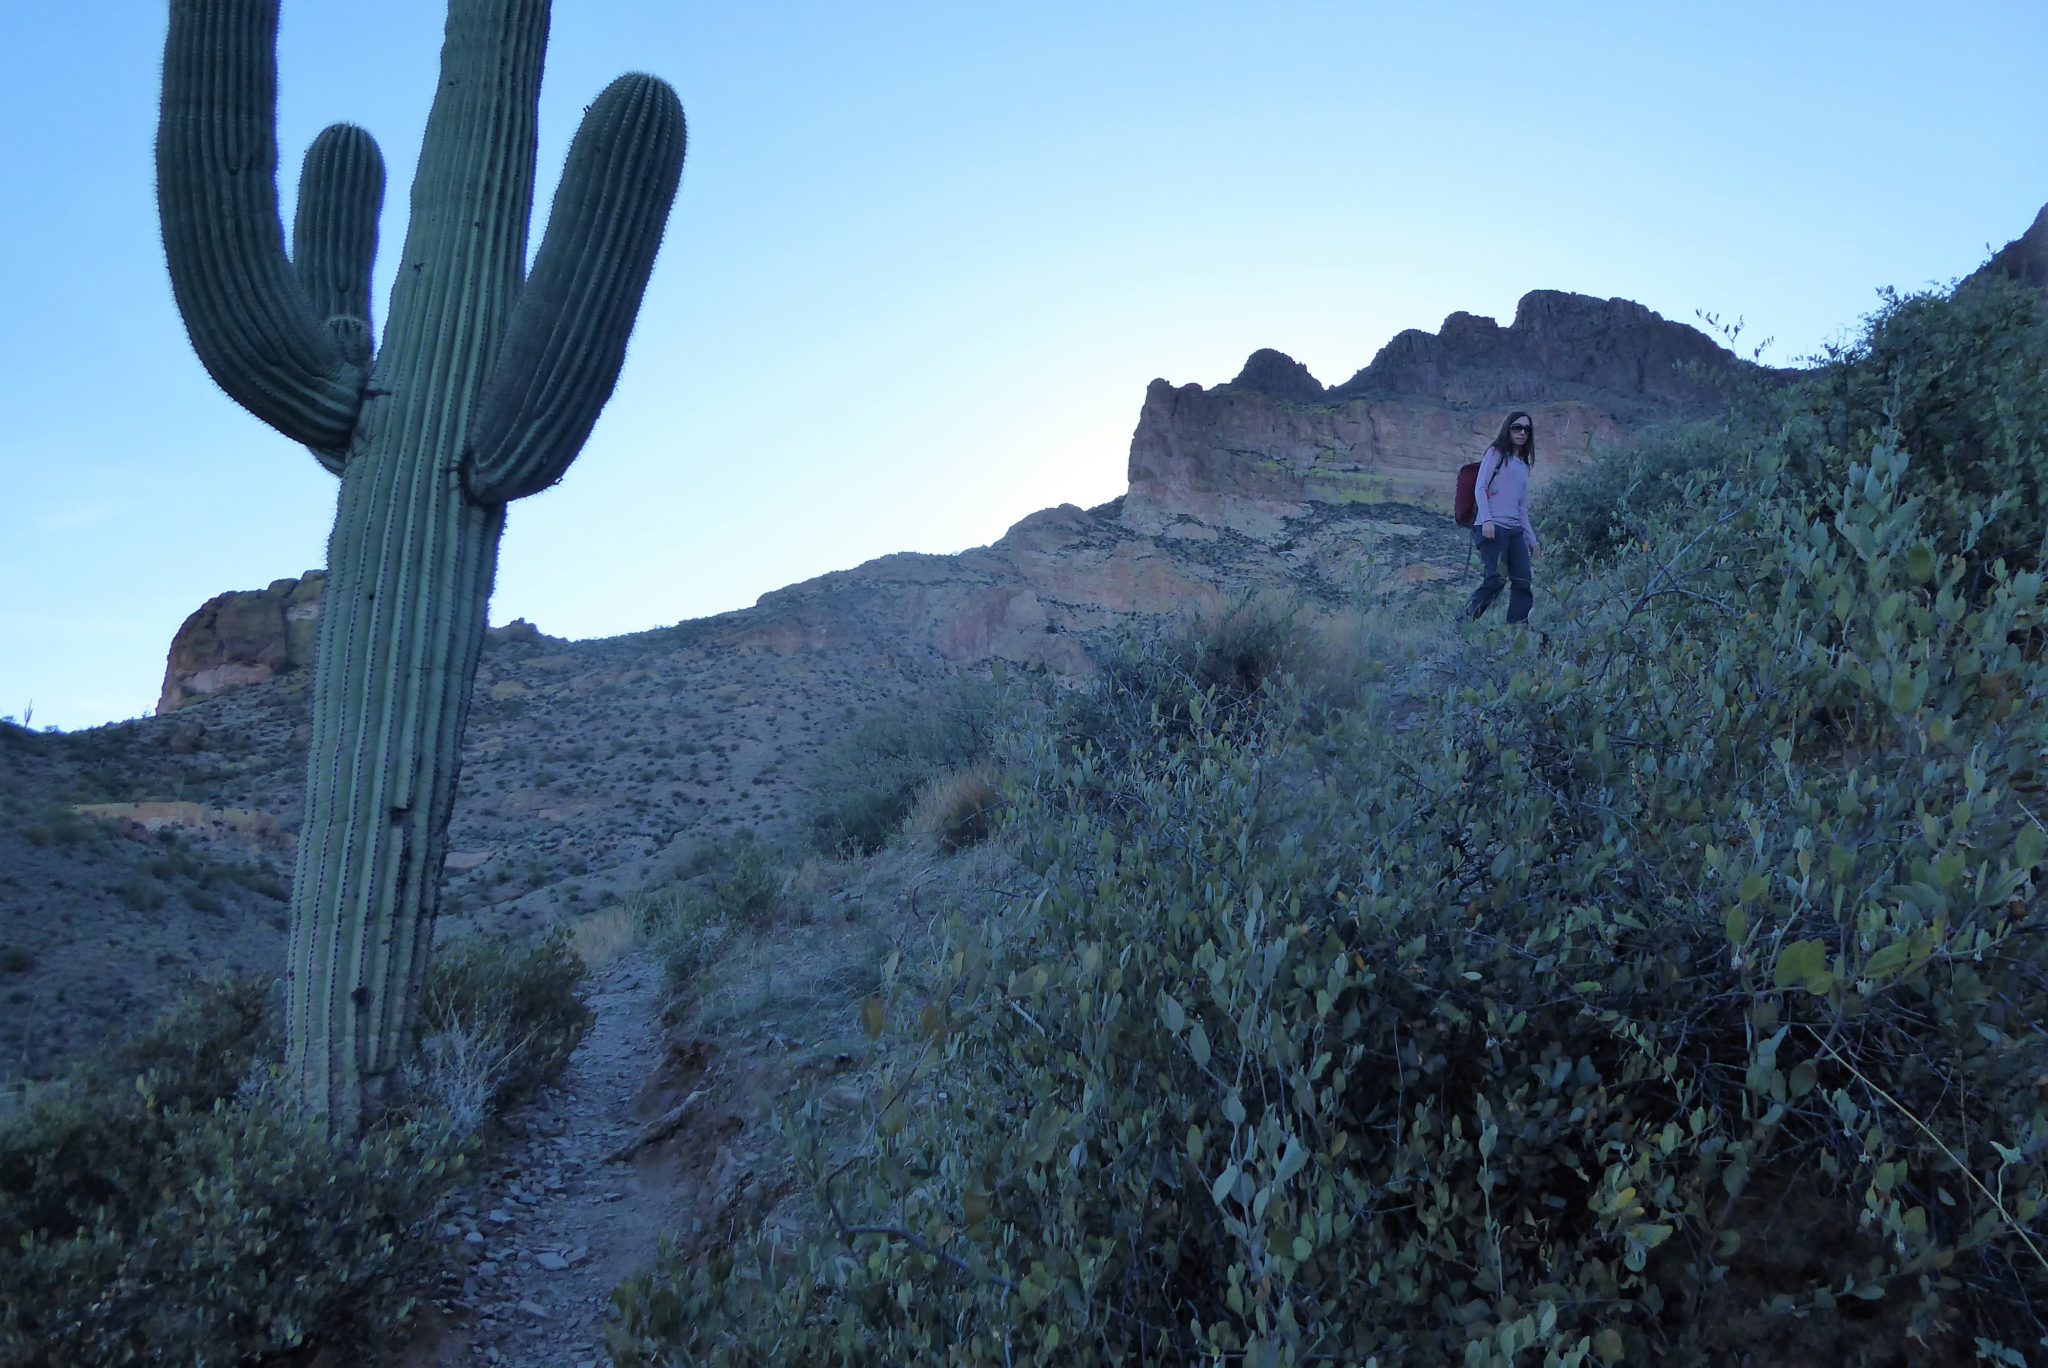
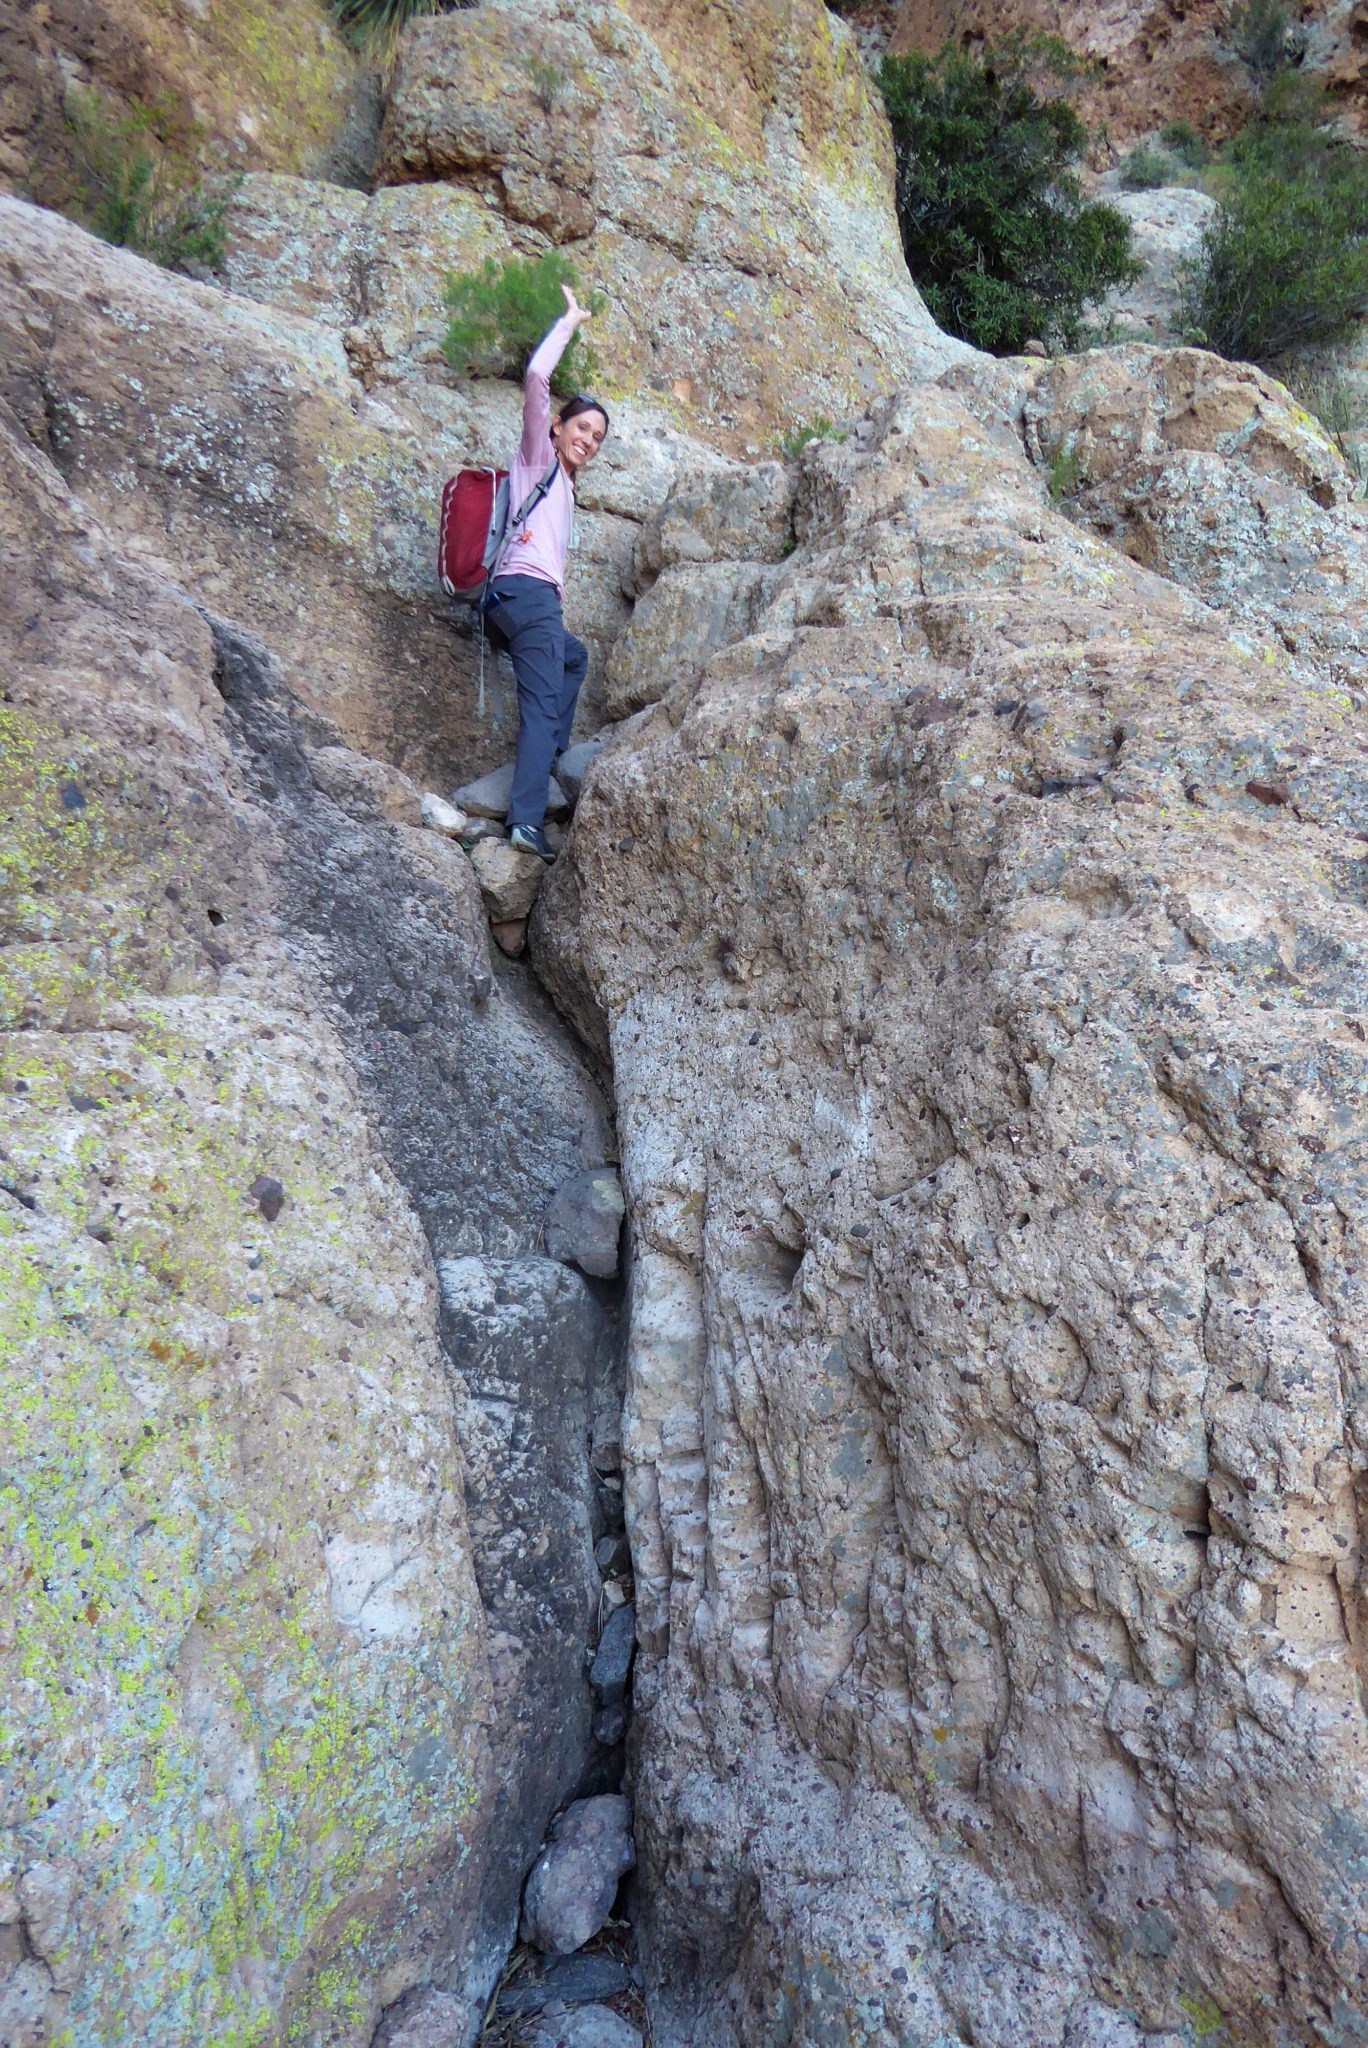
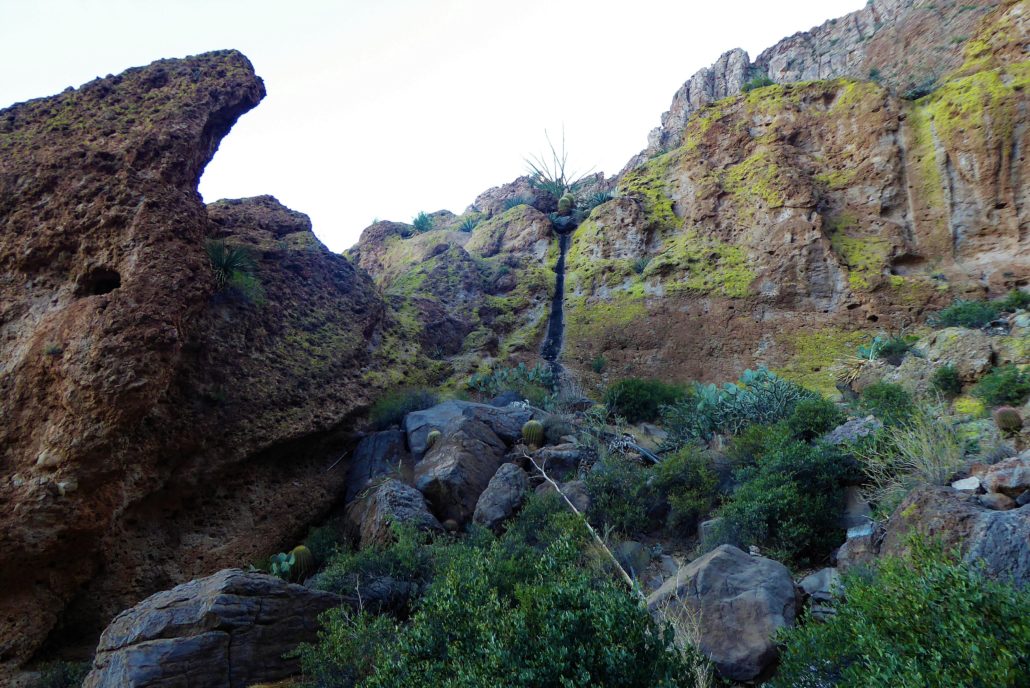
At around 0.9 mile the trail really begins to scale up and now the path will be harder to make out. It begins when you reach a big white rock that you need to step onto and then walk across. There is a painted arrow, directing you to walk toward the right to continue this journey. Be cautious of cacti at the edge of the trail — especially in narrow areas. Even in the heat, this is one of the main reasons I would suggest wearing pants on this hike. Either way, don’t forget to pack some tweezers just in case!

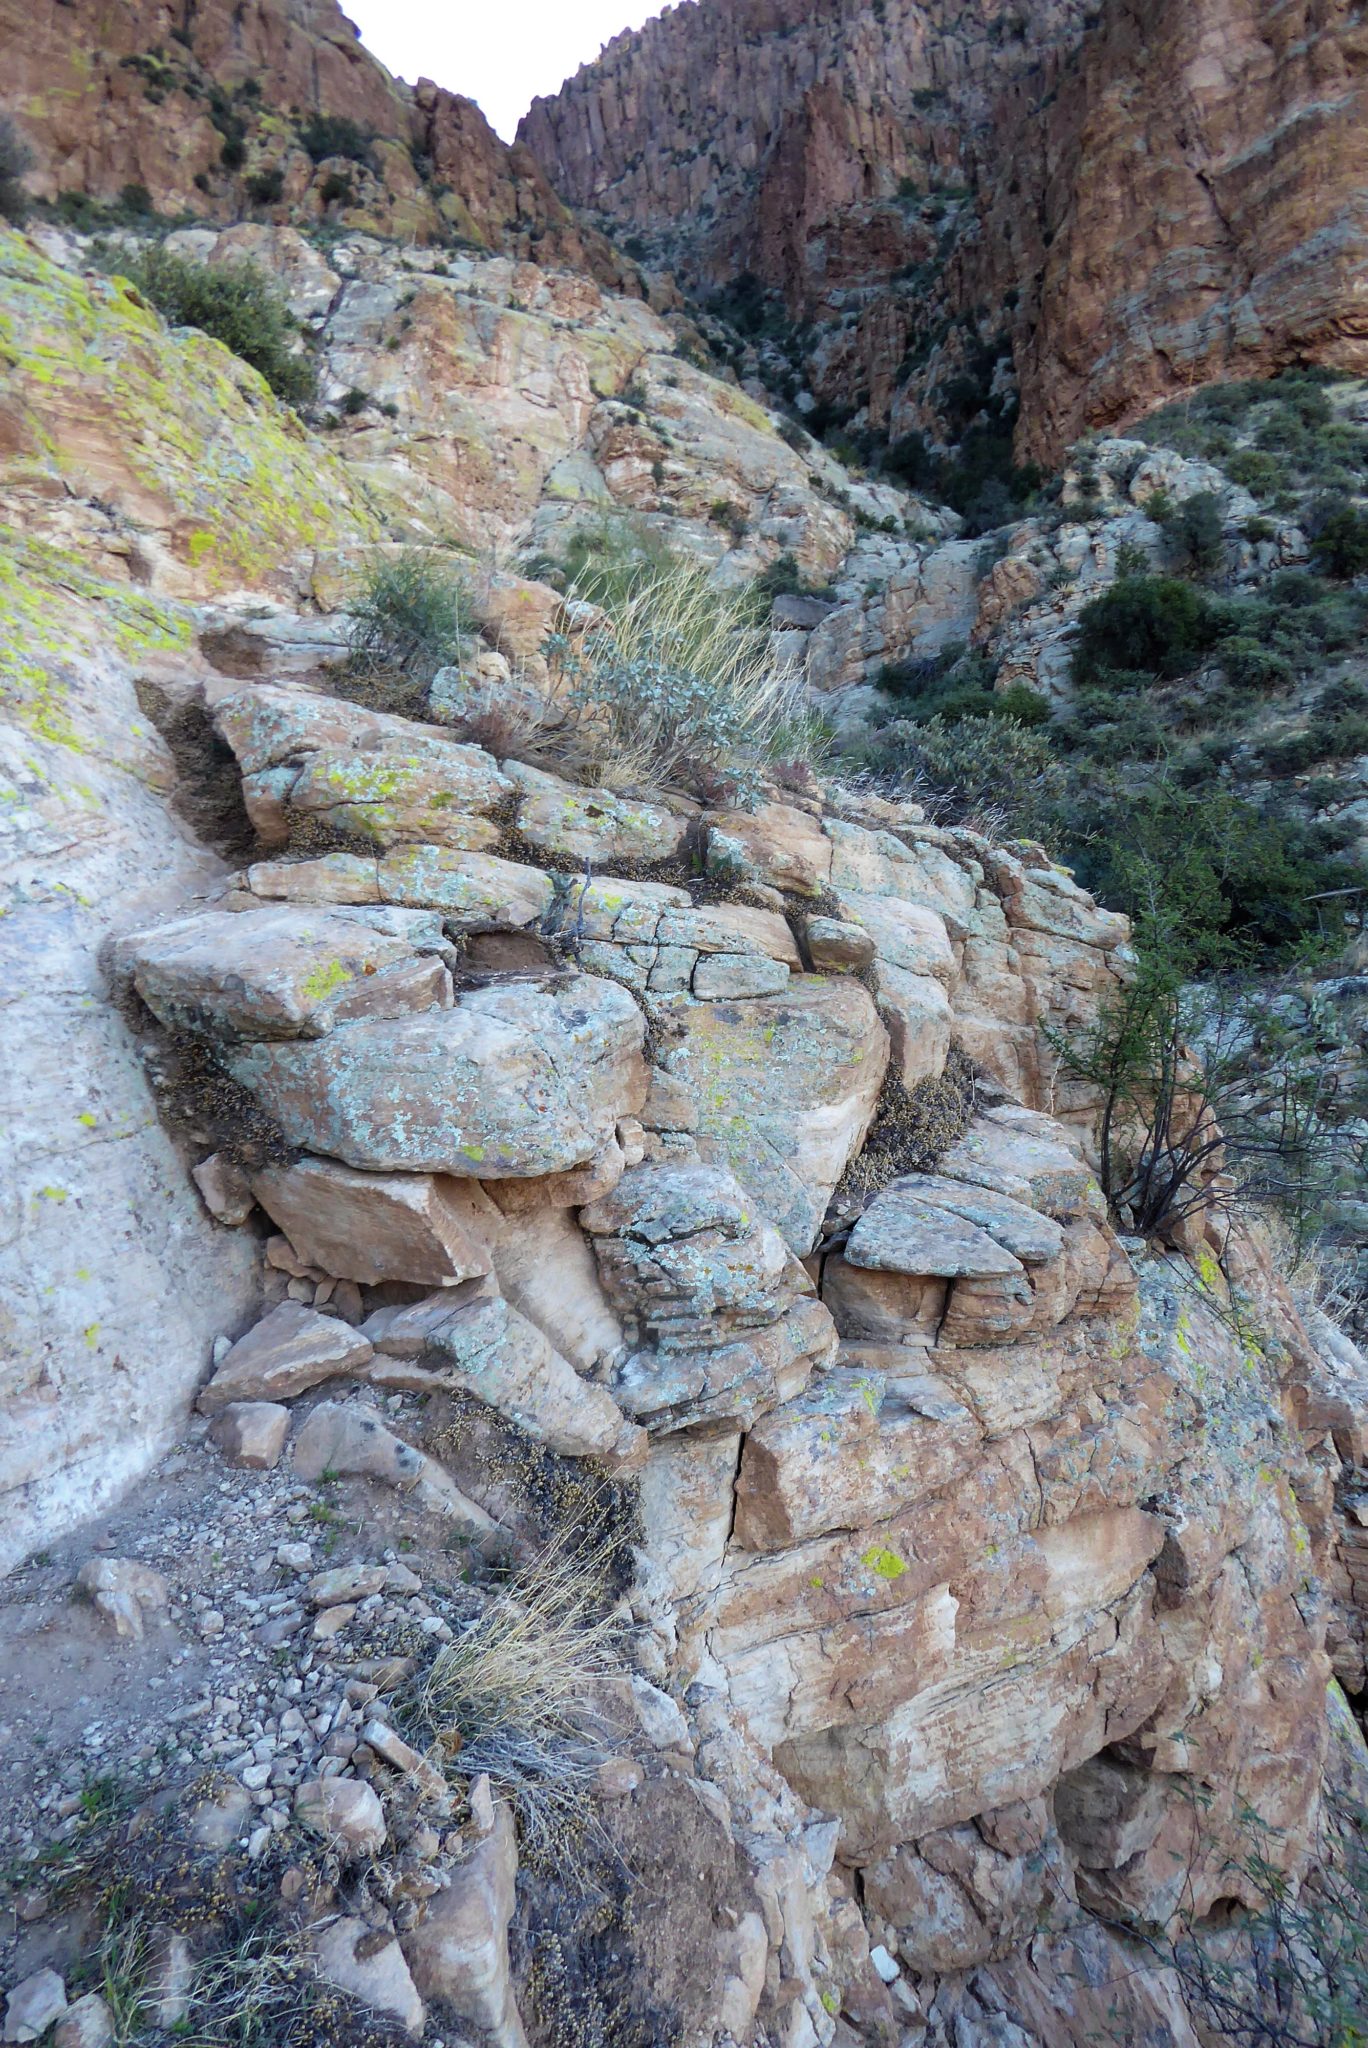
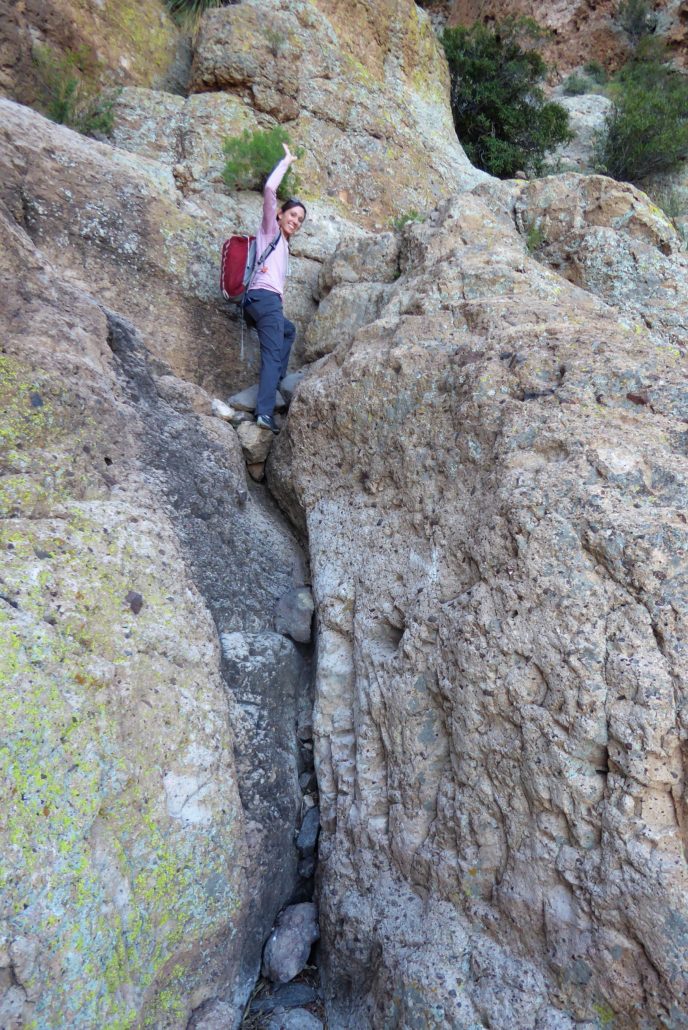
As you continue following the white dot and/or blue arrows, there are a few areas where some scrambling is required. These areas look more intimidating than they actually are, so don’t get discouraged! There are plenty of notches in the rock where you can place your hands and feet to help you safely climb up and down. The trail will continue to climb higher up and toward the right.
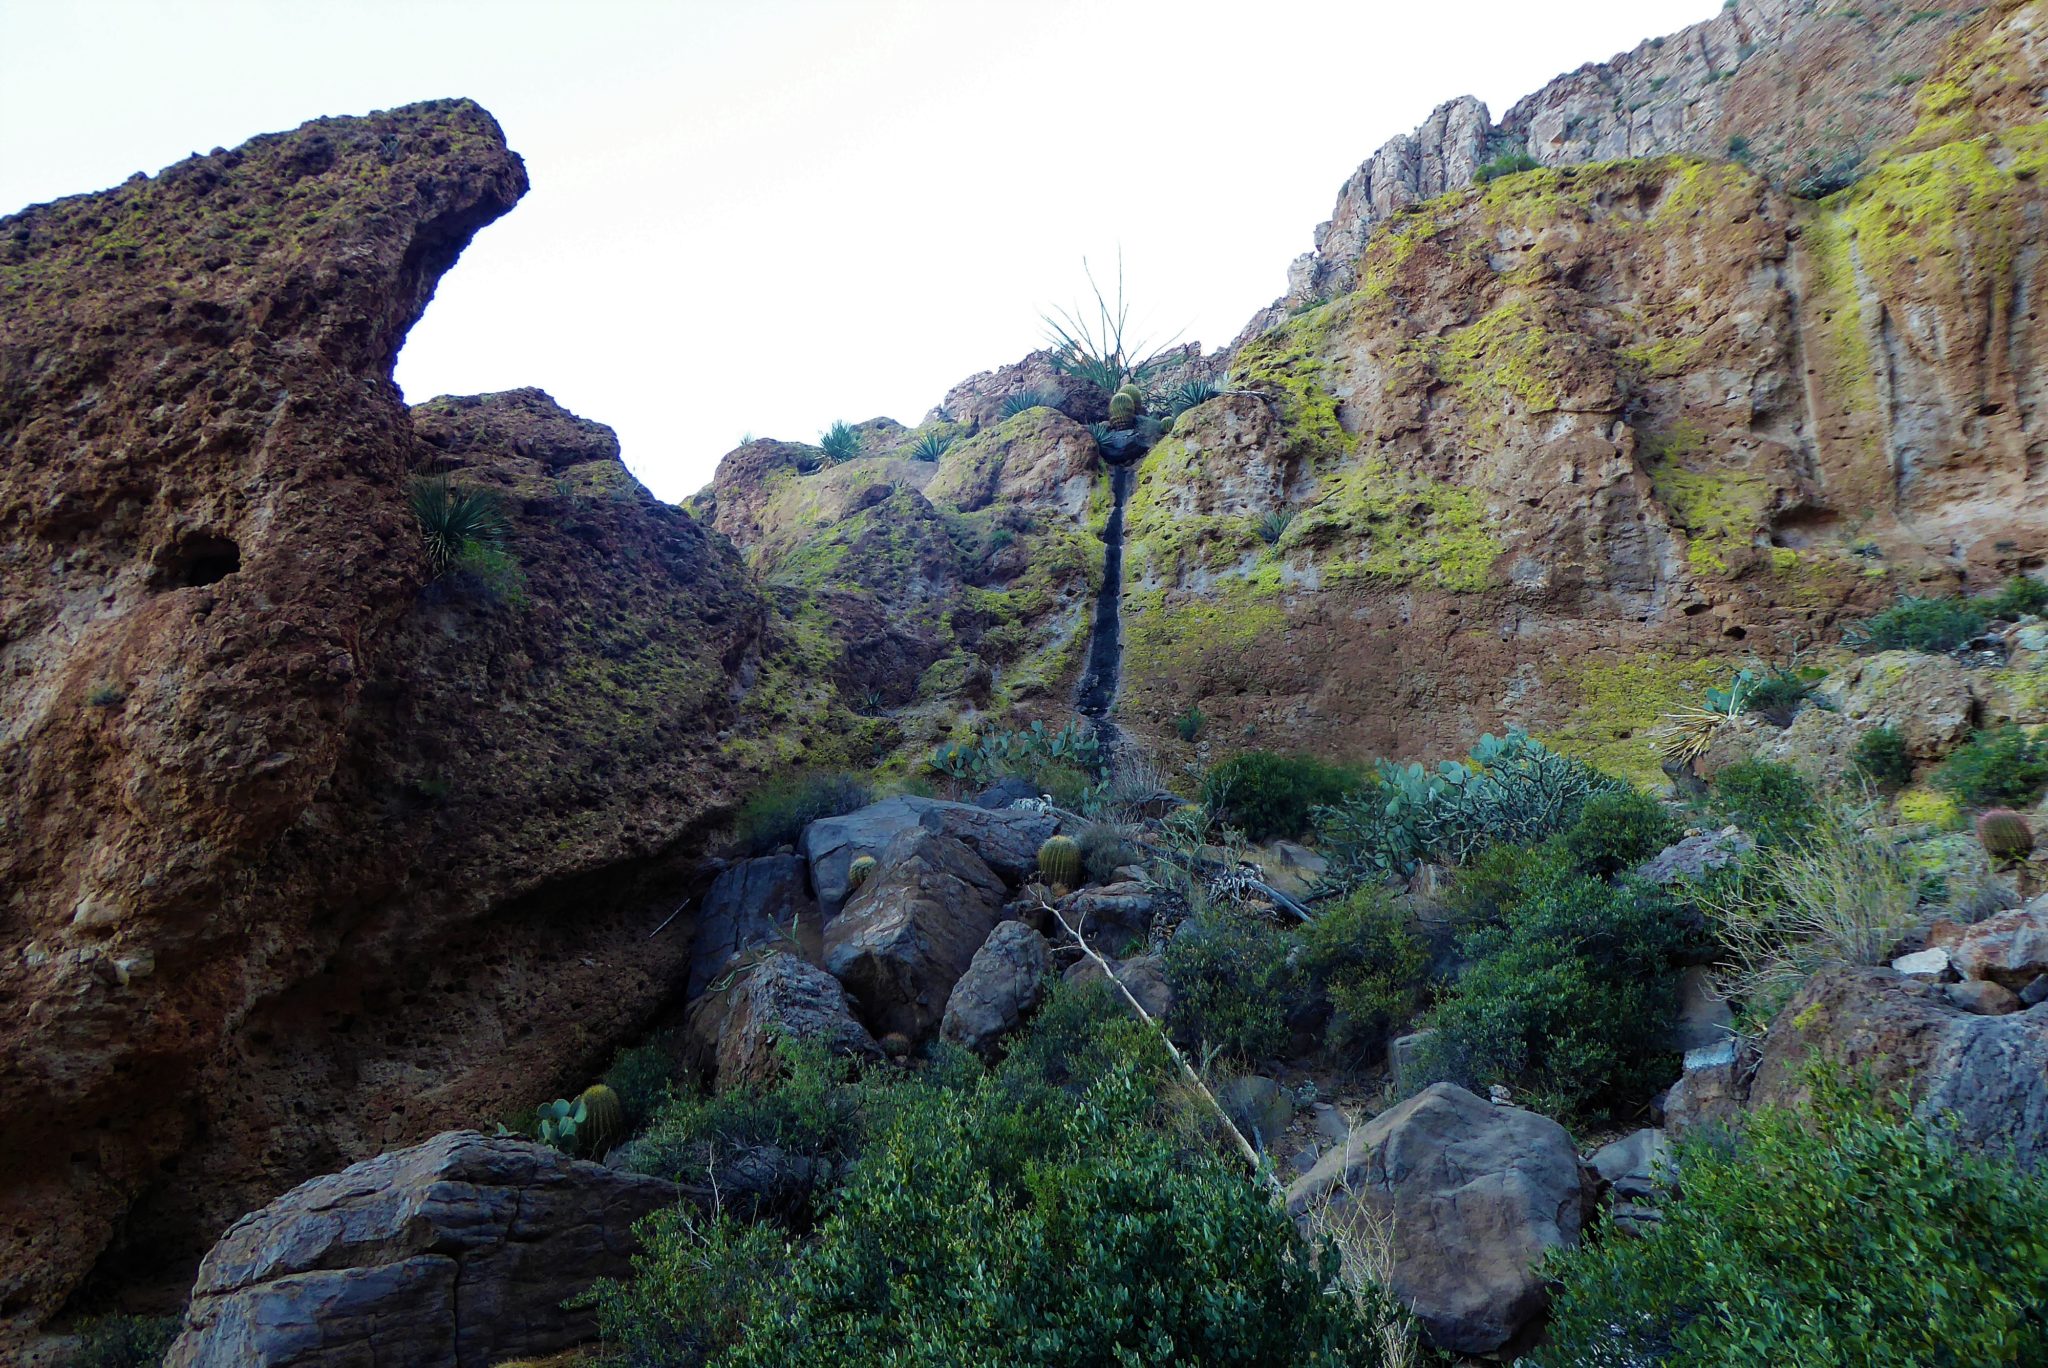
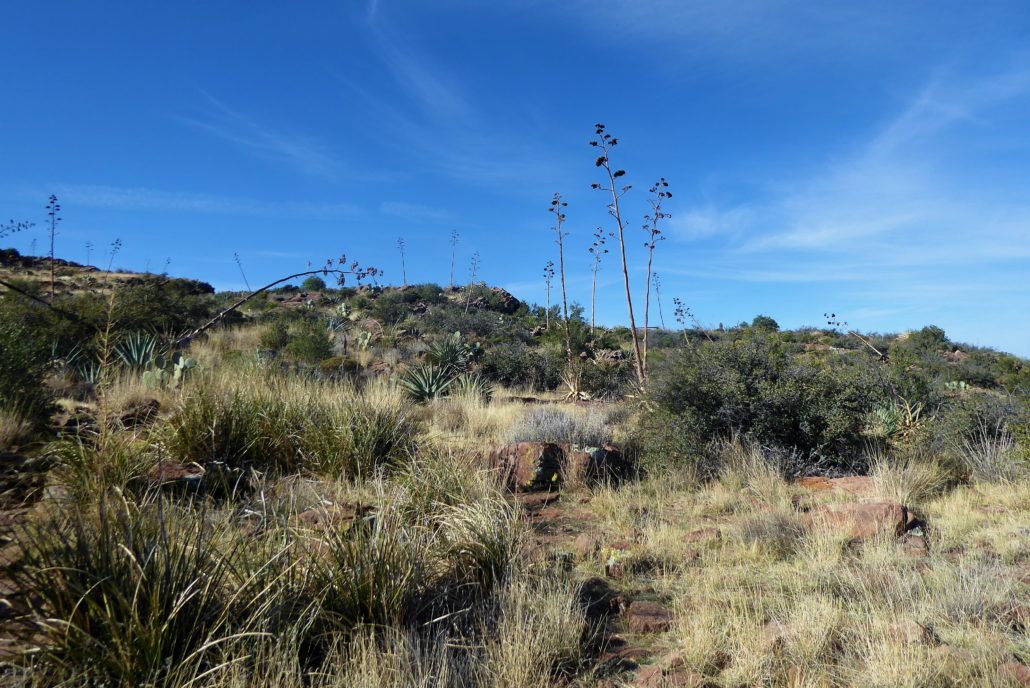
Once you’re up on this top section, the entire landscape changes drastically. You will emerge onto a flat plateau surrounded by long yellow dry grass and tall agave plants. The calm and peaceful feeling returns as you now follow the path on a gentle incline to the summit … with just one last little obstacle.
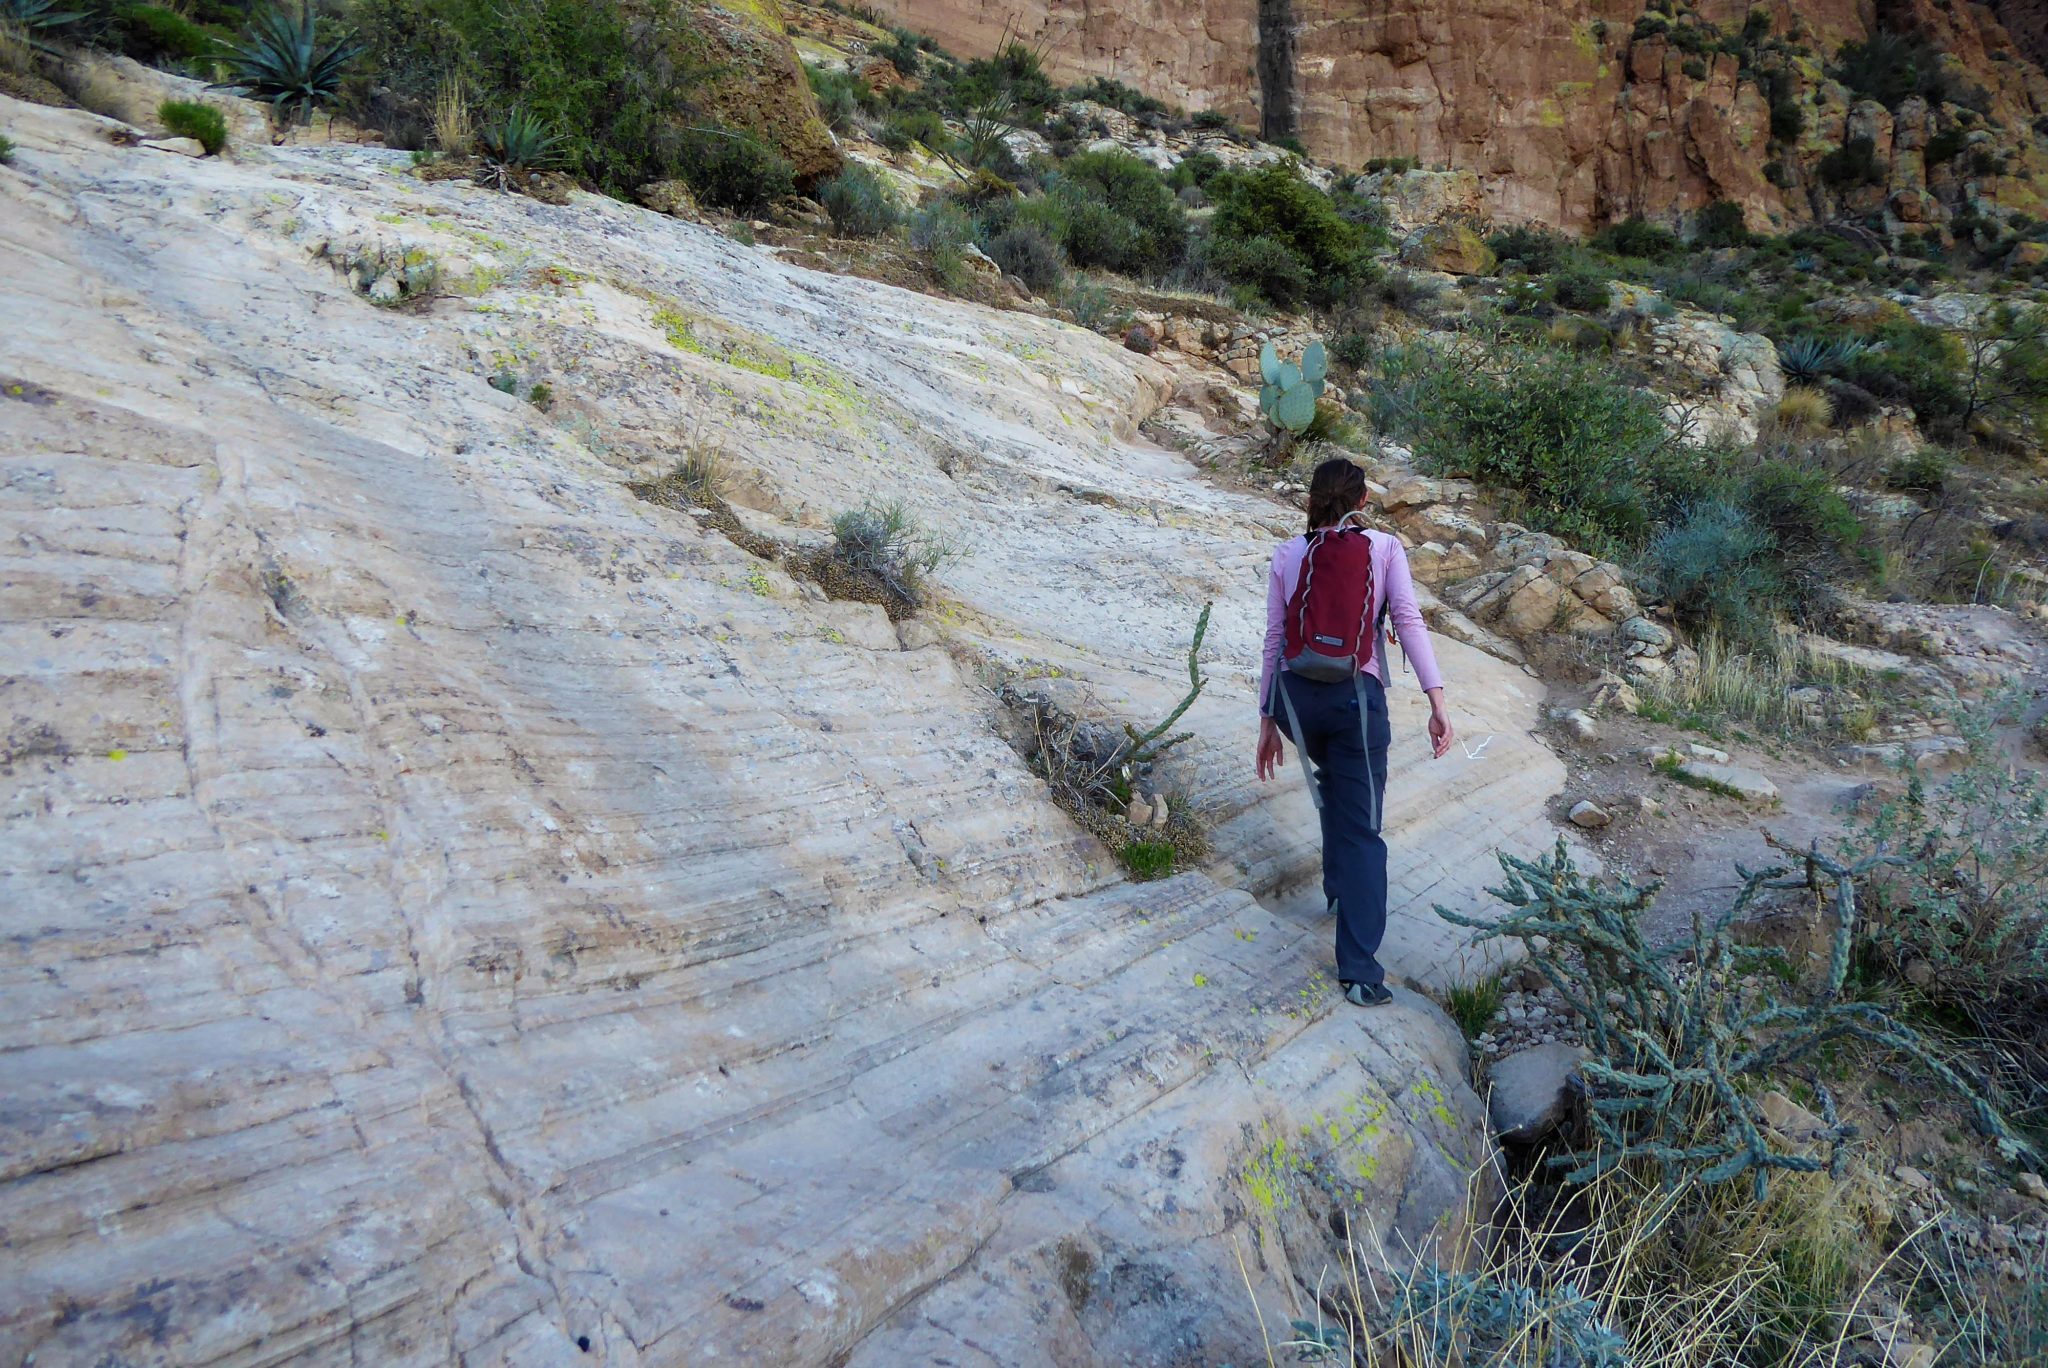
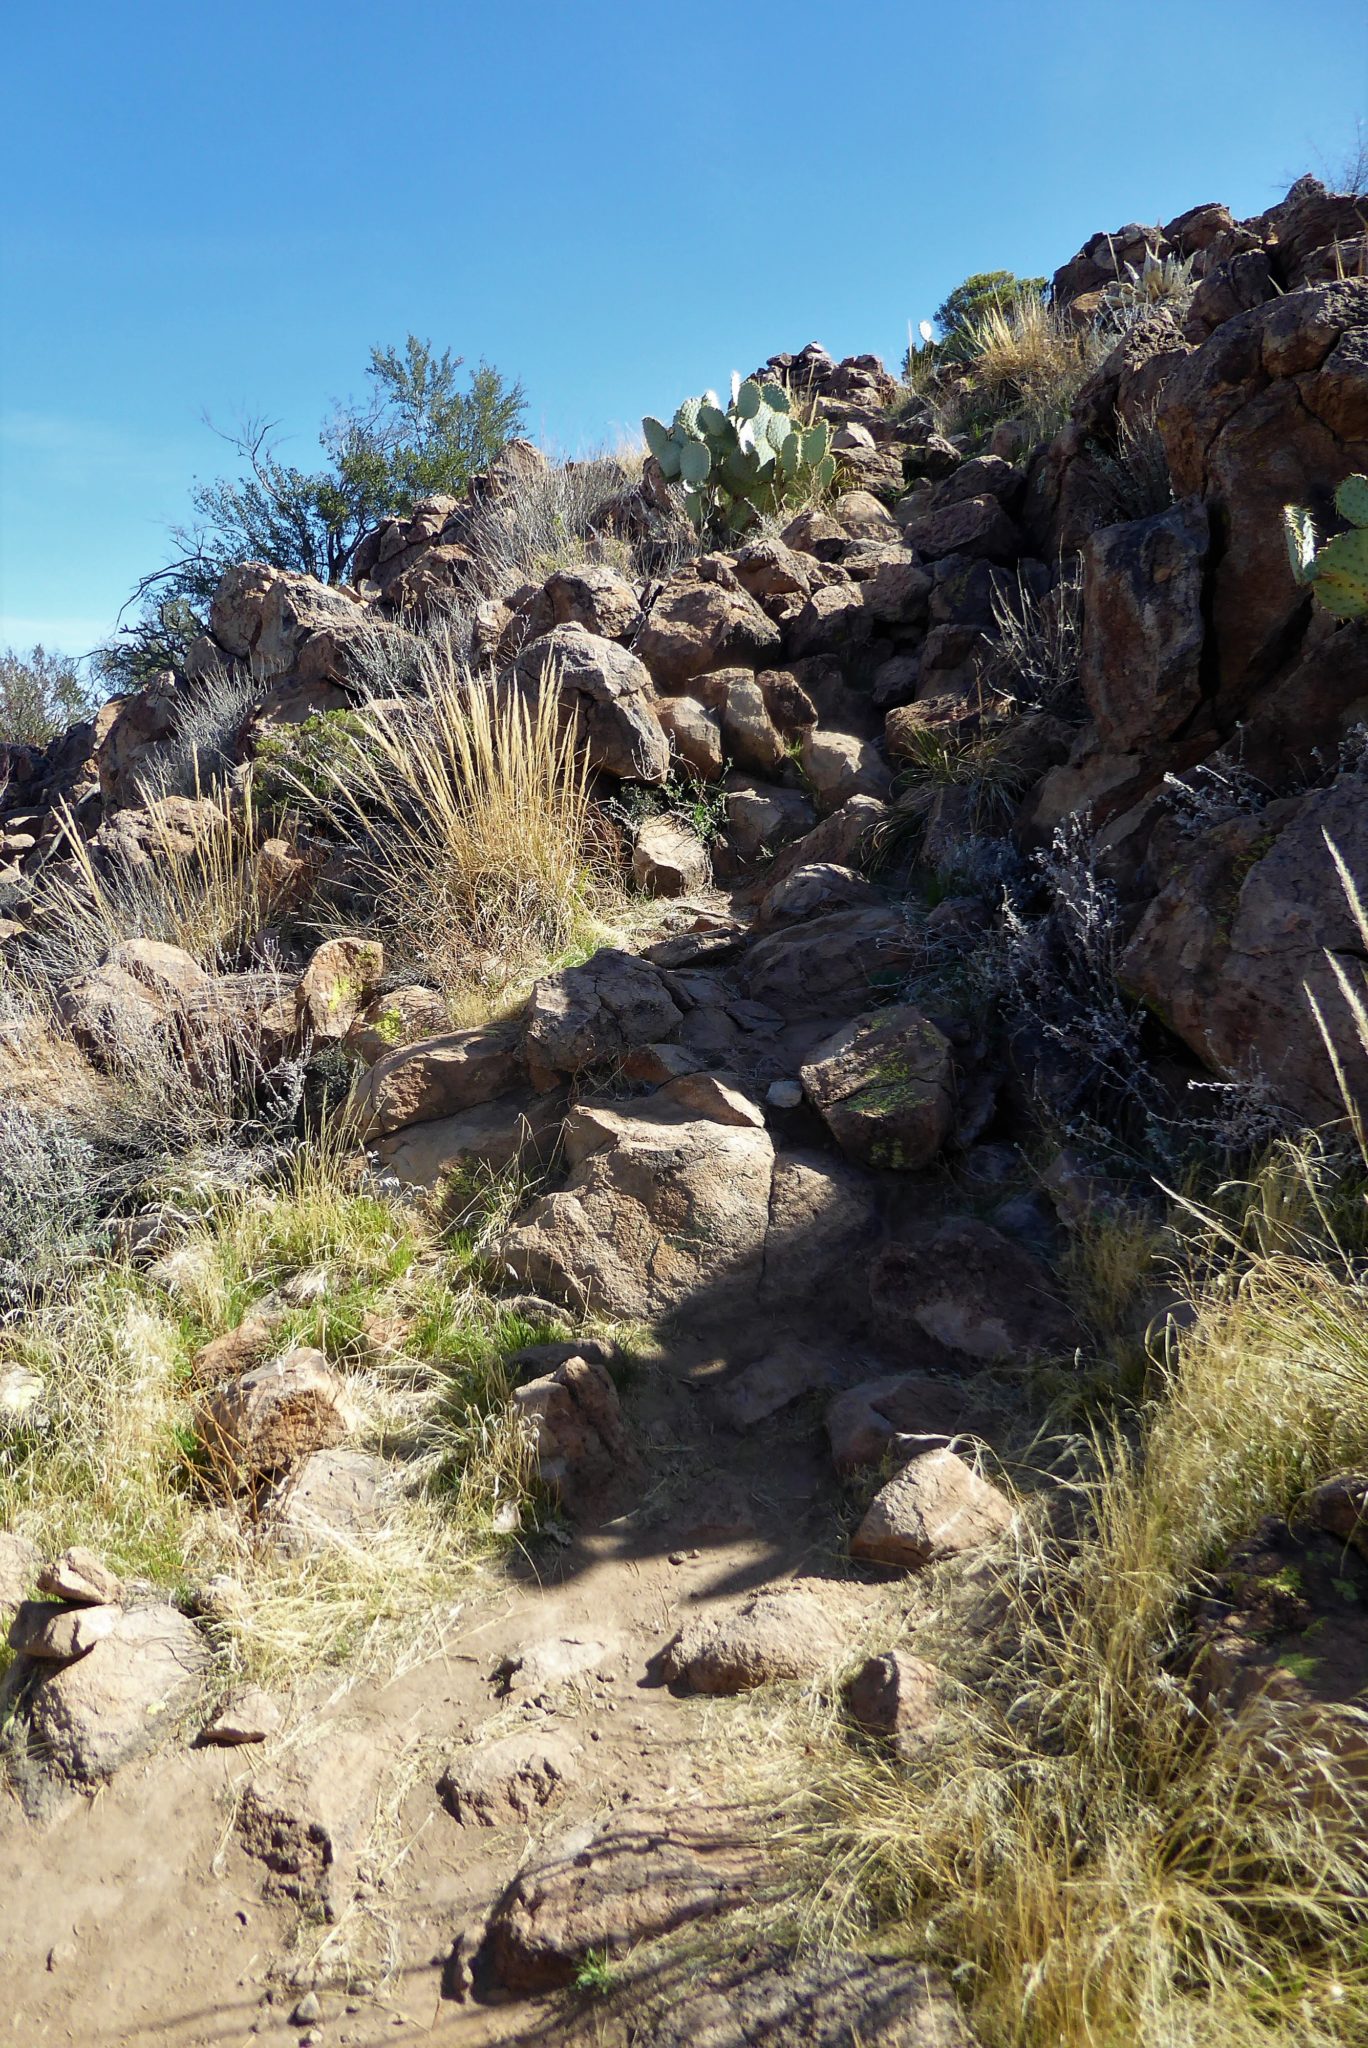
At 2.5 miles, you will need to turn left and hike up a smaller rockier area up to the summit. I had gotten confused at this intersection, because the blue arrow looks as if it’s directing you to go straight, but you really need to turn left at this spot.
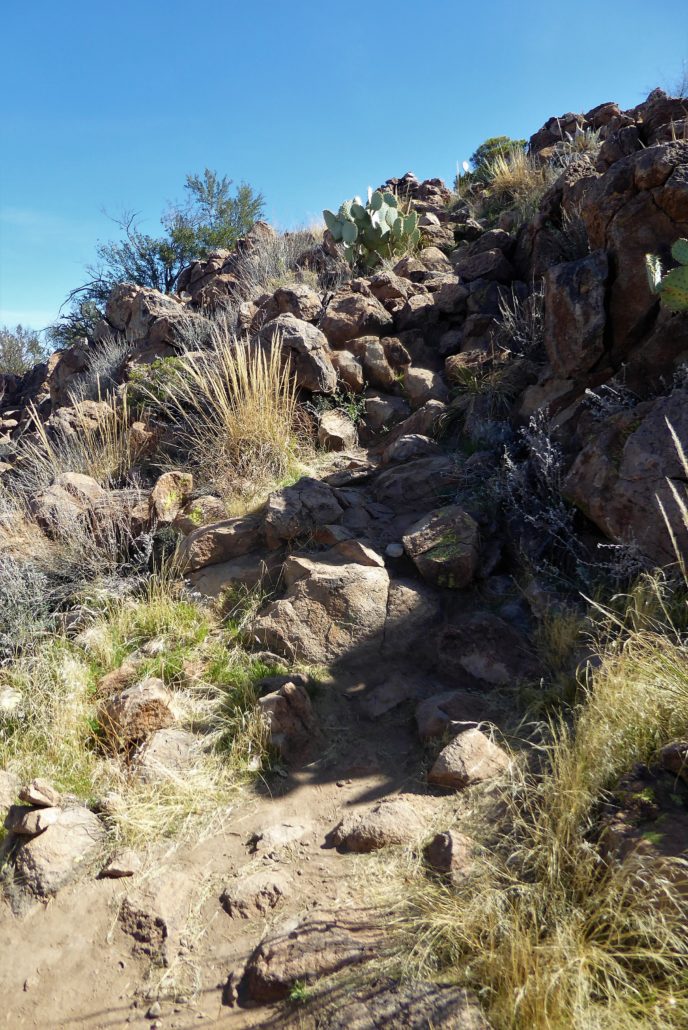
At around 2.5 mile, turn left and hike up this rockier area
While hiking up this rocky area, you’ll begin to make out the bench and the sturdy mailbox awaiting you. As you open the mailbox, you’ll discover the mailbox’s story written upon a metal plate on the inside of the lid. I don’t want to spoil that story for you so you’ll have to hike this trail to find out, but needless to say this little mailbox has been through a lot!
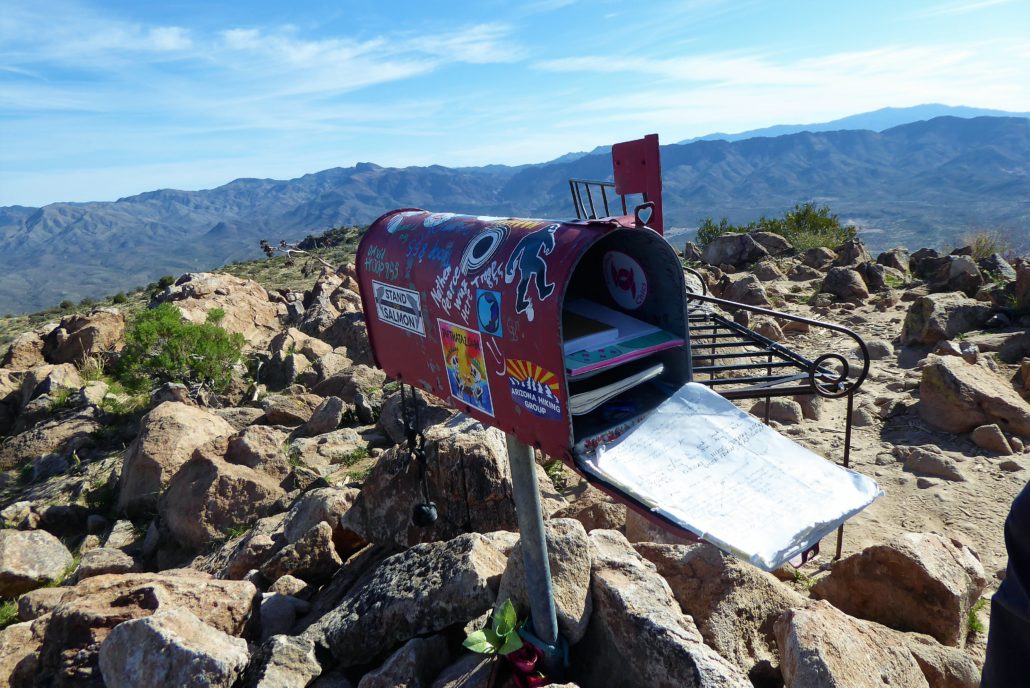
As you sort through the letters and knickknacks you really feel a sense of camaraderie in the hiking community. We all hike for different reasons, but here in this mailbox it all comes together, stays together and grows together. One of the most powerful pieces I saw was a sealed envelope addressed to the past. This person hiked up this trail, with the sole purpose of leaving their past behind them. When they came down, they walked into a new beginning of their life. That’s a powerful proclamation that hiking Picket Post allows you to do.
So, think about you what you want to say or leave behind upon the Summit and enjoy the amazing adventure of the Picket Post Trail.
Tags: Arizona, Arizona Trail, AZ, hike, Hiking, nature, outdoors, Phoenix, Picket Post, PIcket Post Mountain, Picket Post Trail, Superior, travel