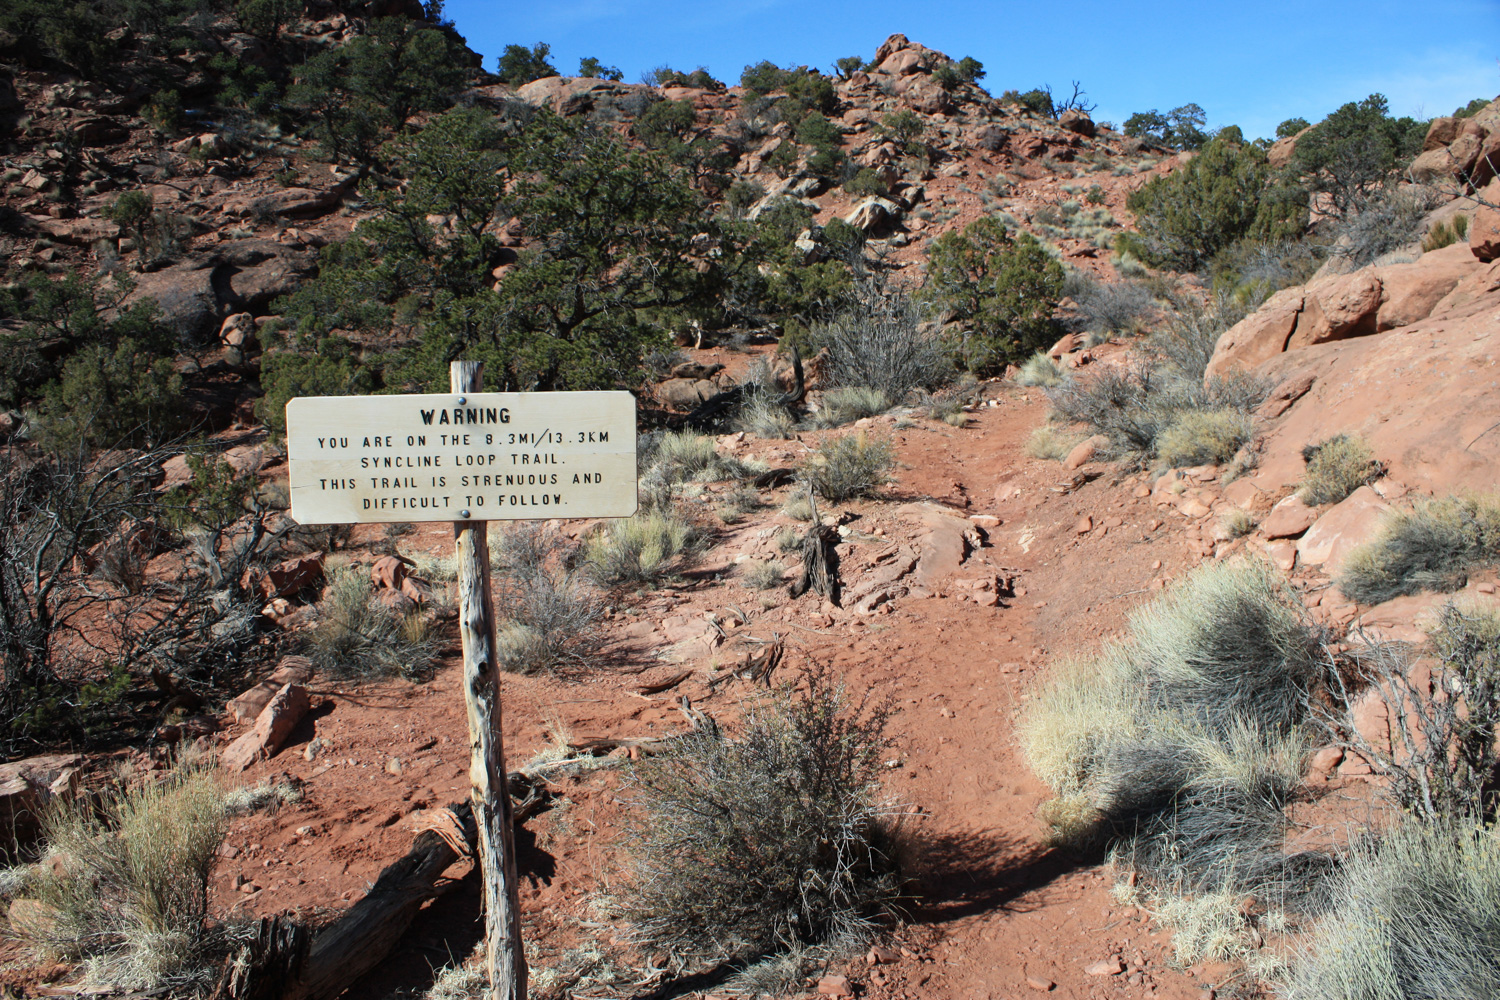
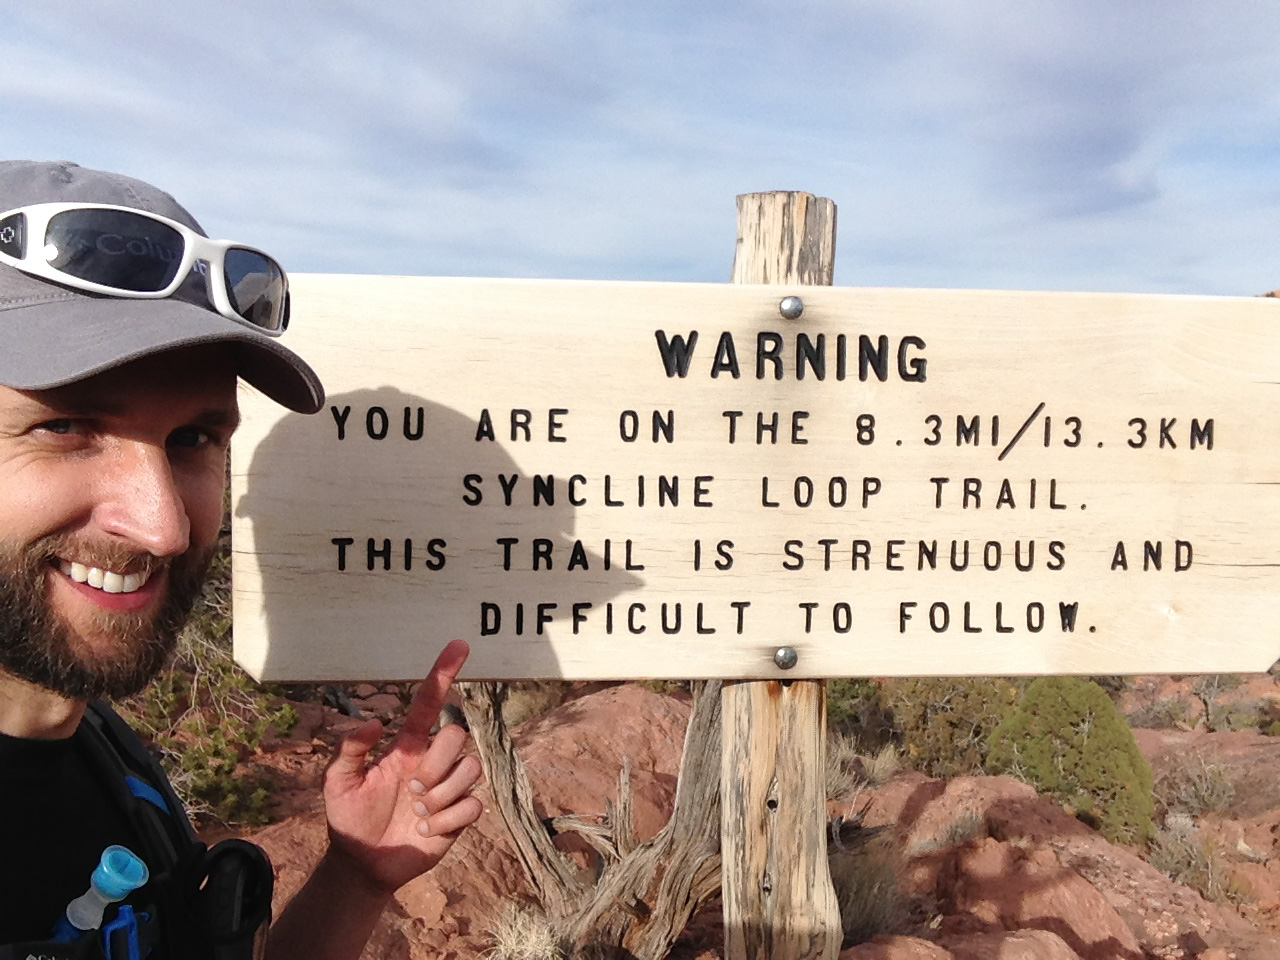
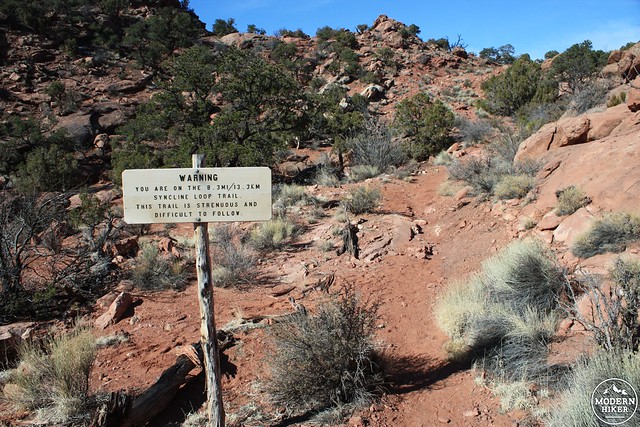
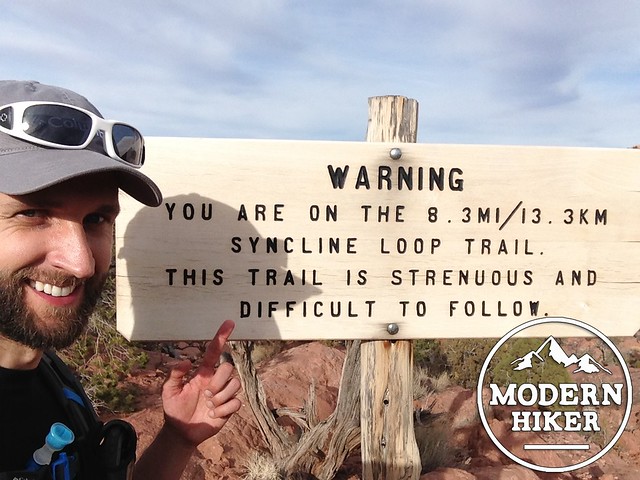
“Warnings” are the name of the game on the Syncline Loop Trail. Most topo maps will make special note of the trail’s condition, stating things like “Primitive Trail” and “Difficult to Follow.” Signs near the trailhead echo that language with capital letters that spell out “WARNING.” Indeed, this is not a trail to be taken lightly. I have done some tough trails in my time, but this one is definitely near the top of my list for “most difficult trails I’ve ever done.”
Remember that this is overwhelmingly on primitive, unmaintained trails. There is some light scrambling involved, no water, very little shade, and deep canyons that can cut off GPS signals. Oh, and all the elevation gain is on your way out, after you’ve put in a full day’s effort.
That said, this is also one of the most fun trails I have ever had the pleasure of hiking on. You’ll hike down unbelievably steep inclines, stand atop dry waterfalls, meander through desert washes, climb up steep slickrock slopes, do a bit of class 3 scrambling … oh, and hike into the center of a bizarrely eroded, ancient meteorite impact crater in the middle of the desert.
If that doesn’t get you going, I don’t know what will.
There’s a little bit more of an overview of the region’s geology on the easy Overlook Trail write-up, and this trail begins at the same picnic area. If you haven’t already done it, tacking on at least the first viewpoint to this trail is a great way to get an idea of the geologic crazytown you’re about to walk into. If you don’t, you won’t really get a look at the Upheaval Dome until you’re inside of it.
Just after you start hiking toward the overlook, you’ll see an sign marking the junction with the Syncline Loop Trail. As it’s name suggests, this is a loop and the trails will connect. Direction is a matter of choice, but I will recommend hiking this route in a clockwise direction. If you hike this way, you’ll be descending a mile-long stretch of trail at nearly 20% grade instead of ascending it (but believe me, your knees will still feel it). If you complete the entire loop circuit, your return to the canyon rim will be longer with a more gradual overall incline grade, but you’ll still have two very, very steep sections – one 0.2 mile stretch of climbing and scrambling that’s got a 37.4% incline grade and a 0.4 mile crawl up a wash that’s got a relatively easy 12.2% grade.
I’m not kidding when I say this hike is tough.
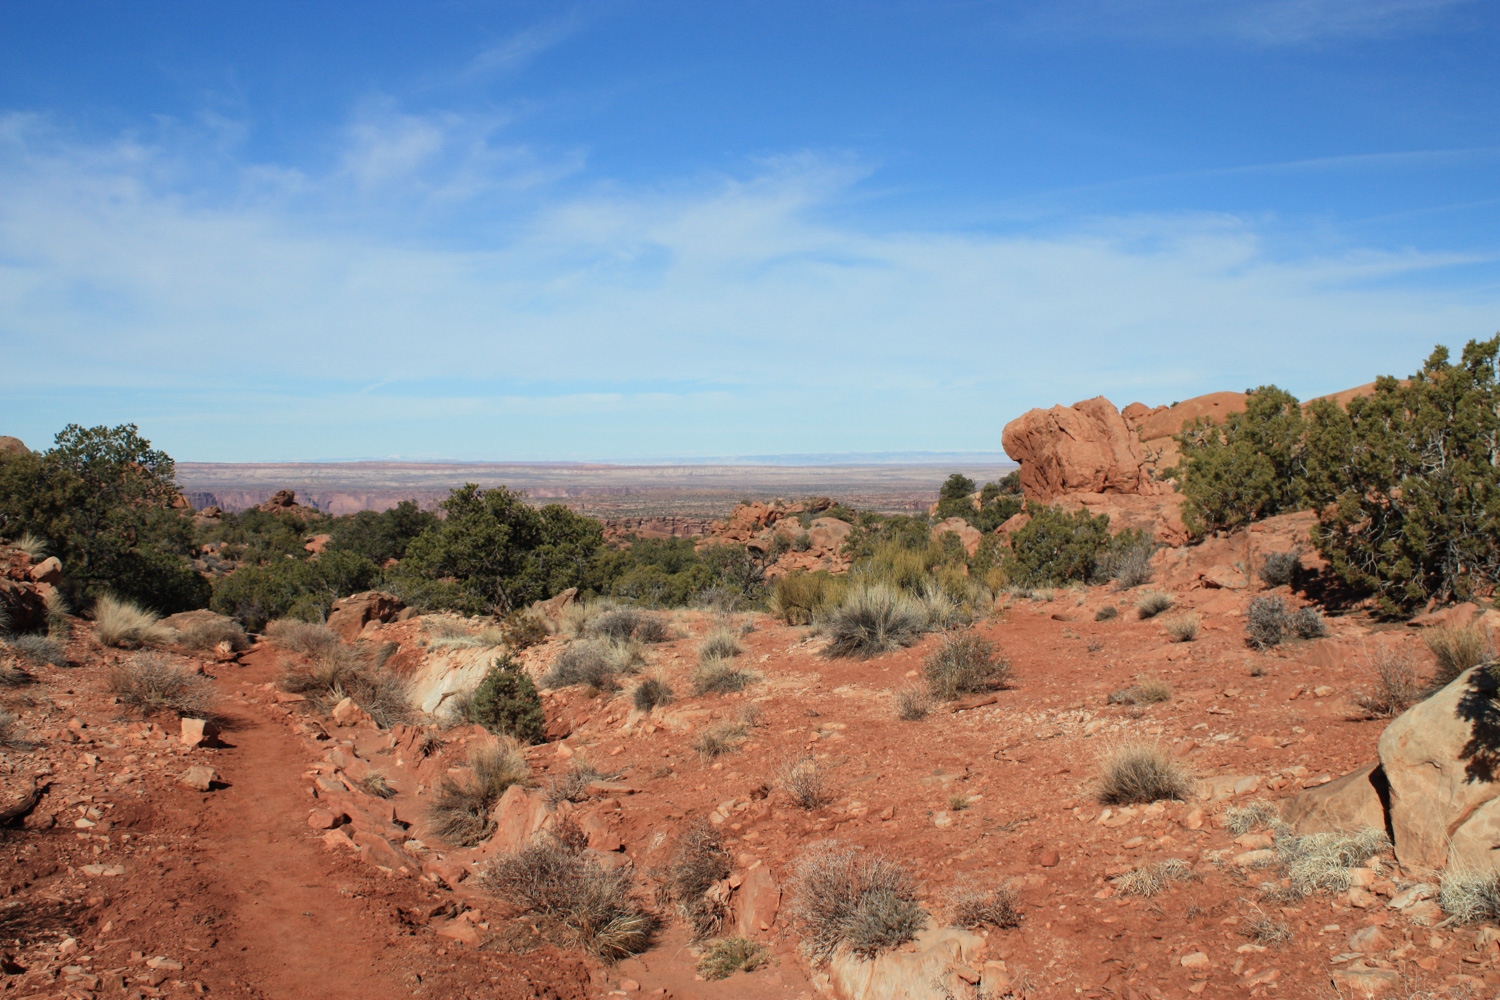
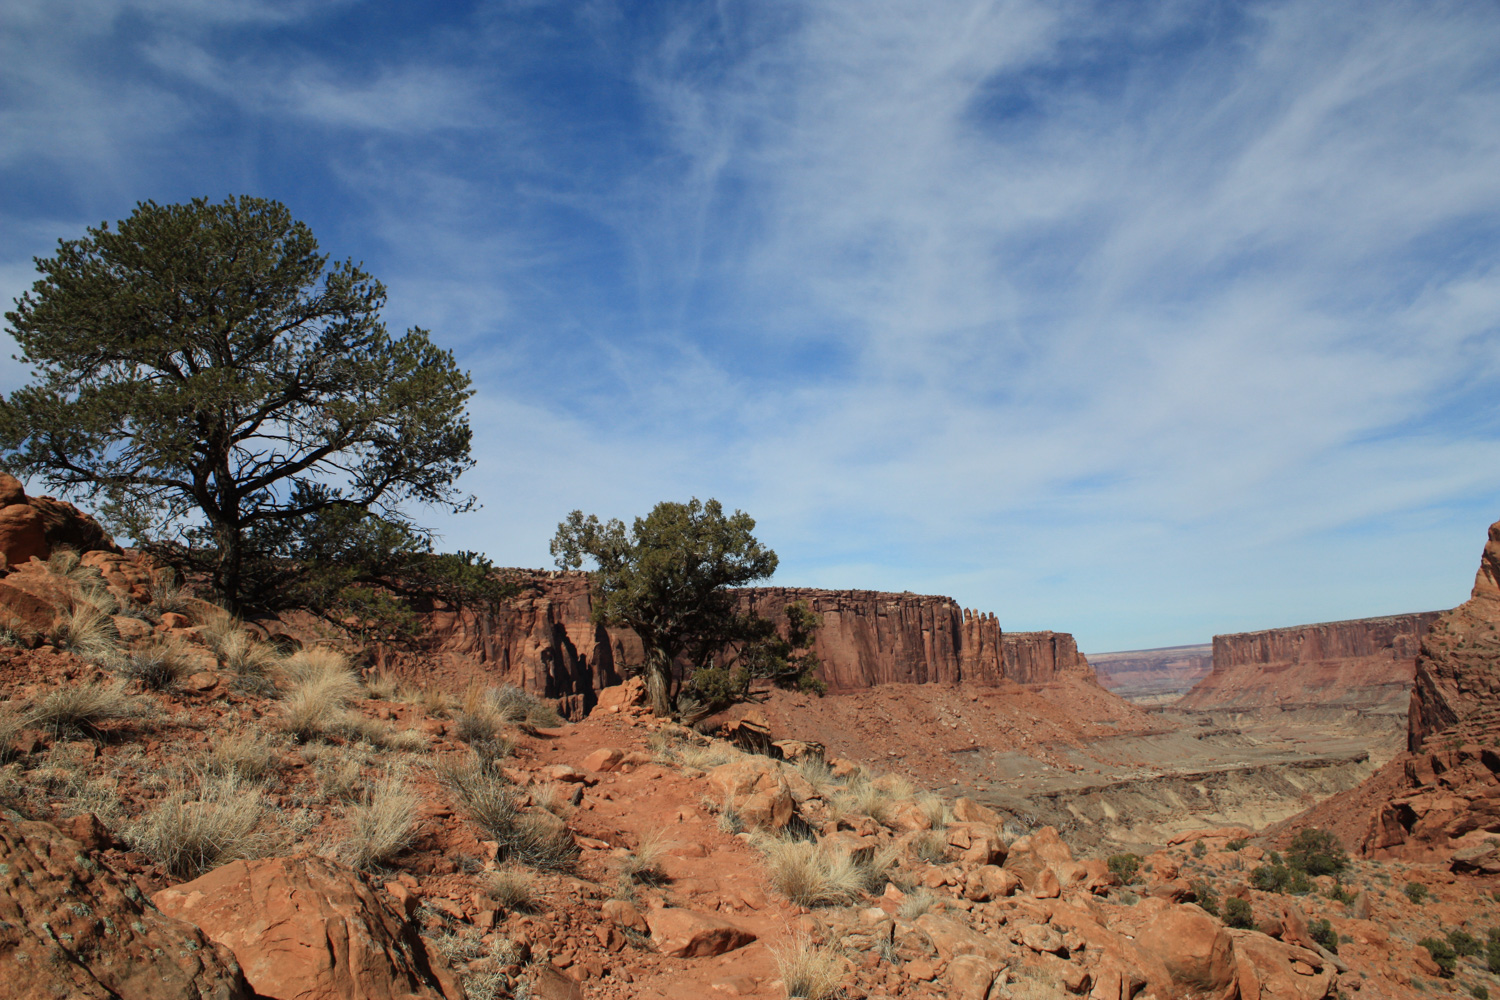
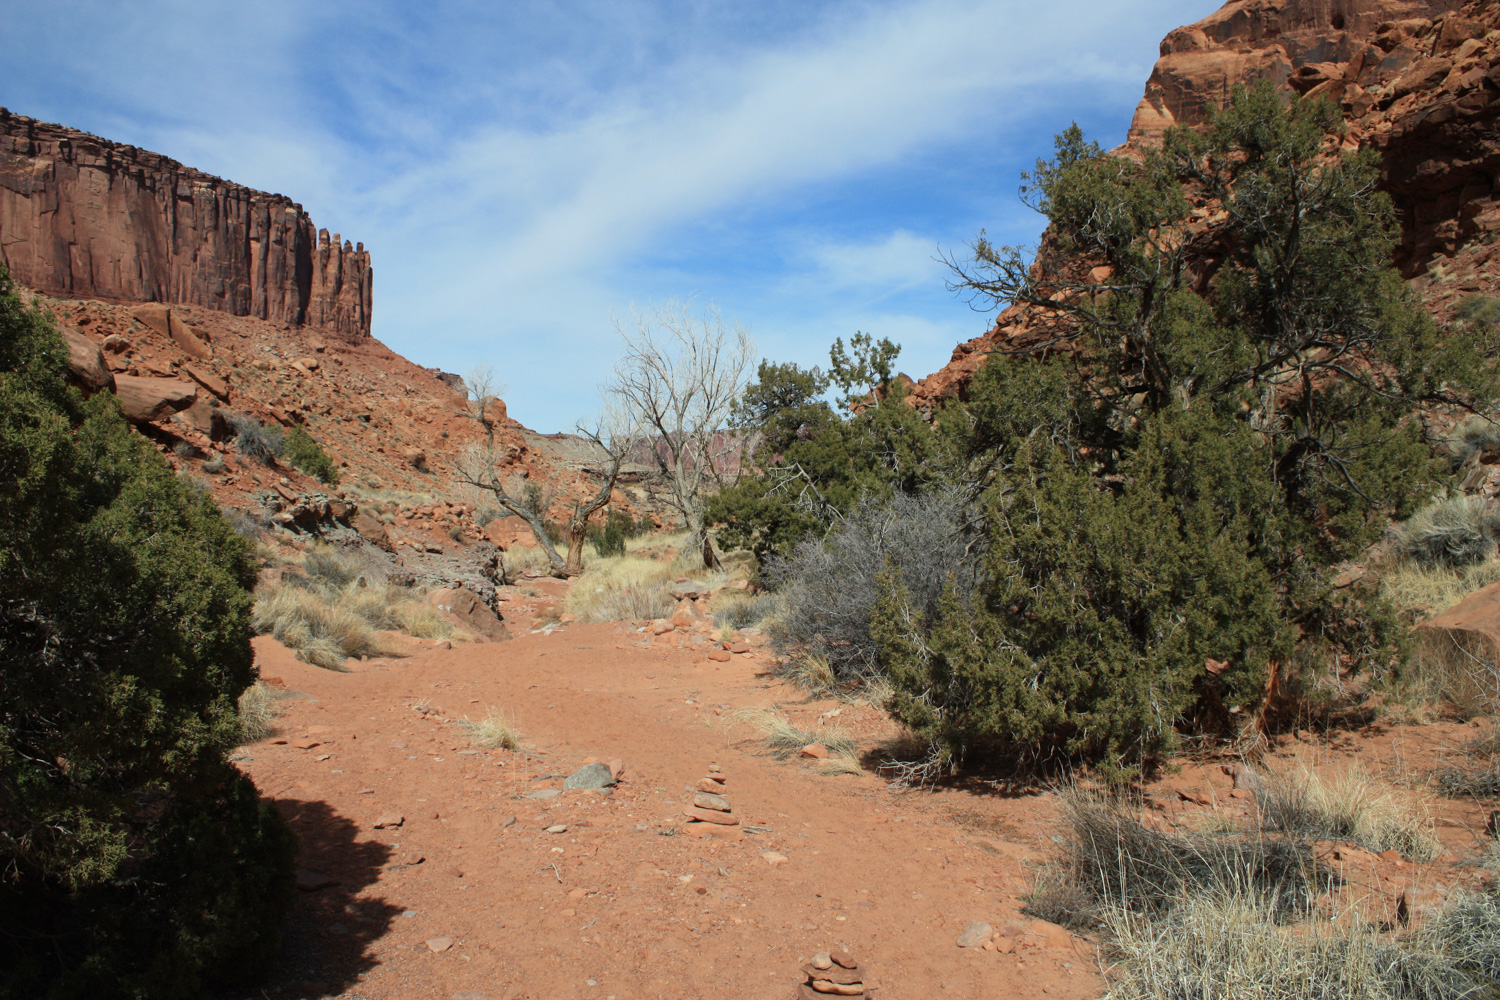
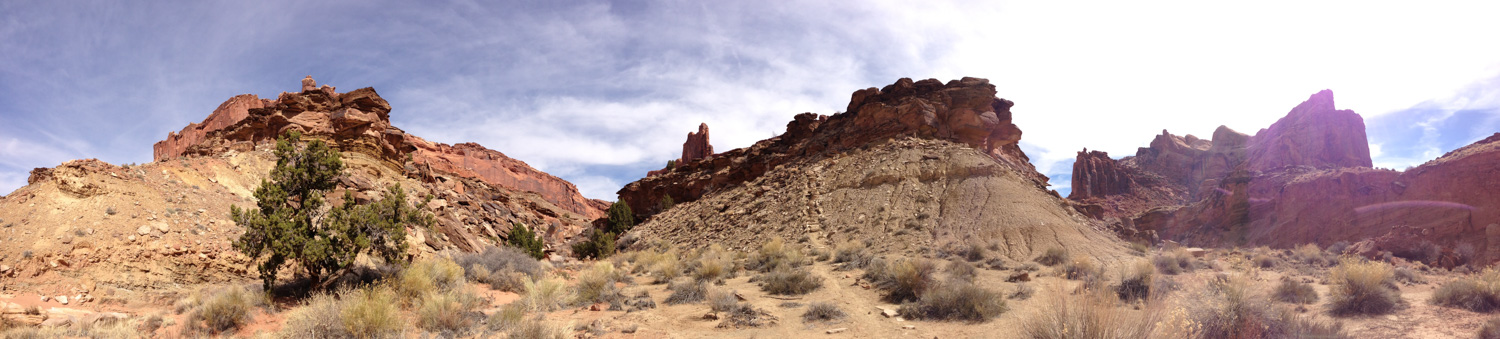
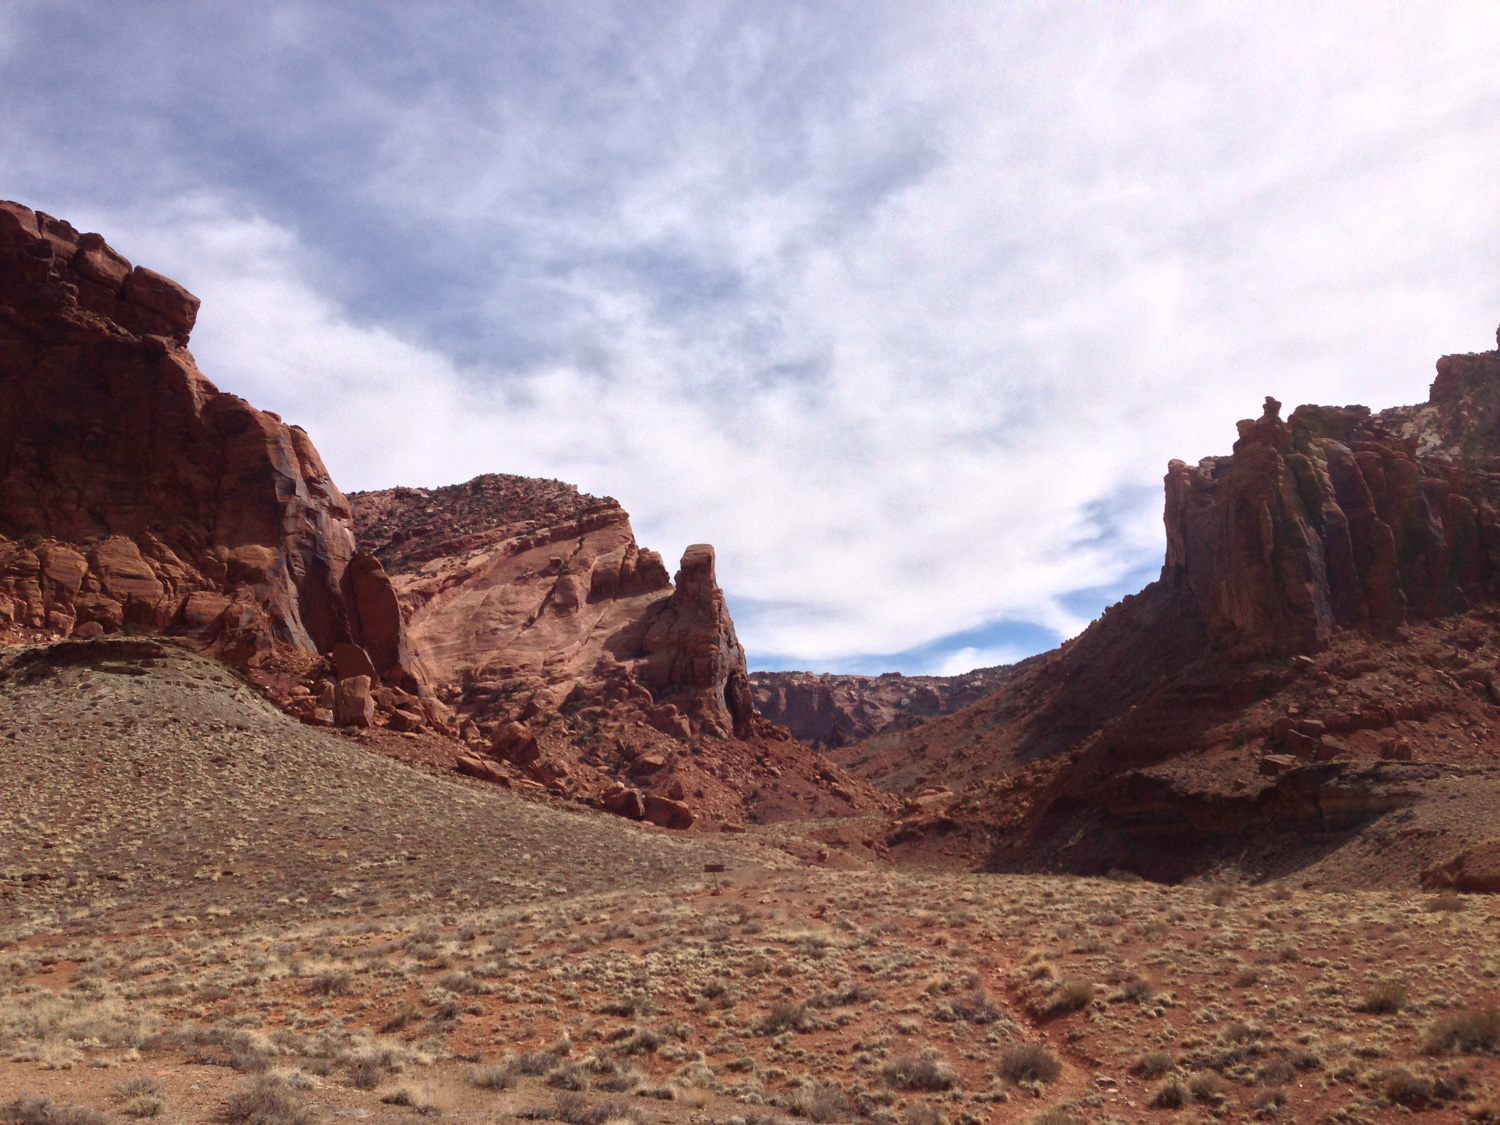
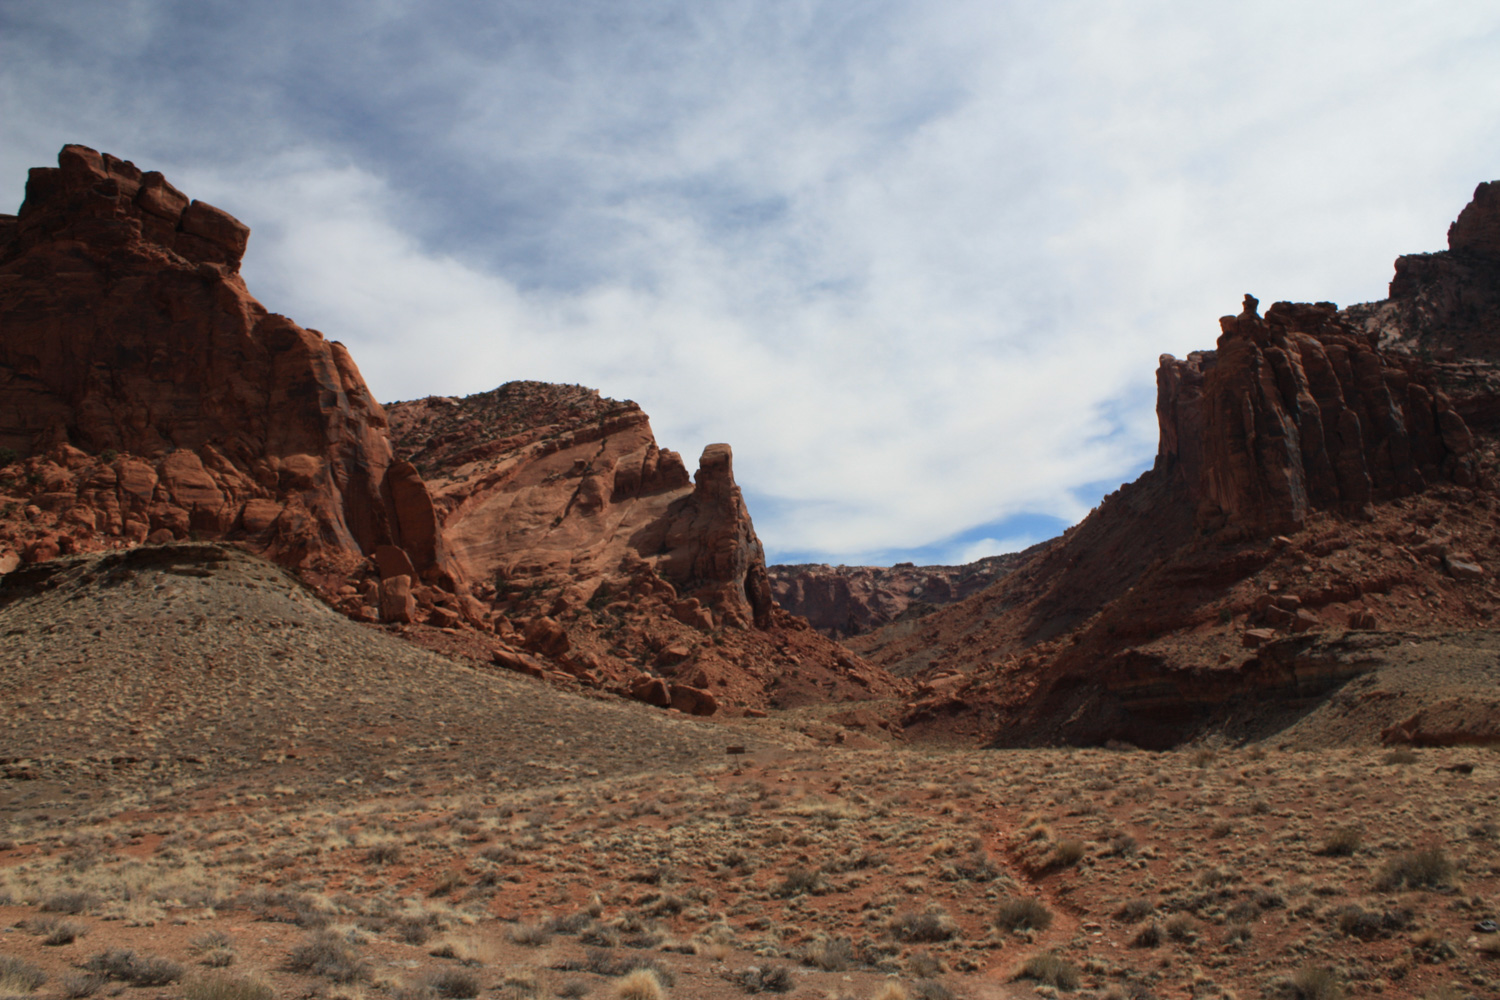
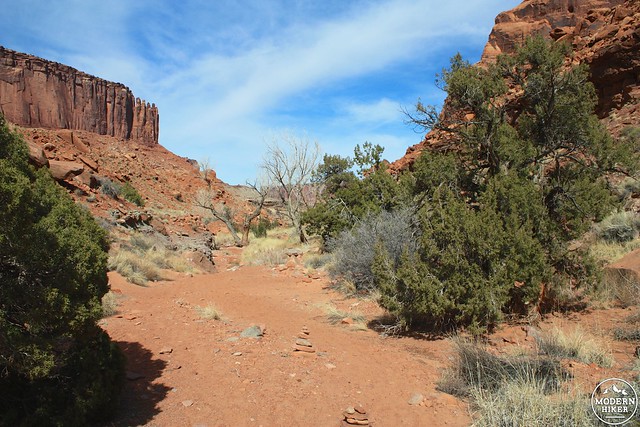
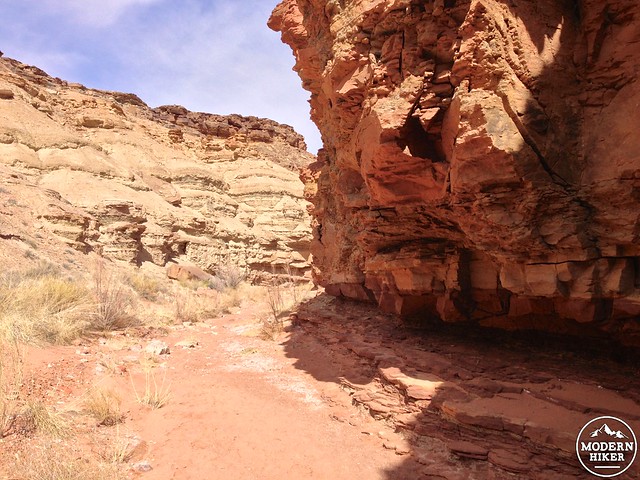
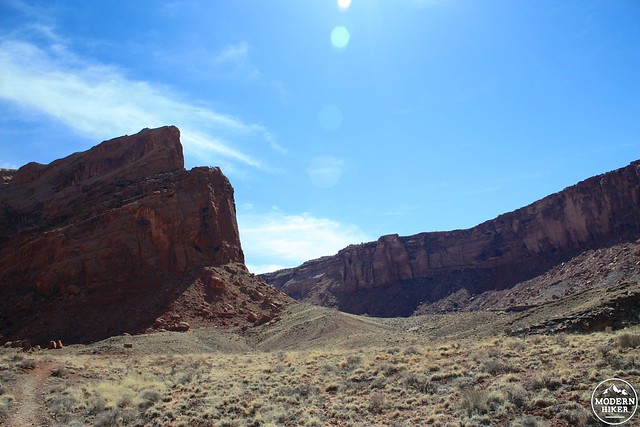
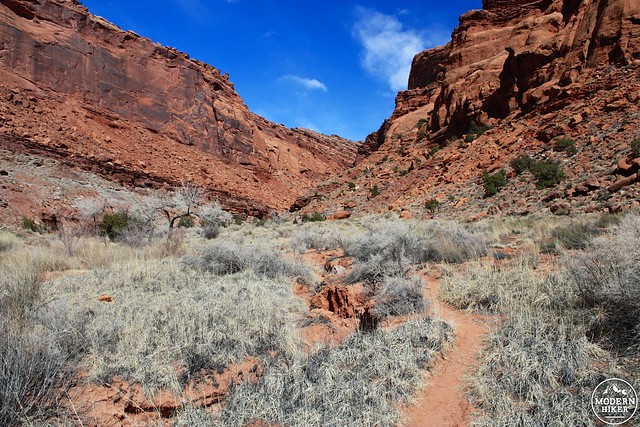
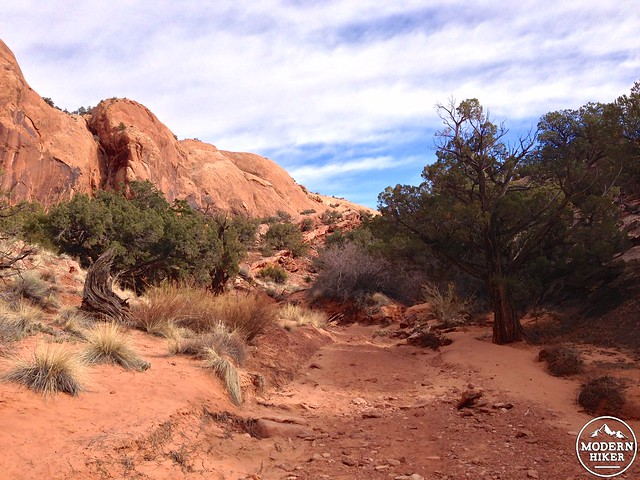
Turn left to start on the clockwise loop. The trail begins easily enough as a simple single-track traversing some beautiful red rock terrain.
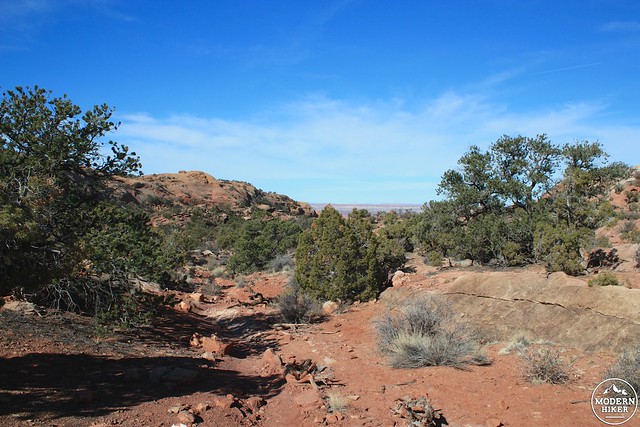
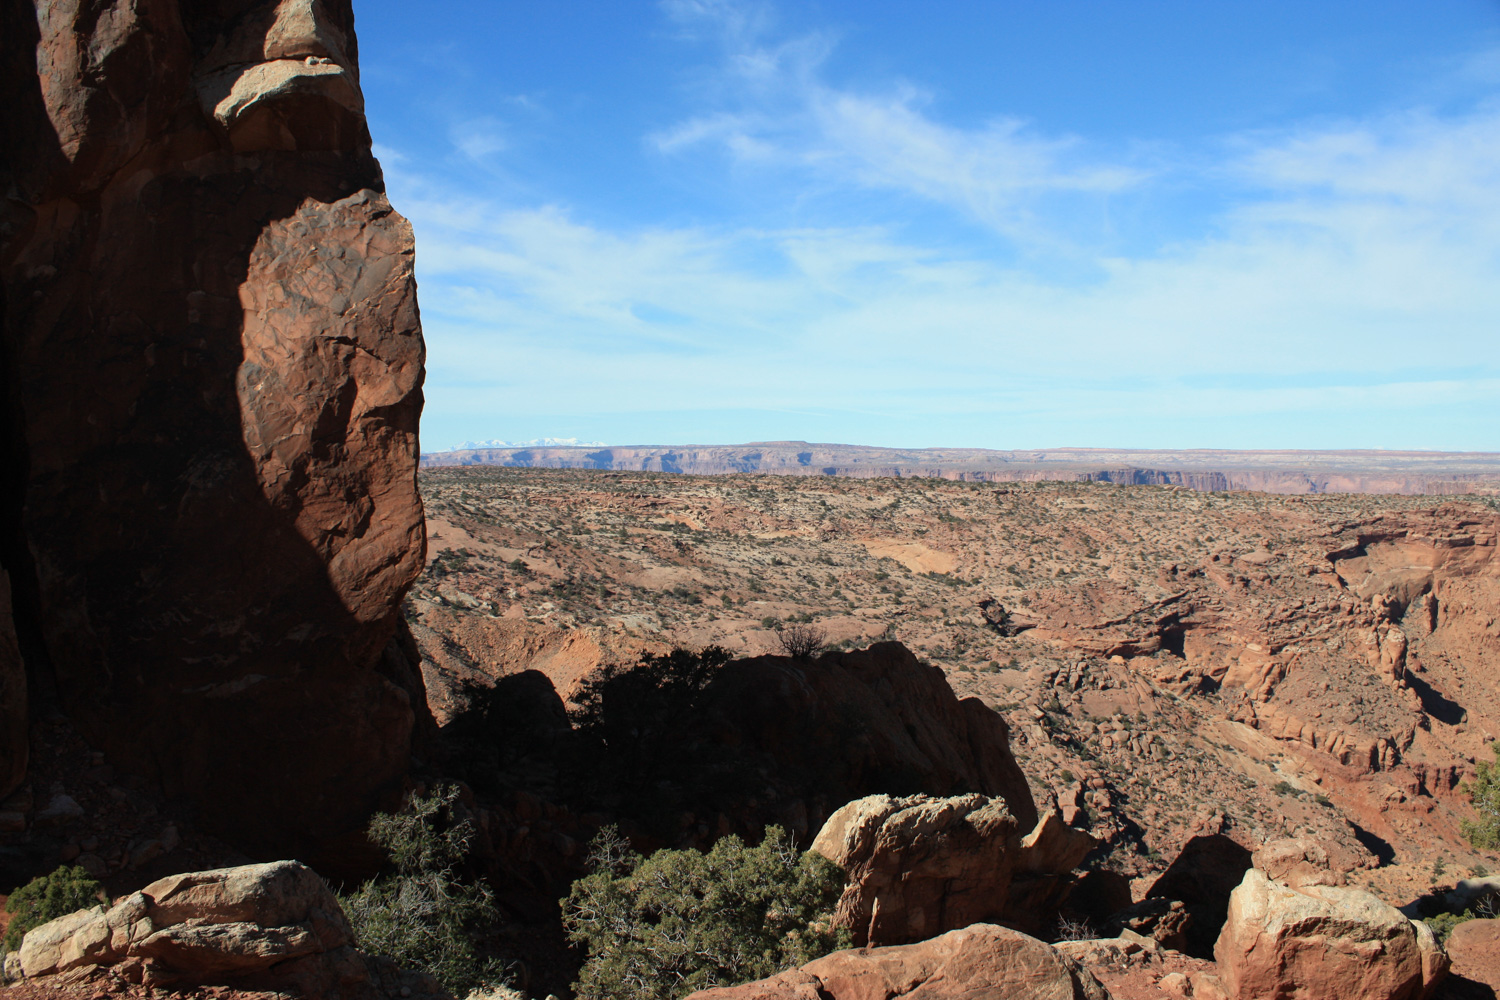
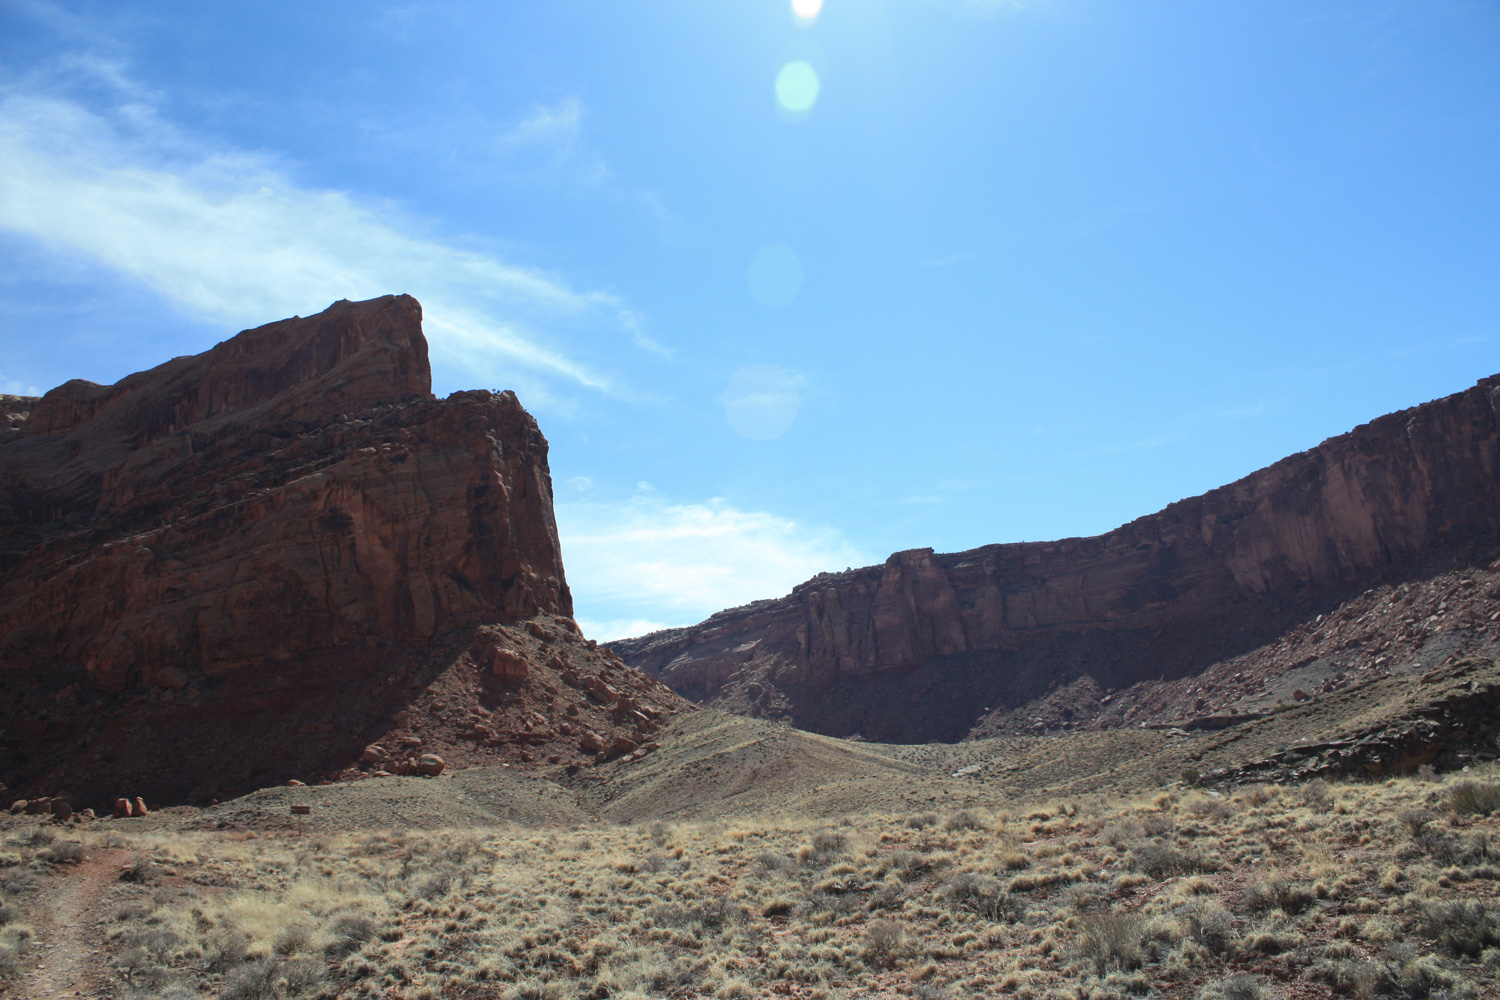
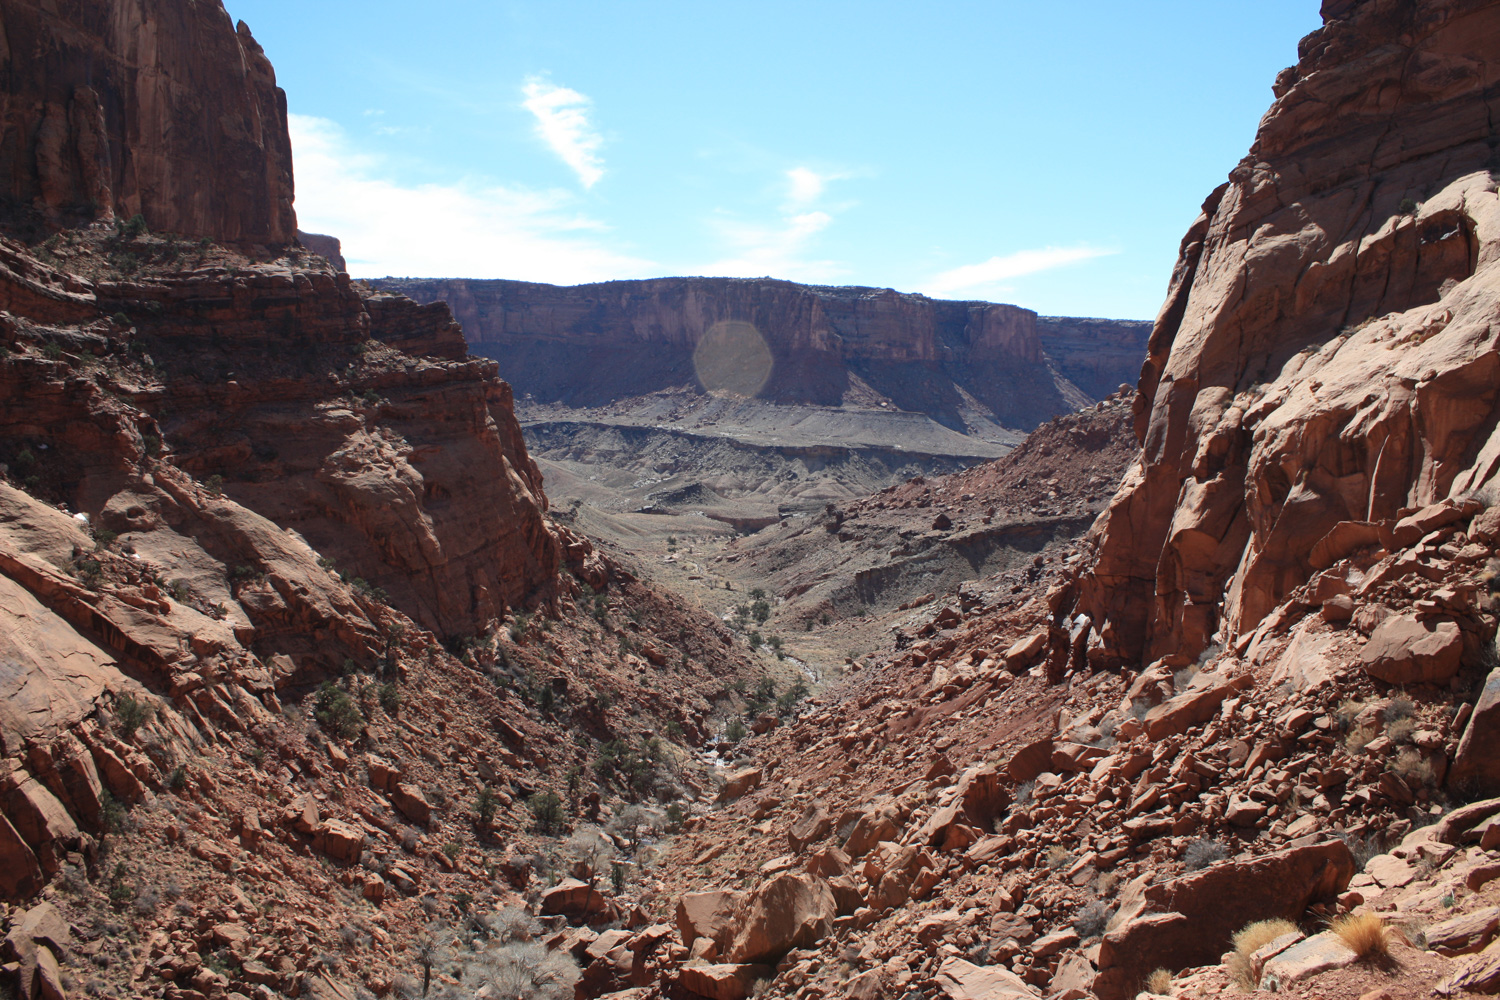
After about a half mile, you’ll be able to see out past the plateau you’re on and into the White Rim and Stillwater Canyon. This, like many panoramic scenes of Canyonlands, is an awe-inspiring view in and of itself but there is plenty more to come.

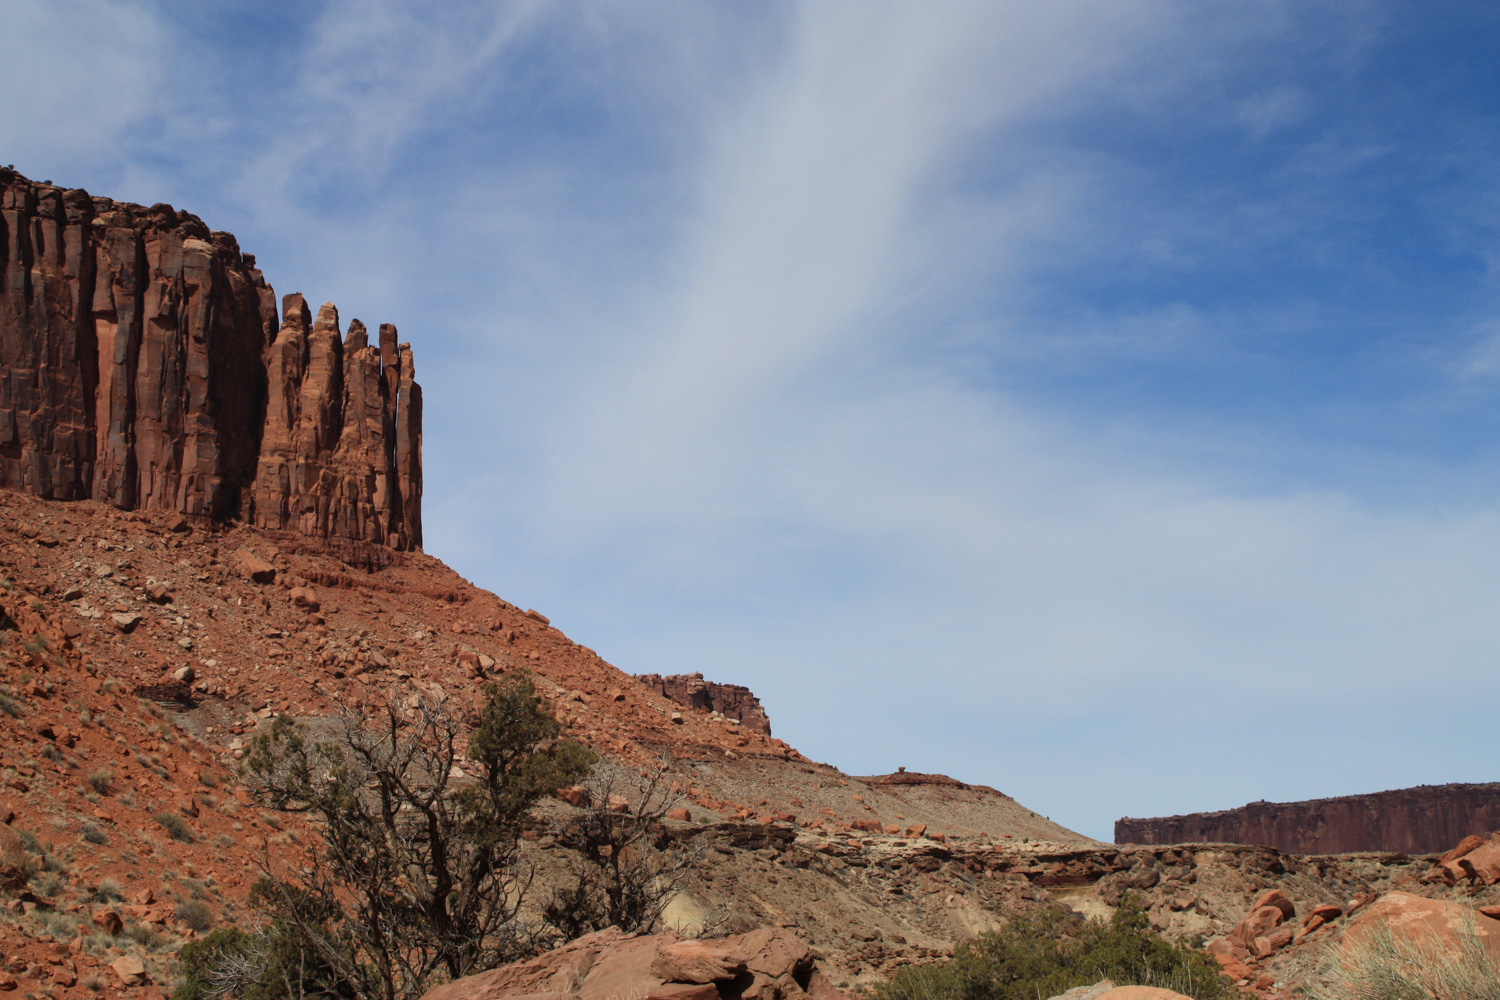
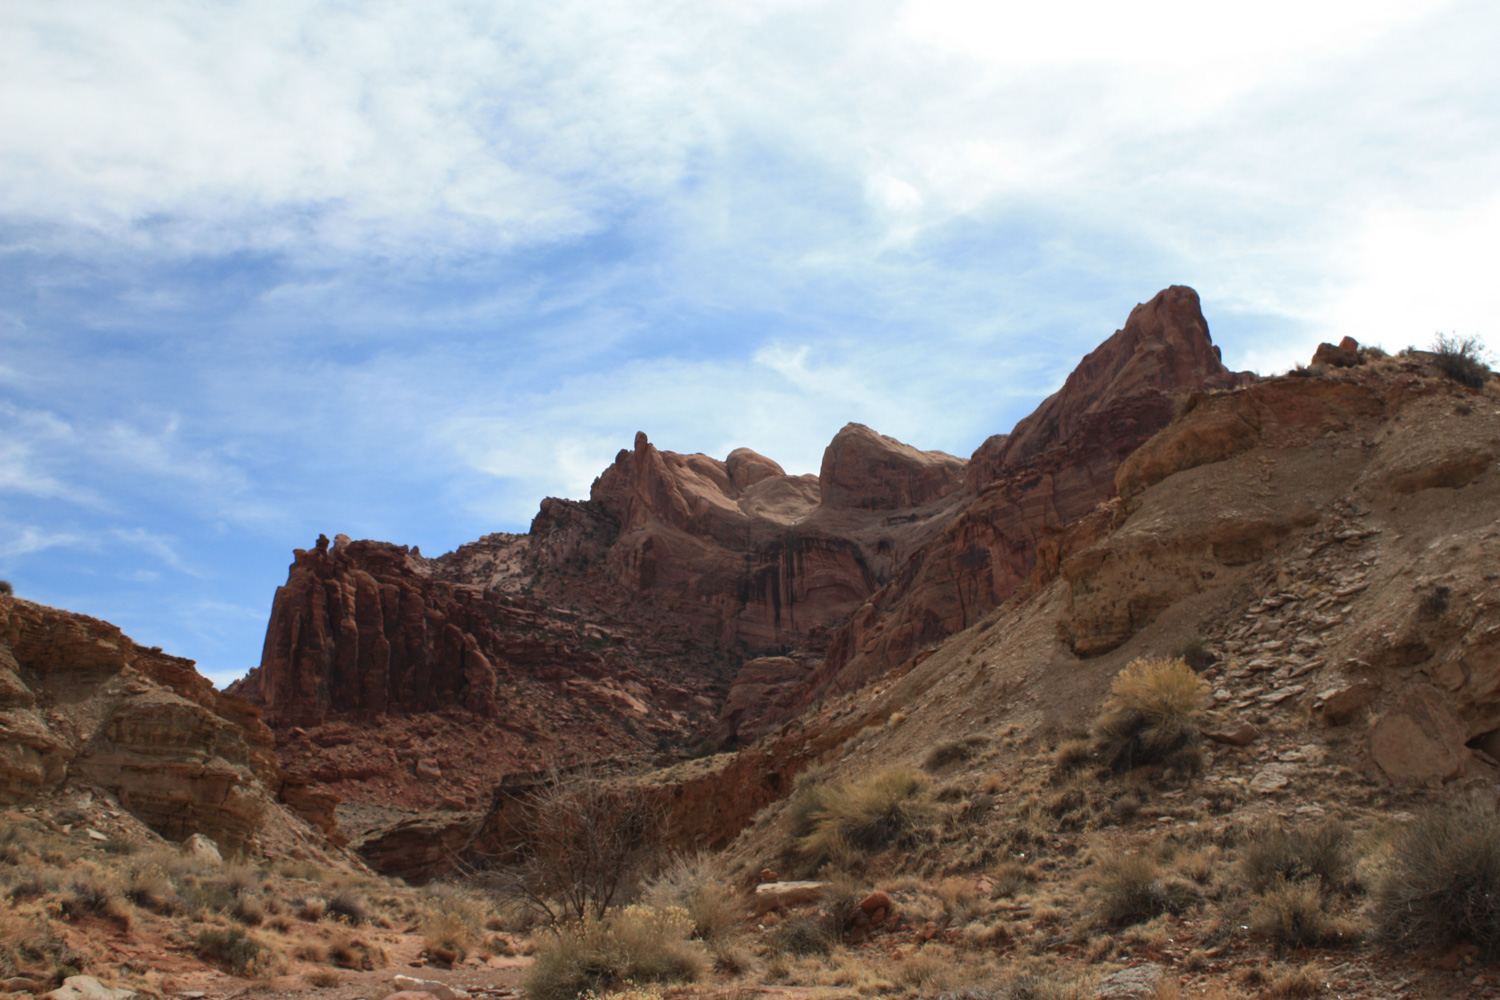
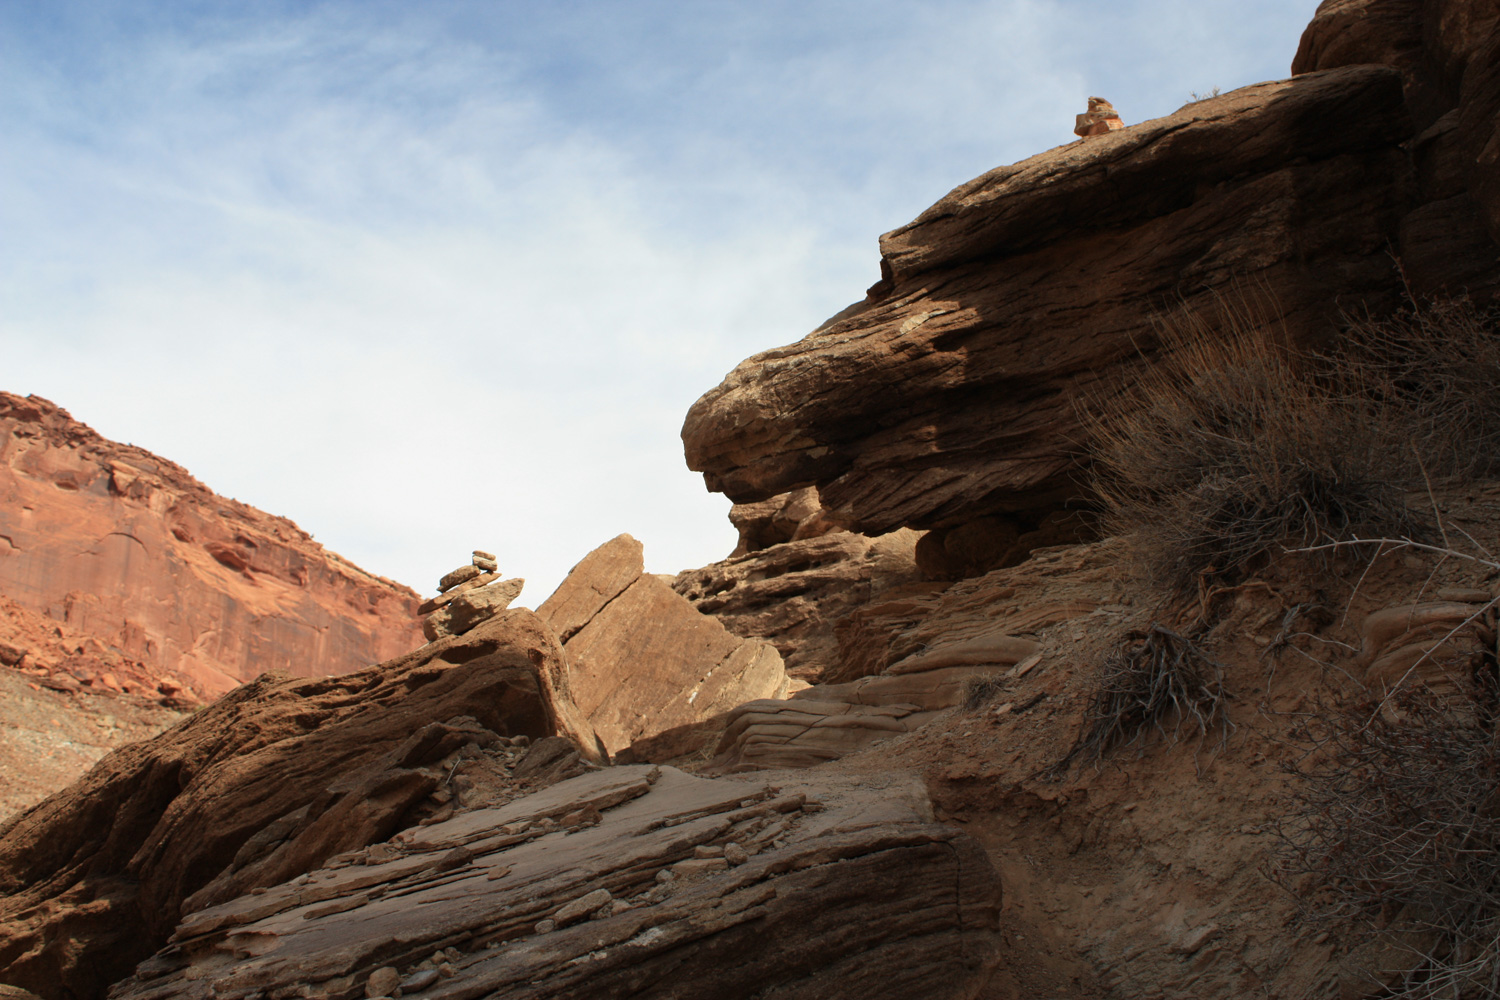
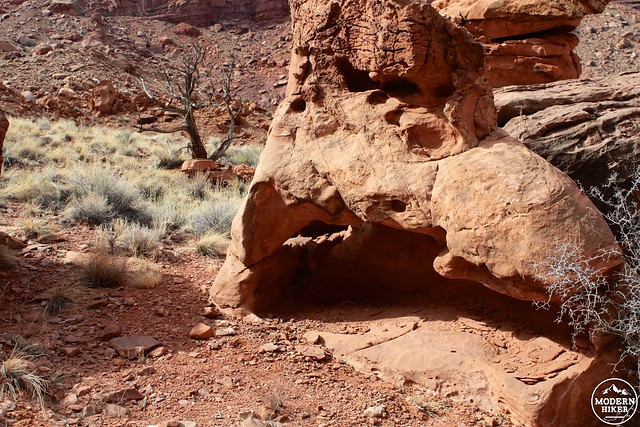
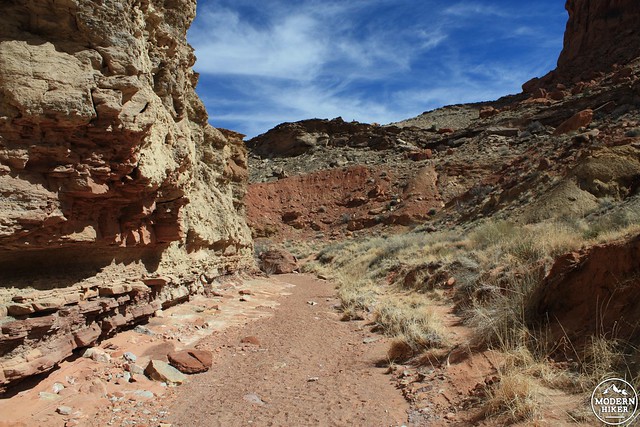
As you hike toward the edge of Upheaval Canyon, keep an eye on the rocks around you. Although many of them look normal and perhaps not even noteworthy, if you pay close attention you’ll see that the normally horizontal sedimentary rocks are resting at unusual angles.
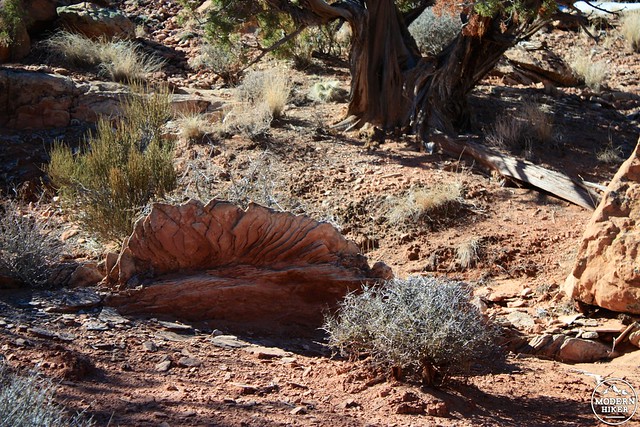
This is because you’re hiking at the edge of a giant meteorite impact crater and the layers of rock you’ll find almost everywhere else in the Canyonlands region have been punched in the proverbial gut by a giant space rock, leaving this 3-mile wide crater in the Colorado Plateau. The angled rock along the perimeter of the crater were warped by the force of the impact while the upheaval dome in the center of the crater occurred when the ground “bounced back” from the hit.
This can be tough to visualize when you’re on the ground, but from the air the circular crater shape is apparent. This aerial shot looking southeast shows the open entrance of Upheaval Canyon and the circular route of Syncline Valley surrounding the center on both sides.

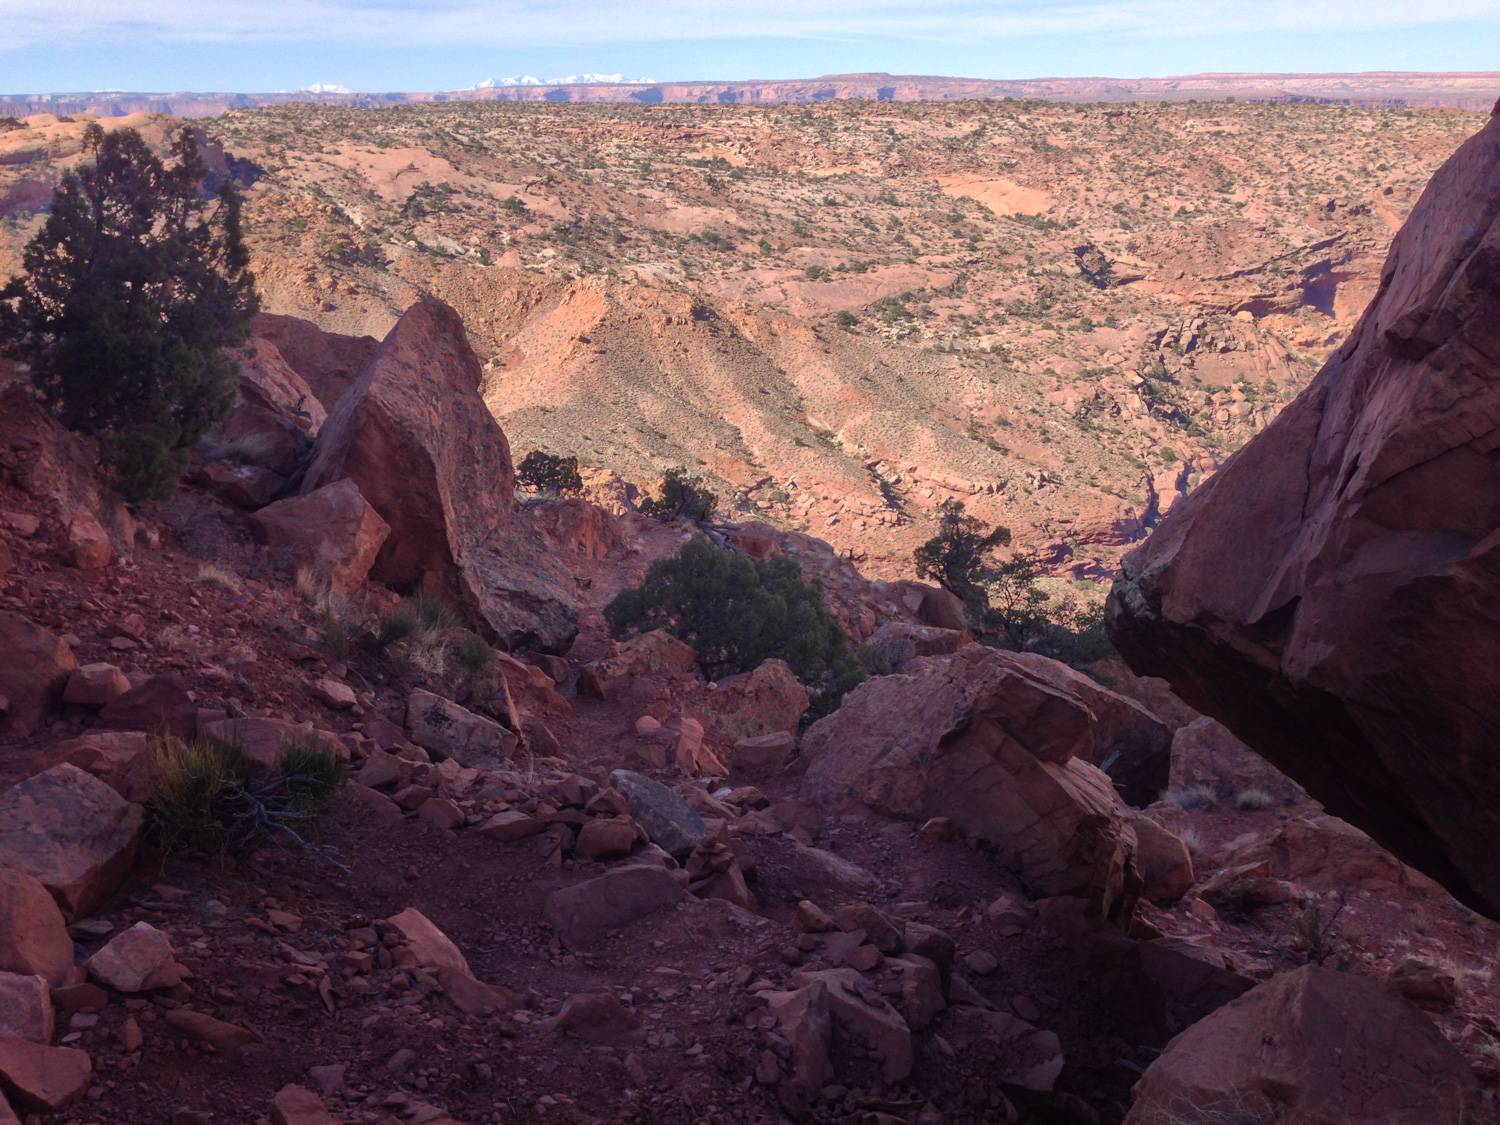
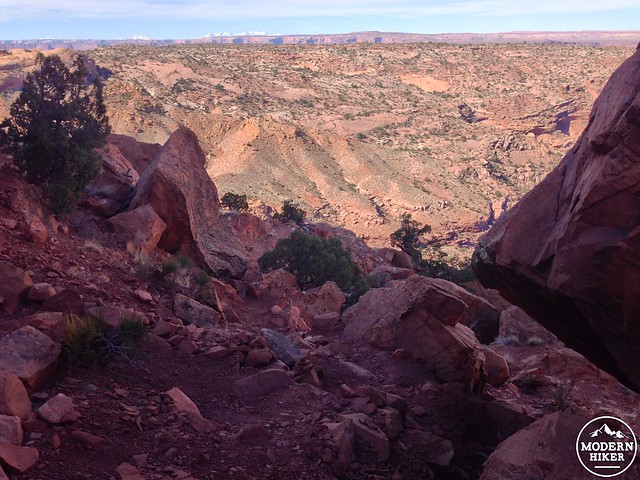
The “established” portion of the trail ends about 0.85 miles in when it reaches the edge of the Syncline Valley. If it looks like the trail just kind of drops straight down into the canyon below, well, that’s because that’s kind of exactly what it does.

The next mile of this journey is going to be intense on your knees – this is that 20% decline I was warning you about earlier.
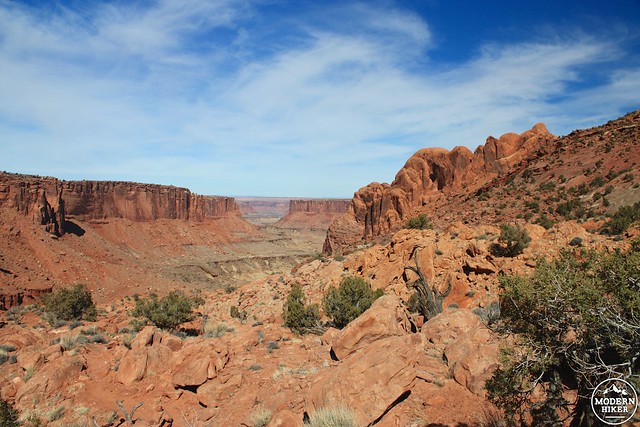
The trail makes some serious switchbacks here, and although the ground can be loose it’s not too difficult if you take it slowly. In the winter, this section of trail can get some lingering ice in some of the shadier parts. You should check with a ranger for any condition reports before you venture out – and if it’s icy be sure to give yourself extra time on this descent … and don’t forget to enjoy the gorgeous views of Steer Mesa to your left and Bighorn Mesa to your right as you make your way down!
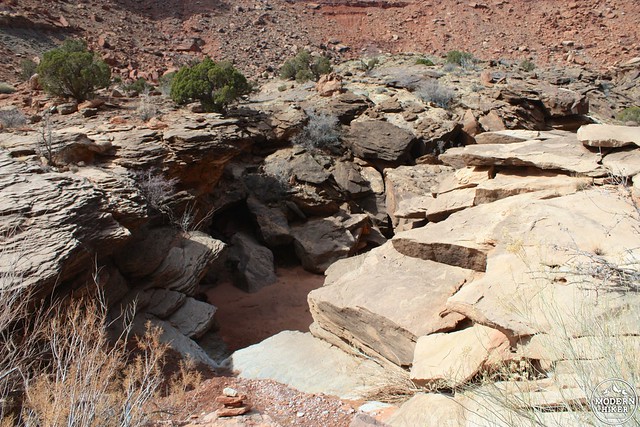
At around the 1.45 mile mark the trail gives you a short (relative) break in the descent as you hike along the steep north side of Syncline Valley. At just before 1.6 miles, the trail crosses a wash with a 240-foot dry waterfall.
You’re going to be tempted to look over the edge and I won’t tell you not to do it, just stay back far enough, when you do, OK?

It may look like the trail stops here, but look on the other side of the wash for a small depression in the rock (hopefully still marked by a cairn). Crawl up and over this and continue your descent – now even a little more steep than before.

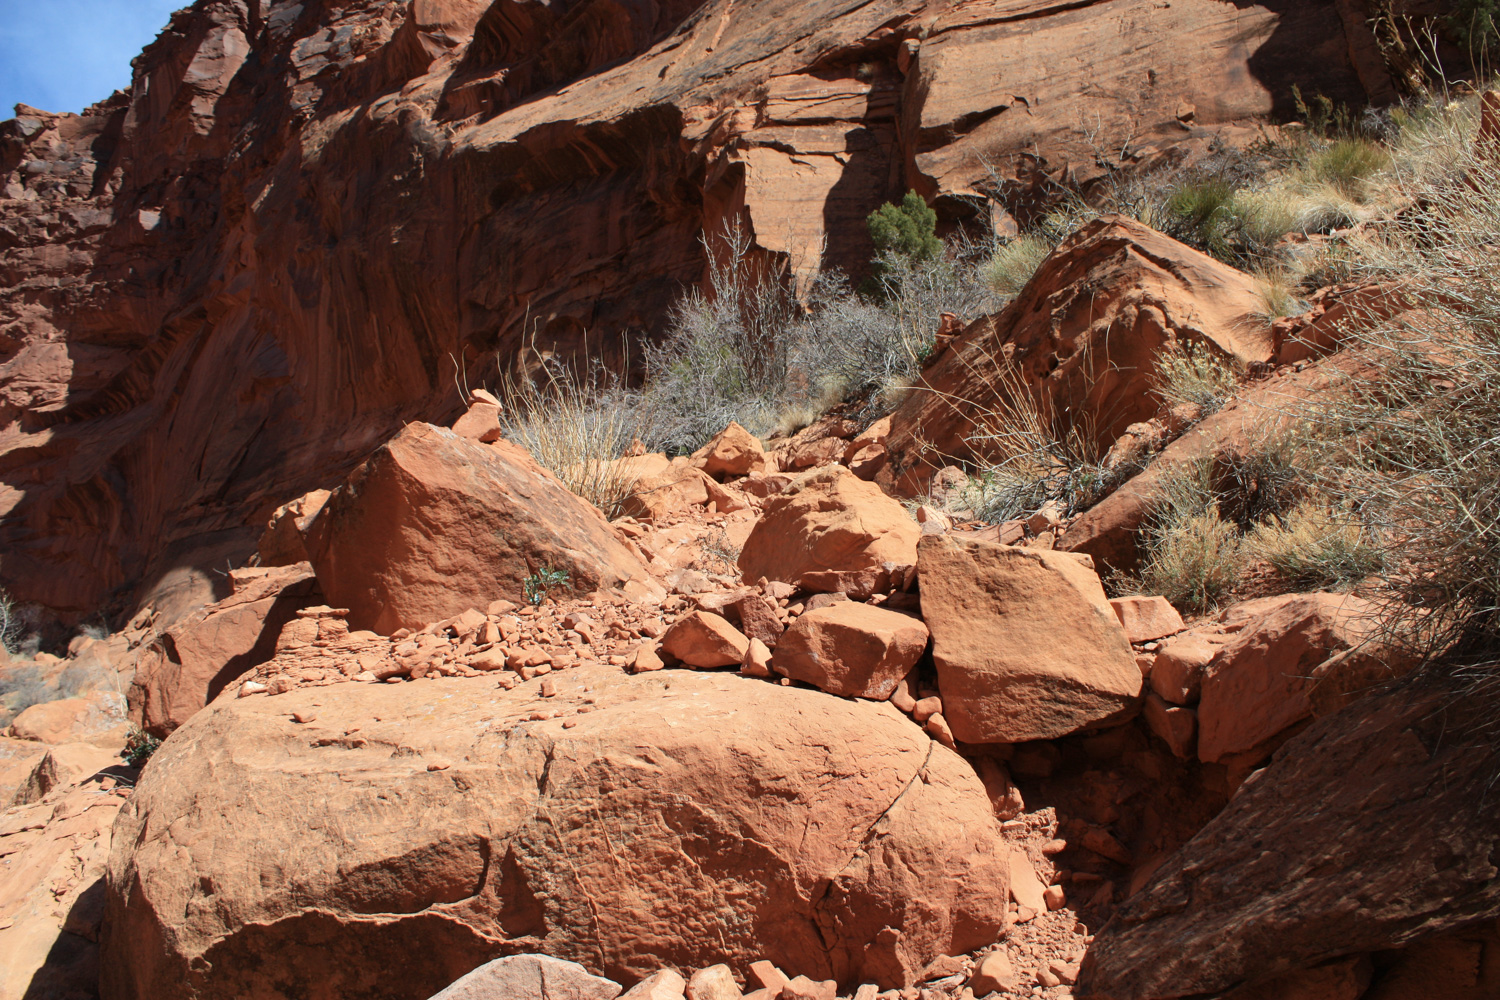
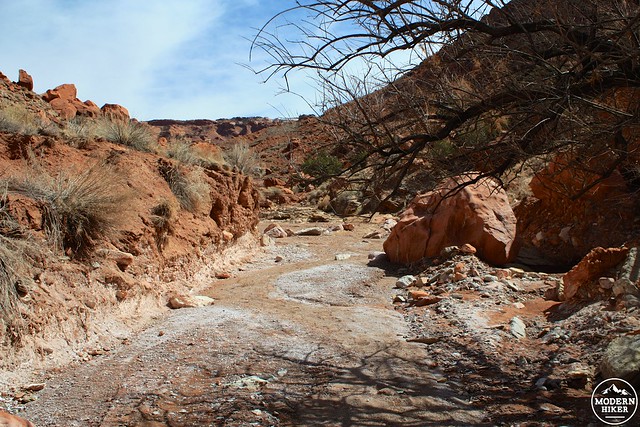
After a few more jagged, steep switchbacks down a boulder field, the trail drops down into a wash at the bottom of Syncline Valley. From this point, the trail continues to descend but at a much more reasonable pace. There may or may not be cairns to mark your path here, but even if you don’t see them the directions are pretty simple: Keep going forward and down.
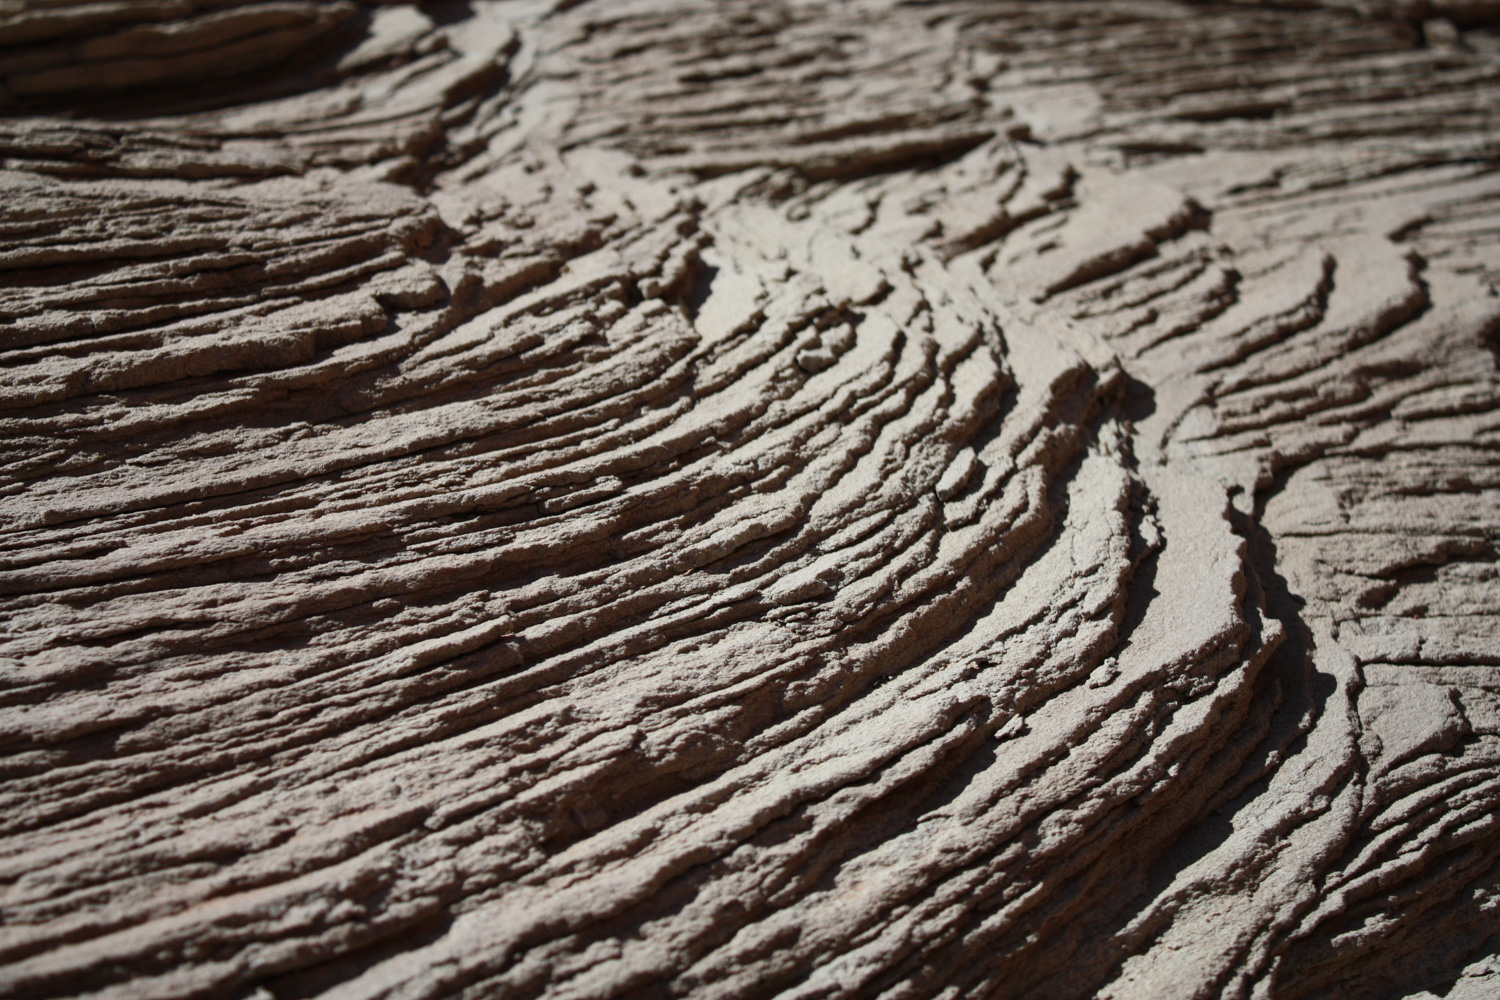
The wash begins in a rocky boulder field and as you walk inside of it you’ll notice the ground becoming softer and more fine. If you keep your eye out on the sides of the wash you’ll also see the infrequent but drastic effects of water erosion cutting through the rocks over millions of years.
To your left, Steer Mesa connects with Bighorn Mesa via a thin wall before making a sharp turn to the west and eventually vanishes from sight.
As this is happening, the wash you’re walking in is also boring deeper and deeper into the canyon floor, and will eventually break through the red stone into a darker gray layer. Drop into the new layer of earth with the wash and continue as it reveals new layers of earth history.
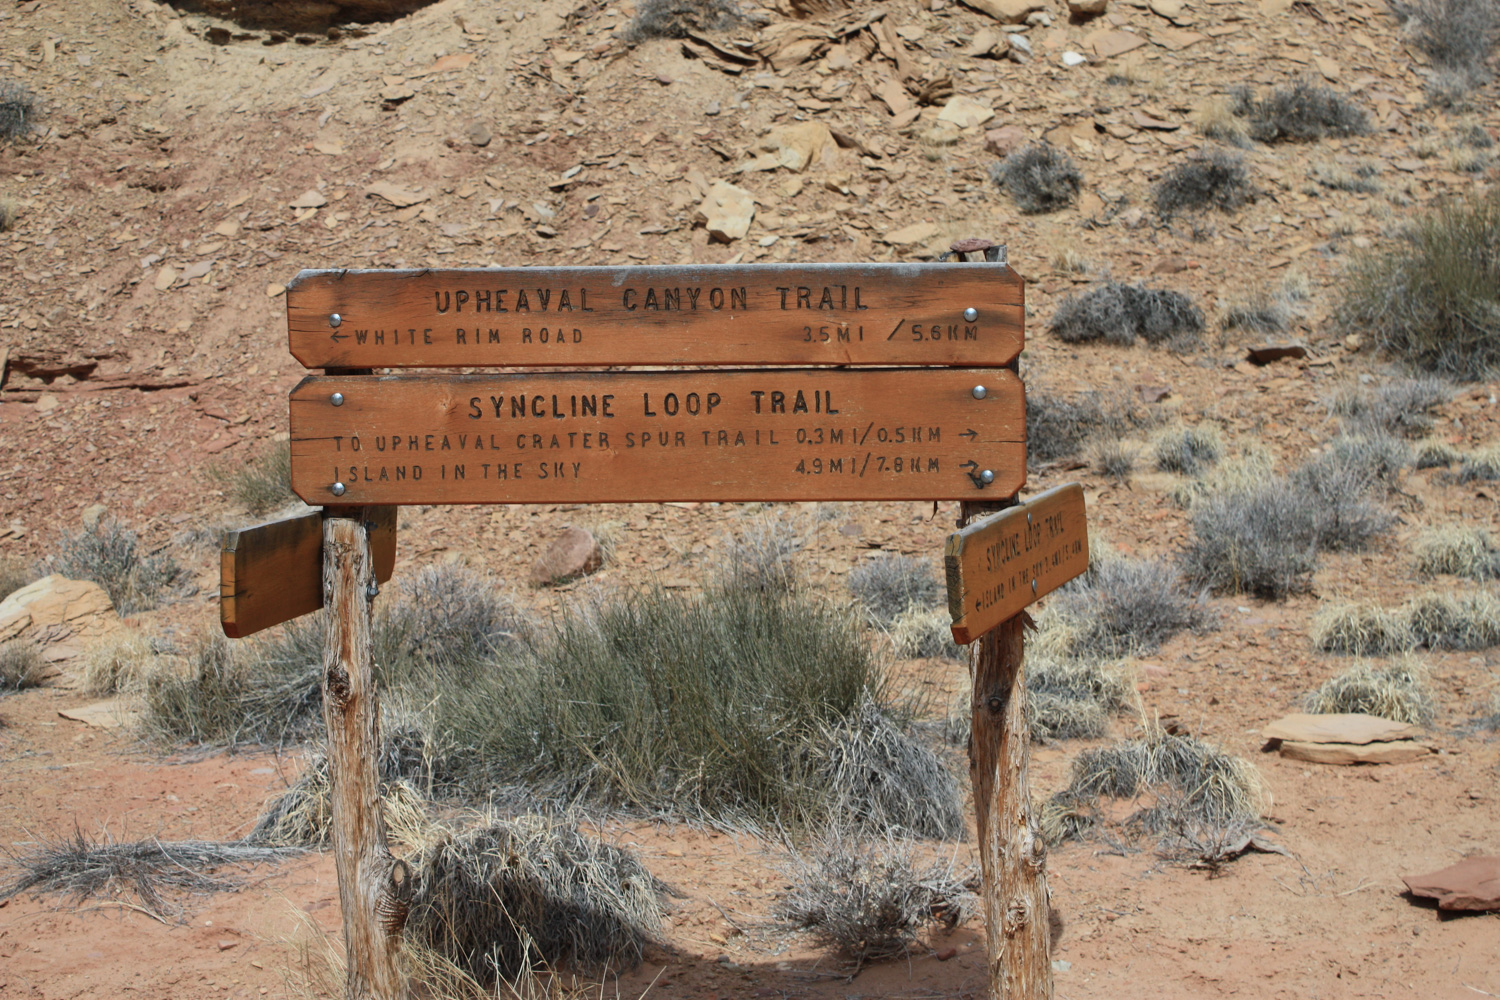
At 3.1 miles, keep right at the junction with the Upheaval Canyon Trail and in another 0.3 miles you’ll reach a junction with the northern half of the Syncline Loop Trail, but you didn’t come all the way down here to not go inside the crater, did you?
ç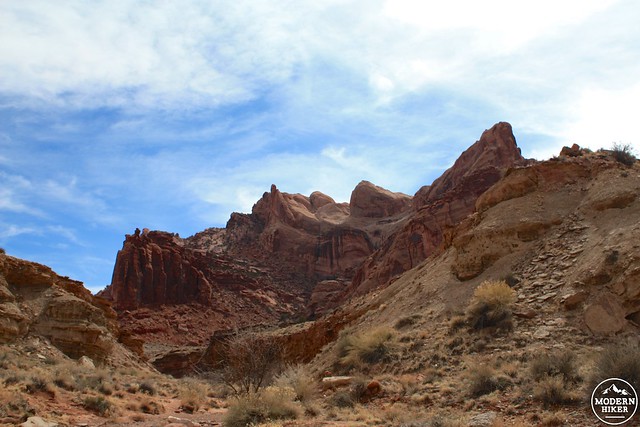
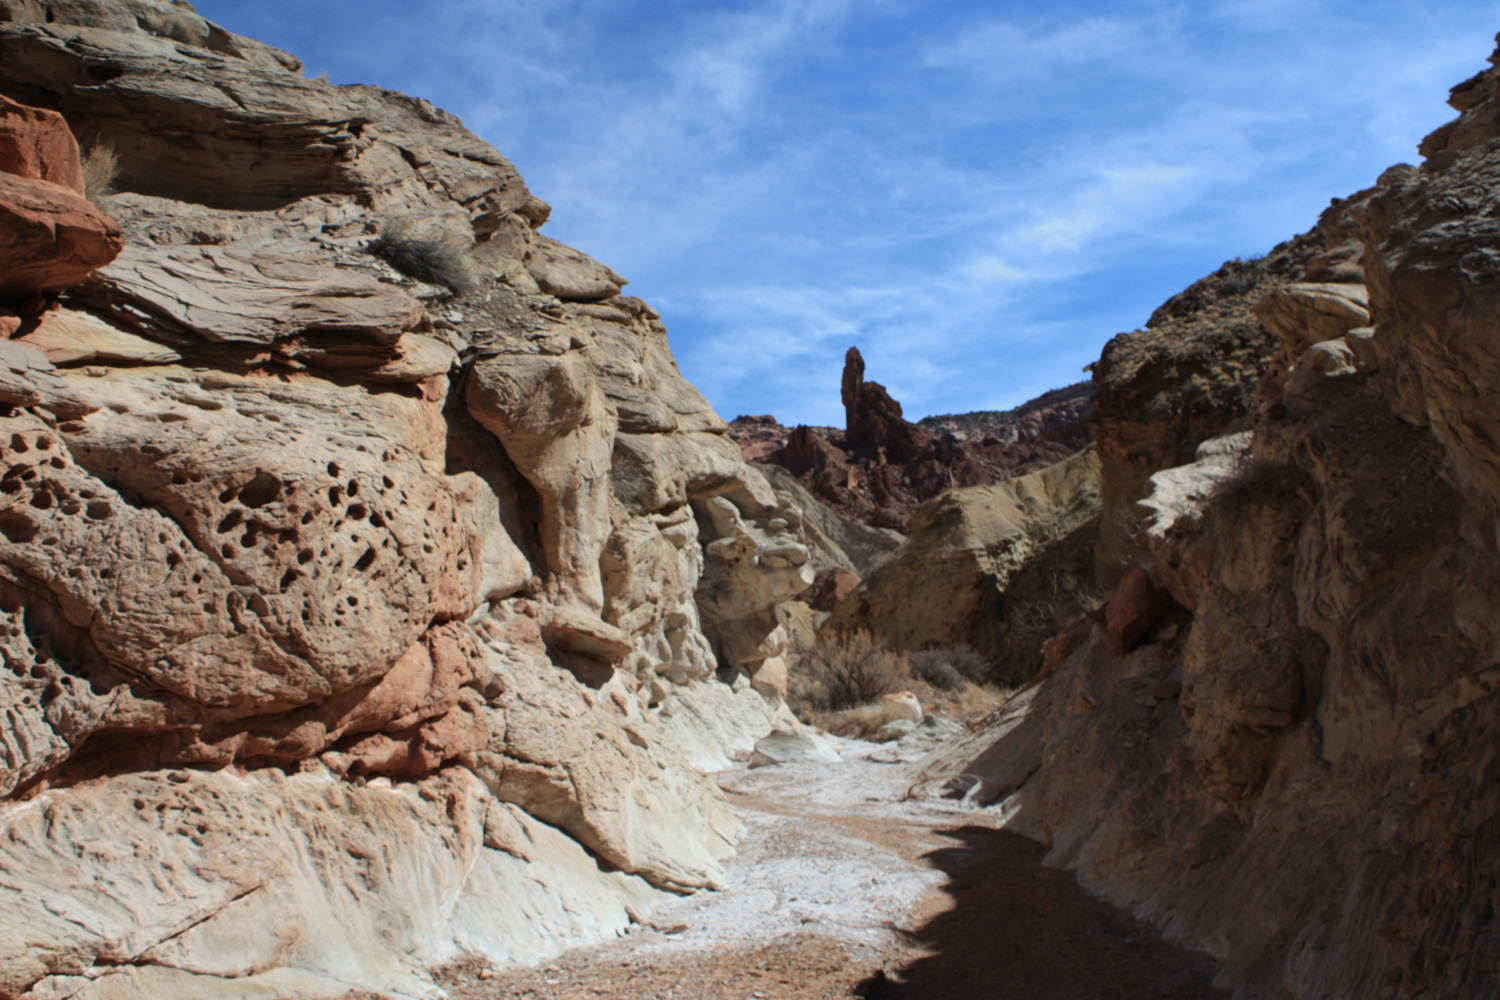
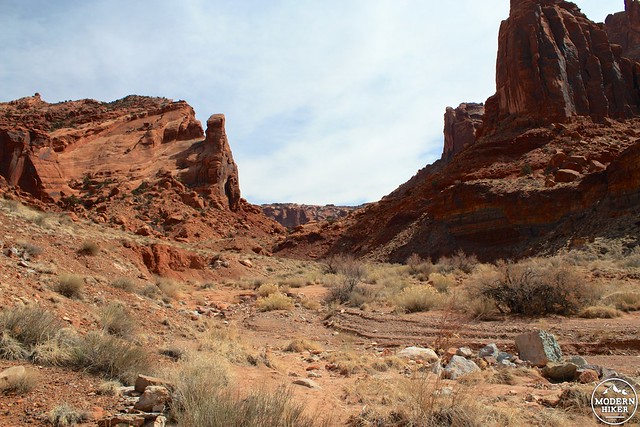
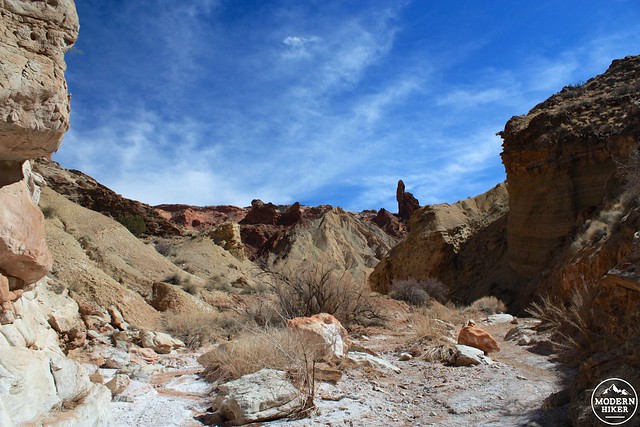
Stay on the Upheaval Canyon Trail and do a quick, short climb up some expertly designed stairs (with a bit of scrambling from cairn to cairn thrown in for good measure) to skirt past another dry waterfall. You’ll now find yourself in another broad, sandy wash that snakes its way between the two large, bent columns that guard the entrance to the Upheaval Dome.
C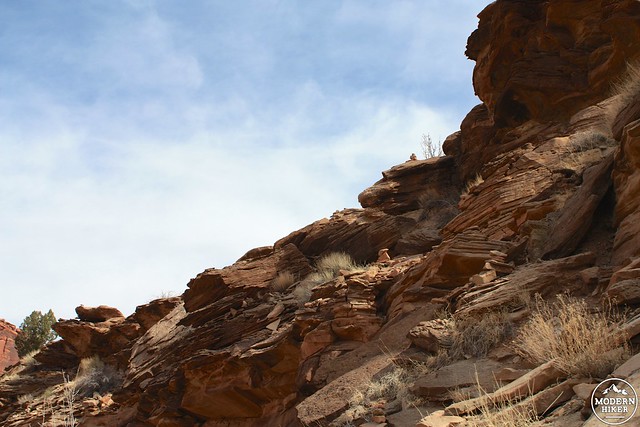
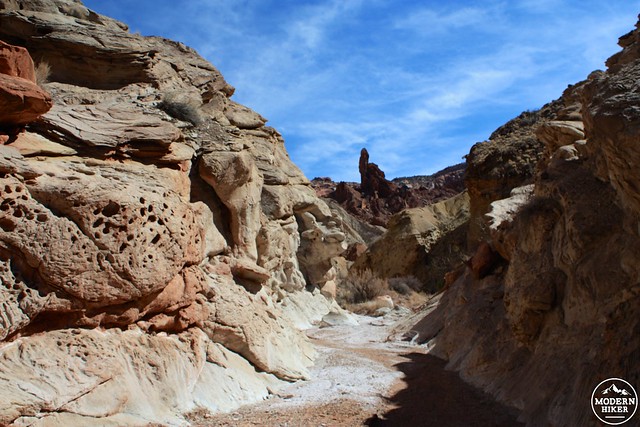
As you hike into the wash, stay to the right at the 3.7 mile mark to stay inside the primary, wider canyon. It’s about 0.9 miles from here to the end of the trail inside the Upheaval Dome, and along the way you’ll notice the rocks around you in stranger and stranger shapes and configurations.
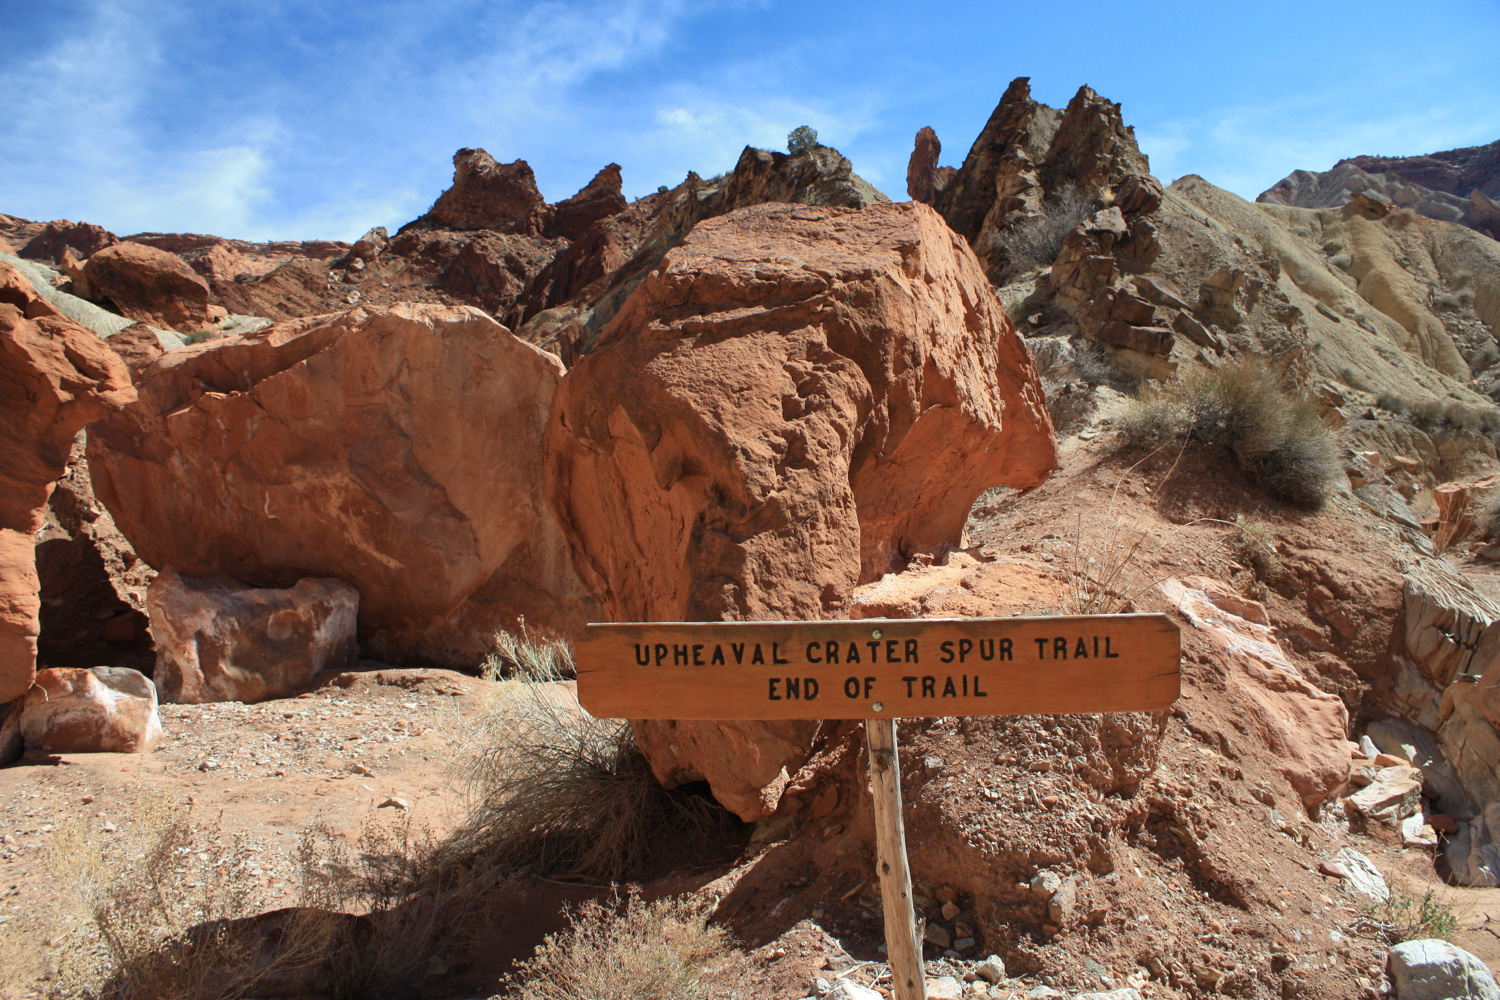
At the 4.6 mile mark, the trail you’ve been on abruptly ends at a wooden sign. It is possible to continue inside the Upheaval Dome and I encourage you to at least poke around a few corners to see what’s there. Once you’ve fully soaked in the geological oddities, return back to the junction with the northern half of the Syncline Loop Trail.
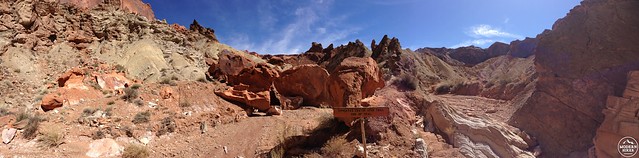
On the Syncline Loop Trail (north) just past the junction is the small, primitive Syncline Camp (wilderness permit required).
They’re not kidding when they say it’s “primitive.”
This small flat is the only place you’re allowed to camp inside Upheaval Canyon, and what it lacks in creature comforts it more than makes up for with scenery:
Beyond the camp is when a realization will hit you – remember all that downhill you started off with on your way into the canyon a few hours ago? Well, now it’s time to start that unpleasant business of heading back up to the canyon rim. It starts out easily enough, meandering through the sagebrush and intermittently riparian landscape surrounding a similarly intermittent stream.
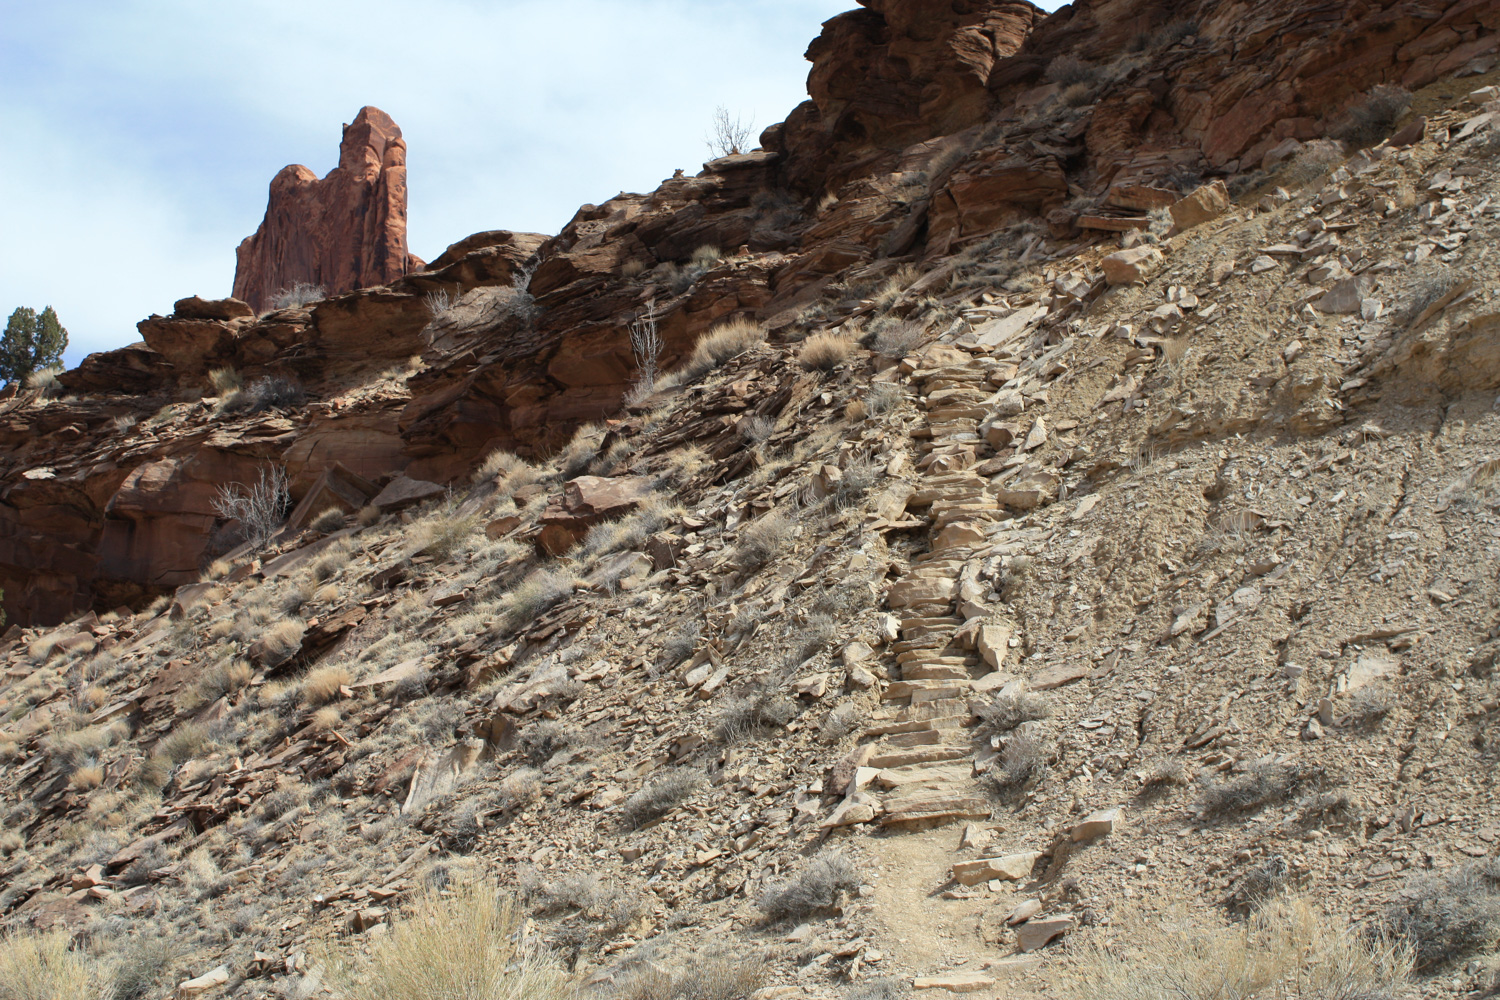
… but by the 6.4 mile mark, the trail will stop giving you a break and present you with the steepest, most difficult section of the entire loop.
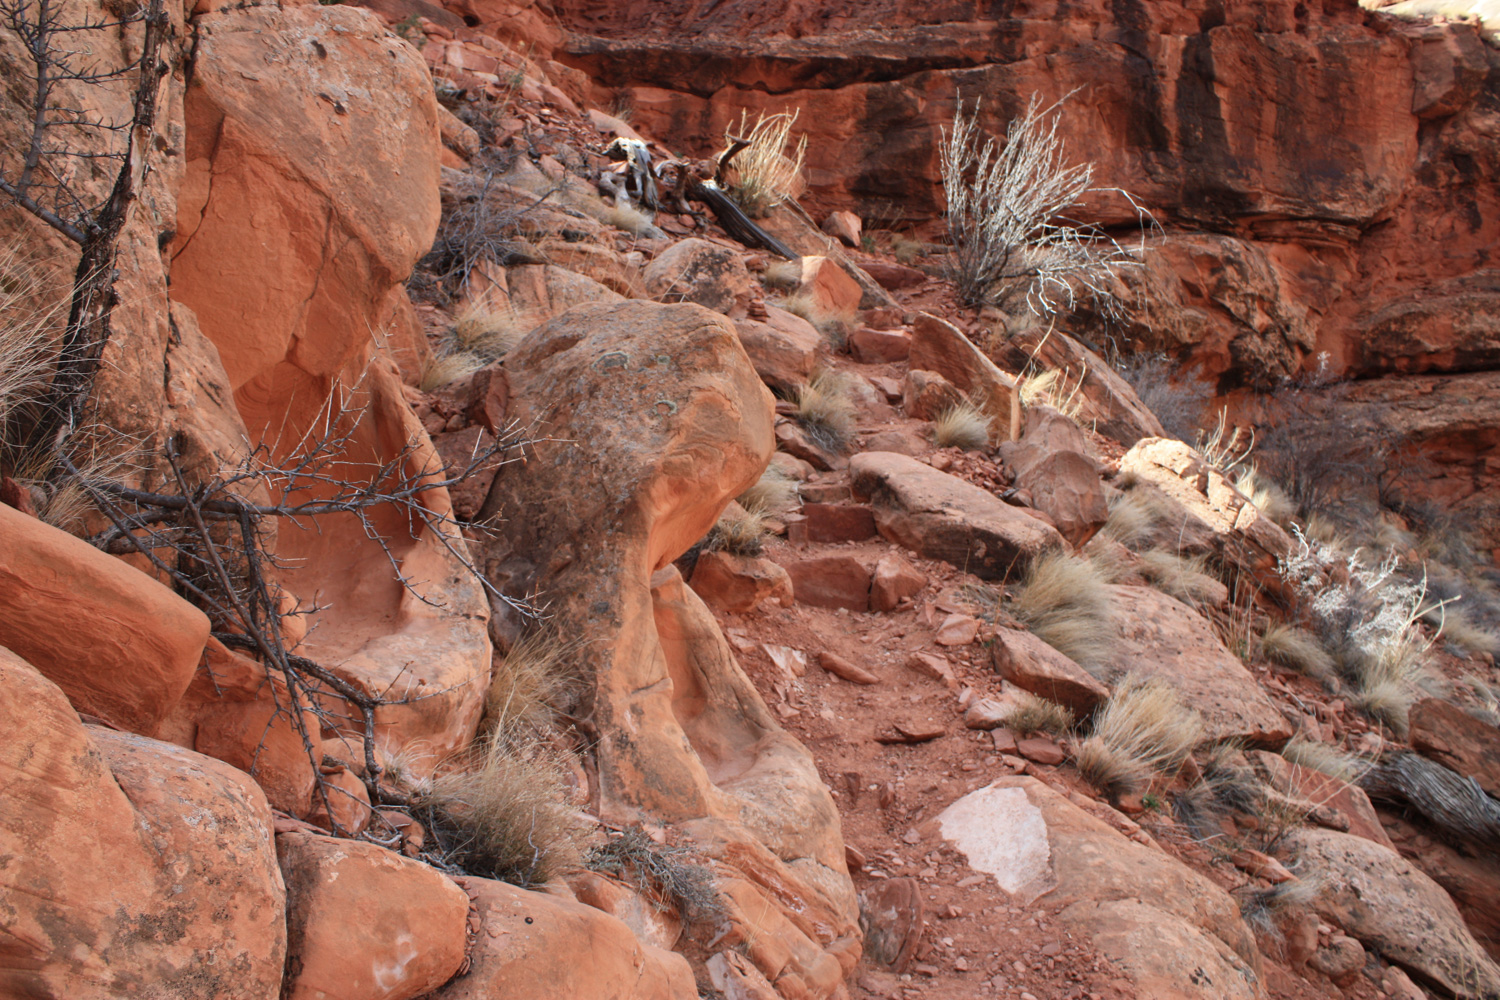
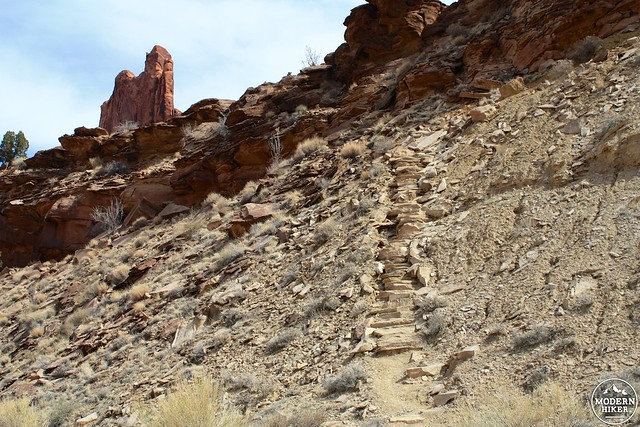
After a short climb up a single track trail, the route just starts up the rocky slope of the canyon wall. Occasionally there’s a staircase cut into the rocks for you, but more often than not you’re on your own.
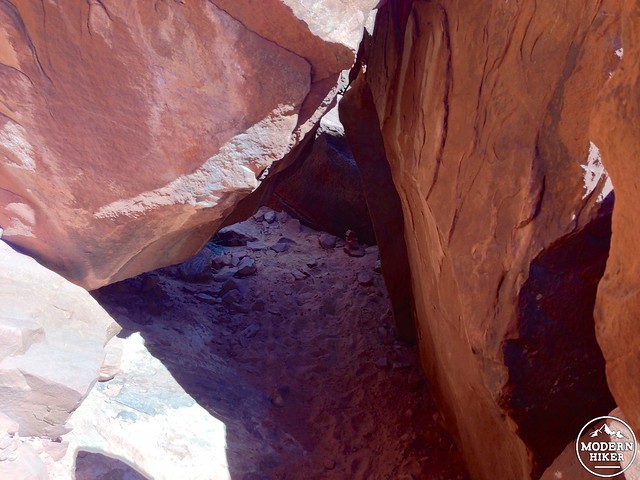
Sometimes you’ll be crawling underneath the rocks to move forward.
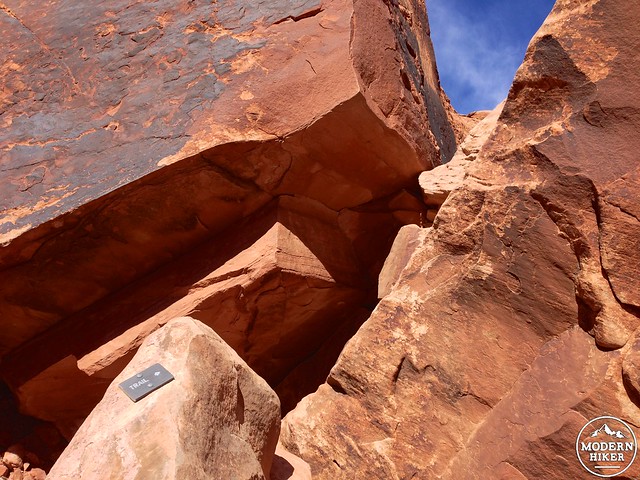
Other times you’re laughing at the helpful “trail” signs as you’re hoisting yourself up and over person-sized boulders and squeezing between cracks.
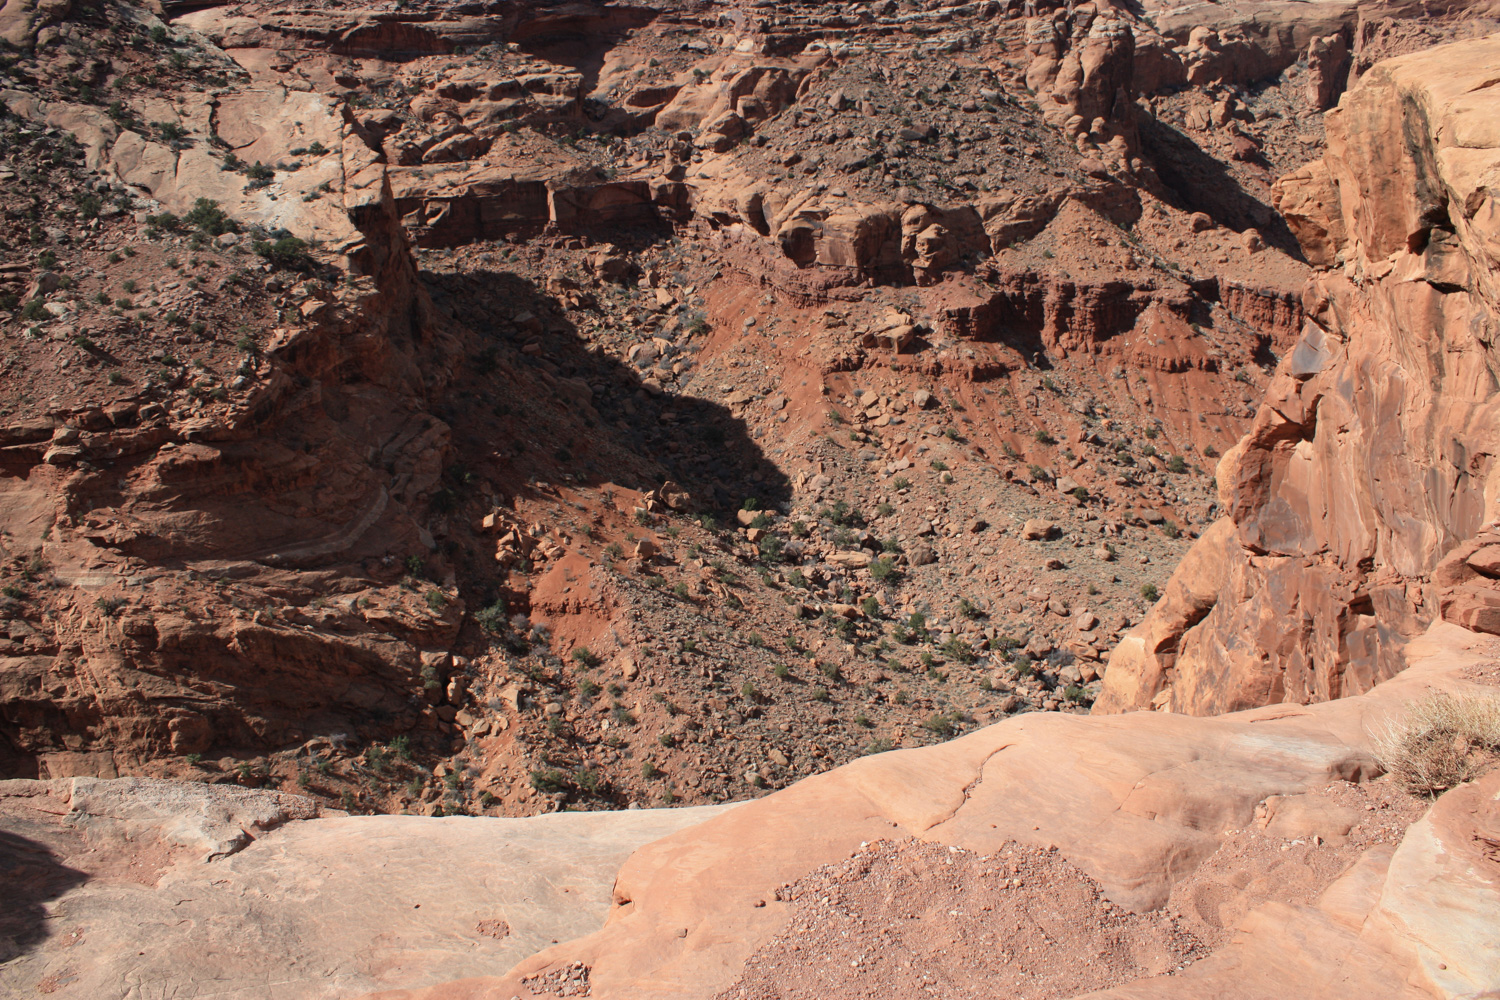
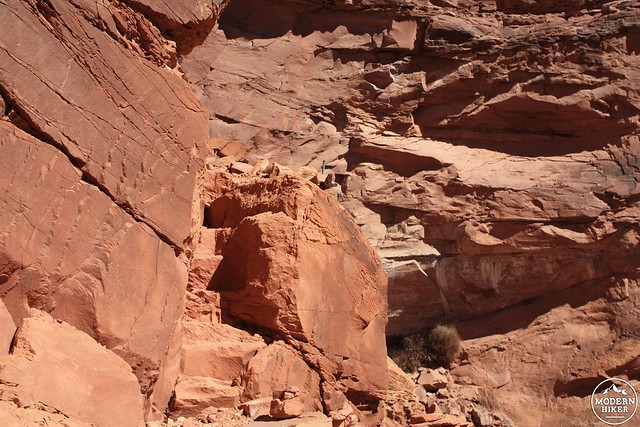
Oh, and you’ll be doing all of this while scrambling up what is essentially an exposed, sheer cliff, by the way. (Apologies for the finger in the shot here – this is right before I had to pack the camera away for a bit so I could focus on not sliding off the rock)
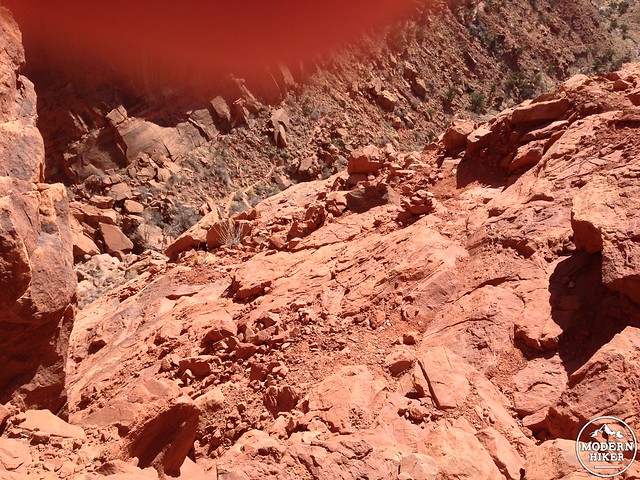
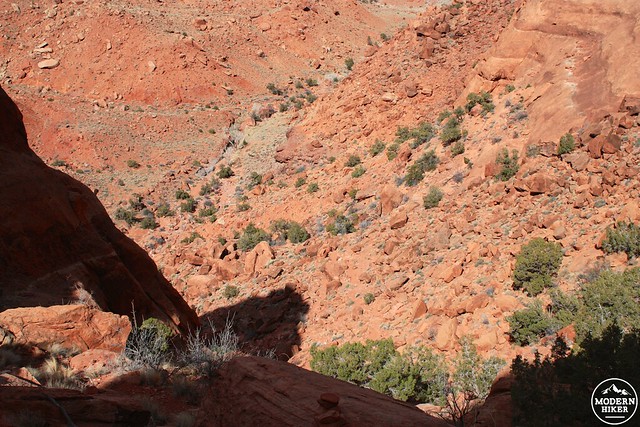
Note the tiny, distant trail etched in the canyon below
For the next 0.2 miles, you’ll be climbing up almost 360 feet with an average grade of 37.4%, but you will at least have an advantage over me by knowing about this section of trail before you get to it. Let’s just say it’s a good thing there weren’t any kids in the canyon when I was crawling up, because – as I learned – profanities echo really well here.
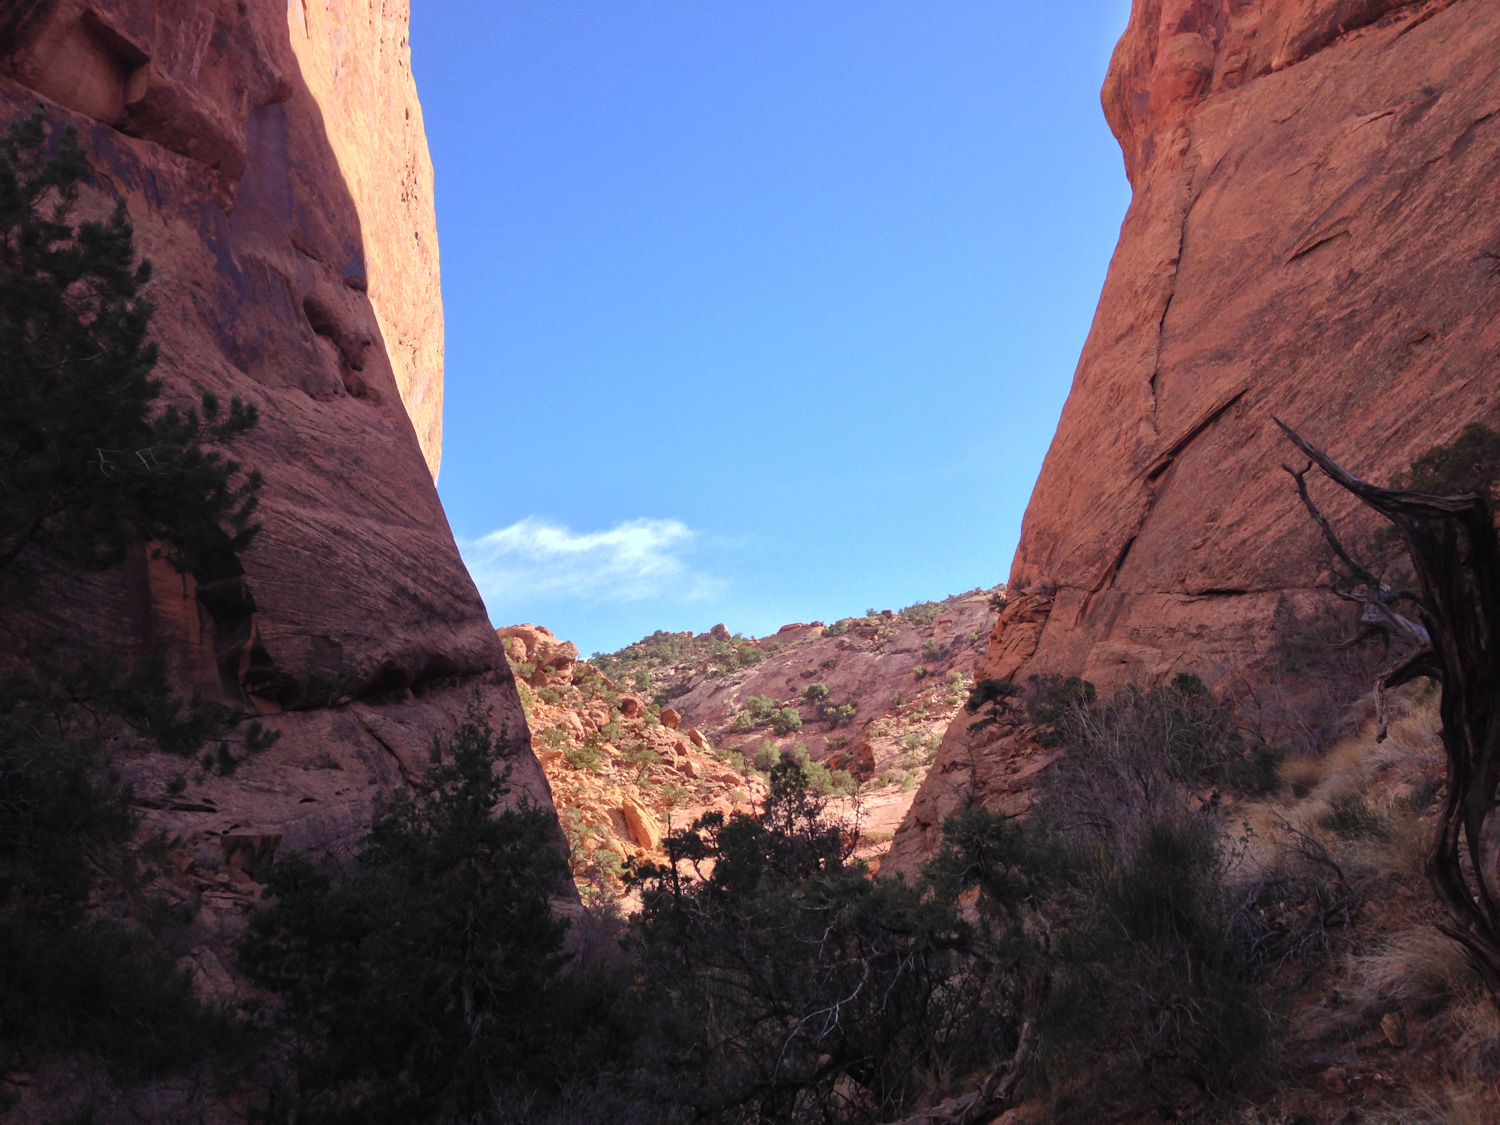
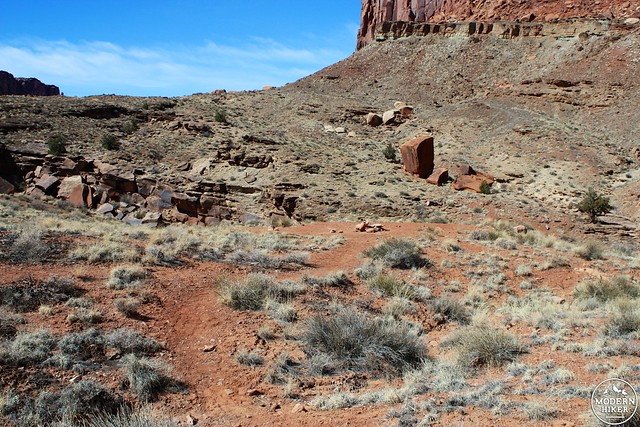
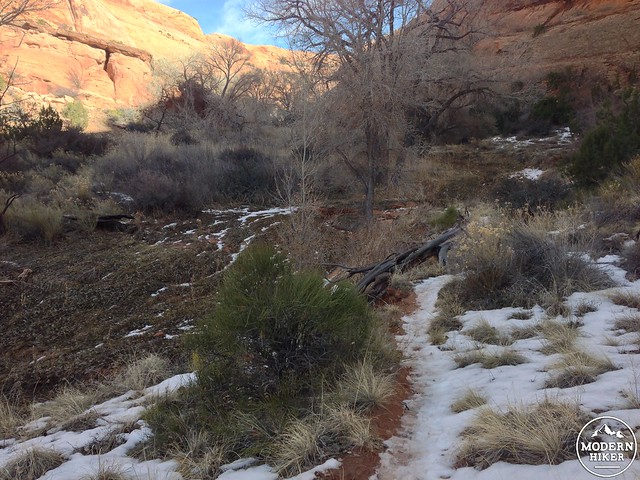
The good news is that once you top off from that hellish incline, the trail mellows out considerably. Instead of scrambling on all fours, you’ll get to walk through a very pleasant meadow nestled between the canyon walls.
Depending on the season, the ground here may seem more like a coastal marsh than a desert canyon. Tall native grasses and reeds line the trail on both sides as it meanders and dips in and out of dry (or wet) creekbeds.

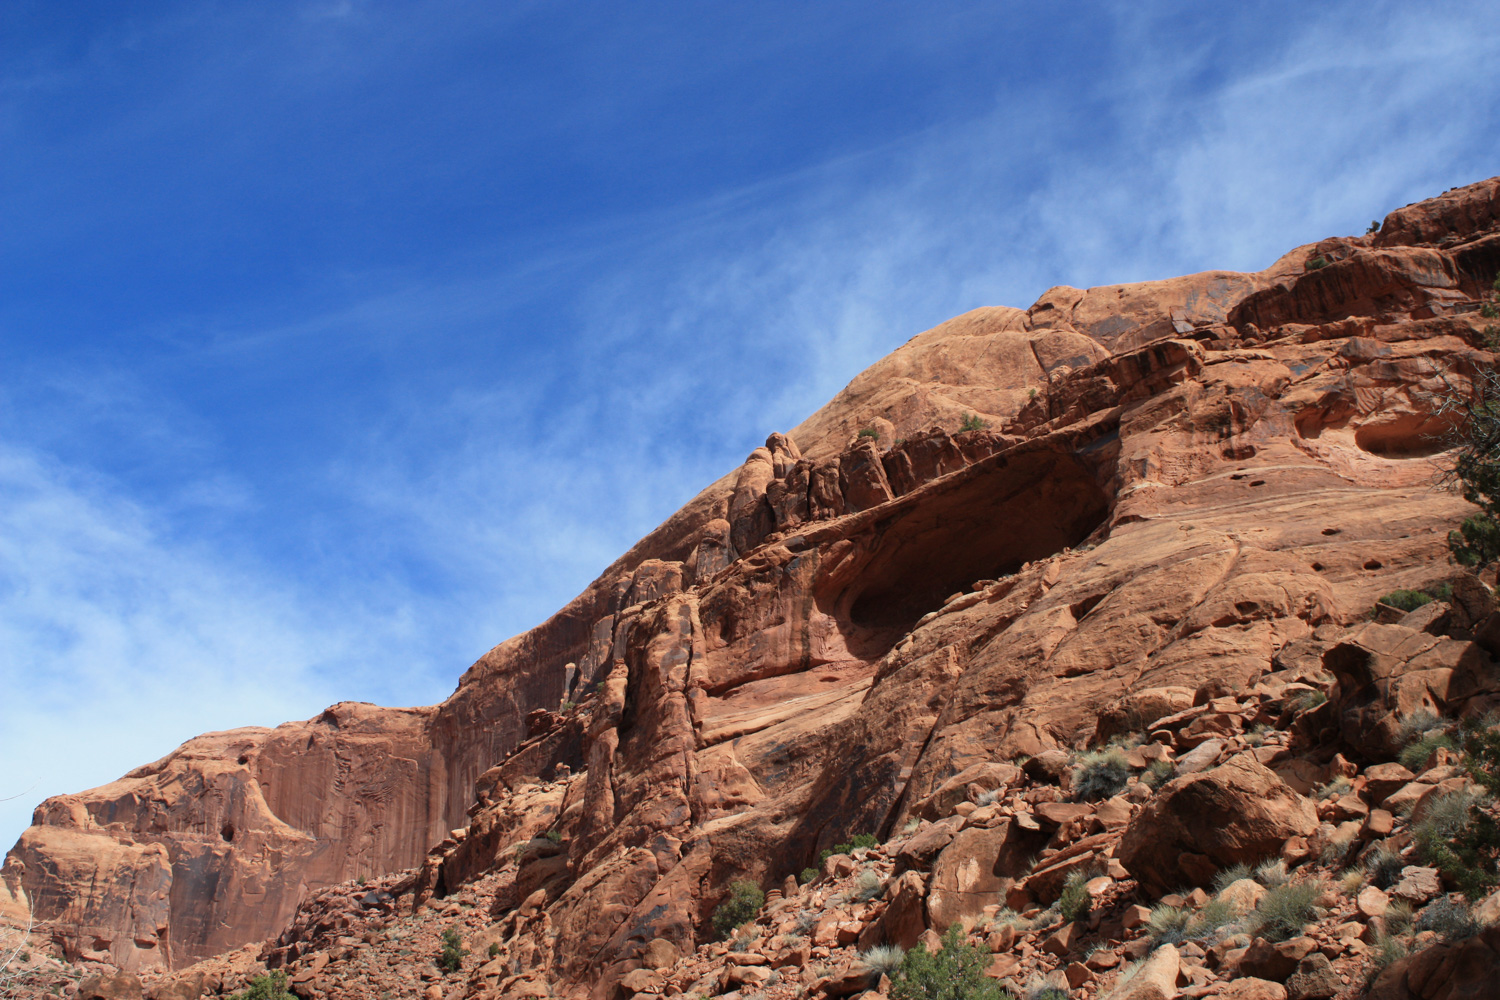
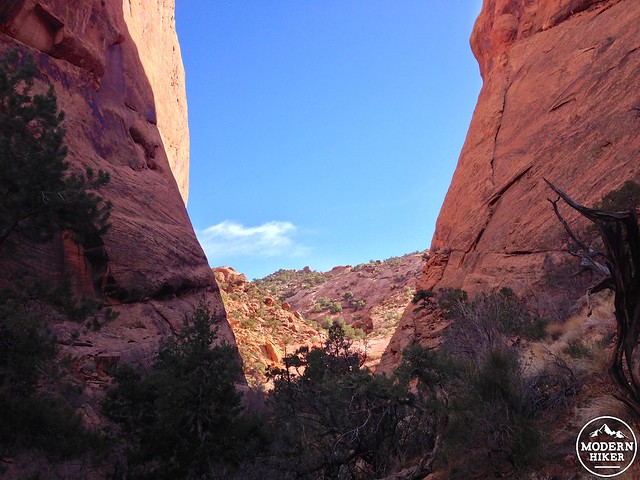
At just past 7.8 miles, the trail takes a sharp right into a narrow, steep canyon – your last major ascent on the way back to the trailhead. This section of trail is half scrambling up a boulder-strewn path and half just walking straight up some steep slickrock. It’s a little exhausting – but not nearly as difficult as the trail you’ve already done. You can also see the rim of the Upheaval Dome from the beginning of the incline, if that helps your motivation levels.
By the 8.5 mile mark, you’ve passed all the tough parts of the hike and the rest of the trail follows a wash along the perimeter of the Upheaval Dome. When you see the long, low, white shape of nearby Whale Rock, you’ll know you’re almost back at the trailhead.
Give yourself a pat on the back and make sure to stretch before you get back in your car – you’re gonna be feeling this hike for a day or two.
Tags: Canyonlands National Park, geology, Island in the Sky, Syncline Loop Trail, Upheaval Dome