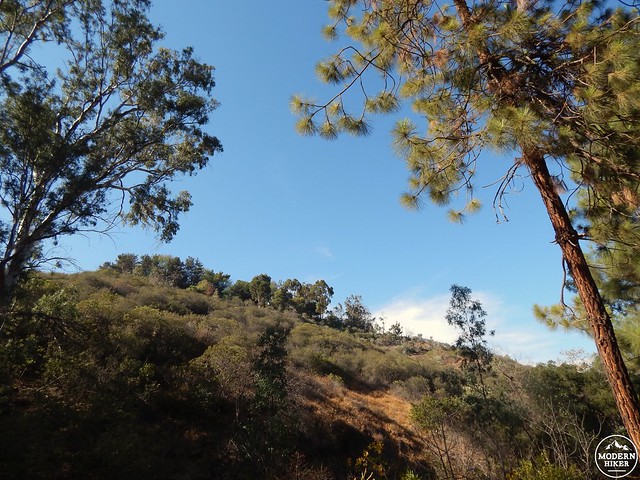
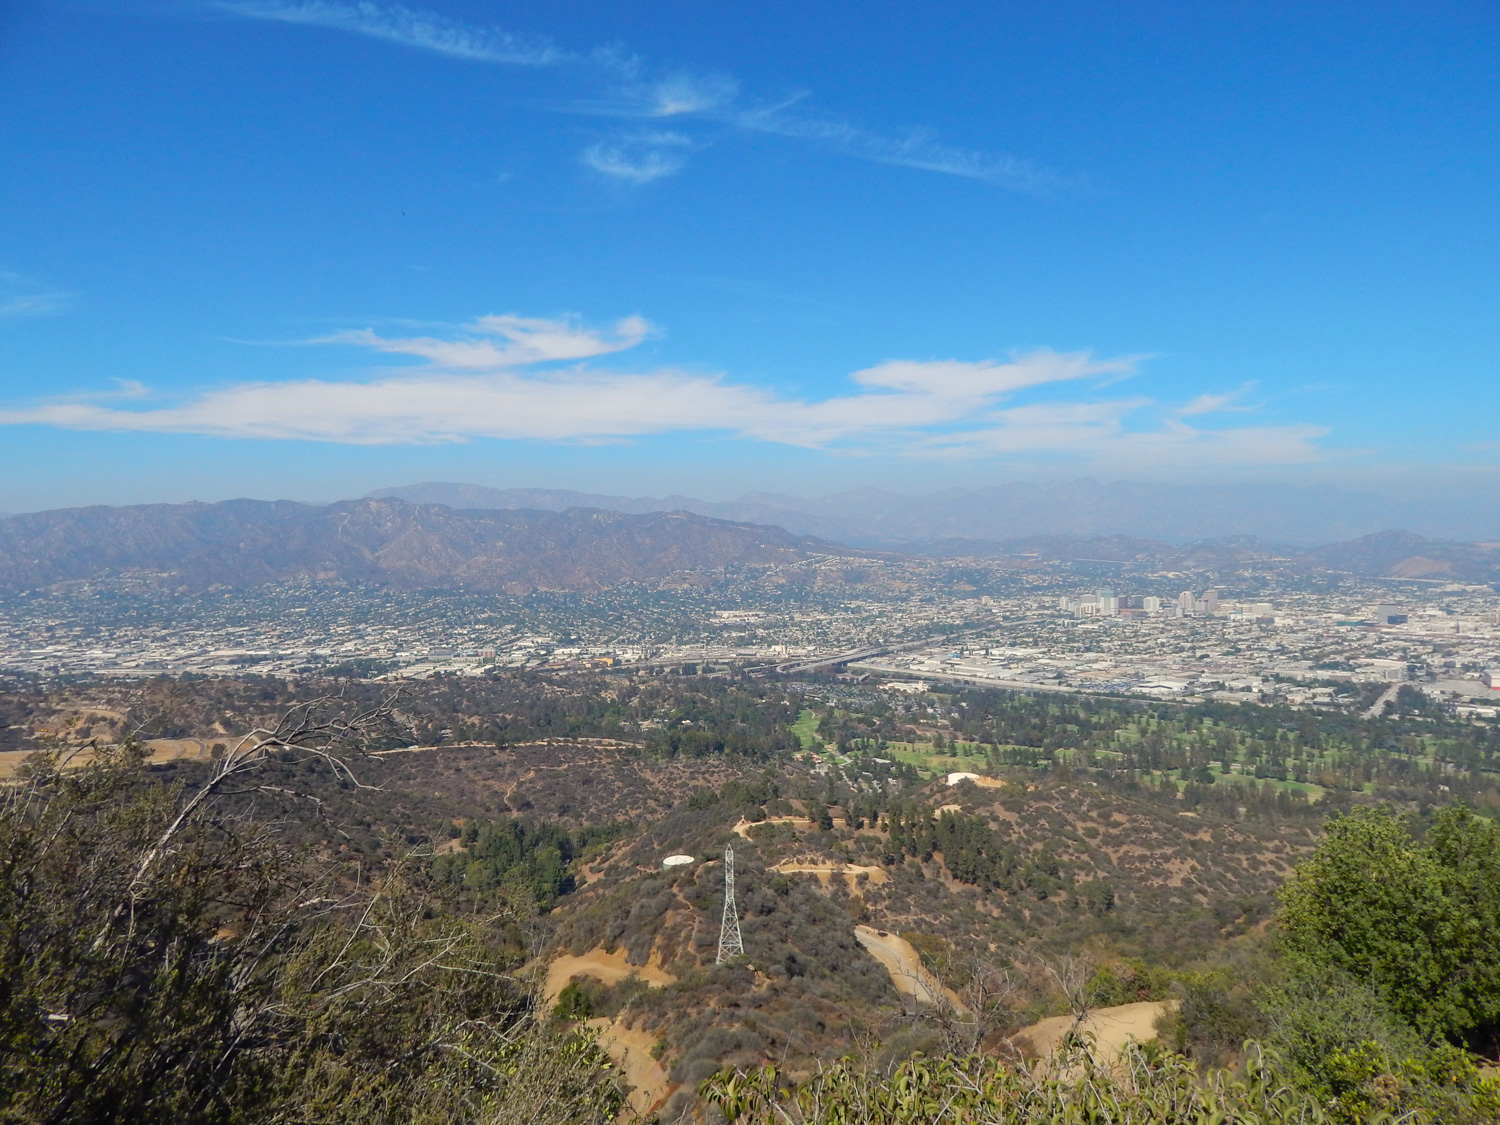
When most people think of L.A.’s iconic Griffith Park, they probably envision things like the Observatory, the Greek Theatre, the Hollywood Sign, the Zoo, and legions of picnicking families. But there’s also a wilder side to this urban retreat, far removed from the wide fire roads and smothering crowds – and we’ll take you there on this adrenaline-soaked rollercoaster adventure across four peaks and down hidden canyons in the park’s surprisingly quiet north end.
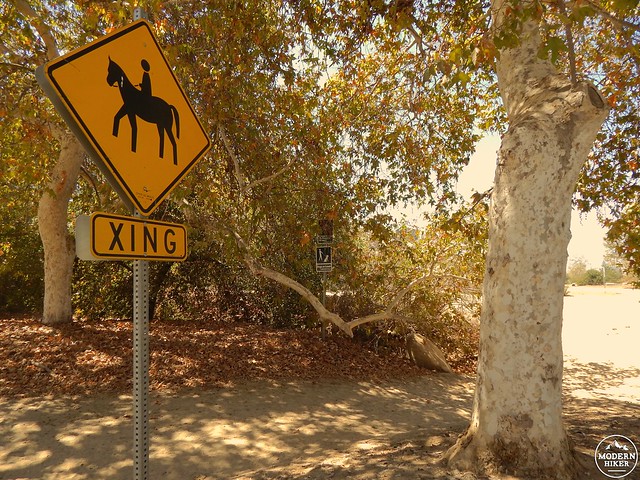
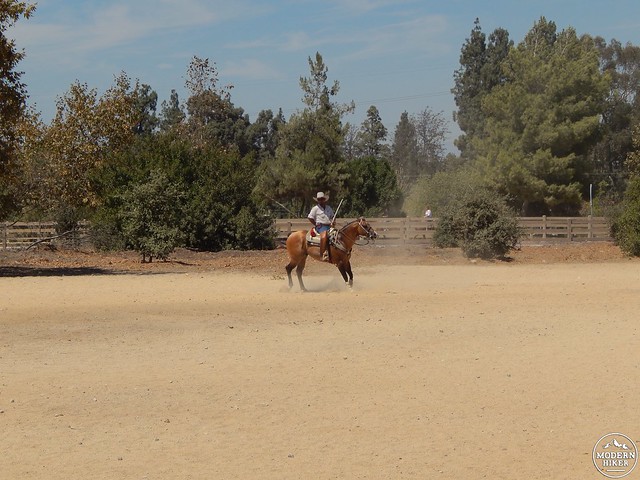
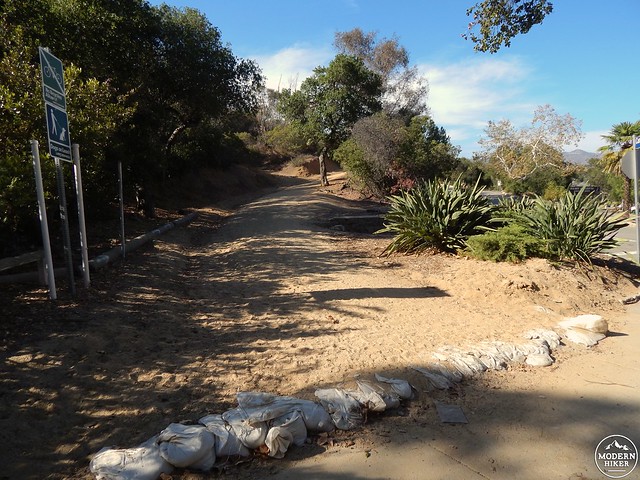
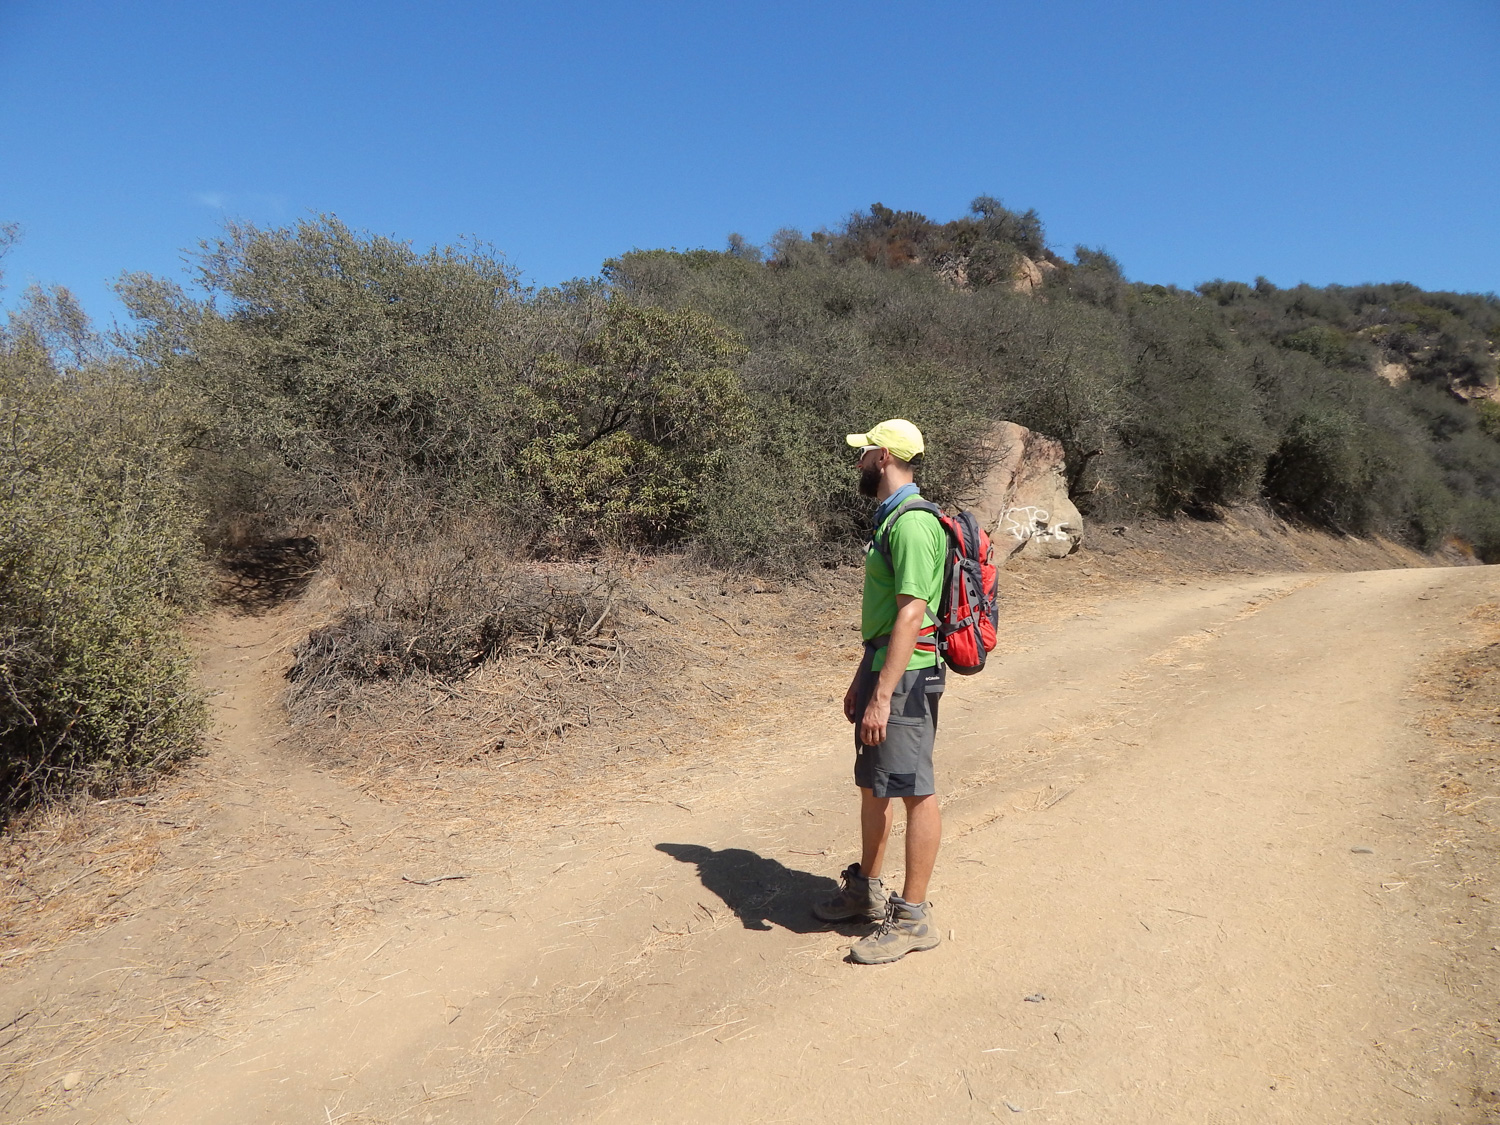
Begin by parking in the paved or dirt lot adjacent to the Travel Town Museum. You’ll notice a trail that ascends directly next to the parking lot – this is the Skyline Trail, and you’ll pop out of its dusty confines at the end of your journey. Instead, look across Griffith Park Drive, where you’ll find another trailhead just past a yellow fire hydrant. You’ll see the first of many “horse crossing” signs here…and probably the first of several horses, prancing around the dusty open area you just wandered into. This end of the park is frequented by equestrians and their hoofed friends – as such, be on the lookout for fresh piles of steaming you-know-what.
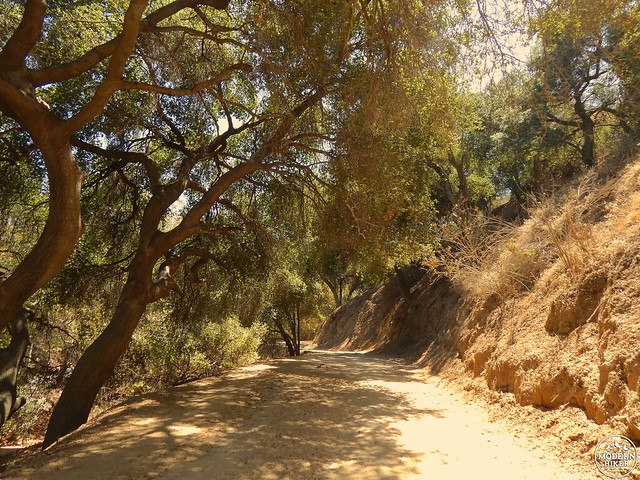
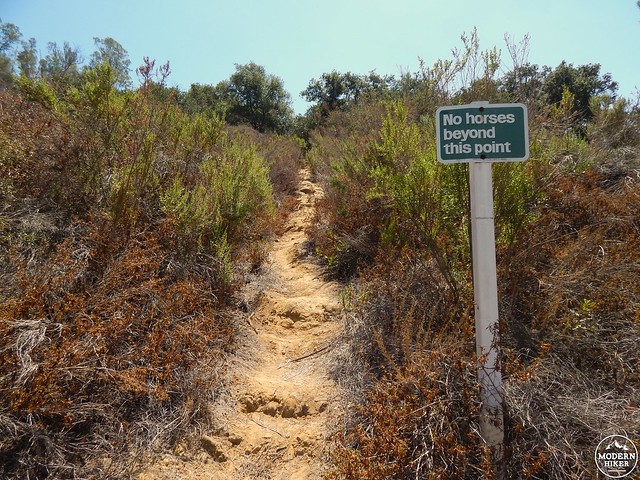
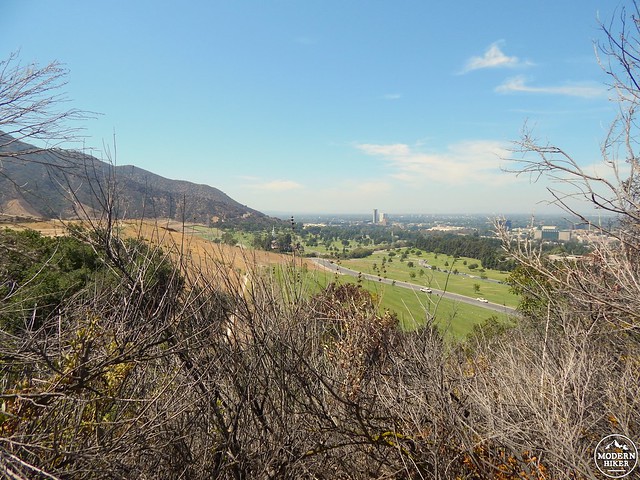
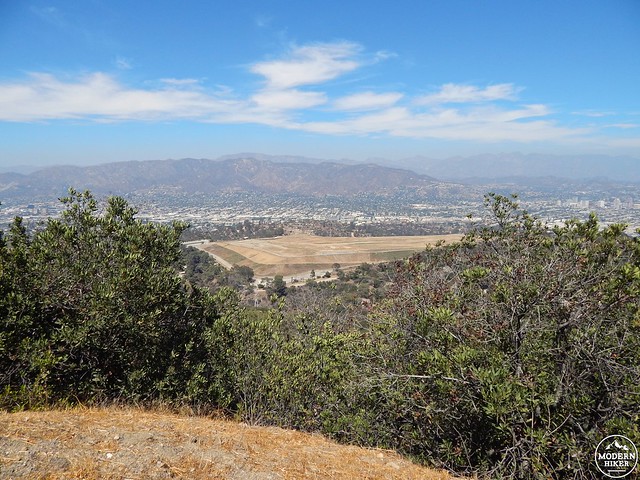
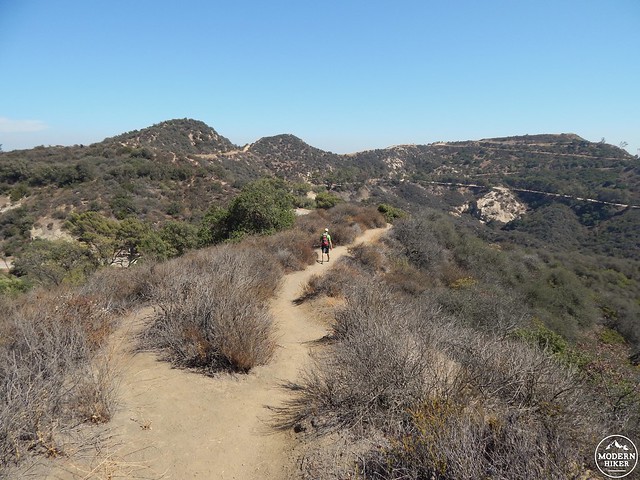
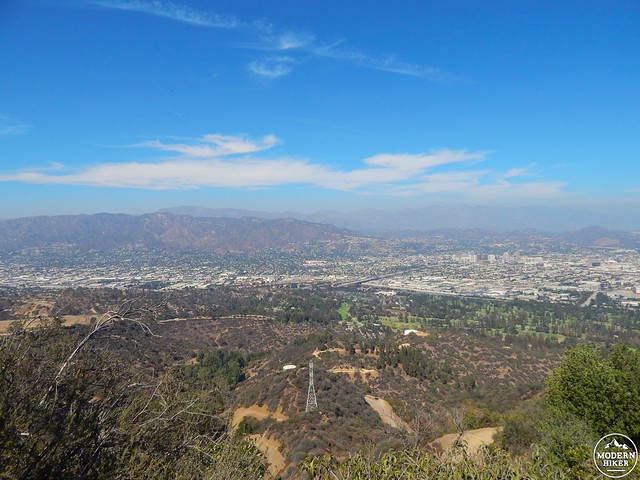
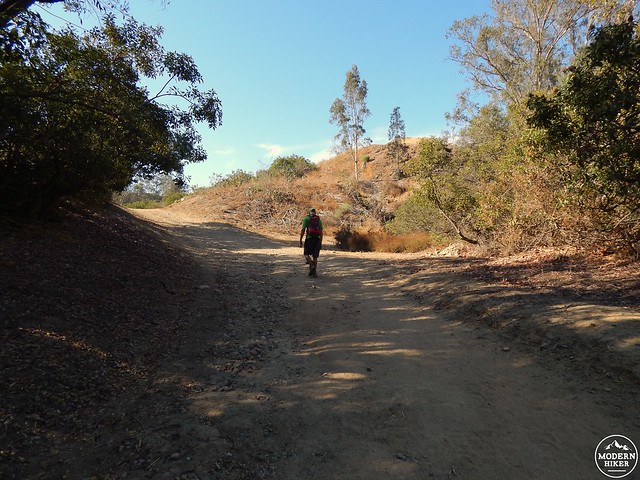
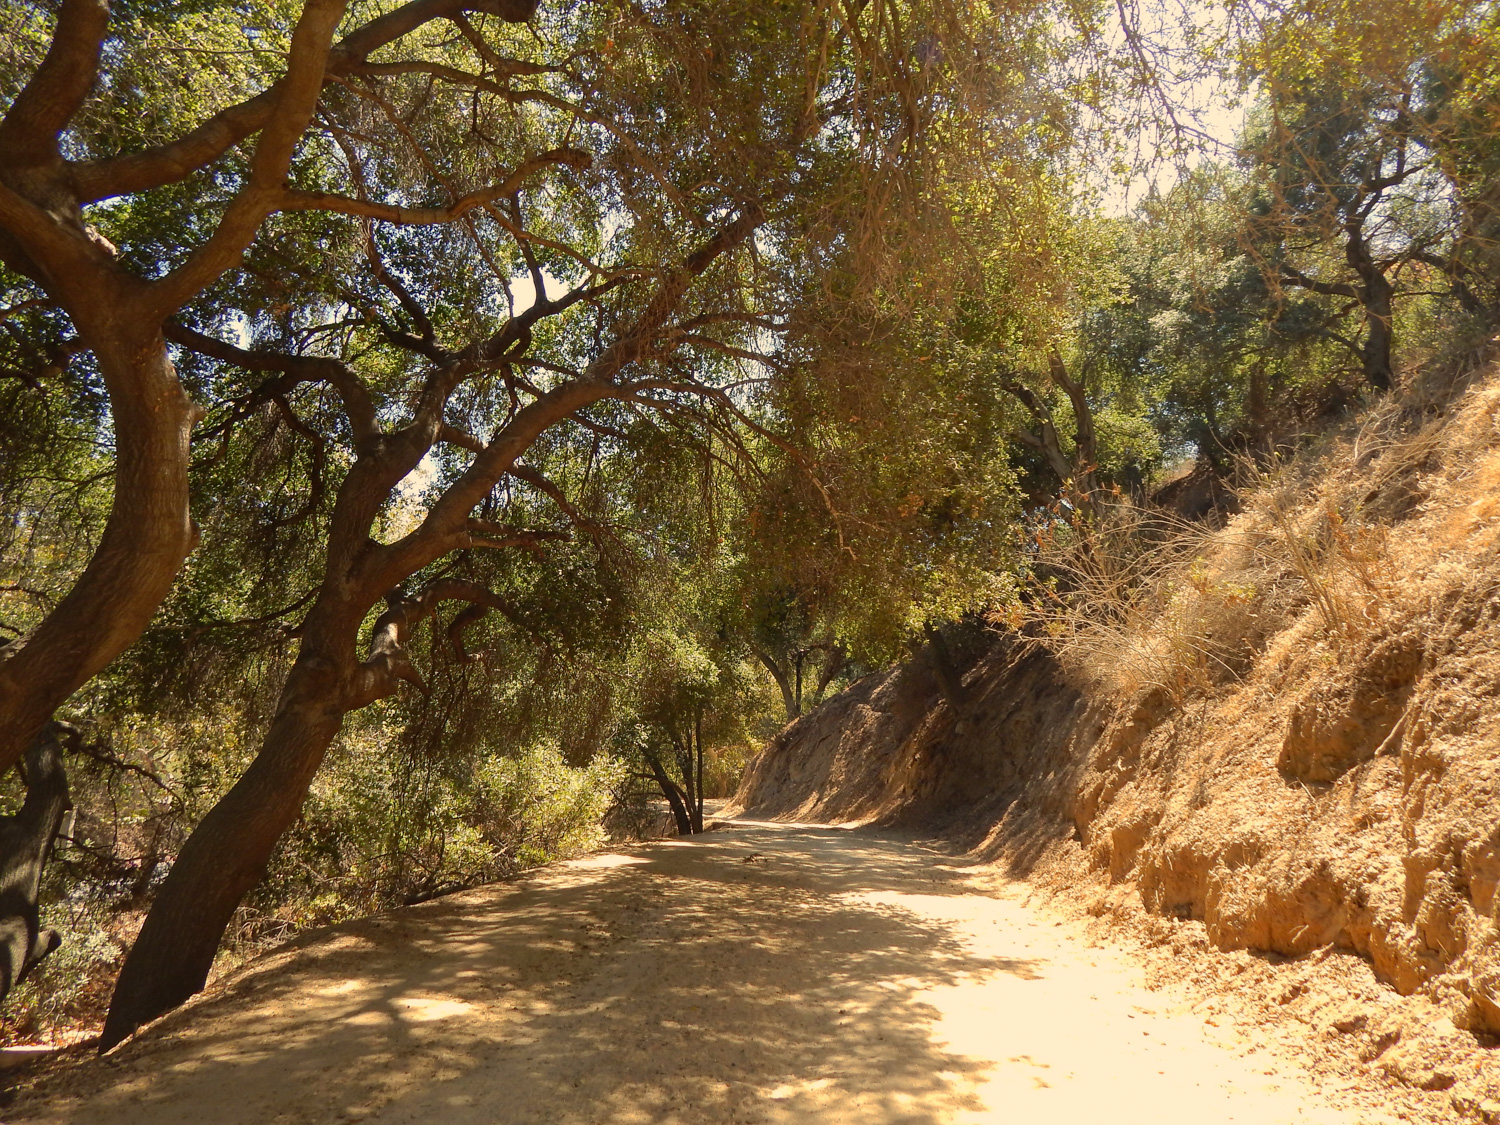
Head left across the open space to pick up a fire road (sometimes called the Oak Canyon Trail) that parallels Griffith Park Drive. Head up a gentle incline through some heavenly shade, ignoring side trails that appear on your left and passing by the Forest Lawn Cemetery on your right. As you continue up, the trail morphs into a lush single track, and if you’re like us, you’ll suddenly feel miles away from it all. Around 0.3 miles, you’ll reach the beginning of what’s been affectionately dubbed the “Suicide Trail.” Marked just ahead with a “No horses beyond this point” sign (sorry, hoss), this seriously rugged, steep trail angles sharply up to your left, climbing to meet Mt. Hollywood Drive. The gnarliest bit of this section ascends something like 175’ in 0.1 mile. Translation: you’re gonna feel it. Make sure you turn around at least once, not only to catch your breath, but also to enjoy the sweeping vista that just opened up to the northeast during your ascent.
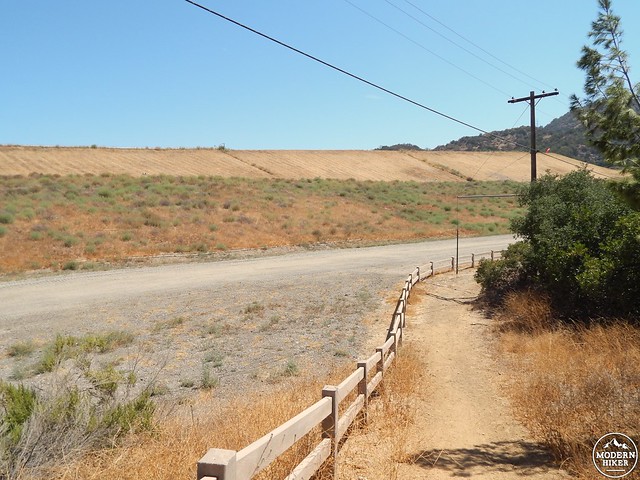
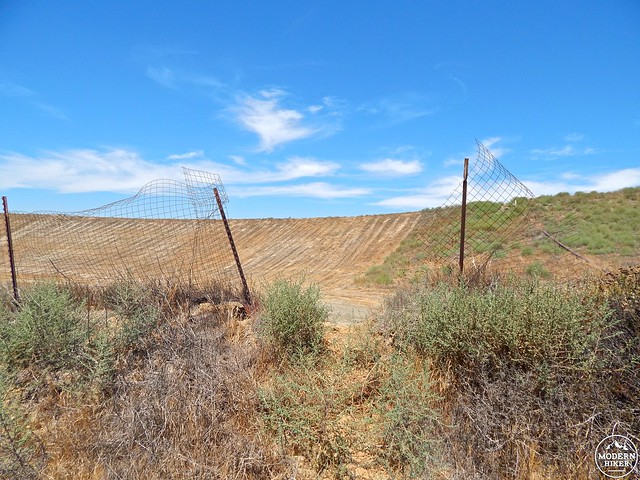
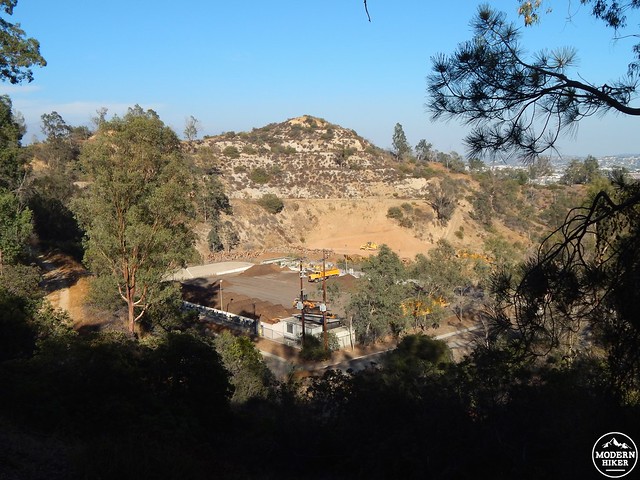
When you’re done mopping your brow, cross Mt. Hollywood Drive around the 0.7 mile mark and pick up the dirt path heading up on the opposite side of the road. Ignore the side trails that offer to dump you back on the pavement and continue straight ahead until you reach the intersection with the Toyon Trail (also called the North Trail on some maps) just shy of the 1 mile mark, heading uphill to your right past a giant red metal pipe. You’ll see some electrical towers and wires off to your left, along with some construction gear and a strangely landscaped area called the Toyon Canyon Land Reclamation Project – or in less aesthetic terms, the Toyon Canyon Landfill. This landfill was active for almost 30 years, until it was closed in 1985. The good news is that all of the garbage-produced methane gas is now being harnessed for electricity (“enough to power 4,500 homes,” according to the City of Los Angeles Bureau of Sanitation), and there are (as yet undefined) long-range plans for the site to become available recreationally to park goers.
Taking in the sights of one man’s trash becoming another man’s treasure, you’ll wander down the fenced path, crossing the road to pick the trail back up along a gate and the fenced-in construction yard. The views to the left improve the further you move past the lumbering equipment and unattractive outbuildings, becoming almost pastoral…if you squint a lot.
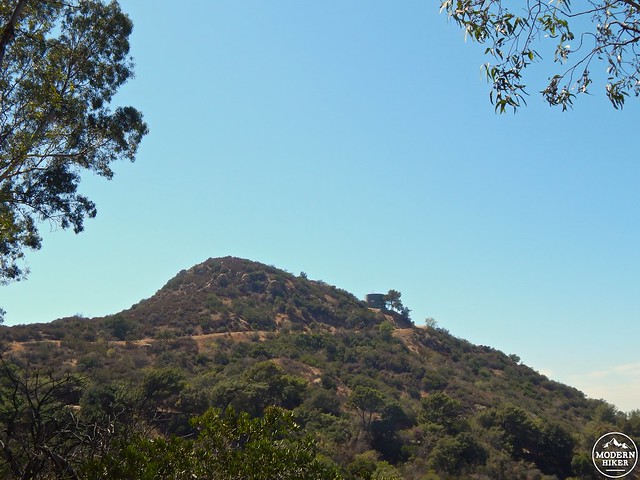
At 1.5 miles, you’ll reach an intersection with the Mt. Hollywood Trail, where you’ll head right. This segment of singletrack is shadeless and uphill, heading up a short but relentlessly steep 0.2 miles, landing you on the paved Vista Del Valle Drive. From here, deposit any trash you picked up along the way in the nearby garbage can (I can’t be the only person who does this as they hike?), and head right for a bit of road walking. This short section might be boring if not for the fact that a) the views to the northeast are awesome, and b) you can see your first peak objective – Mt. Chapel, adjacent to a large water tower – looming ahead to your right. Exciting times await!
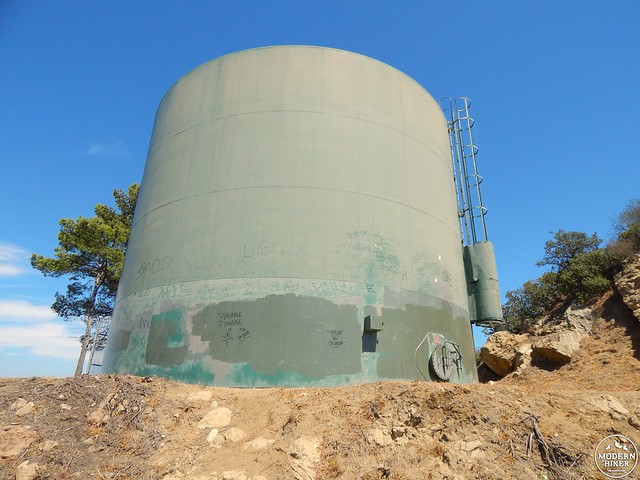
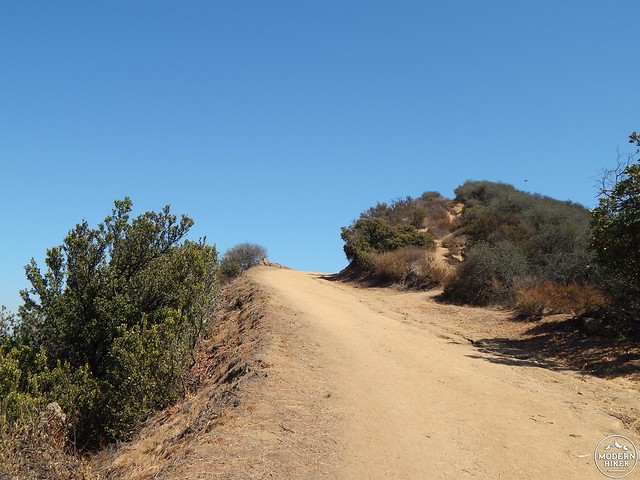
At 1.9 miles, you’ll reach a T-intersection with Mt. Hollywood Drive. From this vantage point, you can see all four peaks you’re about to tackle. Take a few moments to enjoy a bit of trailside shade, have a snack, tighten your laces, and reapply your sunscreen – the sweatiest section of this mountainous romp is about to begin. When you’re ready to have at it, ignore the poorly-conceived, land-degrading use trail lazy people have plowed up the embankment and instead head to the left for a few feet to pick up the actual fire road that angles up to the right towards Mt. Chapel. You’ll curl around the peak itself, winding up on a bald plateau next to a water tank, scoping dead-on views of Mt. Lee and Cahuenga Peak to the west, and the landfill and San Gabriels to the northeast.
From here, the path peters out on the western side of the bump, but instead of heading that way, you’ll look for the use trail located on the crumbly slope behind the water tower.
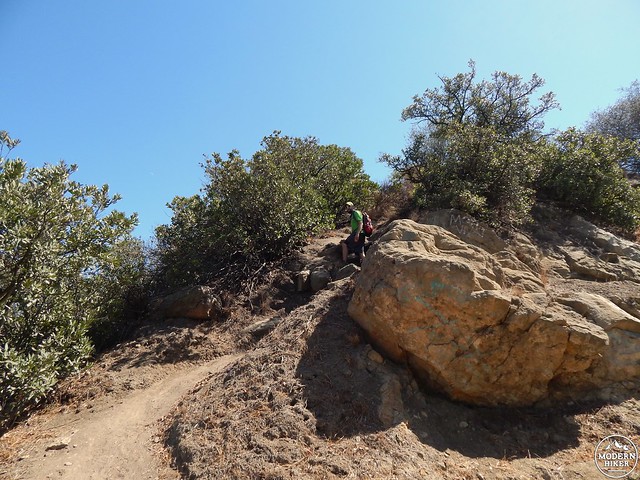
For those afraid of heights, this is a good time to remember that what goes up must come down – if you’re not up for steep, slippery descents, you may want to skip the peakbagging portion of this hike. If you are game, you’re in for a LOT of fun – yes, all four ascents involve some gruntwork, but in our case, all four summits involved a lot of whooping and high fives, and all four descents involved a lot of laughter.
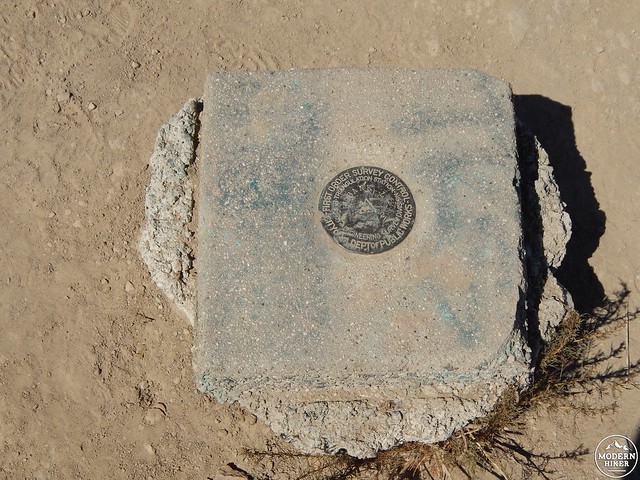
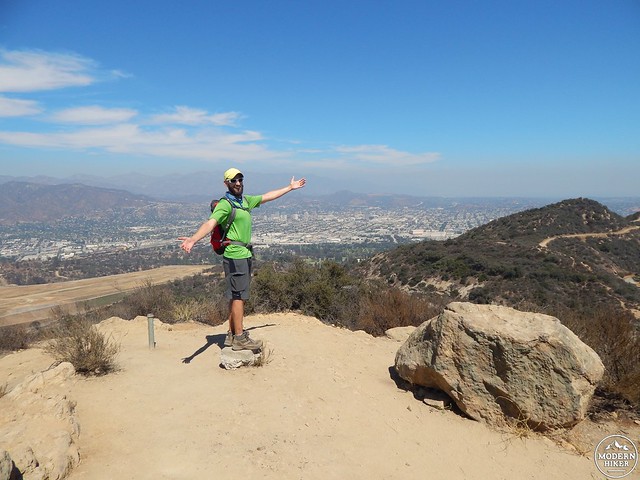
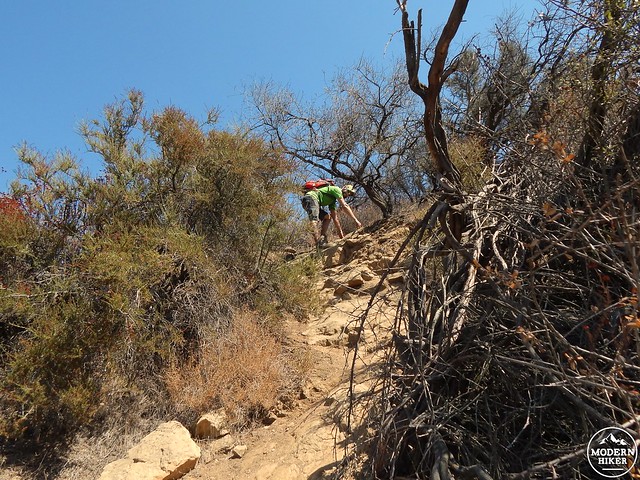
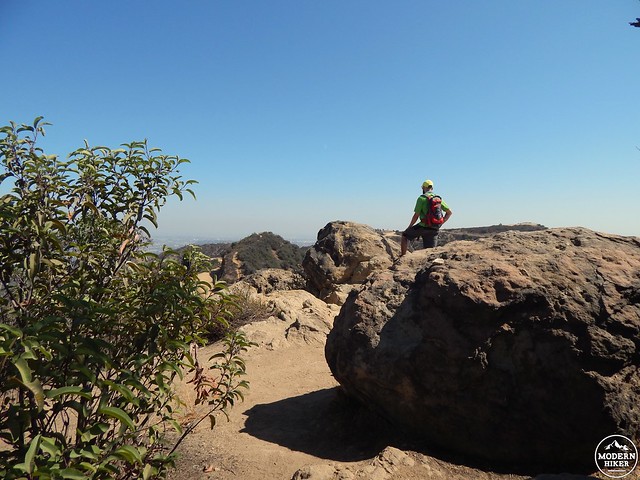
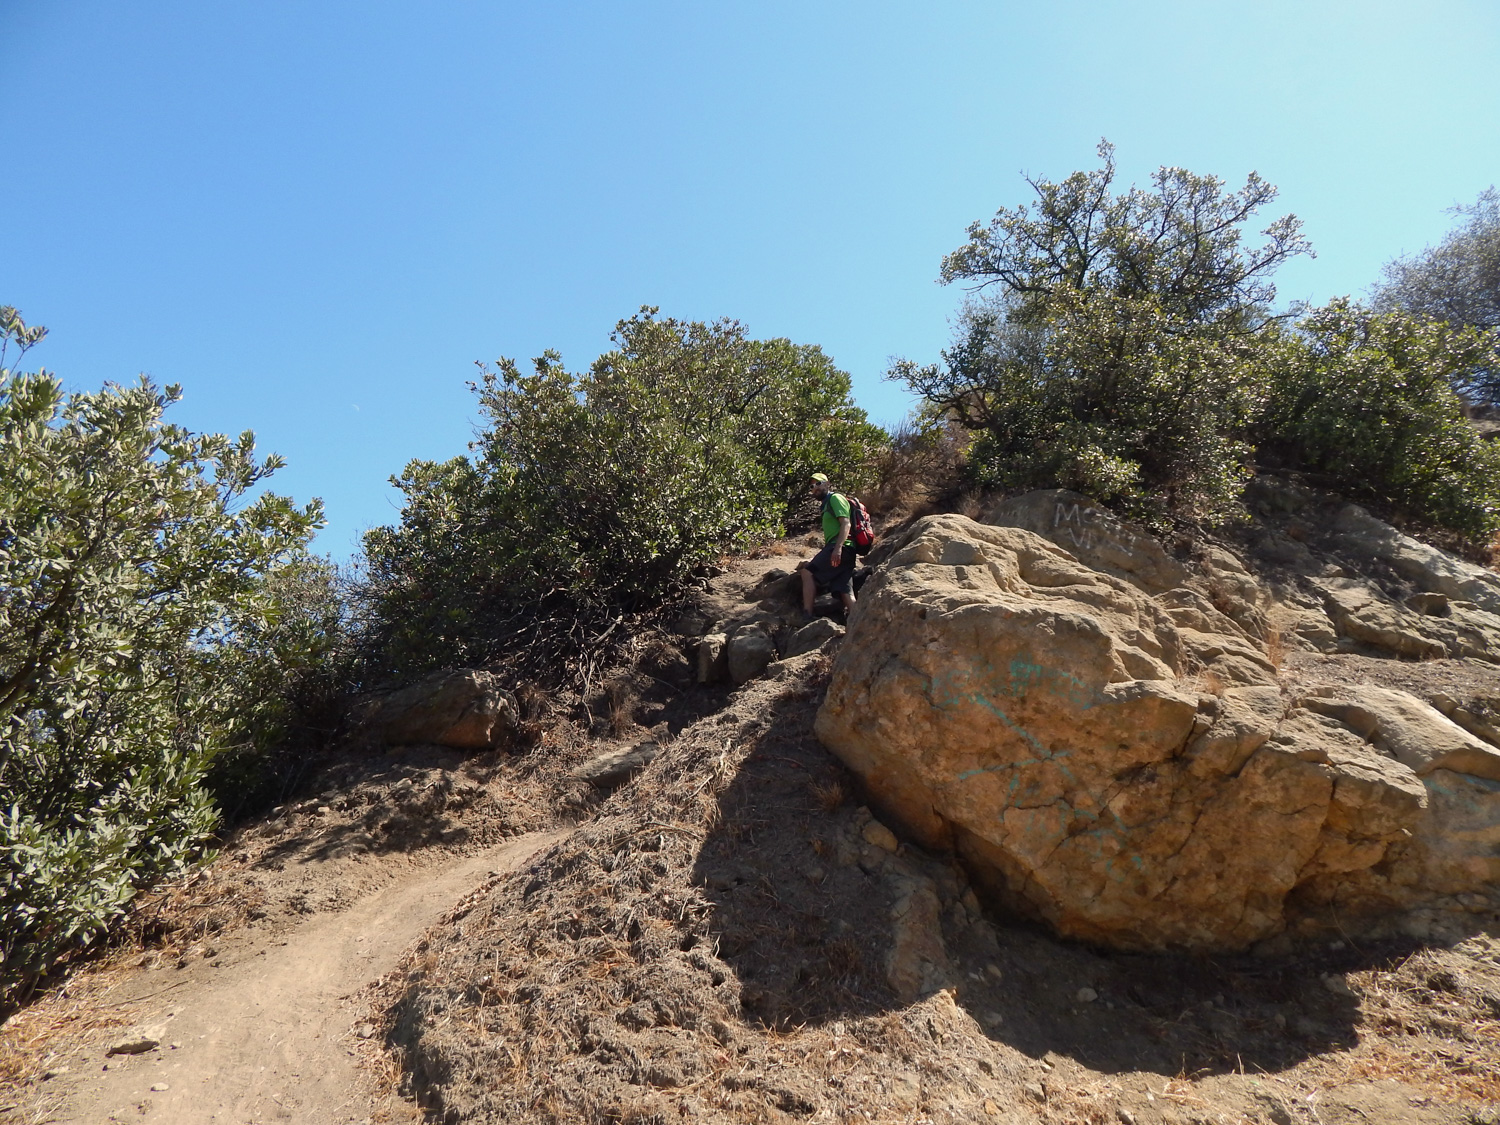
Even though the use trails on these peaks aren’t well defined by regular trail standards, it’s easy enough to figure out where to go – UP. The trick with steep, uneven ascents is to use your quads and your momentum to keep you in balance and moving through the tough stuff. The payoff for a few minutes of hard labor is absolutely worth it – at the summit of Mt. Chapel (1614’) you’ll find a USGS marker and some pretty spectacular views, especially on a clear day.
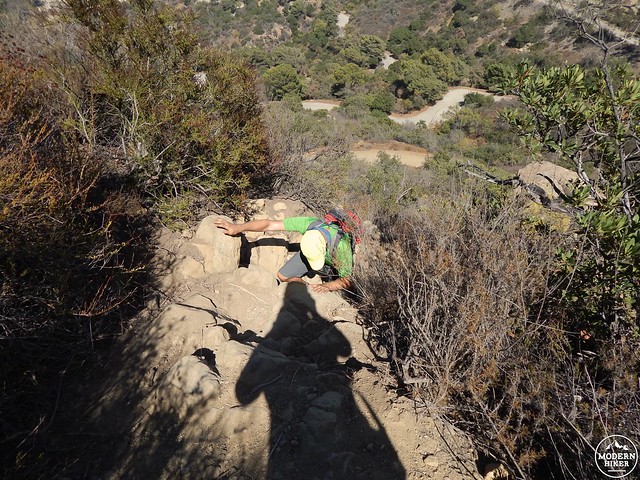
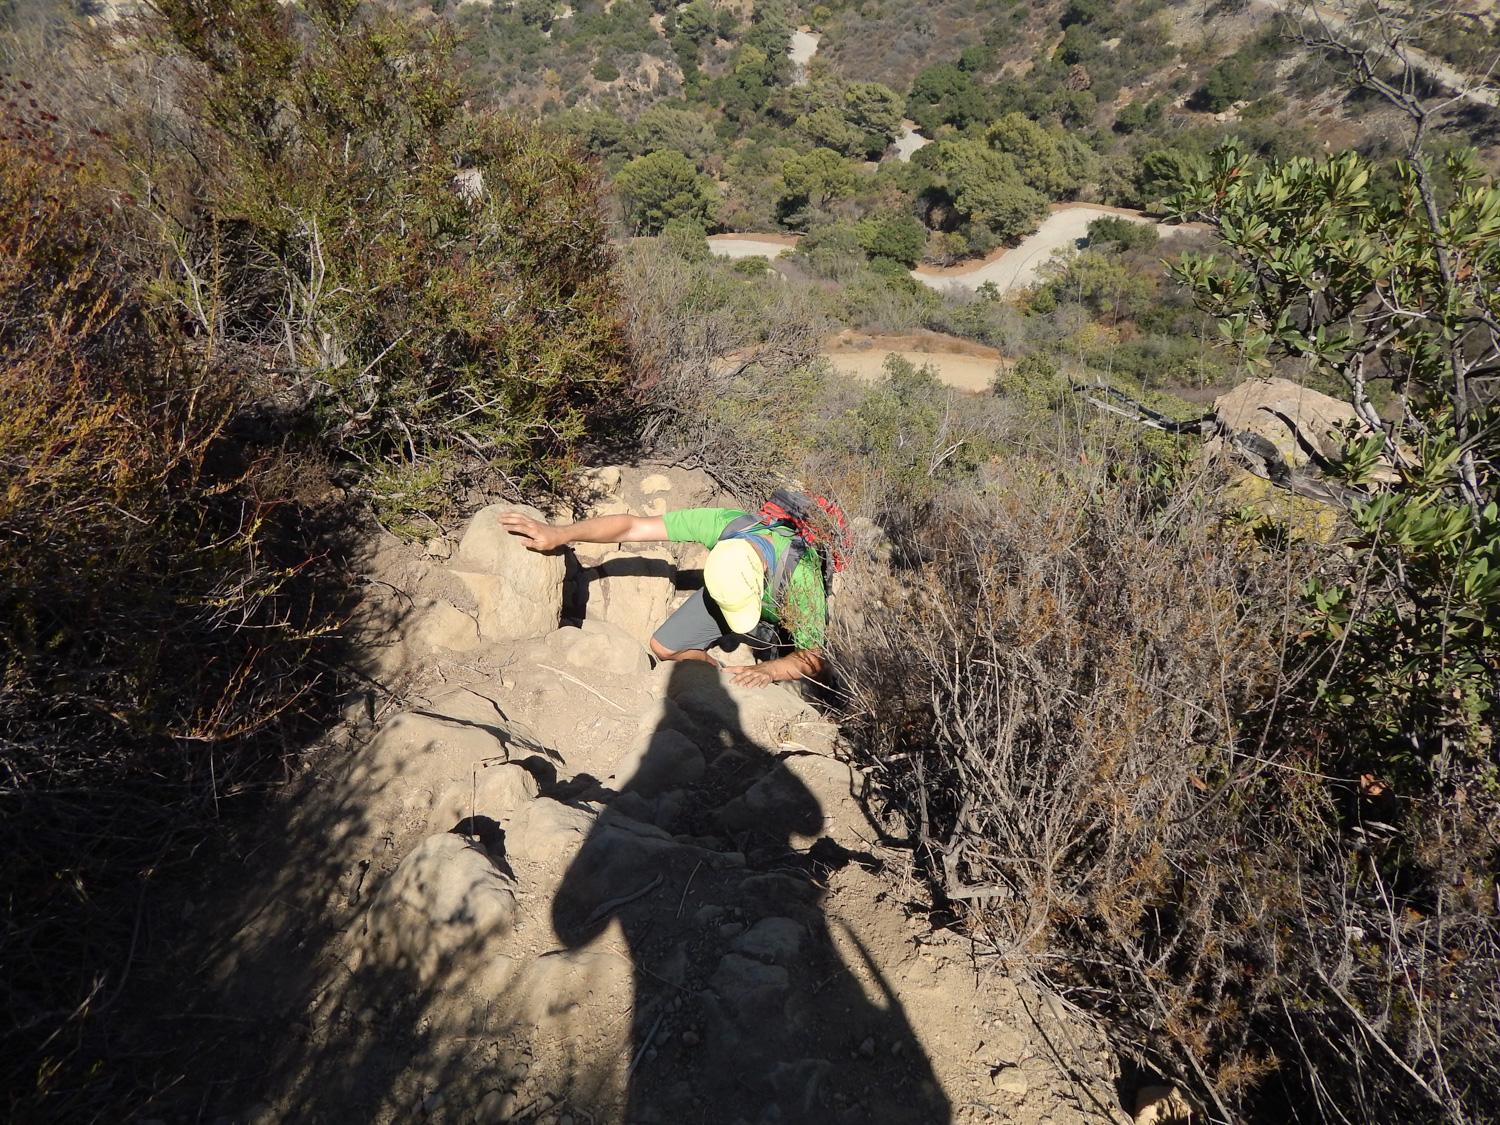
When you’re ready to head down, you don’t have to go back the way you came – a use trail continues straight past the peak, heading down the southeast side (you should be looking toward Mount Hollywood and the Griffith Observatory as you descend). The trail here is loose and rocky, with a few steep sections that require a small bit of downclimbing – this is where good balance and appropriate footwear come into play (trekking poles can also be helpful here). As you descend from all of today’s peaks, you can consider one of four techniques to get down safely:
- Walk upright, engaging your core, making sure the weight of one foot is carefully planted before moving the other; do not rely on bushes and tree branches to support your weight.
- Crab-walk on all-fours, moving your feet first, followed by your hands.
- Face into the slope, using your hands and feet (especially helpful for the rocky segments that feature a short drop).
- Butt-slide (self-explanatory).
As you get past the steep bits, the trail becomes a bit gentler and you’ll continue heading back down through the chaparral towards Mt. Hollywood Drive. From here, look down the road to the right and just ahead you’ll spot a fire road heading up to the left – walk on over there to snag your next peak, affectionately dubbed “Baby Bell.”
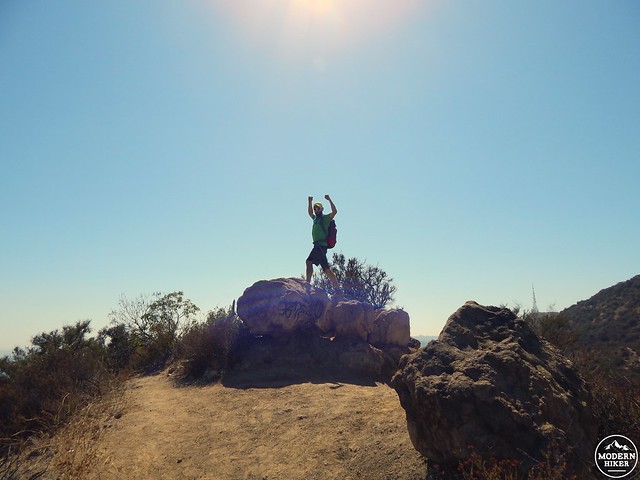
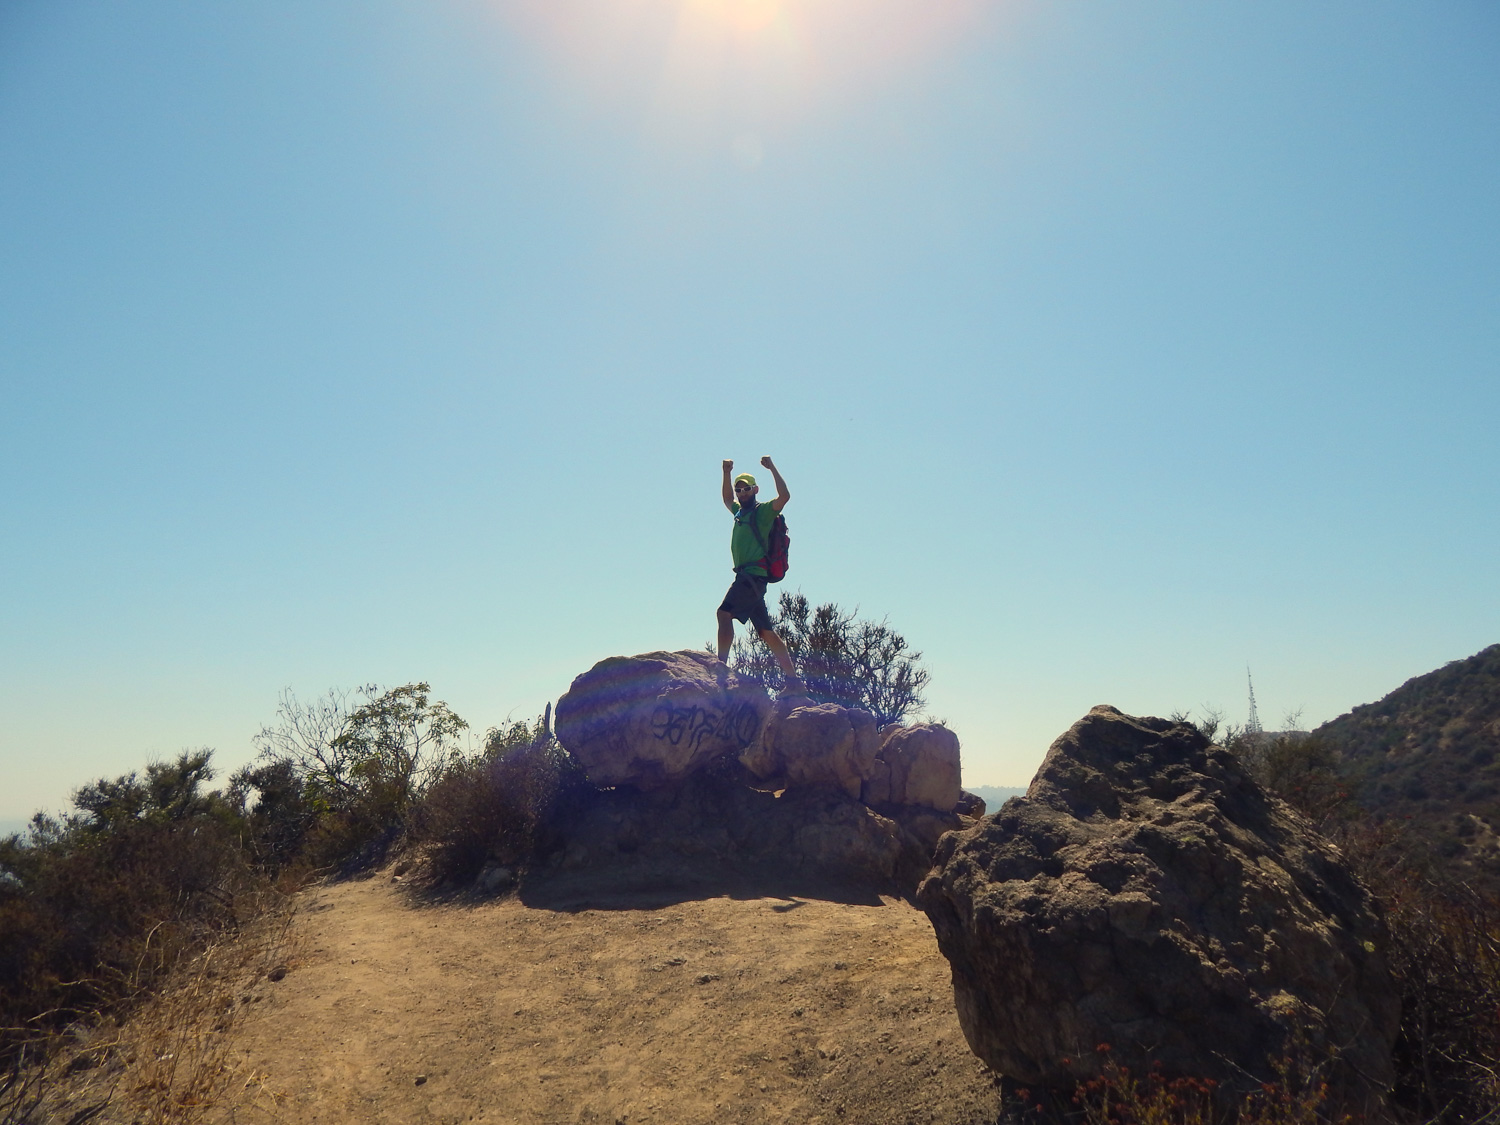
At the 2.7-mile mark of your journey, you’ll reach a spur trail on the left that leads to your objective; simply walk up through the shrubbery (FYI: we’d recommend frequent tick checks throughout the day), head to the left across the small plateau, and stand atop the (sadly defaced) jumble of rocks at the summit (1497’) to serve as master of your kingdom…or whatever mountaintop fantasies you usually enact in these scenarios.
Don’t linger too long, though, because Baby Bell is just an hors d’ouerve – Mt. Bell awaits. Head back down the spur trail to rejoin the fire road and continue maybe 90’ ahead, looking for a use trail on the left that heads through the chaparral. Soon after you begin your ascent, you’ll notice a side trail snaking off to the left – ignore this and continue going up. In fact, you’ll notice a lot of weird little paths around you – if they aren’t heading straight up an insanely steep, rocky, dusty route, then they’re not the trail for you.
In about 0.1 mile (and a blistering 142’), past a rather annoying assortment of rock graffiti, you’ll reach your well-earned summit (1582’). Here, you’ll find another USGS marker and some more of those spectacularly unfettered views.
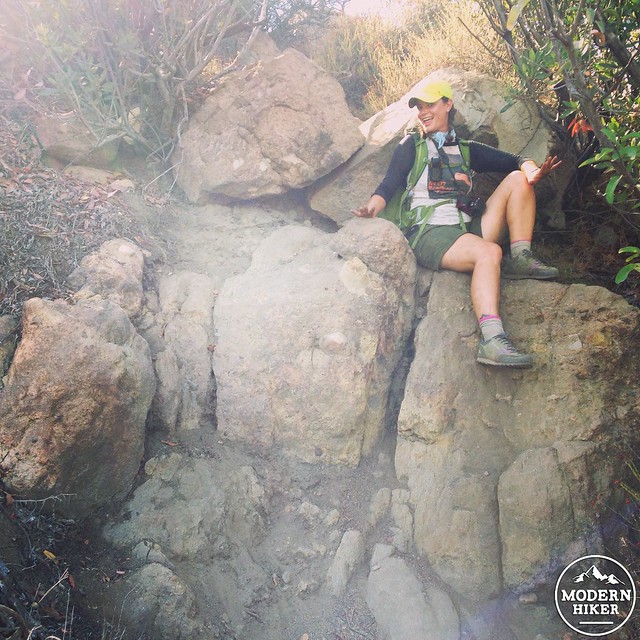
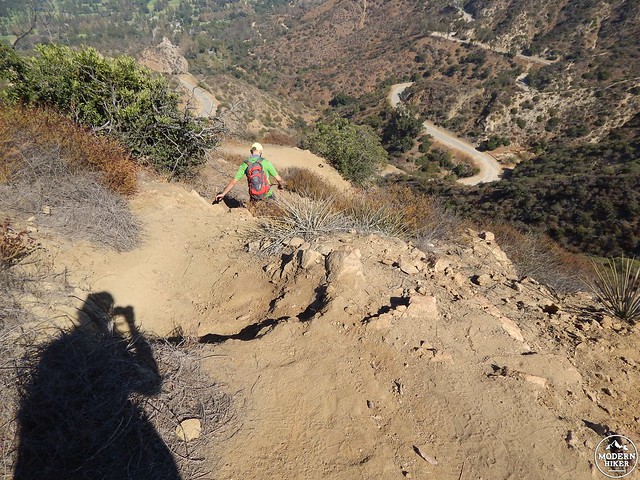
When you’re ready to head down, you’ll pick up a use trail on the peak’s eastern side and will descend with your final summit – the unofficially named “Taco Peak” – straight ahead. Much like the descent from Mt. Chapel, this “trail” (ha…ha ha ha) is rock-strewn and slippery, and contains a few short drop-offs that will require careful negotiation (as demonstrated below).
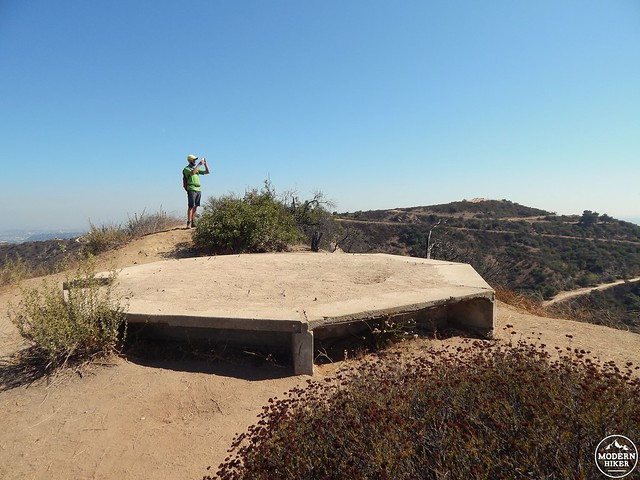
Back on solid ground, you’ll find yourself on the continuation of the fire road you were on earlier. This curves around a wedge-shaped chunk of land, and the use trail ascending that wedge marks the finale of this fierce foursome. Head straight up this dusty path, sweating your way to stand atop a weird octagonal platform that looks like something out of Lost – surprise, you’re at the top (1568’)!
Your peakbagging might be over, but more adventure awaits. Head down (or butt-scoot down) a loose, steep use trail on the peak’s southeastern side, which spits you out on a dusty path fitted with a metal pipe; head right here, back down to the fire road (Mt. Hollywood Trail). Curve left here and keep your eyes peeled around 3.5 miles for a green stick marked “39” on the left side and a big rock on the right side; you’ll head down another fire road (the Eckert Trail) to the right from here.
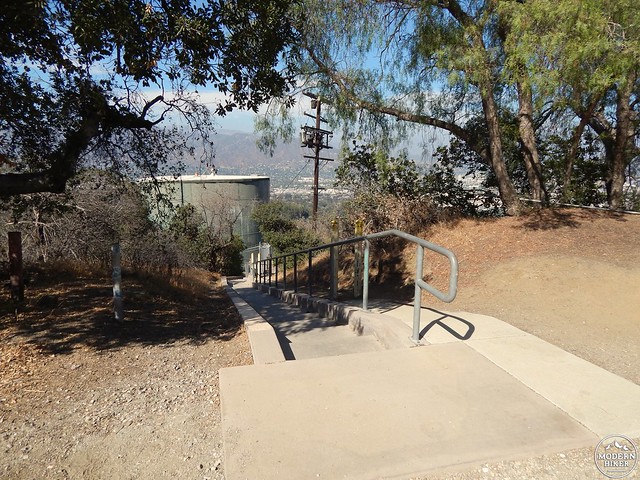
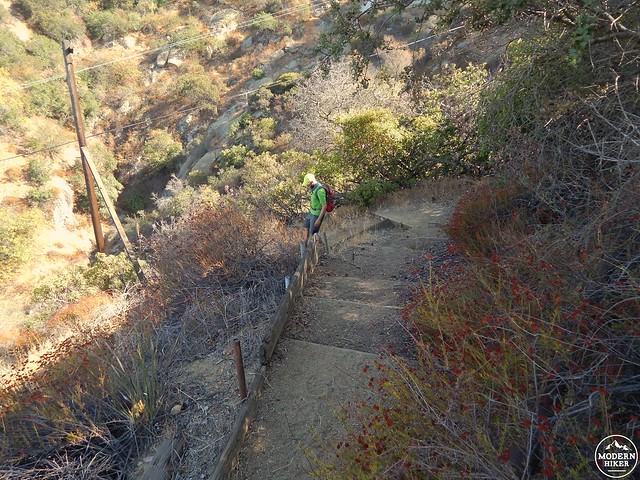
At about 3.7 miles, you’ll reach your old friend, Vista Del Valle Drive. Grin and bear the pavement for a few minutes as you head right here, keeping an eye out for a set of stairs on the left side about 0.1 miles ahead – these stairs are going to take you to some magical places.
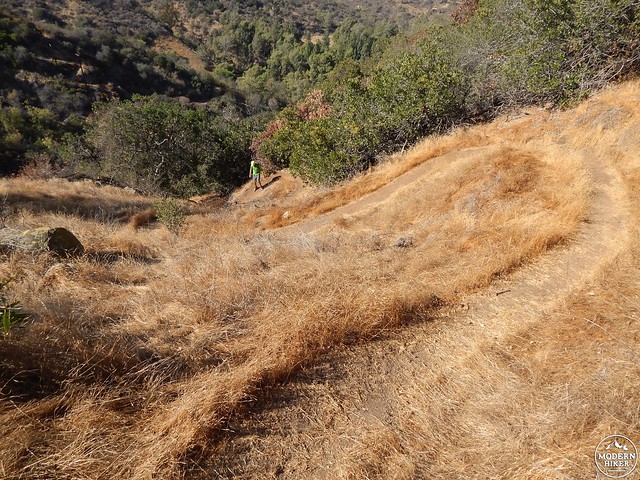
Head down the stairs, passing a water tower on your left. Just past this structure, keep your eyes peeled for a steep, overgrown path obscuring what looks to be a forgotten staircase on your left. Hop on those steps and begin your careful descent down a slippery, steep canyon (remember: walk upright and engage that core!). The grassy trail cuts downhill via a set of impressively steep, closely-knit switchbacks – a marvel of trail engineering, if not a marvel on your knees.
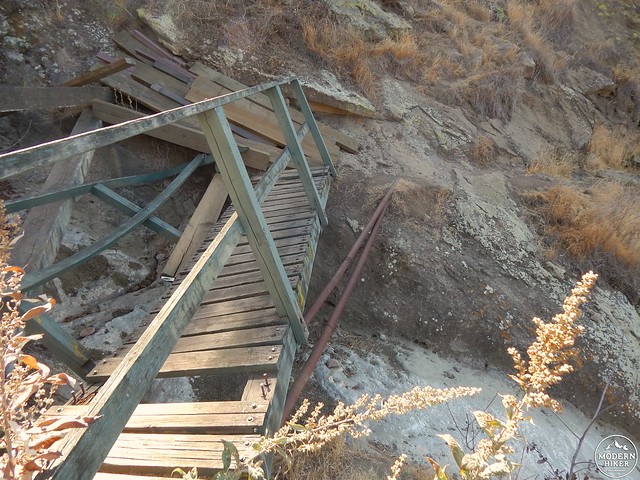
At the bottom of the switchbacks, head left on another barely-used trail to reach a wooden footbridge spanning a dry waterfall (perhaps this sees some action during wetter years). The footbridge is in an advanced stage of disrepair and is not safe to walk on – do not attempt to cross the bridge itself. Instead, very carefully make your way across the ground adjacent to the bridge, being mindful of the slick rock and dropoff to your right.
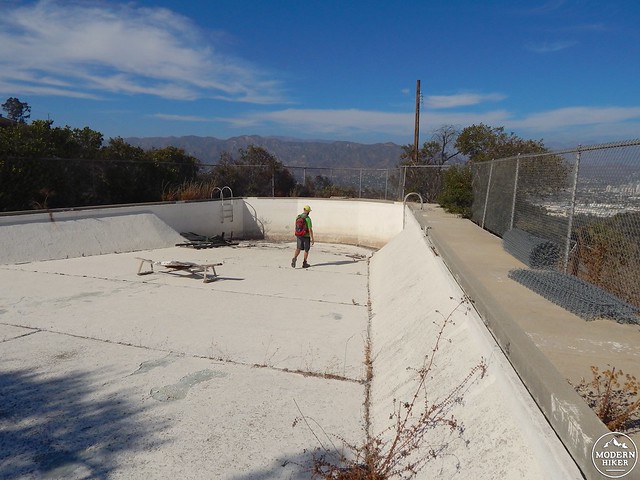
A few minutes past the bridge, about 4.1 miles in, you’ll come across perhaps one of the most surprising sights of this entire hike – a seemingly abandoned swimming pool perched on a hillside overlooking the San Gabriel Mountains. This pool is actually part of the Griffith Park Boys’ Camp (which you’ll pass through shortly), so it isn’t truly abandoned – it’s just not being used at the moment. Enjoy this beautiful little oddity, perhaps even pretending for a bit that you’re a billionaire with a swimming pool in the hills, then promise you’ll leave it exactly as you found it – blissfully graffiti-free, containing everything that was there when you arrived, with the exception of any trash you cart out.
When you’re ready to leave your million-dollar views, follow the path alongside the pool and continue down the canyon, switchbacking a few more times on another steep path. You’ll reach the Boys’ Camp itself at the bottom of the trail; unlike the pool above, this property has been in constant use since 1924, and still serves as a fully functional summer camp, as well as a location for private events. As you walk through this area, please be courteous and remember to stay on the main road, not entering the camp itself.
As you make your way downhill on the camp road, you’ll pass under fragrant pines and next to some ornamental flowers. Be sure to look across the canyon to your left, where you’ll spot Amir’s Garden perched on the hillside above.
The camp road ends at the intersection with Griffith Park Drive at 4.8 miles. Here, you’re suddenly shot back into the bustling action of the park’s more heavily used sections as golfers hit the links at the Harding and Wilson courses, and families picnic at nearby Mineral Wells. Not to worry – just hang a left on the fire road that marks the Mineral Wells trail right before you hit Griffith Park Drive itself. This path parallels the road, with numerous steep staircases and offshoots heading to the left – ignore all of these and continue straight.
At about 5.2 miles you’ll pass the main Mineral Wells picnic area – hop off here if you need to use the facilities or grab some water. If not, then continue on the trail ahead, where you’ll reach the other side of the Toyon Canyon Land Reclamation Project (remember that?) in another 0.2 miles. You’ll skirt this rather unattractive chain link fence, heading on a paved road towards another fence, continuing left on the dirt path just your side of that set of chain link. The ground here is soft and the trail surprisingly steep, so prepare for a bit of gruntwork as you head upward, keeping to the right.
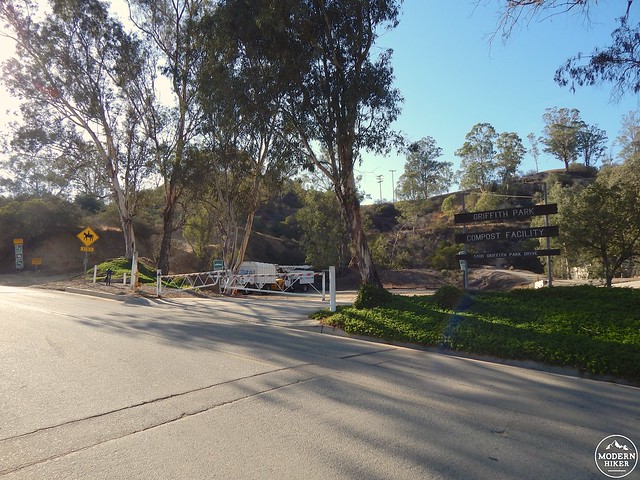
At 5.6 miles, you’ll hit a service road – hang right here and follow this to its intersection with Griffith Park Drive, where you’ll be looking straight on at the Griffith Park Compost Facility (by now you’ve figured out – there’s a lot of stuff crammed into this park!). Look for traffic and carefully cross the road, picking up the Rattlesnake Trail to the left of the compost facility. Begin heading up. And then more UP. With even more UP thrown in for good measure.
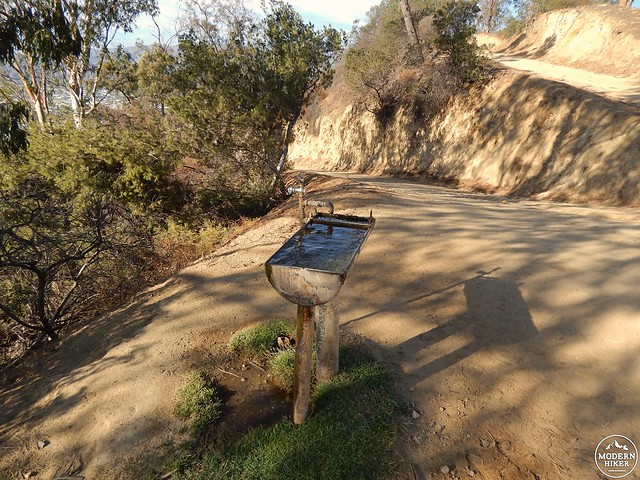
Ignore a side trail on your left and continue straight, until you reach the T-intersection with the Skyline Trail at about 5.9 miles. There’s a water trough and spigot off to your right, but when we dragged our parched selves over to grab a drink, it was swarmed with thirsty bees. So instead, we reluctantly continued left on the Skyline, headed for one last bit of sweaty uphill.
If you’re doing this loop on a hot day, this last bit will be a struggle – you’ve already busted your quads going up and down peaks and you’ve spent a lot of time in direct sunlight (pro tips: sunscreen, wide-brimmed hat, long-sleeved shirt, neck bandanna, ice in your Nalgene, plans for post-hike margaritas). Hang in there – though the going is sweaty, you’re almost finished with your epic loop!
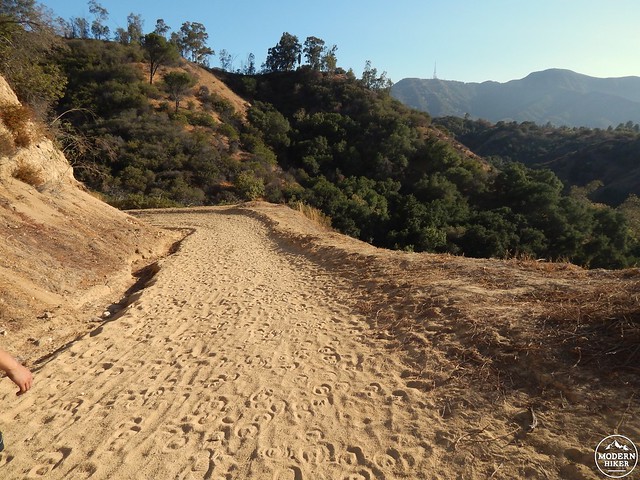
Ignore the side trails and continue heading down the main fire road (yes, downhill now!), continuing right at the intersection at 6.2 miles. From here, scope out views of Travel Town from above, coasting downhill on the soft, sandy dirt until you reach the bottom of the canyon, where you’ll hang a right on Griffith Park Drive to find your car patiently waiting at the end of your 7-mile, 4-peak, 1-abandoned-swimming-pool adventure.
Note: This trail is also accessible by public transit, although it will require some work. Take the 96 bus to Victory Boulevard & Western Avenue in Burbank. From the bus stop, head southeast on Victory towards Western for 0.3 miles, then continue straight onto Riverside Drive for another 0.3 miles. You’ll enter the park and will walk just over a mile, heading right on Zoo Drive, then continuing onto Griffith Park Drive as the road curves past Travel Town. The trailhead will be on your right. The 96 will also stop inside Griffith Park near the Merry Go Round.
Tags: Baby Bell, Boys Camp, Griffith Park, Griffith Park Boys Camp, Griffith Park hike, Hiking, Los Angeles, Mount Bell, Mount Chapel, Mt. Bell, Mt. Chapel, Taco Peak, transit accessible, urban hiking


