Sedona, Arizona is known for its red rocks and unique rock formations. During the day, you will see people on the numerous jeep and ATV tours, riding around from landmark to landmark — but there is one local landmark no motorized vehicle can take you to and it offers one of the most spectacular views in the Sedona region: The Devil’s Bridge.

This bridge is the largest sandstone archway in Sedona and the Devil’s Bridge Trail takes hikers across the top and the bottom of this eerie formation. The trail to get here, technically is only a 0.7 mile journey but getting from the parking lot to the trailhead is a hike within itself. This trail guide includes the total journey from the parking lot to the bridge, making it a 4.5 mile hike roundtrip.
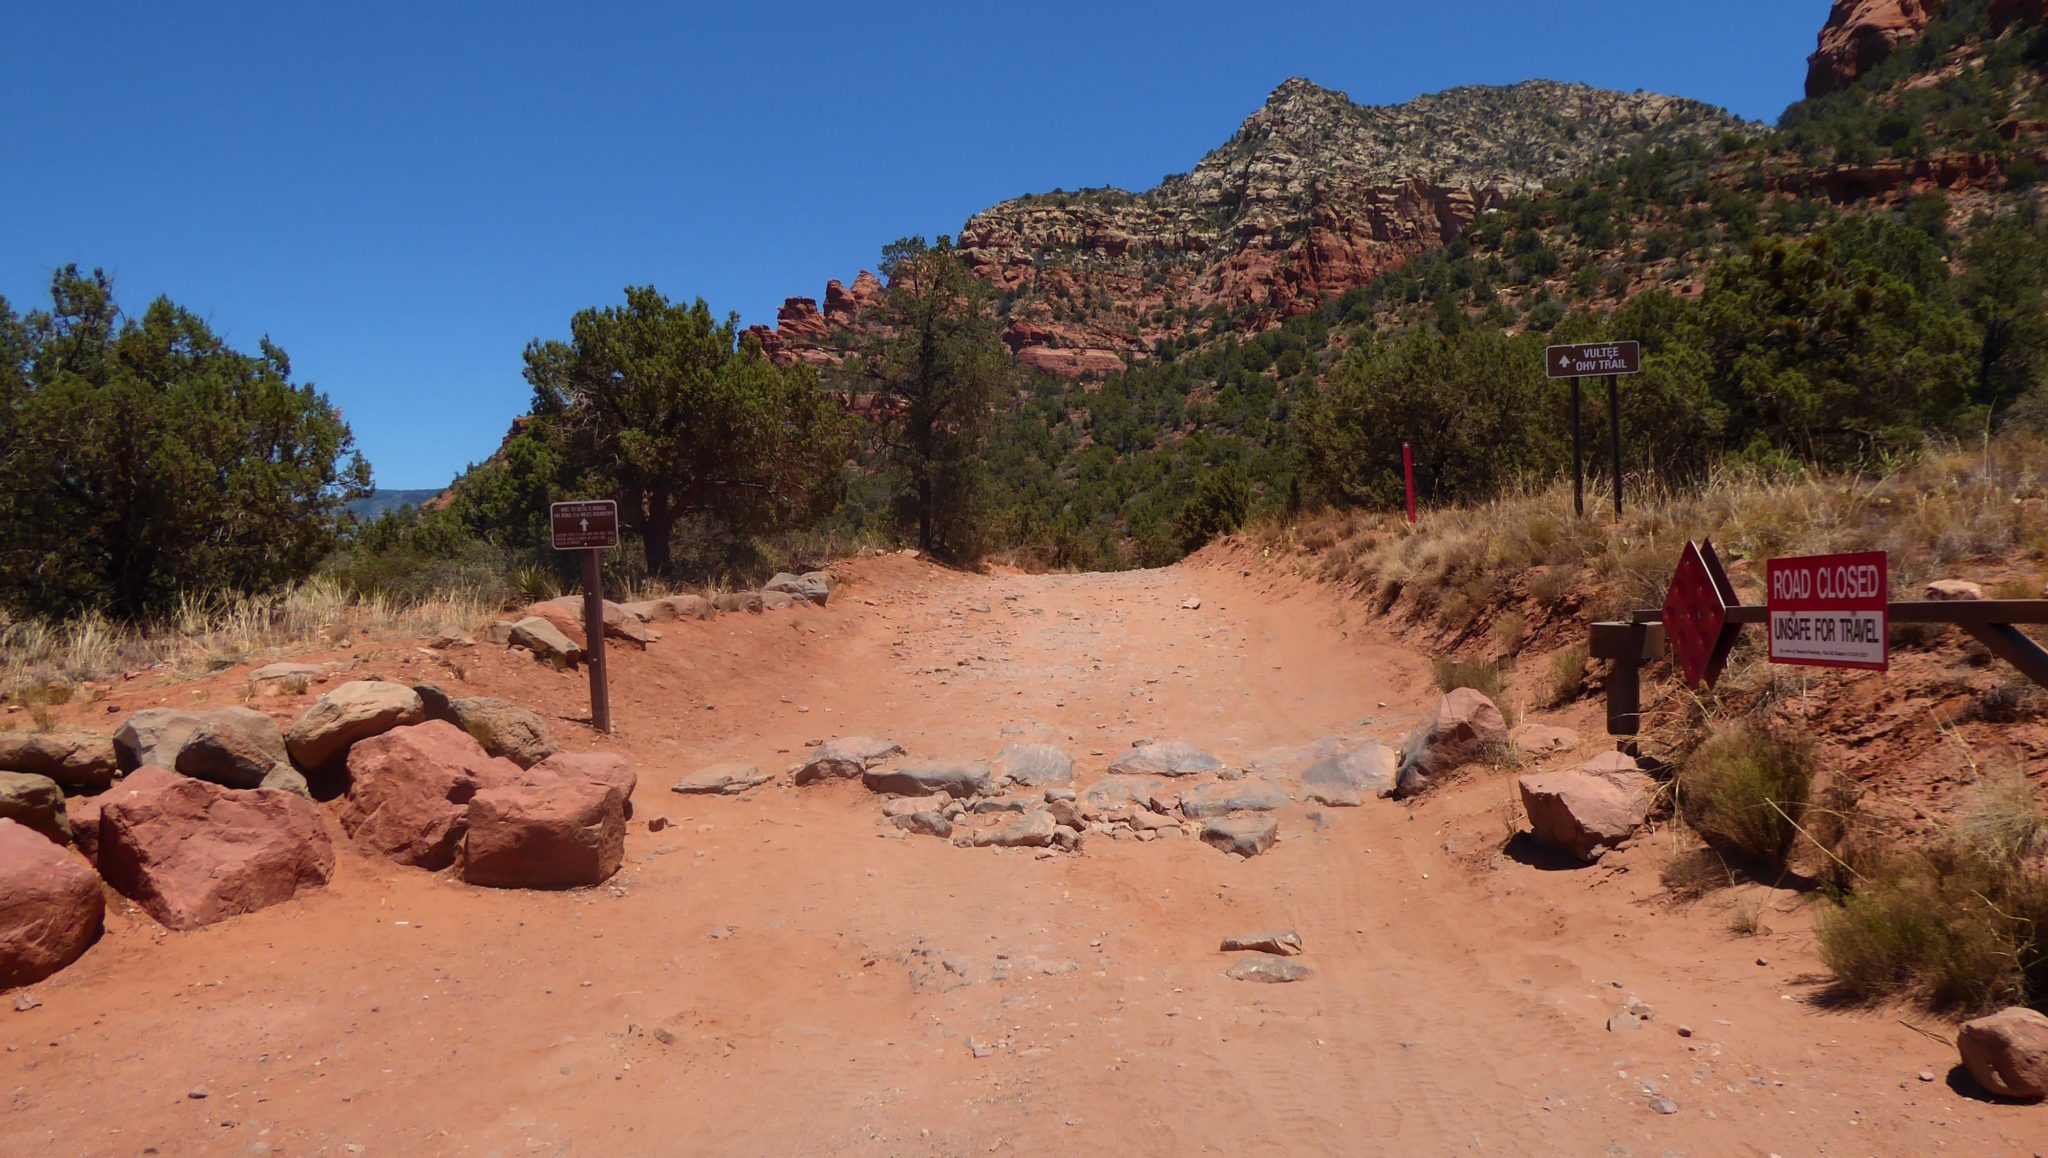
The route to the actual trailhead, is a dirt road that only high-clearance 4×4 off road vehicles are allowed on. If you happen to be a desert rambler with a vehicle like this, then you can totally park directly at the trailhead and turn this into a much shorter and easier journey. But for those of us who do not own off road vehicles, there will be a parking lot located to the left where the paved street ends. That’s OK – we like spending time on foot in the desert, right?


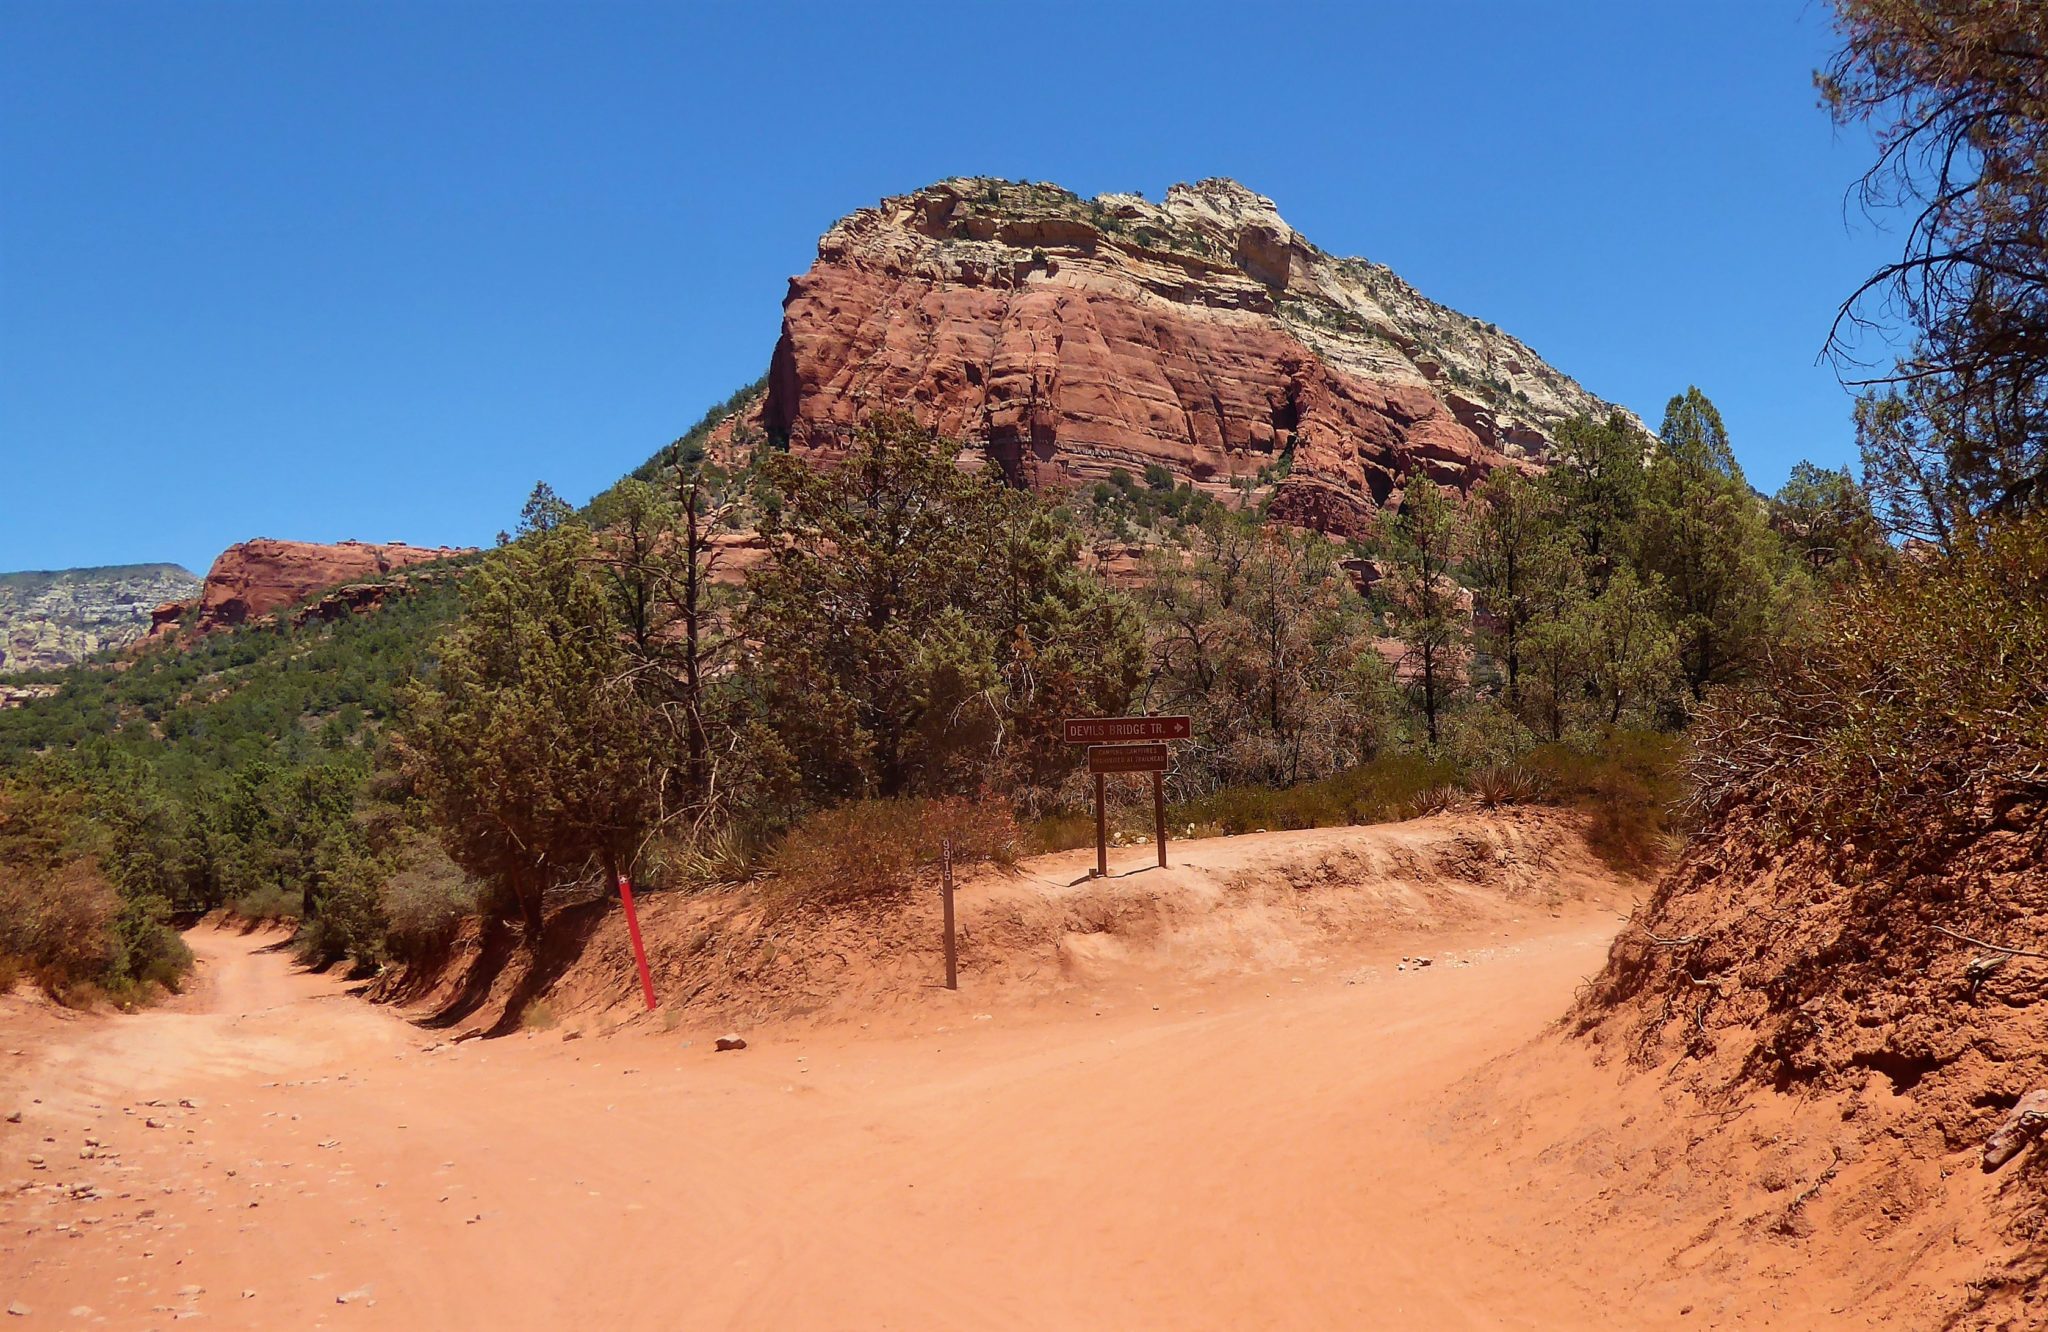
From the parking lot you will follow the dirt road for about 1.3 miles until you see the sign directing you to turn right for the Devils Bridge. This dirt road is very wide and offers gorgeous views of those red rocks out in front of you.

Shortly after this turn you will see the trailhead.

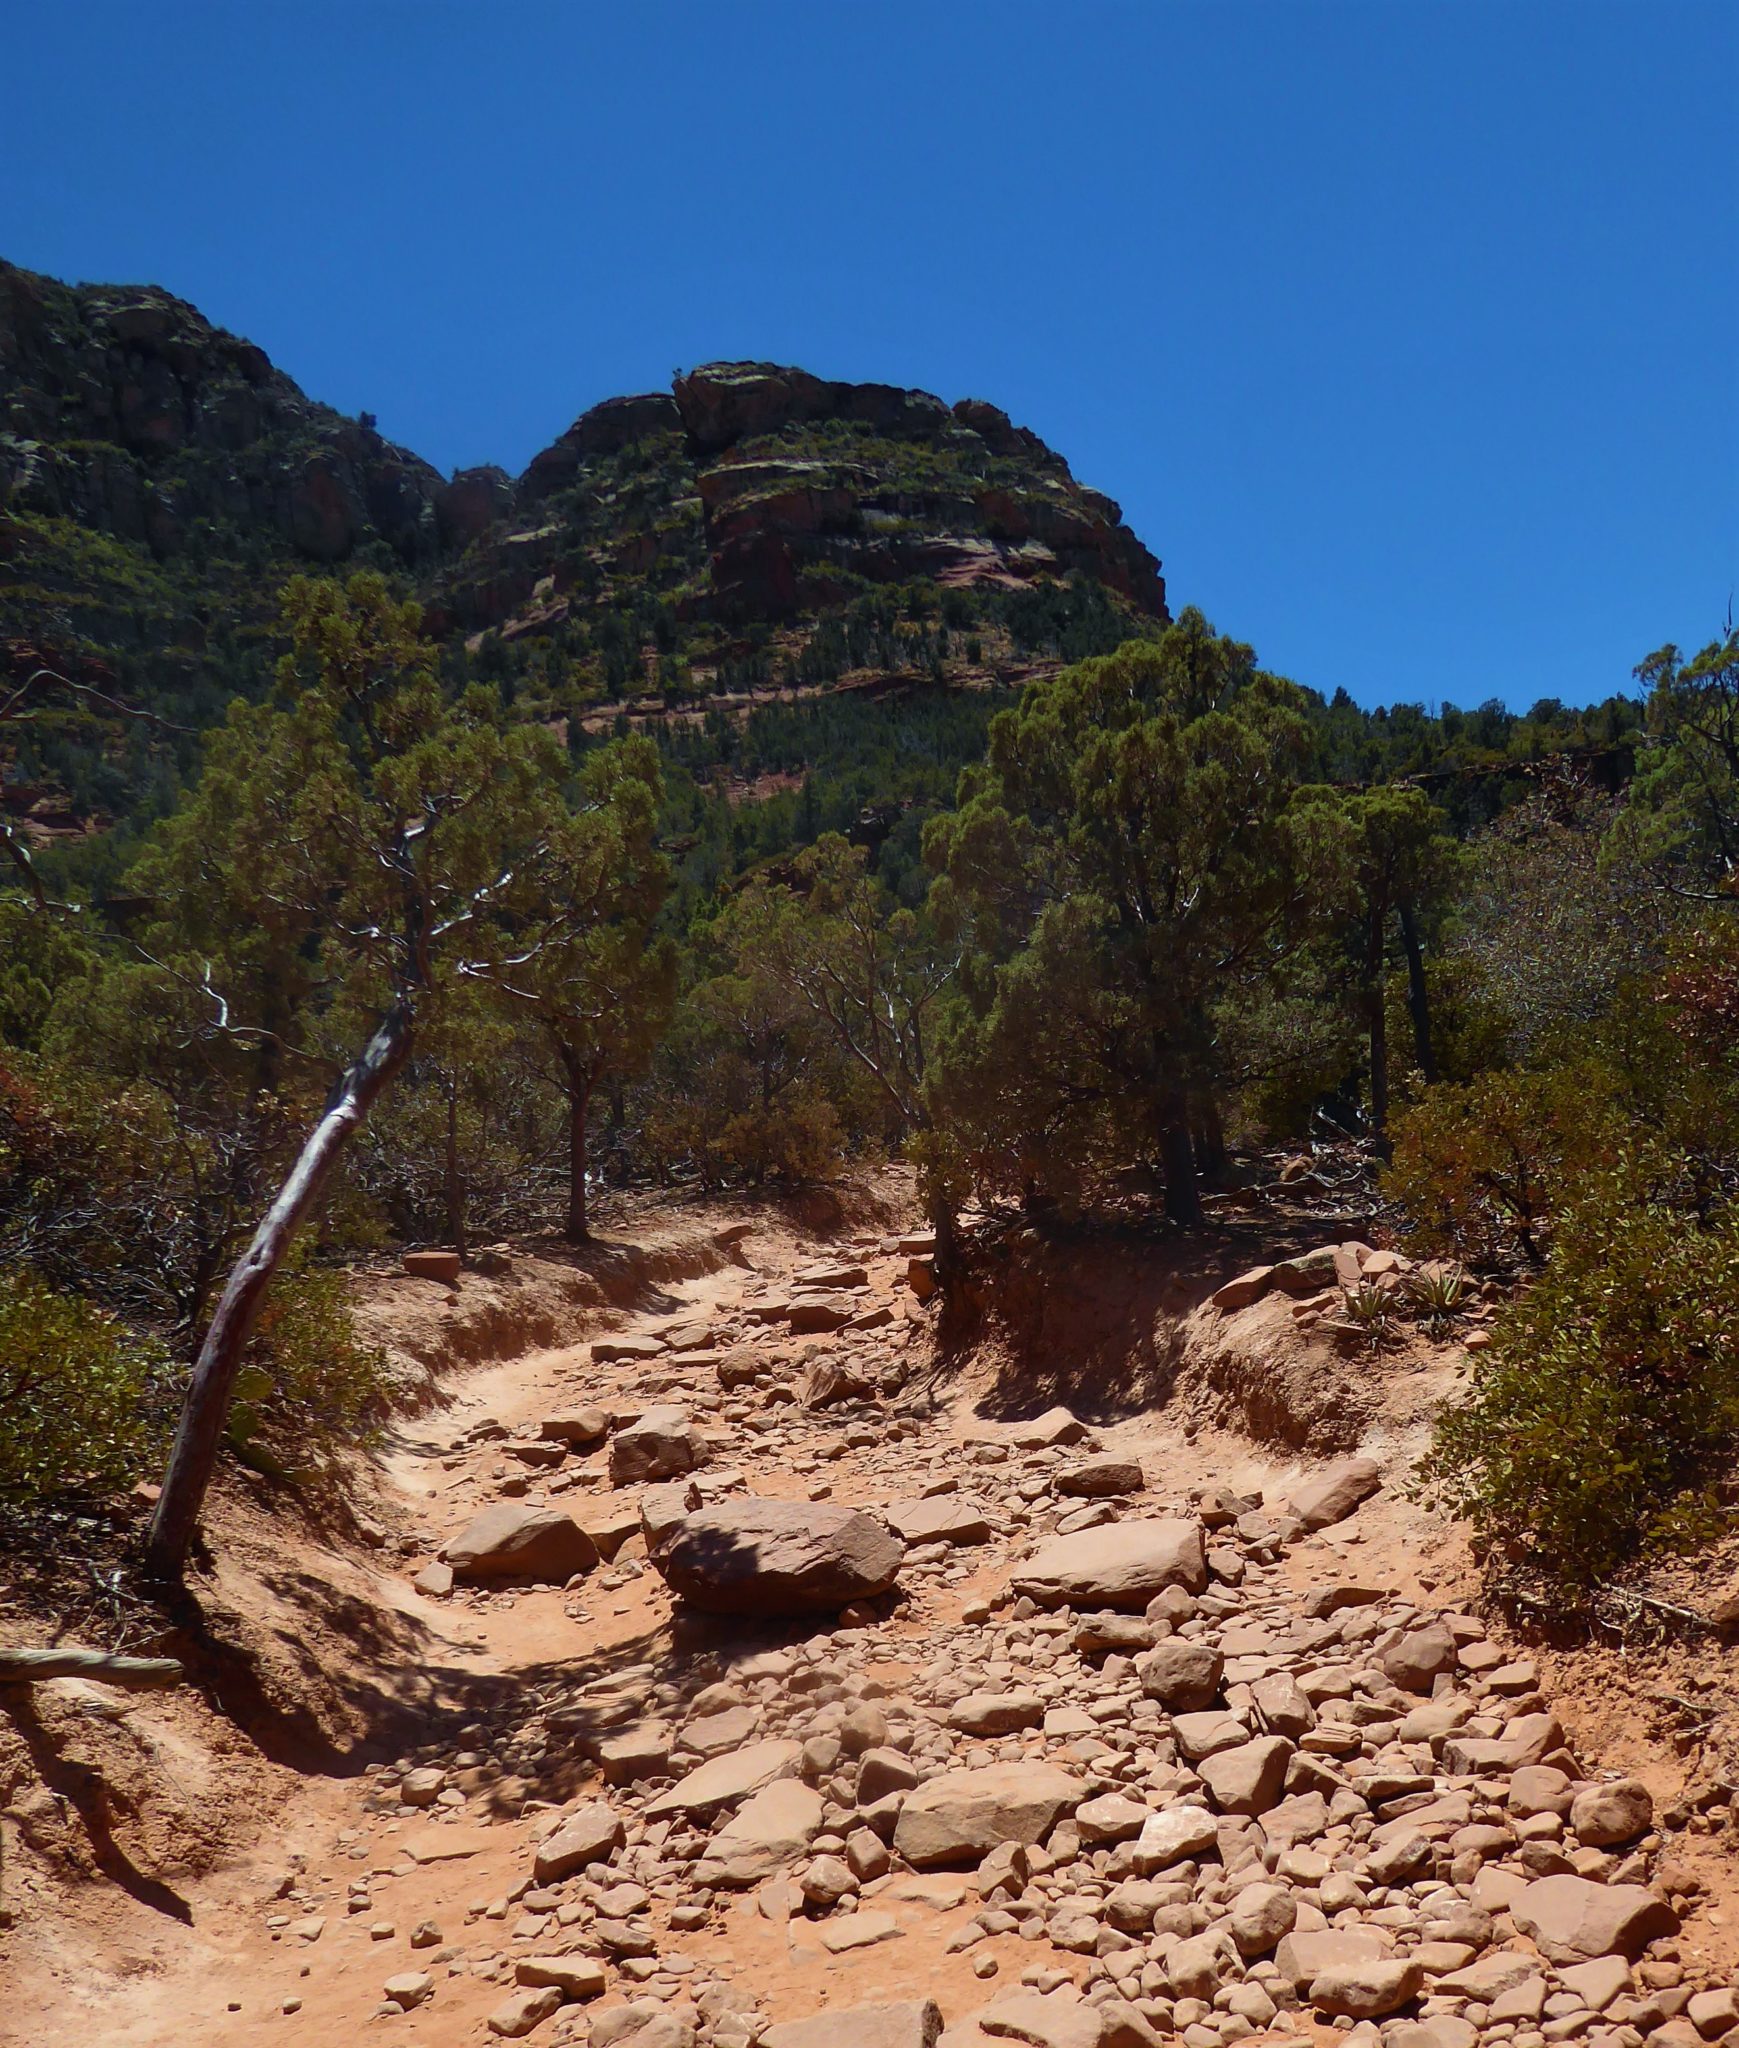
As you begin, the trail will remain wide with trees all around. There is a gradual incline and some bigger rocks to step over.

Every view keeps getting better and better as you advance, but you may begin to notice that the bridge is no where to be found. Don’t worry, you will see the bridge but only at the very end of the trail. That’s part of the deception of this hike. The bridge is perfectly hidden from all hiker’s view, until you are actually standing right in front of it — kind of like the trail to Delicate Arch in Arches National Park.
At around 2 miles you will come to a wide cliff that makes a great little area to catch your breath and take in the view of the beautiful surrounding landscape.

View from the cliff area
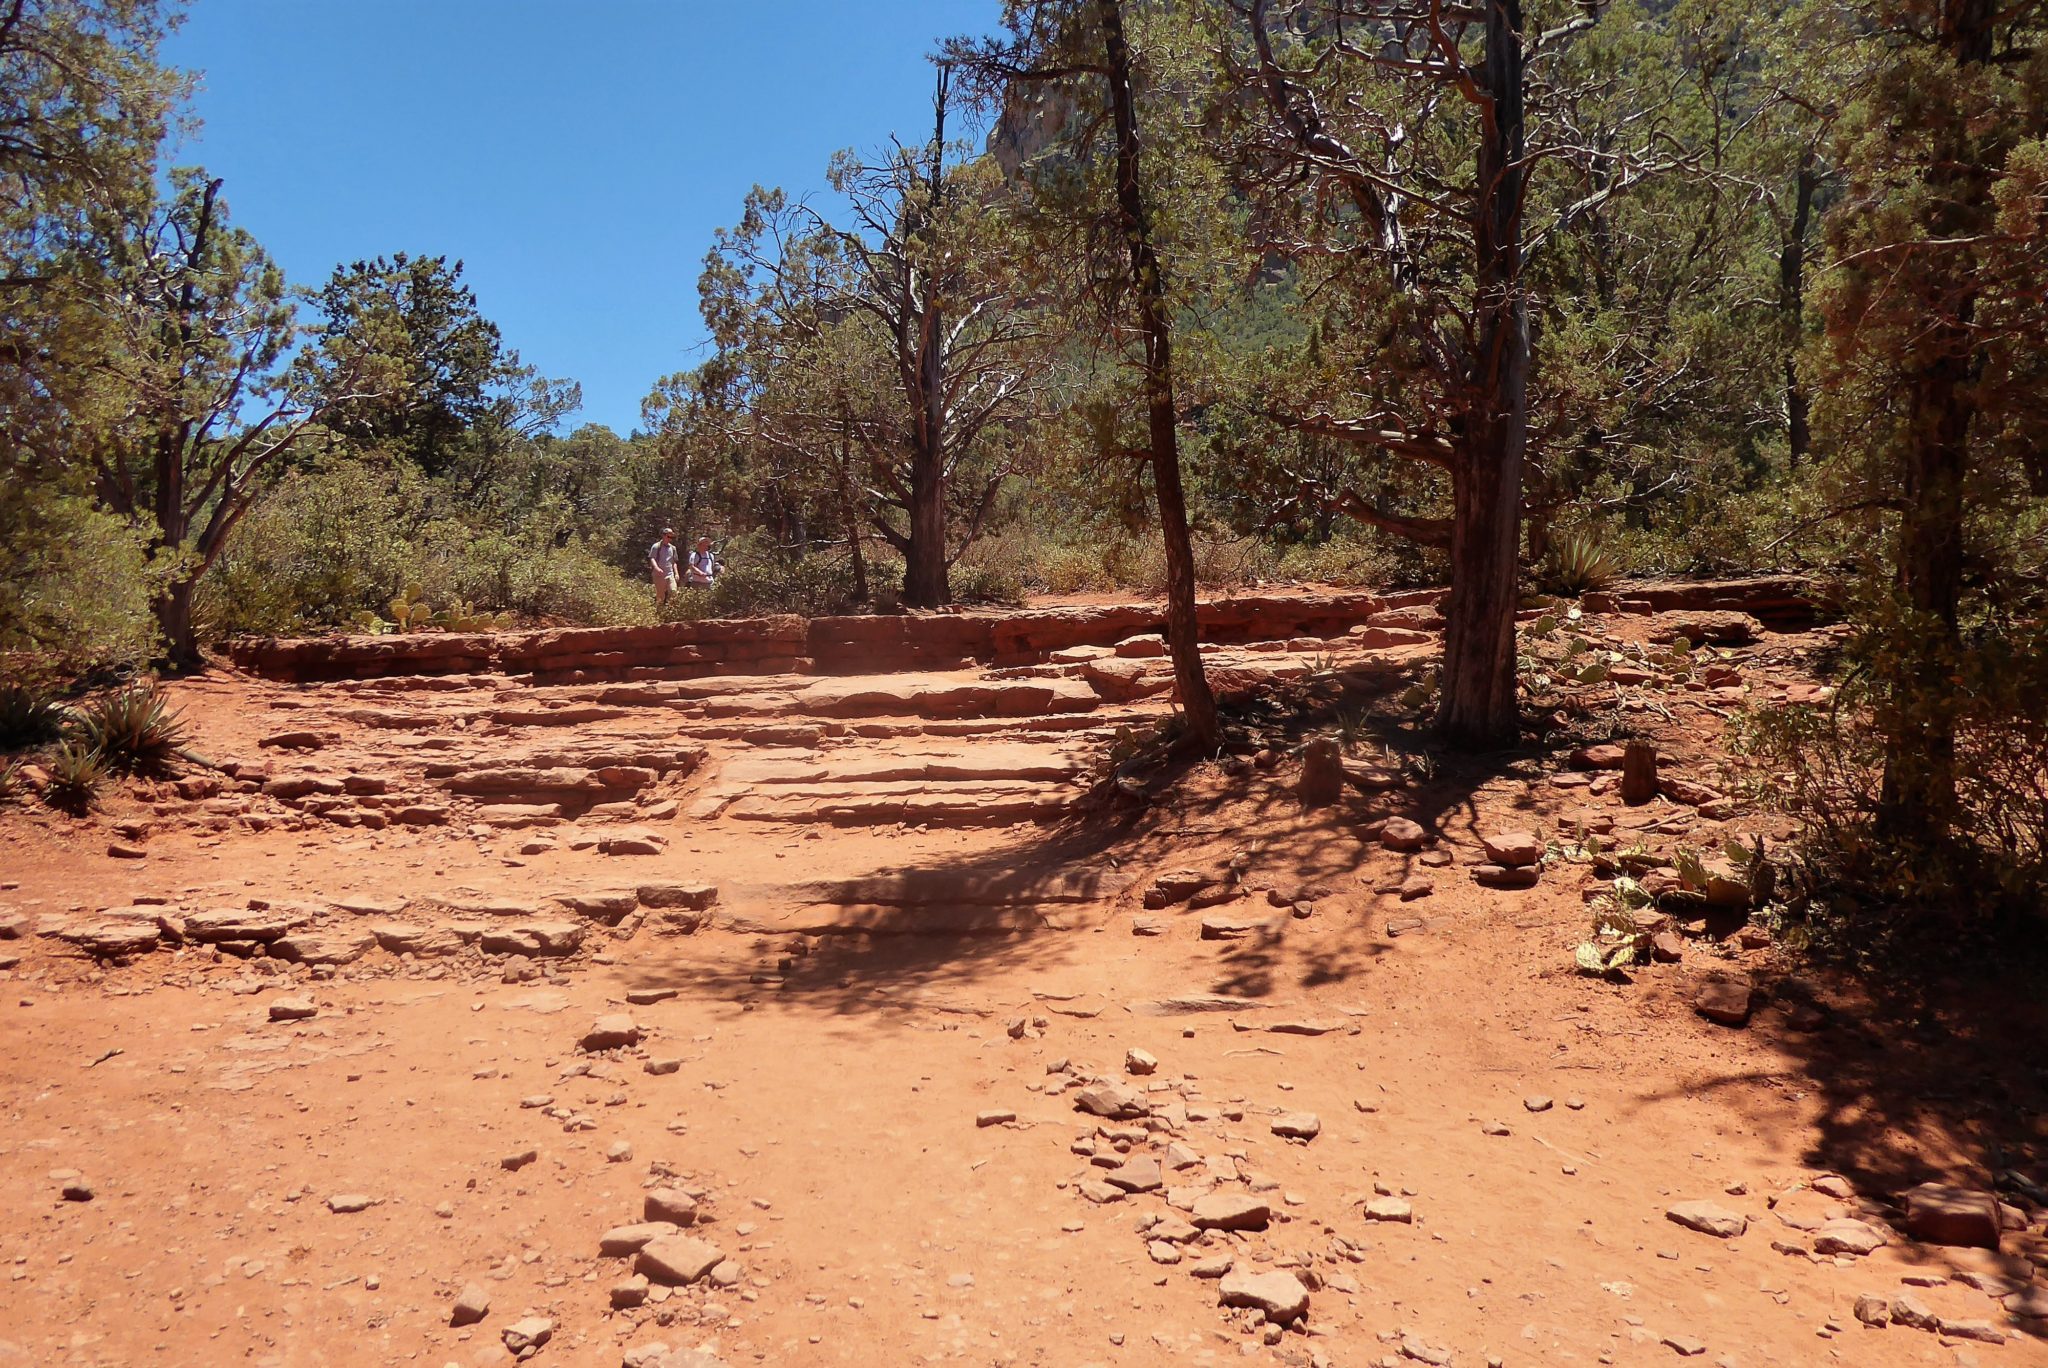
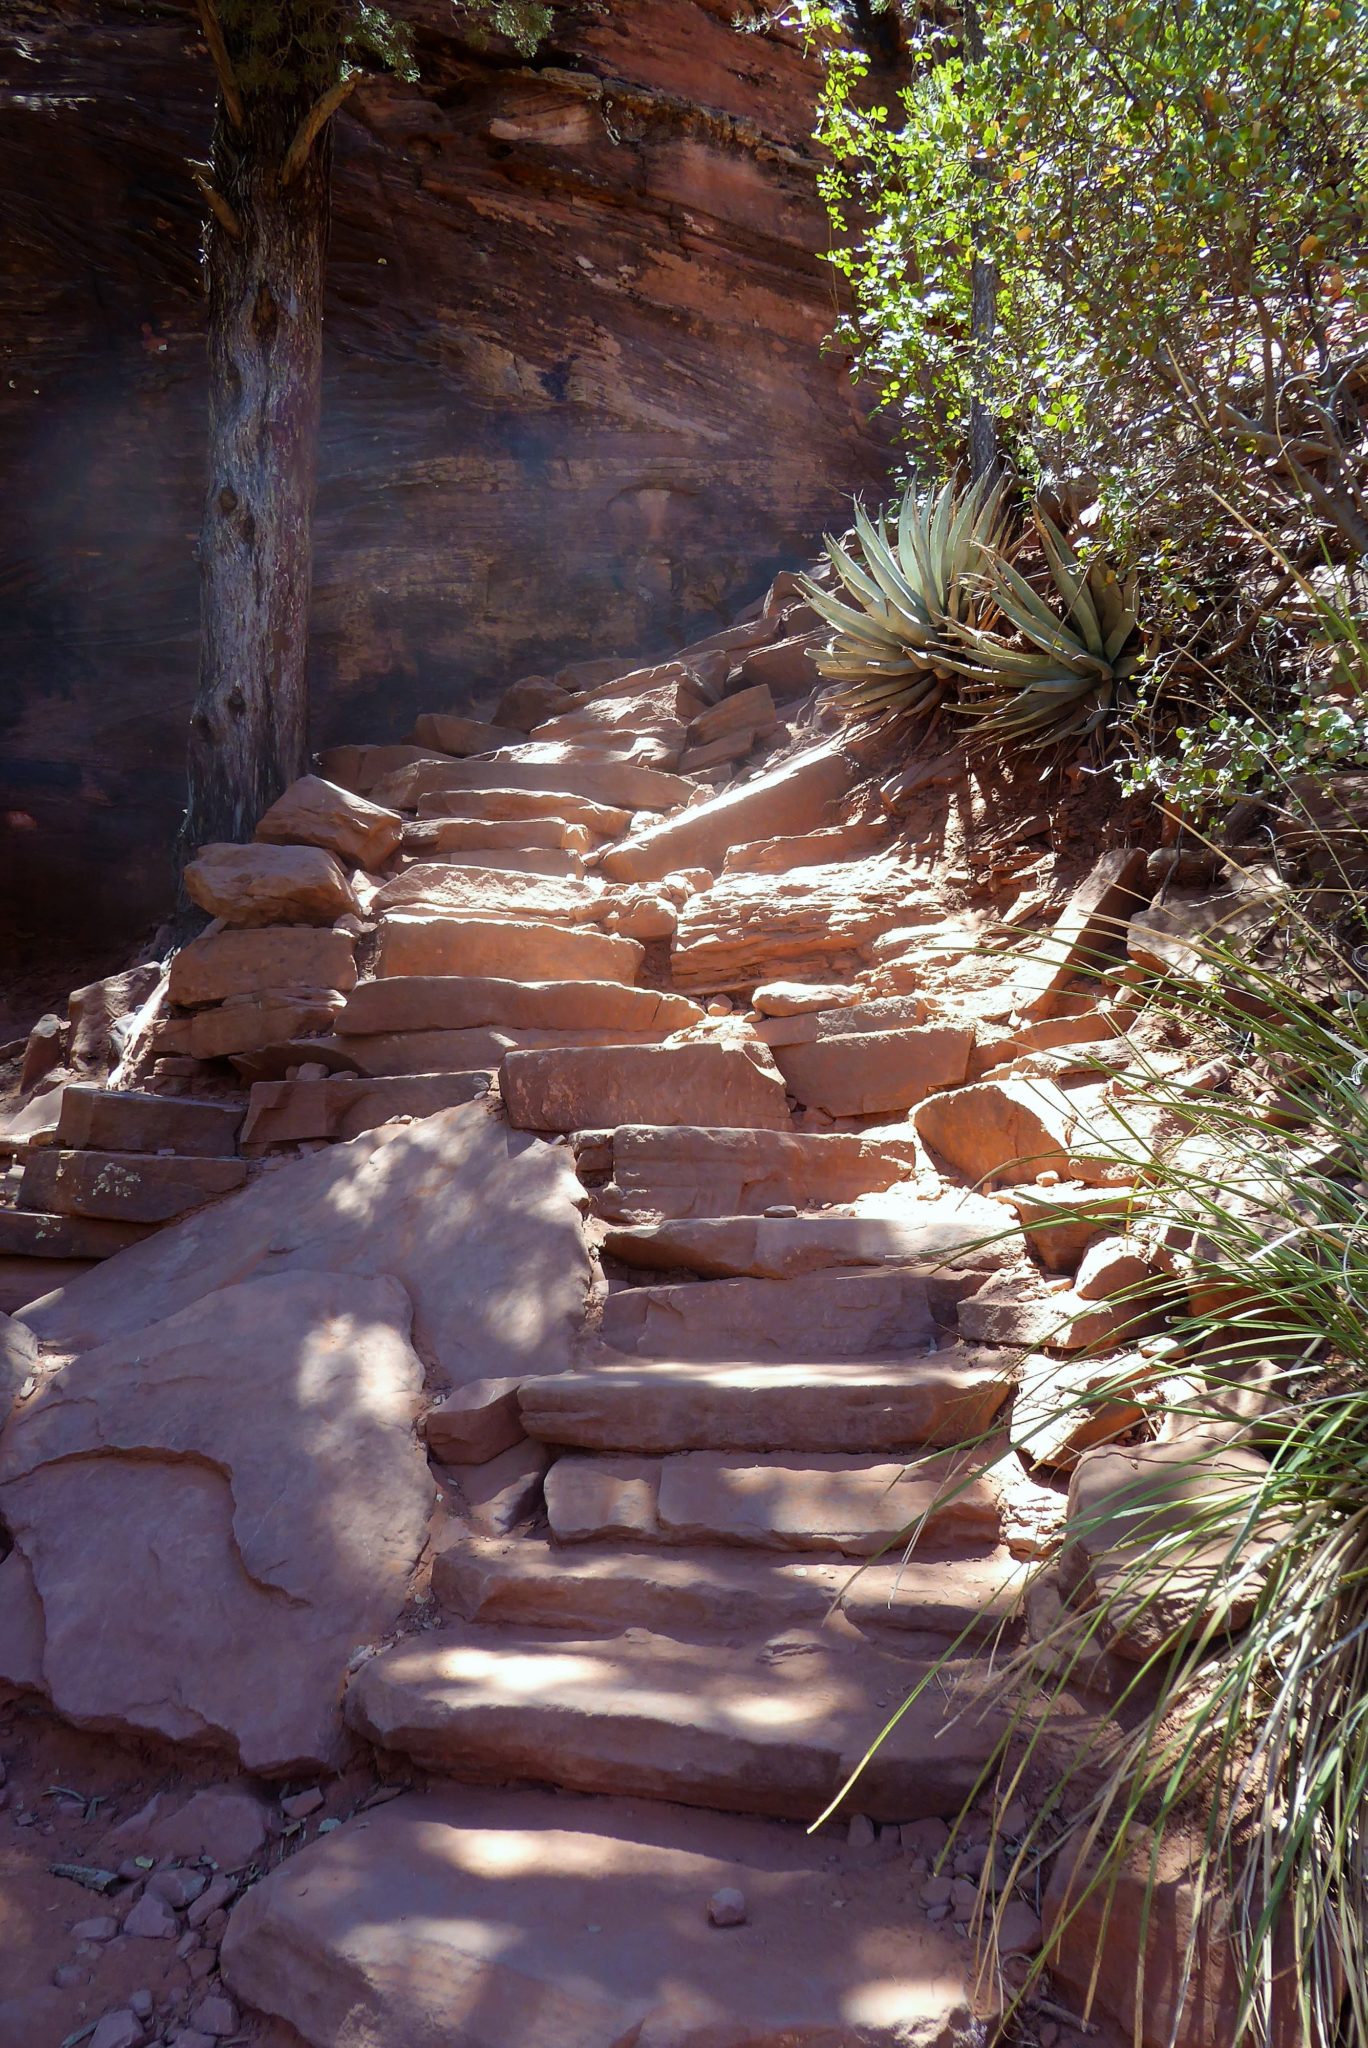
After you catch your breath, the incline on the trail increases and eventually becomes a beautifully crafted set of stone stairs.

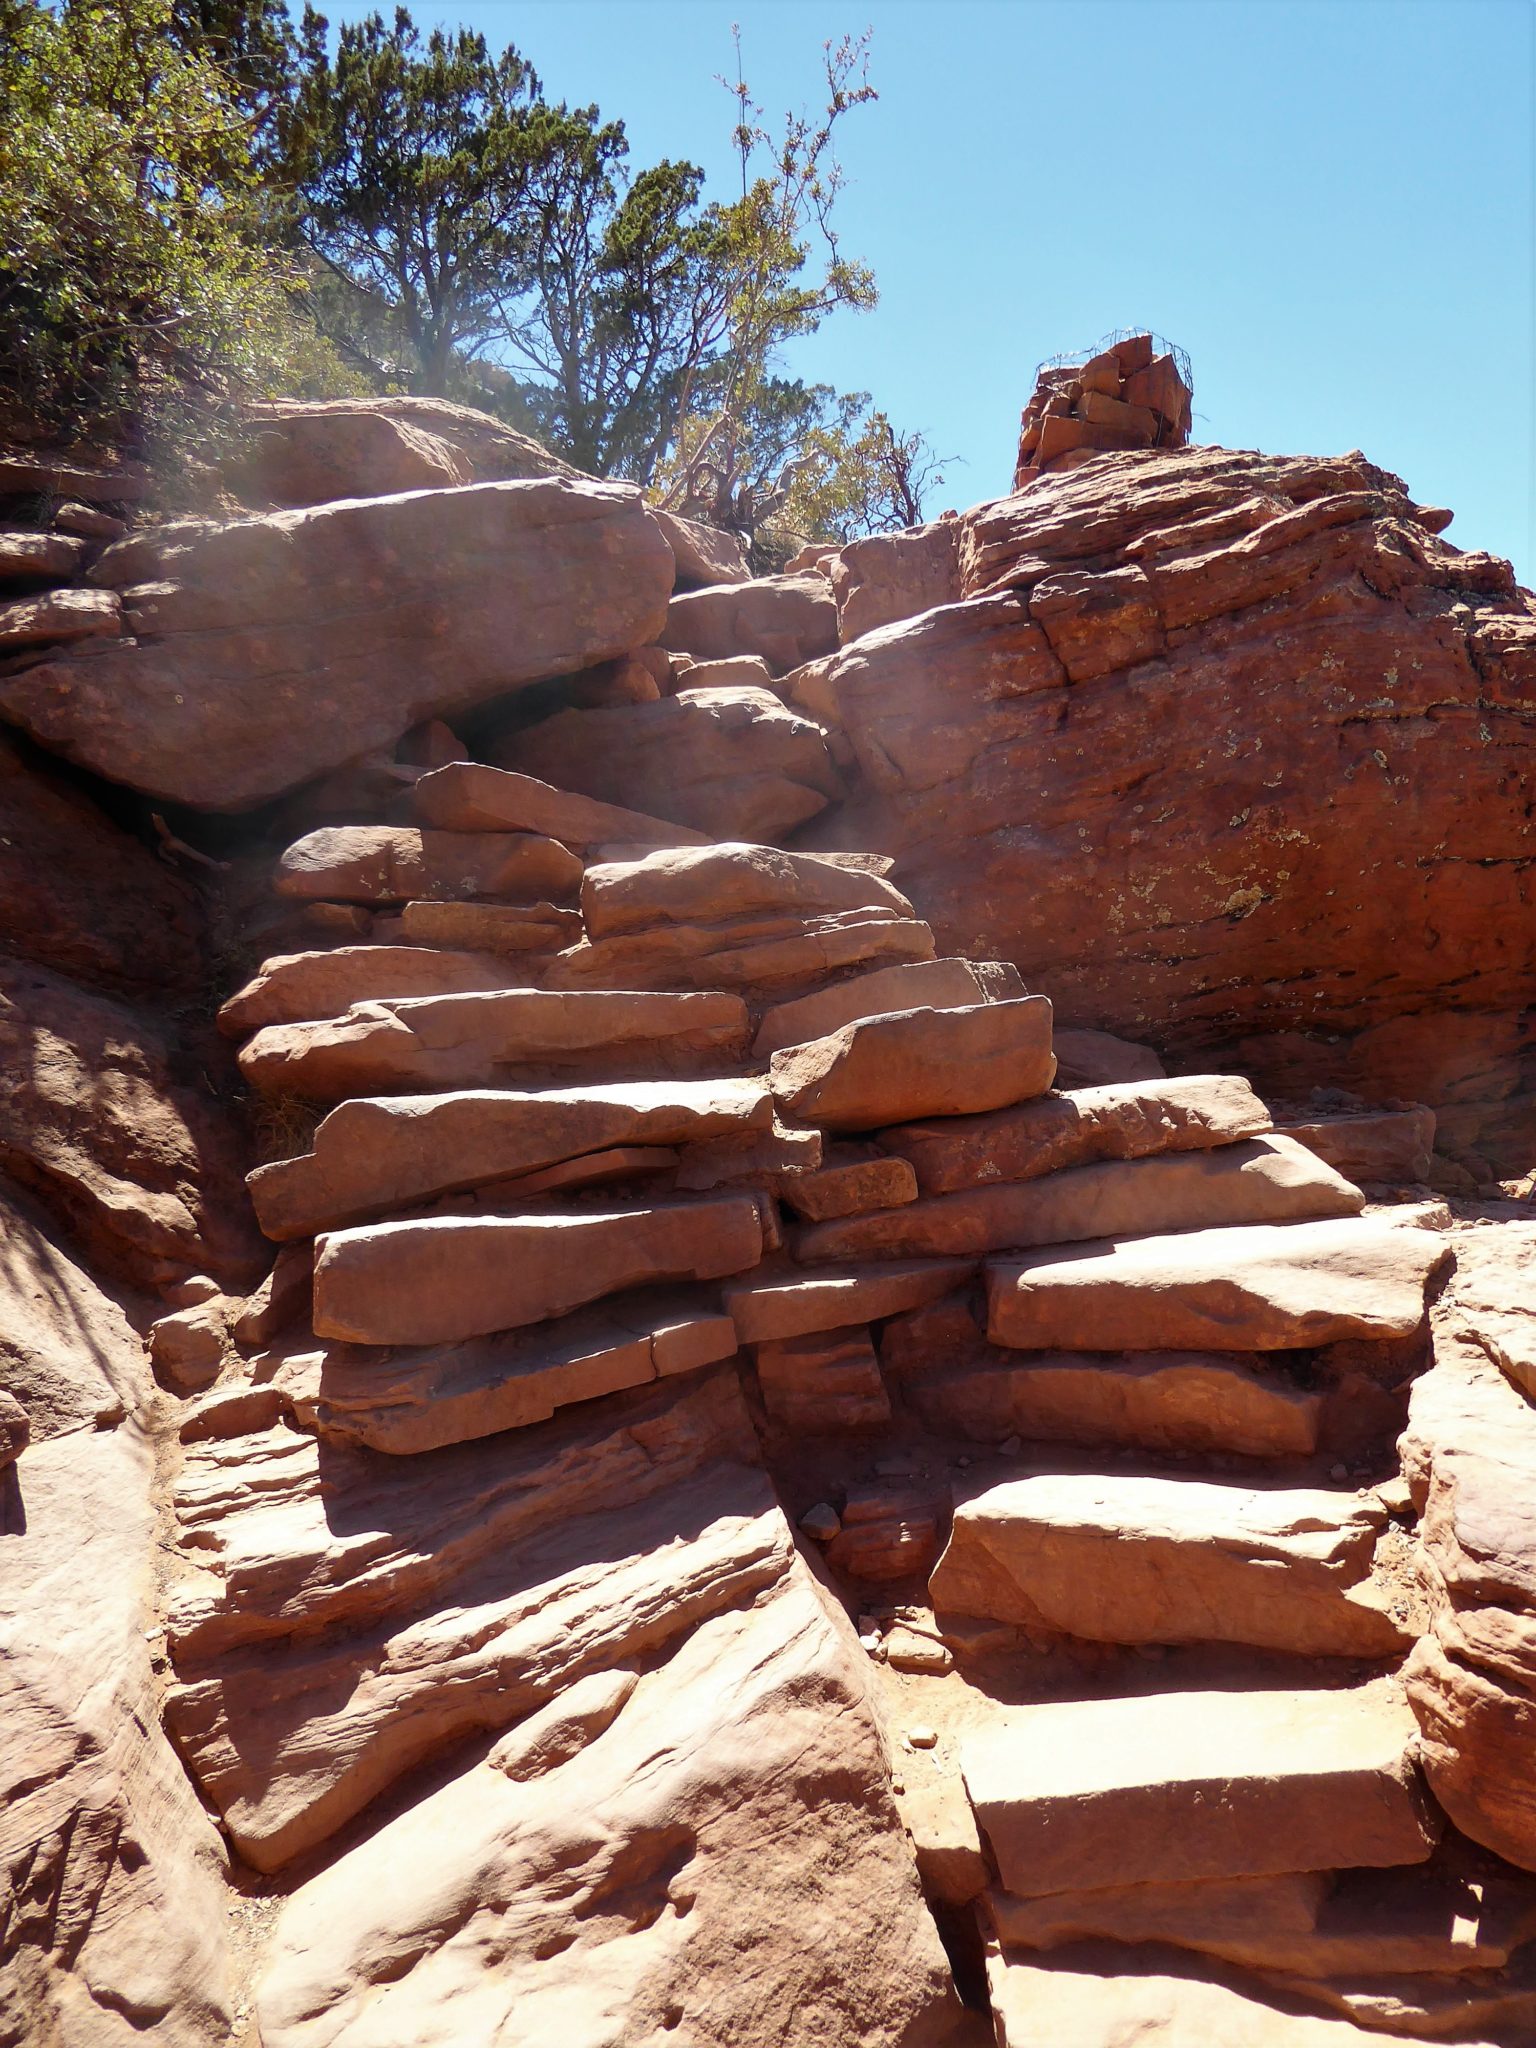
This is when you know you are almost at the bridge. The second set of stairs will be so narrow that it only allows one hiker at a time to go up and/or down. But, this area is not big and generally doesn’t bottleneck the hikers.

Narrow staircase
At around 2.1 mile, you will see that there is another unmarked trail off to the left side. This side trail will take you to an area below the bridge. If you continue going straight it will lead you to the top of the bridge. I would suggest going straight first and then when heading back, taking the side trail for the underneath view for a bit of extra perspective.
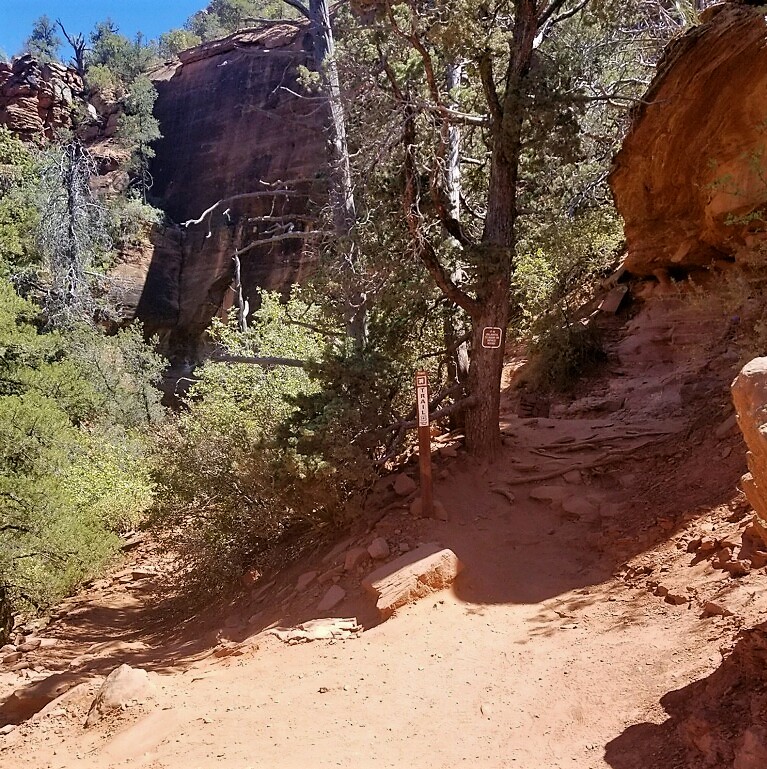
Straight will take you up to the top of bridge the left side trail goes below the bridge
As you continue walking along the bridge will seem to magically appear out of nowhere on your left side. This stunning scene will unfurl right in front of you: the bridge, the red rocks, the piñon and juniper green and bright blue skies. You really can’t ask for a better view of Sedona than this!

You will likely encounter other hikers in this spot all waiting to have their picture taken upon the bridge. Hikers here are usually very respectful and allow each other their own individual time upon the bridge and are more than happy to take pictures of each other.
Photos of the bridge — especially from this angle — tend to make it look much more narrow and dangerous than it actually is. If you decide to walk out on to the bridge itself, you’ll see it’s much more wide than most photos would lead you to believe. Just use common sense when you’re up there and stay in the center of the bridge.
Return back the way you came in — or take a quick detour to the bottom viewpoint if you’d like. Remember that this trail is almost entirely unshaded, so do your best to get an early start or time your hike for later in the afternoon to take advantage of the cooler late afternoon / evening light.
Tags: Arizona, AZ, Devil's Bridge, Devil's Bridge Trail, hike, Hiking, nature, outdoors, Red Rocks, sedona