For entry-level, class C canyoneering, it doesn’t get any better than the Seven Teacups. This is a top-notch route found along Dry Meadow Creek, a tributary of the Kern River in Sequoia National Forest. A short hike leads to a series of pothole waterfalls cascading down polished granite slabs into the Kern. Then, it finishes up with a lovely river walk back to the trailhead.
Note: If you only have one car, park at the bridge and hike up to the jeep track. This adds about 1.5 miles and 300 feet of elevation gain to the route.
Don’t Get in Over Your Head
It’s important to first make a clear distinction that this is NOT a hike. It’s a technical canyon involving multiple rappels and intermediate swiftwater canyoneering technique. While this is a beginner friendly route under the right conditions, don’t attempt this descent without a solid canyoneering foundation. There are many places to receive professional training, including Uber Adventures, Alpine Training Services, and Canyons & Crags (Thanks to Randy Worth for this list).
CANYONEERING RATING SYSTEMS
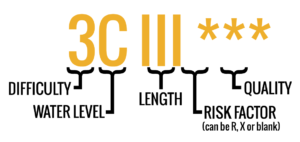
Just like in rock climbing, canyoneering has a specific rating system used to quickly evaluate the difficulty, danger, and duration of any descent. The most conventional rating is made up of five parts: the difficulty, the water level, the length, the risk factor, and the quality. Here is the rating for the Seven Teacups:
While it’s a little messy to look at, canyon ratings are a great way to quickly evaluate if that particular route is what you’re looking for. Let’s break down the pieces a little further.
Difficulty
1 – An easy canyon hike, no scrambling or ropework required.
2 – A basic canyon where you can expect easy scrambling and climbing. A rope isn’t necessary, but one may be useful as an occasional handline or to lower packs.
3 – An intermediate canyon where ropework is required. Expect numerous rappels and more complicated down climbs.
4 – An advanced canyon where complex ropework is required. Often, there are multi-stage rappels, challenging anchors, difficult pothole escapes, and high risk down climbs.
Water Level
A – A dry canyon, or potentially wading in water no higher than waist level.
B – A wet canyon with no significant water flow. Likely, there are sections with required swims.
C – Water with a potentially strong current, often requiring swiftwater techniques.
Length
I – A couple of hours at most.
II – A half day.
III – Most of a day.
IV – A very long day, with potential to be overnight.
V – Two days.
VI – Two days or more.
Note that length is very dependent on group size and ability, so a two person team that is very experienced can move through a grade III canyon easily in a half day.
Risk Factor
(No Rating) – There are no abnormal risk factors such as unroped climbing, long swims, difficult anchors, etc…
R – There is one abnormal risk factor involved — this canyon is not for beginners.
X – There are multiple abnormal risk factors involved which have a high likelihood of serious injury or death.
Quality
1 Star – It’s worth doing.
2 Stars – A pretty nice canyon, well worth the effort.
3 Stars – A classic.
So the 3C III *** rating for the Seven Teacups means it’s a canyon that requires intermediate ropework and numerous rappels, has significant flowing water that adds to those challenges, should require most of a day’s effort to descend, doesn’t have any abnormal risk factors, and is a classic, not-to-be-missed route.
PREPARATION
A good way to get a sense of the current flow rate of the Seven Teacups is by hiking in 2.25 miles from the Johnsondale Bridge up the River Trail (33E30). The confluence of Dry Meadow Creek and the Kern is very obvious, and it’s a great way to scout both the Kern River crossing (which can be potentially dangerous) and the exit from the Teacups. This is also a good opportunity to test of how cold the water is, which can inform what you decide to wear.
We hiked in a few days before our planned descent and found the current Kern River flow rate to be very low (at 300 CFS), and the Dry Meadow Creek flow to be pretty moderate (based on our judgment). While this scouting mission isn’t a necessary step, it is a nice excuse to get a beautiful hike in and provide a high level of comfort for the coming adventure.
EQUIPMENT
Each person should have at minimum the standard canyoneering equipment, including: helmet, harness, wetsuit, descender or belay device with carabiner, and PAS. Along with a good set of shoes (closed toed and grippy), backpack, water, dry bag (with extra warm clothes), food, and sun protection.
The thickness of the wetsuit required depends on how cold the water currently is and what the daytime temperatures are. Dry Meadow Creek, which is where you’ll be spending the most time, is notably colder than the Kern River. I used a 3/2 full wetsuit on a sunny 80 degree day in mid-May and still got chilled partway through the descent. You can rent a farmer-john style wetsuit for about $14 a day in Kernville, but those won’t provide as much warmth. There are opportunities to exit the water and warm up, but it’s always good to err on the side of caution to avoid a potentially dangerous hypothermia situation.
Group gear includes a rope of at least 140 feet, a good description of the route, and contingency gear such as prusik cords, webbing, quicklinks, and extra carabiners.
THE APPROACH
If you have two vehicles, park one of them at the Johnsondale Bridge and one of them at the trailhead. If you only have one vehicle, you can begin at the bridge and walk an additional 1.4 miles and 500 feet up to the trailhead.
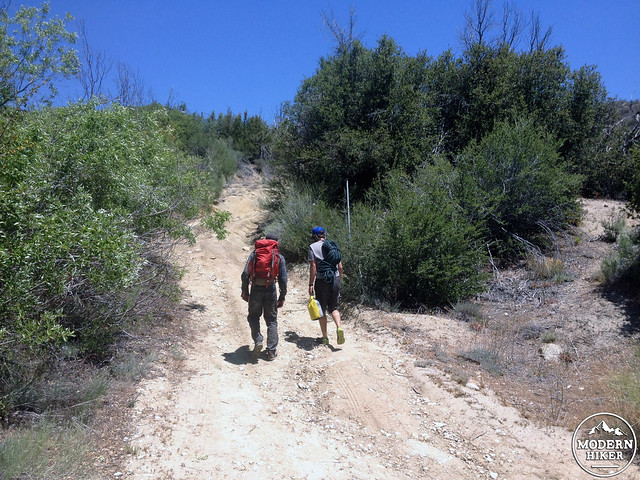
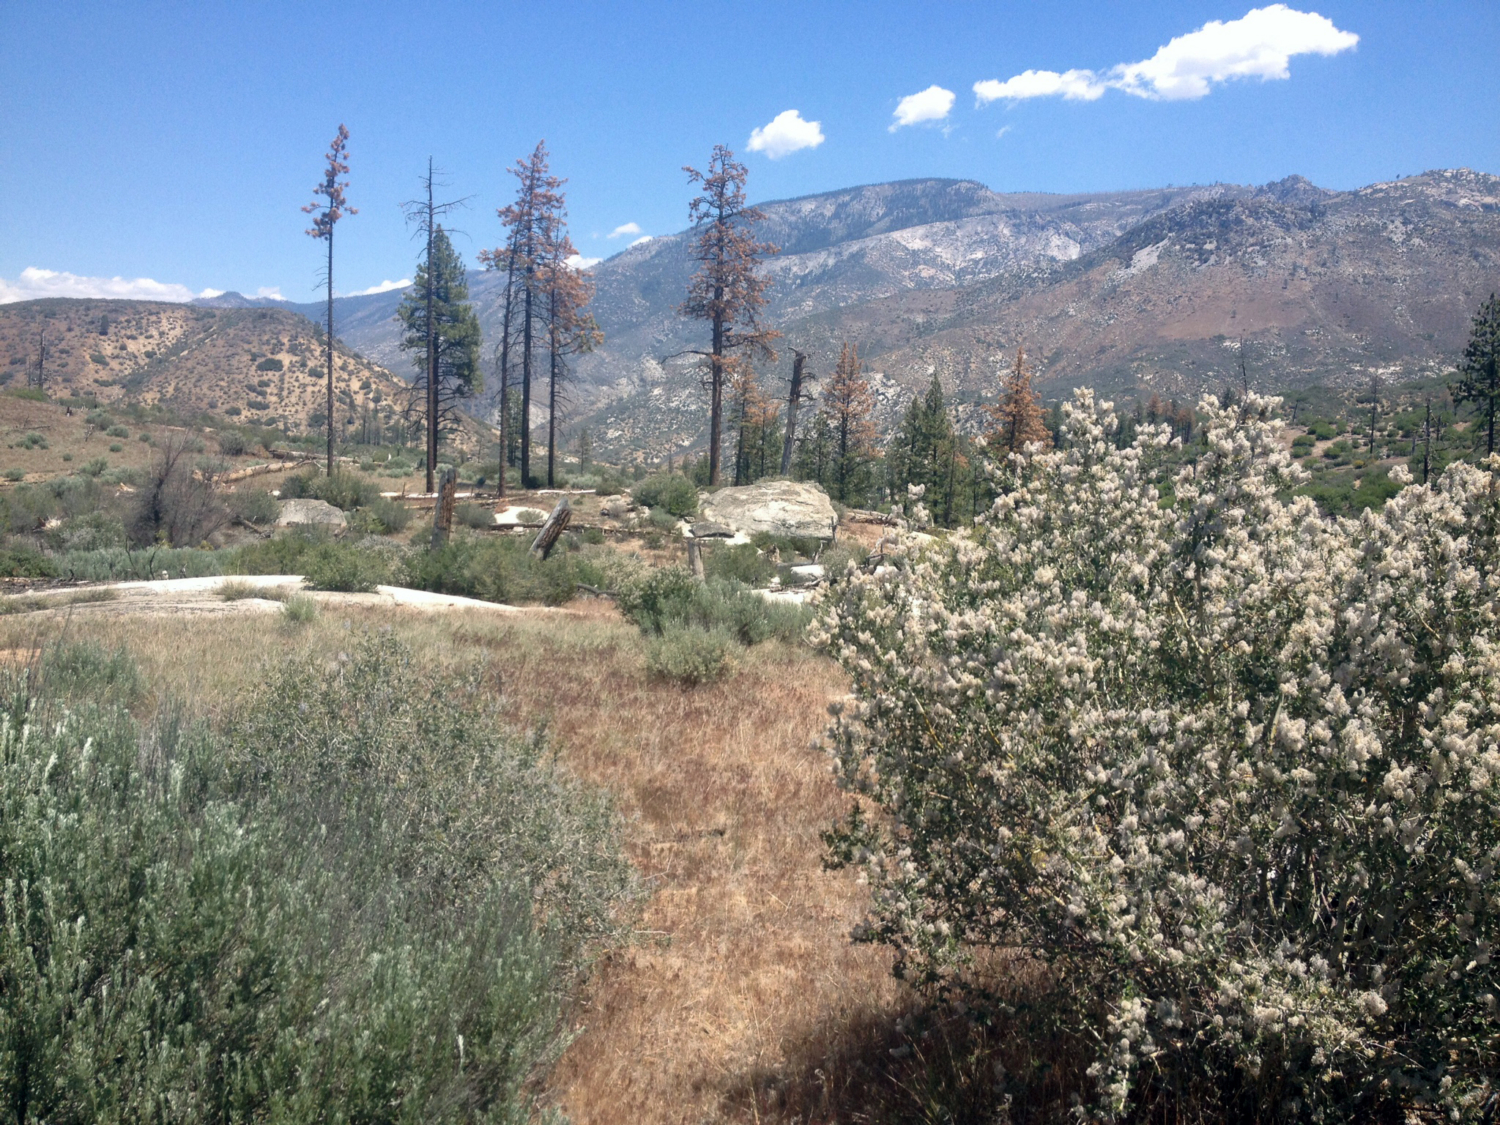
The hike into Dry Meadow Creek begins at a small dirt pull out shortly after two sharp switchbacks and South Creek Falls. Follow the obvious jeep tracks for a short, but steep, ascent for 0.3 miles.
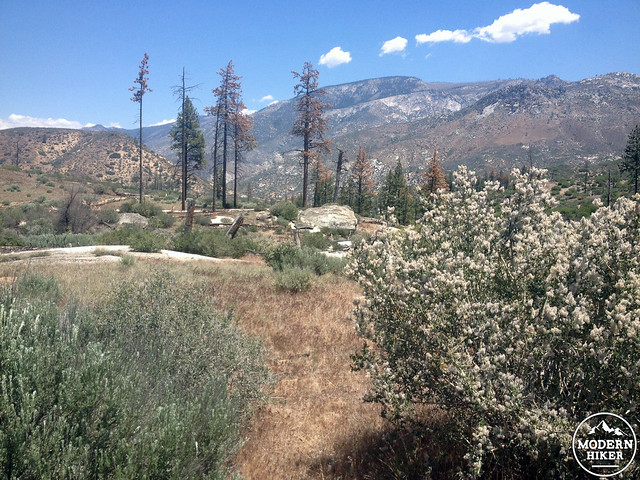
The route then leaves the jeep trail and continues along very faint social trails north for another 0.6 miles, eventually arriving in a notable wash. Turn northeast and follow the wash on easy cross country terrain for another mile until you reach the confluence of Dry Meadow Creek.
When you first reach the water, continue to rock hop your way down canyon for another tenth of a mile, until the canyon bottom becomes a smooth granite slab. Find a good place to suit up, and pack everything you want to keep dry in your dry bag.
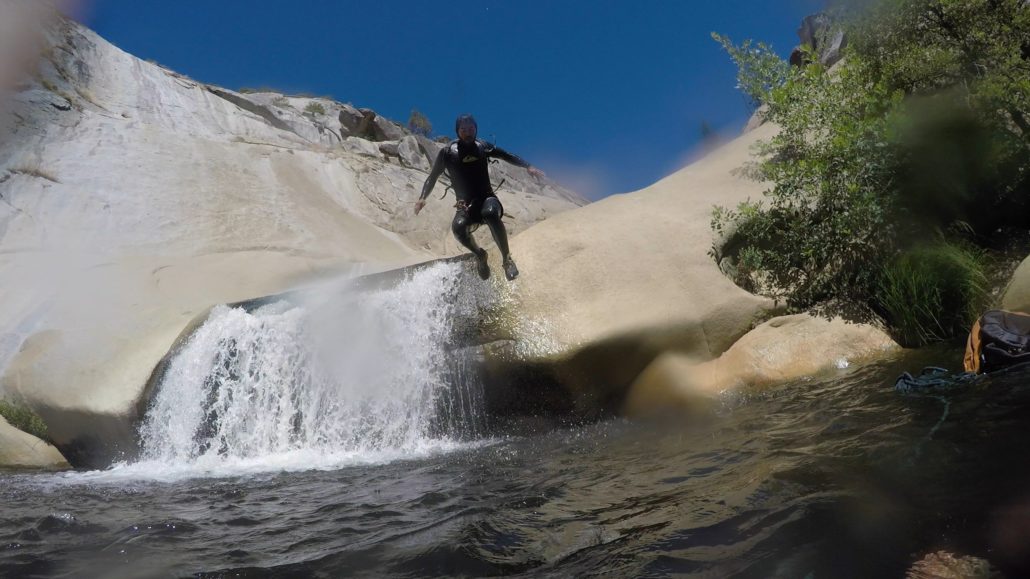
The next three-tenths of a mile are your warmup for the Teacups. Follow the watercourse as it weaves through potholes and sparse vegetation. One drop allows you the opportunity to get your first jump in. Have someone scout of the depth of the water, by downclimbing canyon left, before jumping. The depth of each pool changes seasonally, or even daily in the case of flash floods, and the canyon bottom has irregular ledges and rocks. It’s good practice to never jump into a pool until it has been scouted. You can trade off the responsibility, allowing for everyone in your group to get in some fun jumps at various points in the descent.
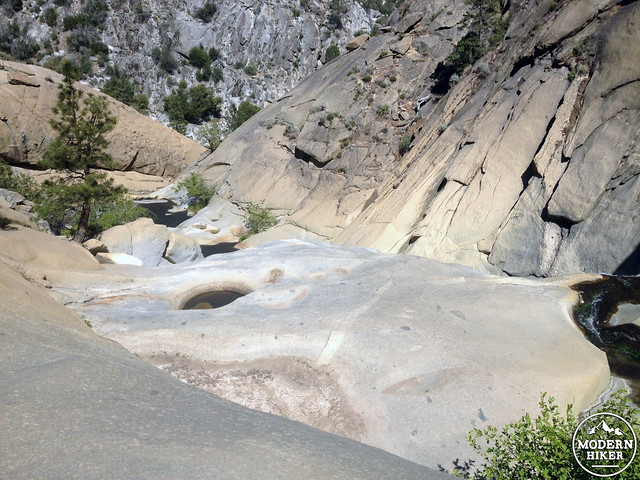
Keep working your way down canyon until you reach the 1st Teacup. You’ll know you’re there when you see an arch spanning the middle of the pool.
THE TEACUPS
Before you go any further, check how much of the arch is exposed. This is a perfect indicator of what level the creek is currently flowing at. If the arch isn’t visible, then the creek is at a high water flow and should only be descended by experience swiftwater canyoneers. When I went, there was about 3-4 inches of the arch exposed, which indicated a moderate-low flow — perfect!
1st to 2nd Teacup
From the 1st Teacup, wrap the arch using a retrievable anchor and have one person descend. The 2nd Teacup is moderately shallow, but it can be jumped into after the depth is checked. The rest of the team can either rappel or jump into the 2nd Teacup. Before you pull the rope off of the arch, check the canyon left side of the 2nd Teacup for an anchor to access the 3rd Teacup (a webbing anchor).
2nd to 3rd Teacup
If the anchor is in place, pull the rope and rig it to rappel into the 3rd Teacup. This pool can be rappelled, jumped, or slide into (via the waterfall on canyon right) after the depth is checked.
3rd to 4th Teacup
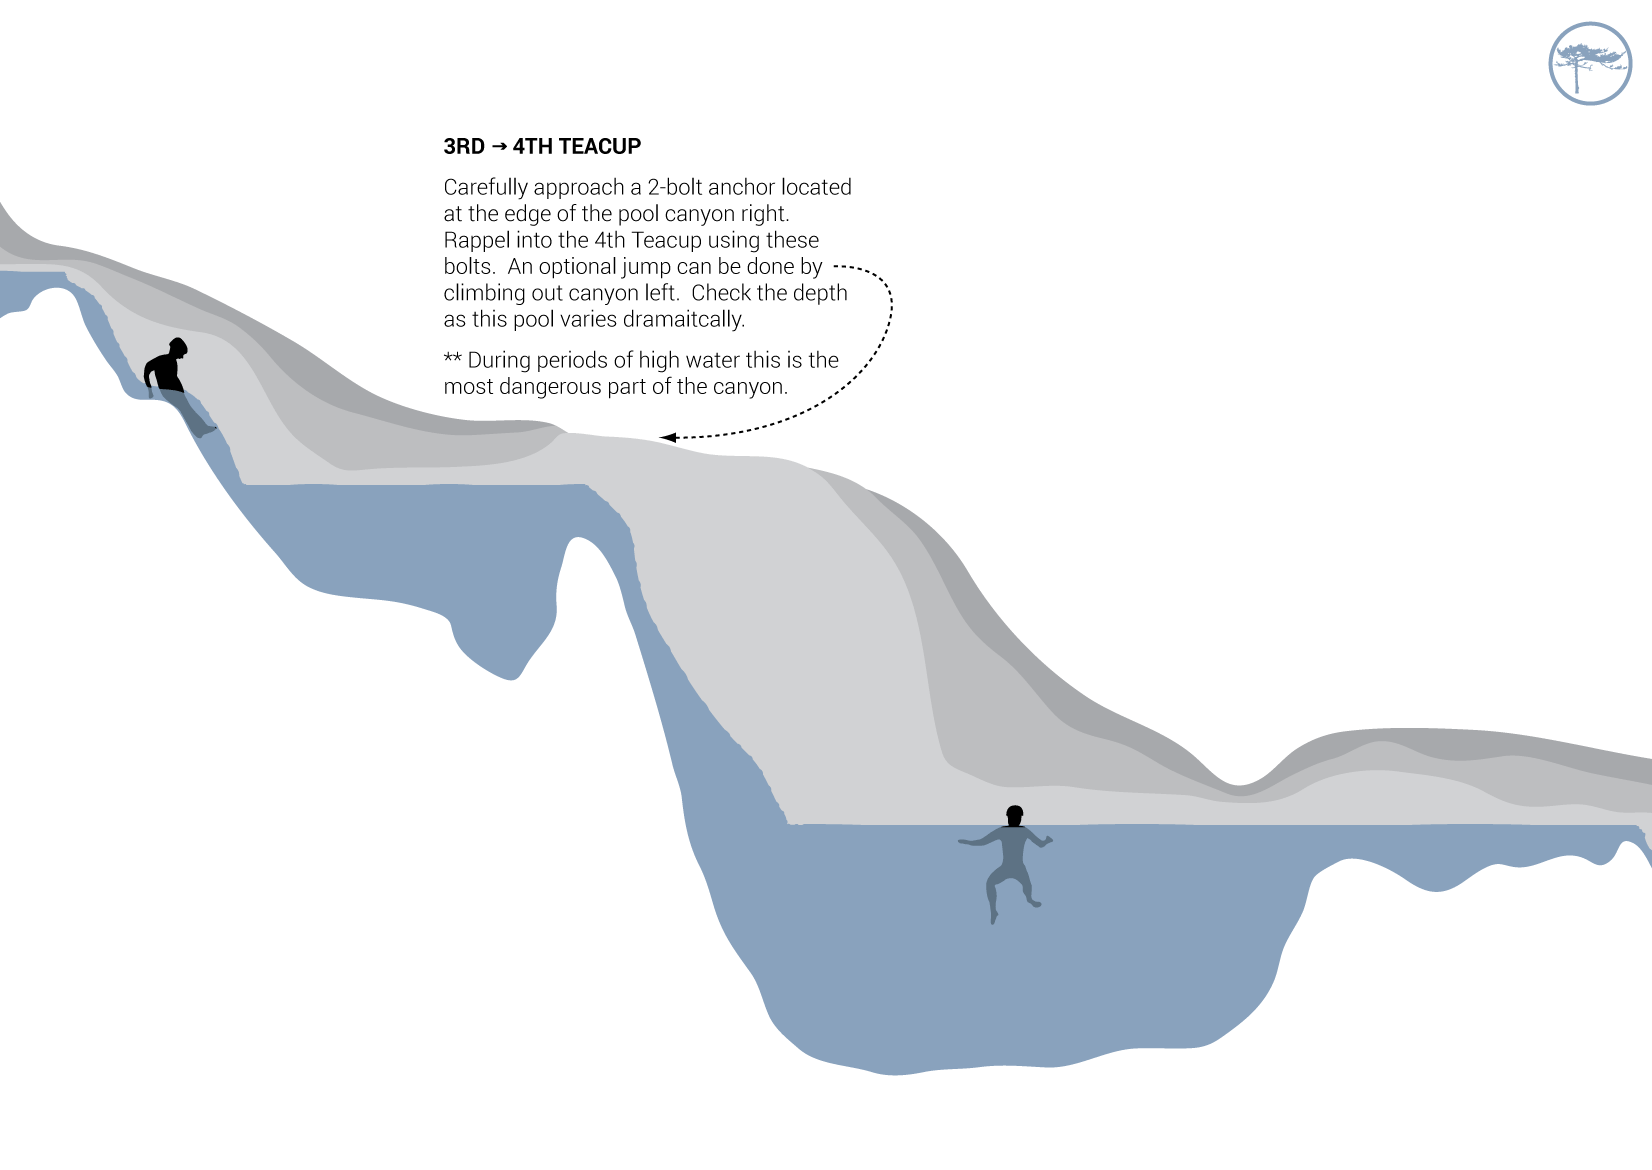
You should always approach edges carefully because even a little bit of water can still have a very powerful force. The edge of the 3rd Teacup warrants extra caution. All of the water in Dry Meadow Creek is forced through a deep and narrow constriction, making this the most dangerous part of the canyon during moderate to high flows. A 3-bolt anchor is located on the lip of the pool at canyon right. Rig a rappel with a contingency anchor (that can be released in the case of an emergency) and send the first person down. This is a generally deep pool that can be jumped into from the lip of the canyon or by climbing out of Teacup 3 on the canyon left side (for a higher jump). Don’t approach any edge unless you are committed to jumping, since hesitancy can lead to accidently slipping into shallower water. If you are unsure, then enjoy the rappel, it’s a pretty awesome one!
4th through 7th Teacup
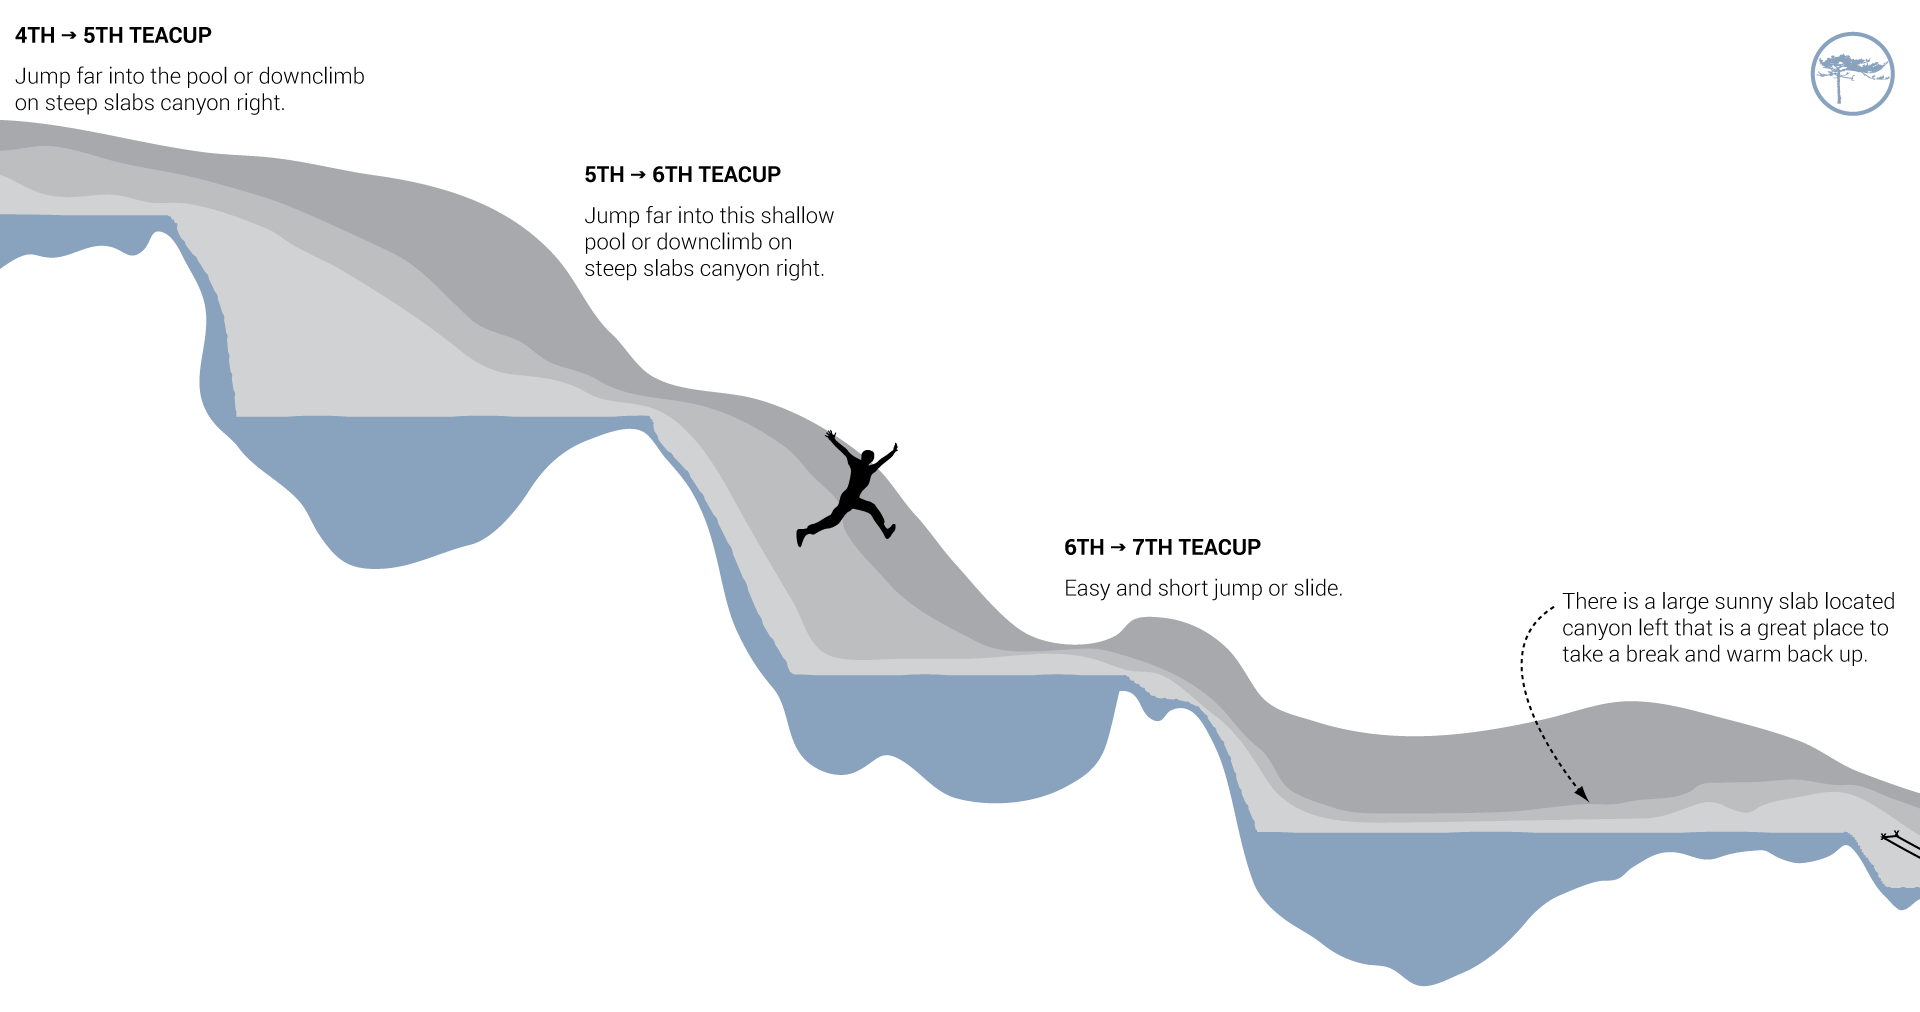
Each of the 5th through 7th Teacups have shorter drops which can be jumped or down climbed on steep slabs canyon right. Generally, the deepest part of the pool is located just past the middle. Be especially mindful of the 6th Teacup, as it is fairly shallow overall. A controlled slide from the first person is a good method to check the depth.
If you are feeling cold or want to take a break there is a large slab canyon left at the bottom of the 7th Teacup that is a great spot to warm up for a bit.
THE EXIT
The Seven Teacups themselves are actually only about half of the total technical descent. A series of 3 long rappels are still to come.
1st Big Waterfall
From the edge of the 7th Teacup, look on the canyon left side for a set of two bolts on a dry ledge. Rig a rappel from these bolts to take you just to the canyon left side of a large waterfall, ending in a small pothole and a fun swim. This was probably my favorite rappel.
2nd Big Waterfall
Exit canyon left from the swim onto a set of moderately steep slabs. Look for a set of bolts hidden in a small, dry pothole about 15 feet below the lip to rig another scenic rappel. You can guide yourself either canyon right (to rappel into the water course) or canyon left (to dry rappel into a large pothole). Avoid the wet rappel during moderate to high flows as it can become unpredictable. A third option is to downclimb on the slabs following the far canyon left edge. Either way, you’ll end up in a large pool with another swim.
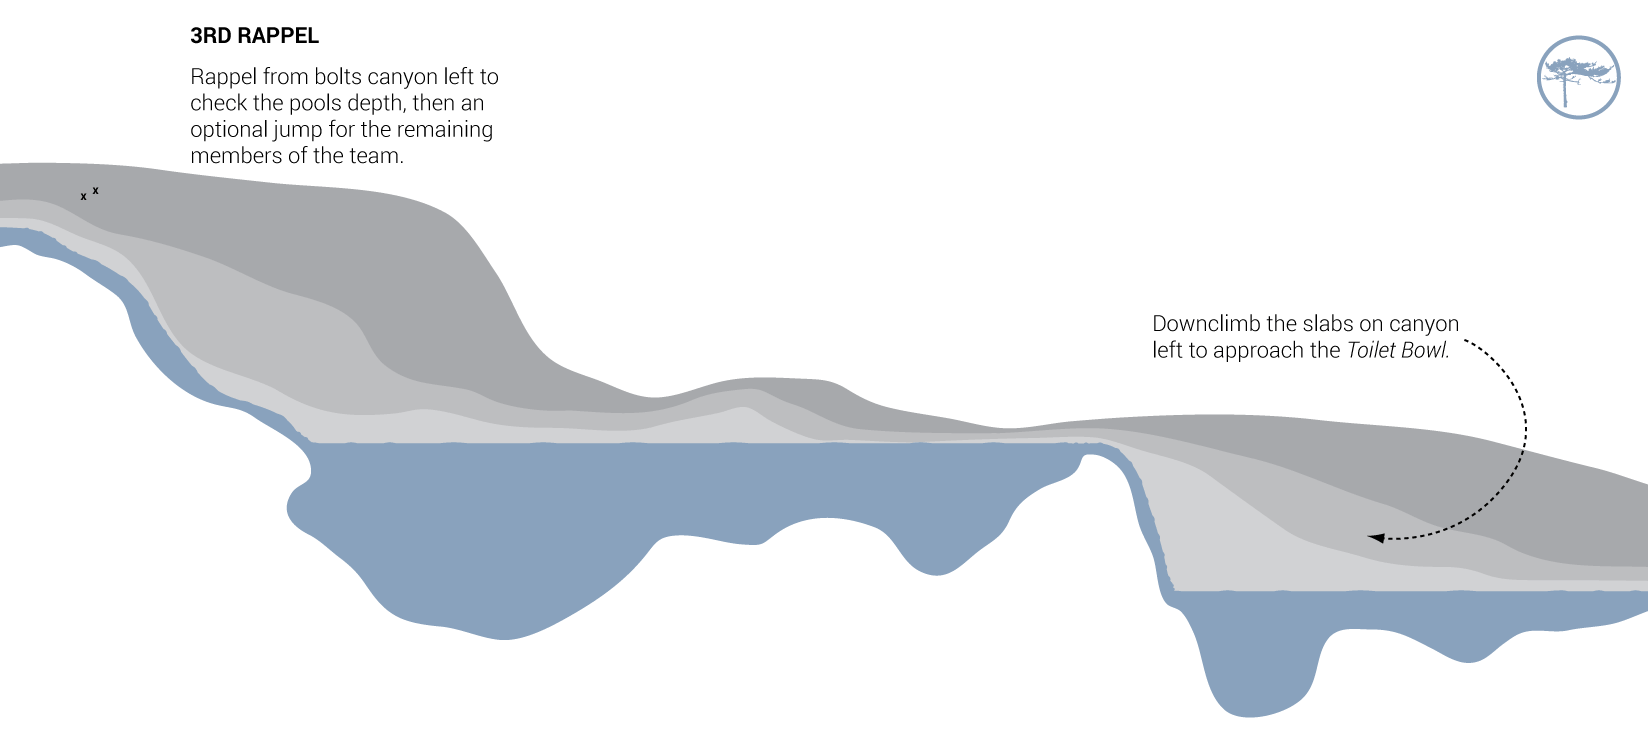
Toilet Bowl Approach
Rig a short rappel from two canyon right bolts to check the depth of the next pool, then other members of the team can jump or rappel down. This is followed by another quick swim, and then a controlled downclimb or slide into a final pool above the Toilet Bowl.
The Toilet Bowl
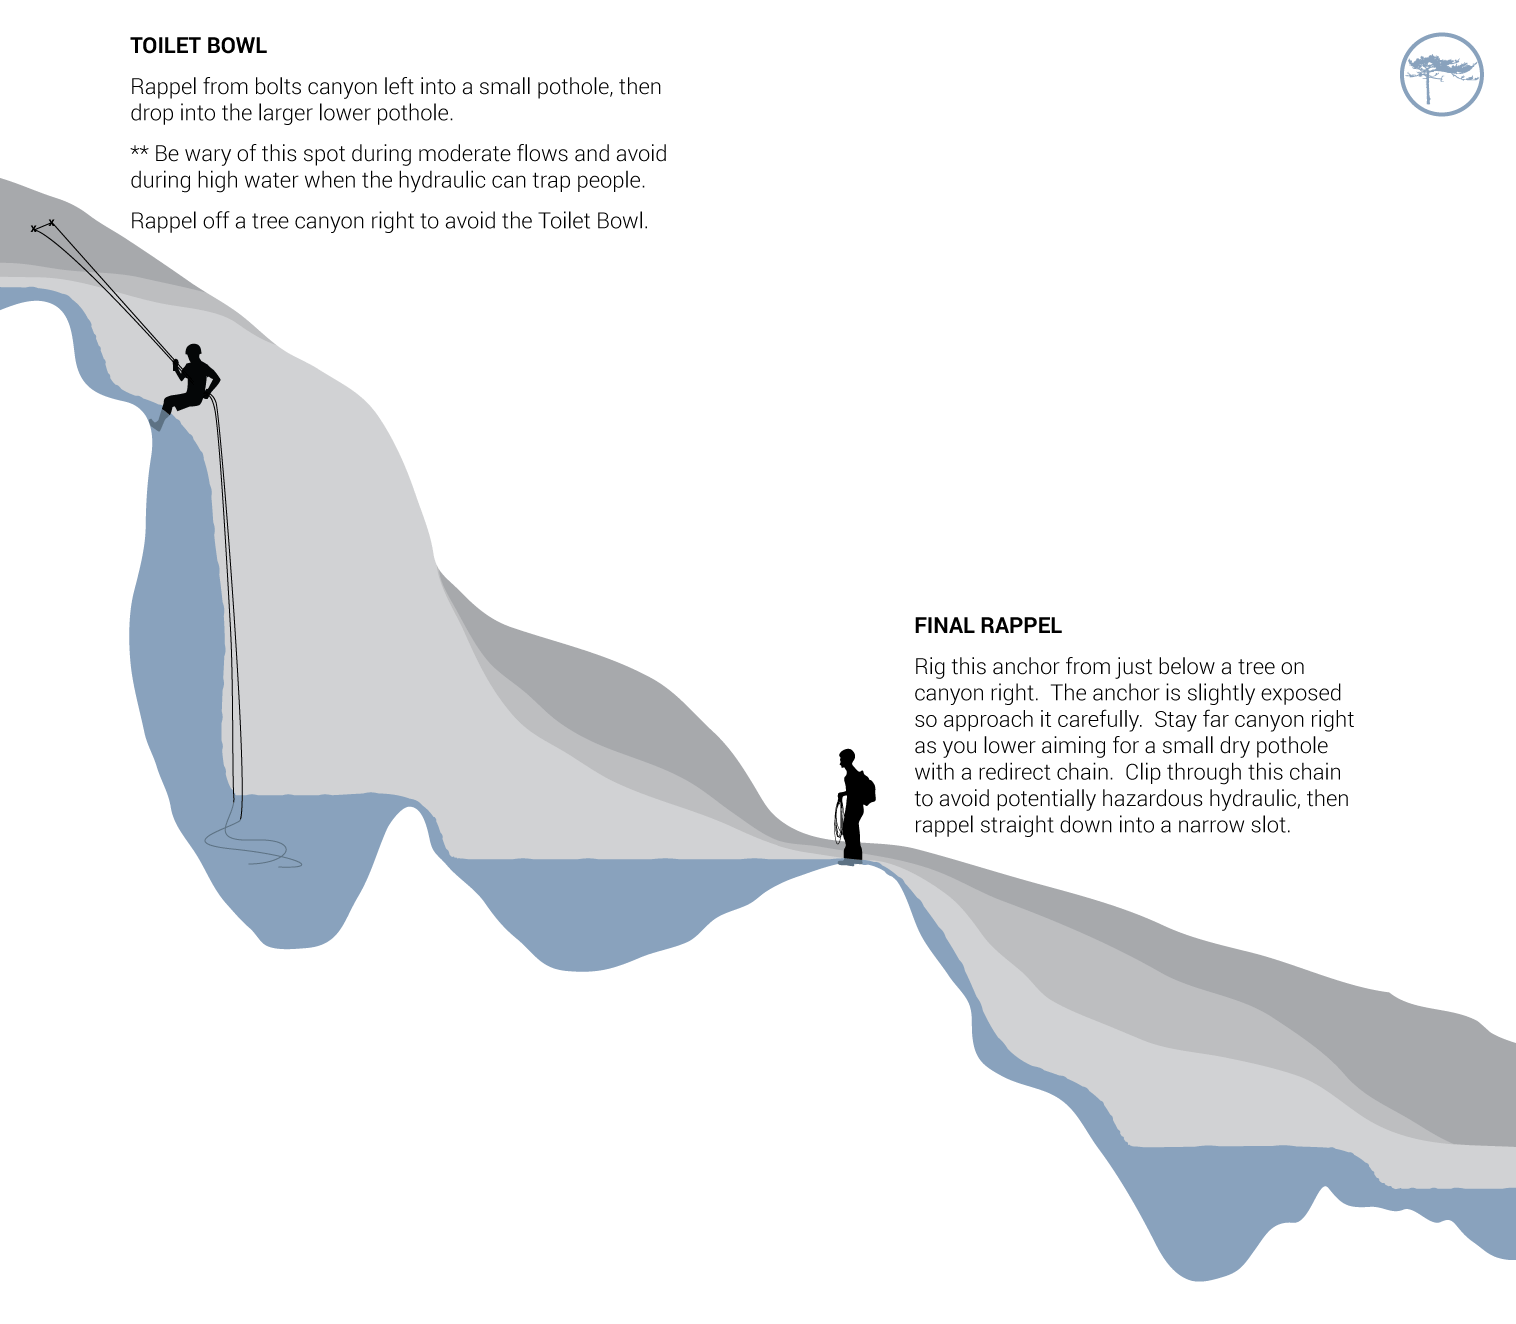
There are two options for descending the next drop, which is called the Toilet Bowl. This waterfall is named after the small pothole located just below the falls canyon left. During moderately high flows, this pothole can become a vicious swirl of water that can be very challenging to escape. For that reason, you can opt-in to rappelling off of a tree on canyon right, which avoids this hazard. However, if you evaluate that the Toilet Bowl is safe (moderate to low flow), then the rappel from the two bolts canyon left is quite fun. The Toilet Bowl pothole is fairly deep and can actually be jumped into, but it is a very high-risk jump, so I wouldn’t recommend it. Make sure to pull your rope before exiting the Toilet Bowl, since there is no way to access that higher pothole after escaping it.
Final Rappel
The final rappel begins on the far side of the lower Toilet Bowl pool. Carefully scramble up a short section of slabs to an anchor canyon right. Rig your rappel and saddle-bag your ropes (a technique where you carry the ropes with you on the descent). This rappel is a little tricky because it requires you to tension-traverse high on the canyon right slabs to a redirect chain located just above a small dry pothole. Use the tension of the rope to keep your body as high as possible so that you’re lowering down at an angle. Clip through the chain then lower directly into the narrows below. This technique allows you to bypass some potentially dangerous hydraulics.
The Exit
Just after the final rappel is the longest (and most fun) swim. As you approach the final set of pools, it’s as if you’re swimming in an infinity pool. Once you reach the edge, there is a great view of the Kern River below.
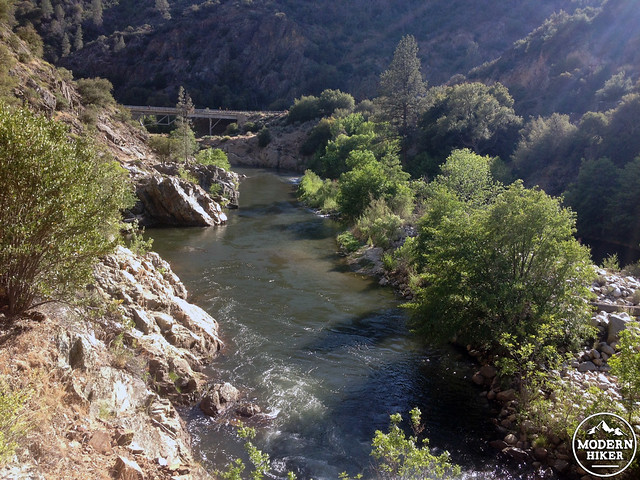
Scout out your descent and crossing of the Kern from here (this is where previously scouting the route comes in handy). Traverse down the final set of pools to a ten-foot slide into the Kern. When I visited, the Kern was flowing VERY low, which made the entry very safe. There is a large eddy where Dry Meadow Creek exits, so you can take the crossing in two steps.
If you are uncertain about the crossing, try going upstream about 750 feet. Either way, be mindful that a large, class V rapid (Carson Falls) is located slightly downstream. This rapid has taken the life of one canyoneer who didn’t get out of the river soon enough.
THE HIKE BACK
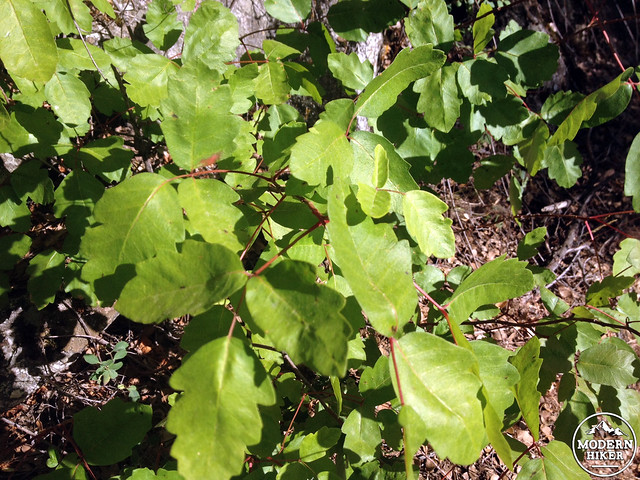
Change out of your canyoneering garb and back into your dry clothes. Then hike out 2.25 miles following the River Trail, which is found just up the hill. There is a lot of poison oak and the occasional snake along this trail, so stay vigilant even on this easier terrain. More photos and information on the route can be found at RopeWiki.
Tags: canyoneering, canyoning, class C, gear, hot weather hikes, how-to, Sequoia National Forest, seven teacups, sierra nevada, technical, Trail Write-Ups, waterfalls
