If you’re looking for a bit of a challenging hike with rewarding city views, beautiful shaded groves, and bustling wildlife, the Betty B. Dearing Trail is perfect. This 5 mile out-and-back is dog-friendly and features a plethora of diverse terrain that will make the approximately 2.5 hours fly by. From twisty switch-backs to fallen logs and running streams to traditional dusty mountain climbs, this trail pretty much has it all, packed into a moderate hike that will leave you sweating, but satisfied. And even better, it’s basically right in the middle of town (well, depending on where in town you live!).
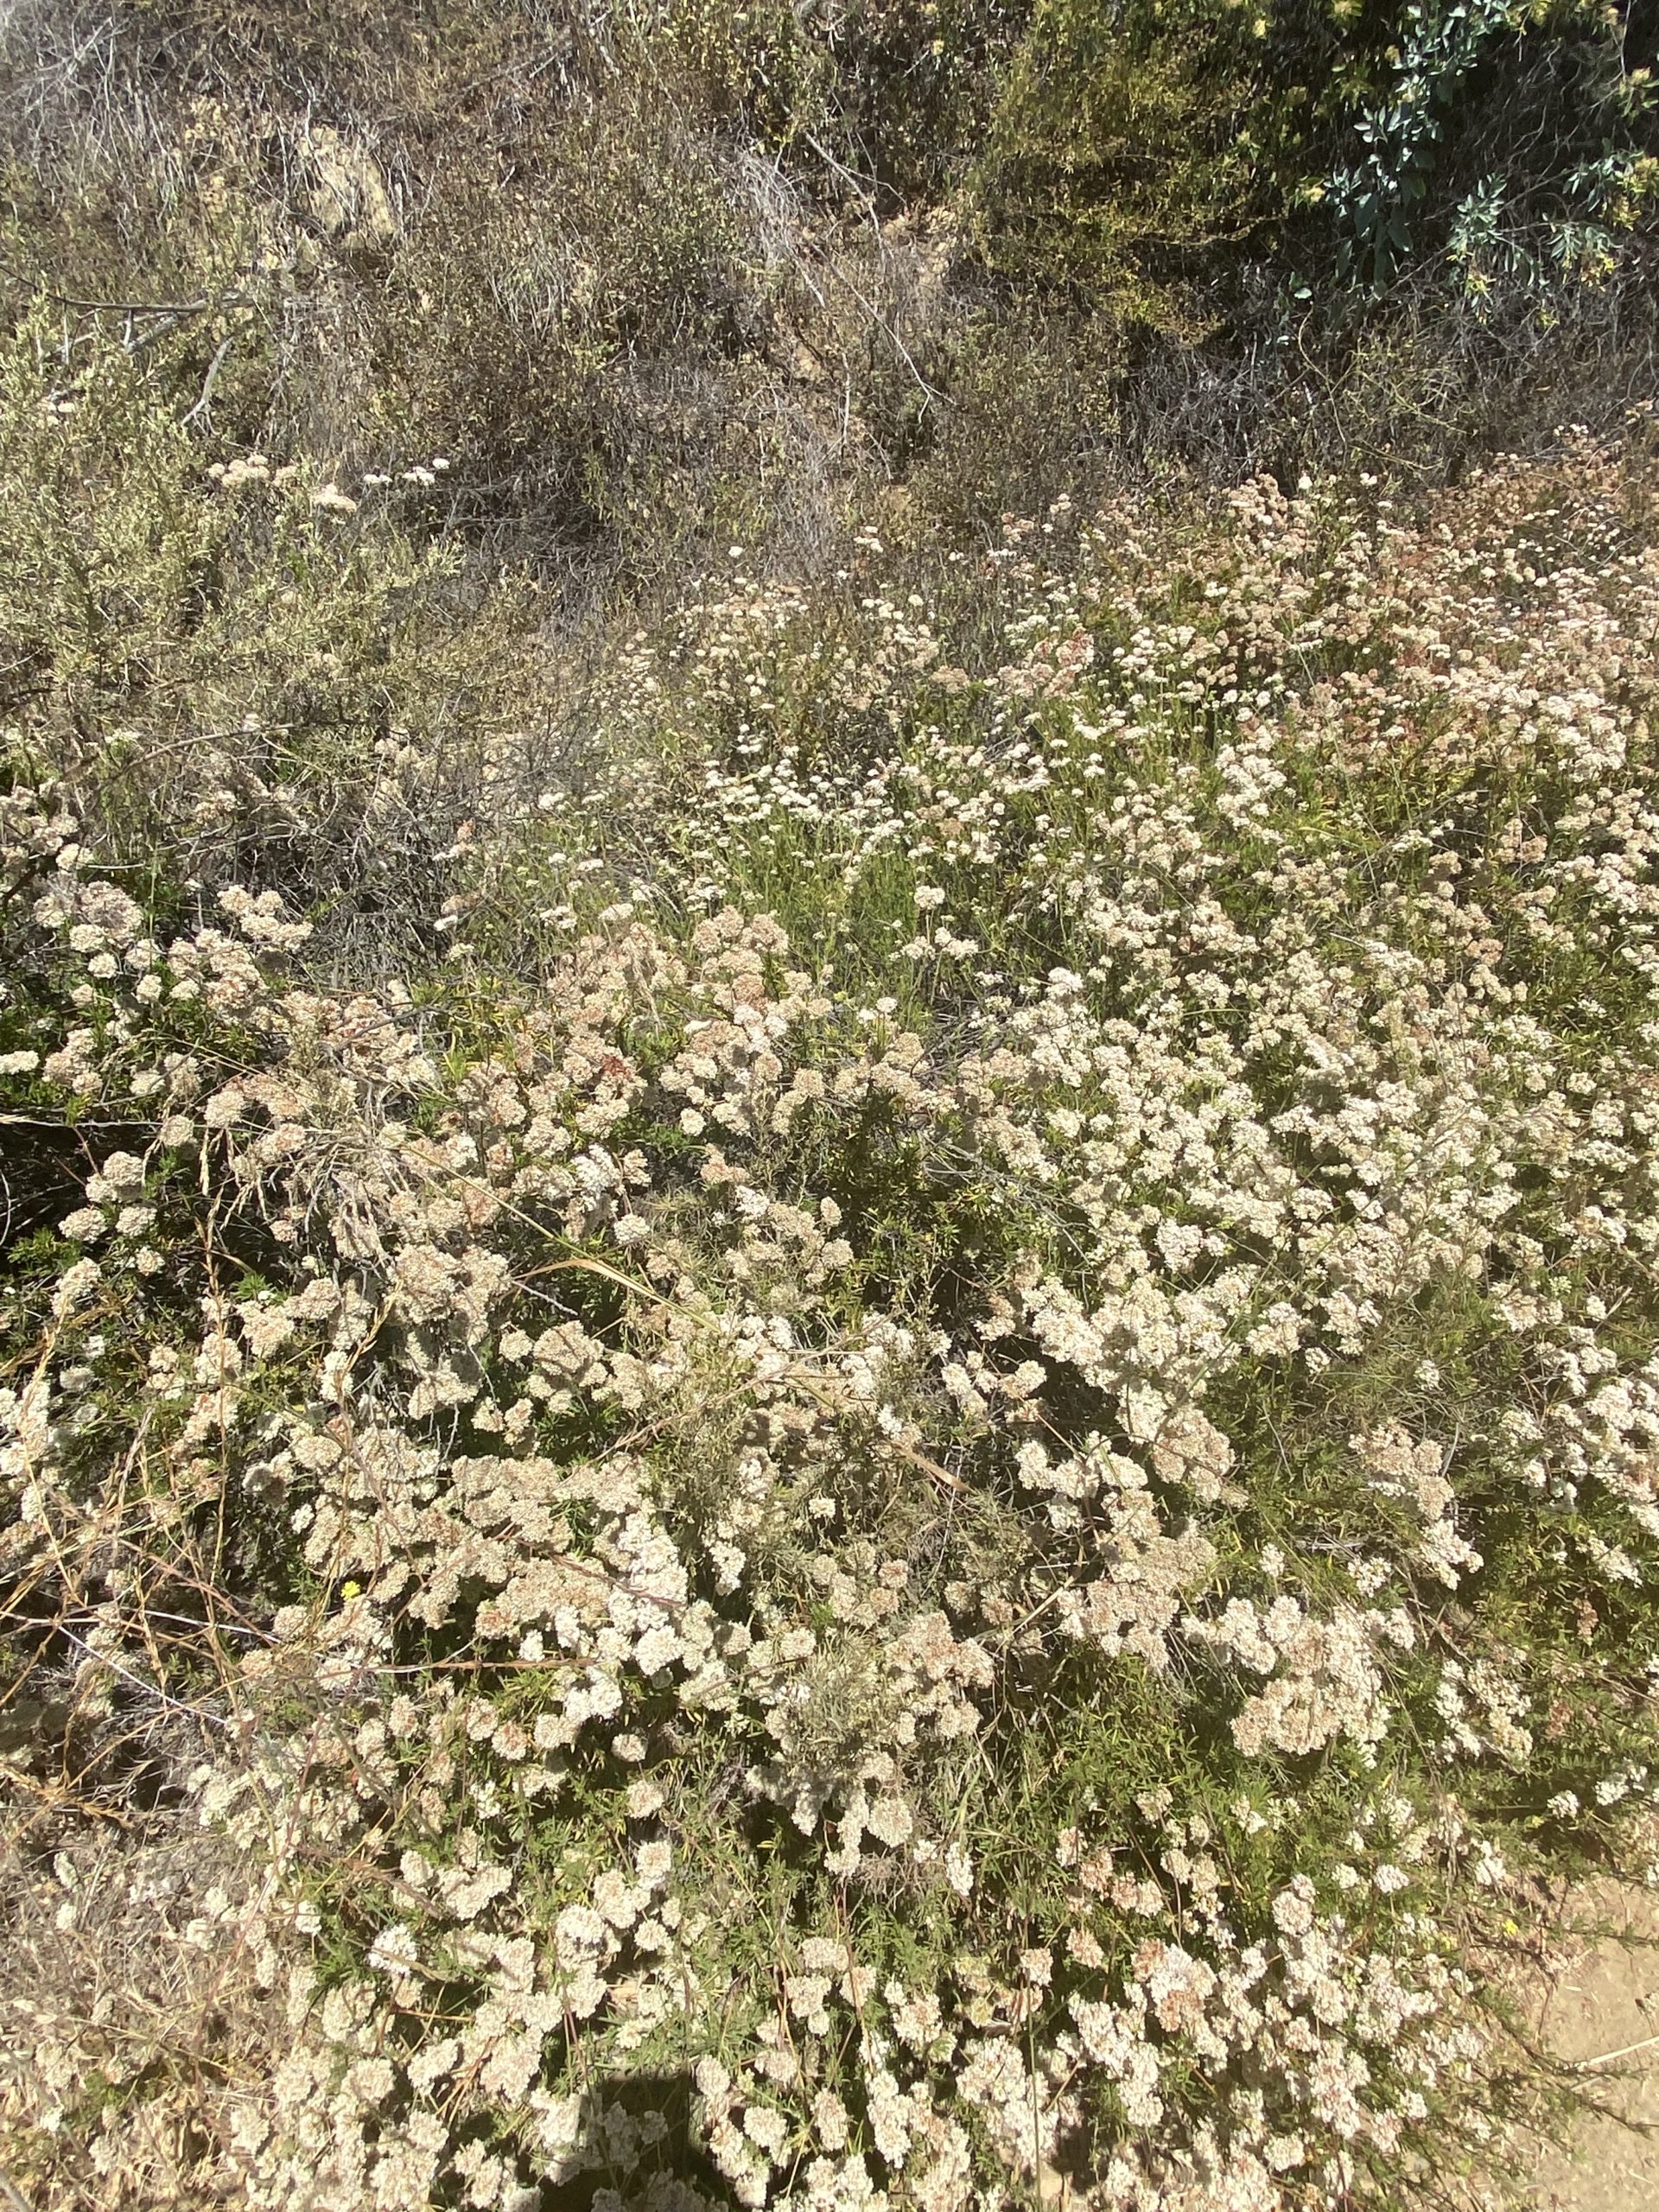
First and foremost, the second half of the hike is not very well shaded, so make sure you bring plenty of water and sunscreen to reapply. As long as you’re prepared for the trek, you shouldn’t run into any issues. I also recommend long pants, as much of the brush is overgrown and could irritate the skin after a while of walking past. This route is popular enough that you likely won’t be the first person trekking through, but even so it may also be a good idea to stop for periodic tick checks in the warmer months.
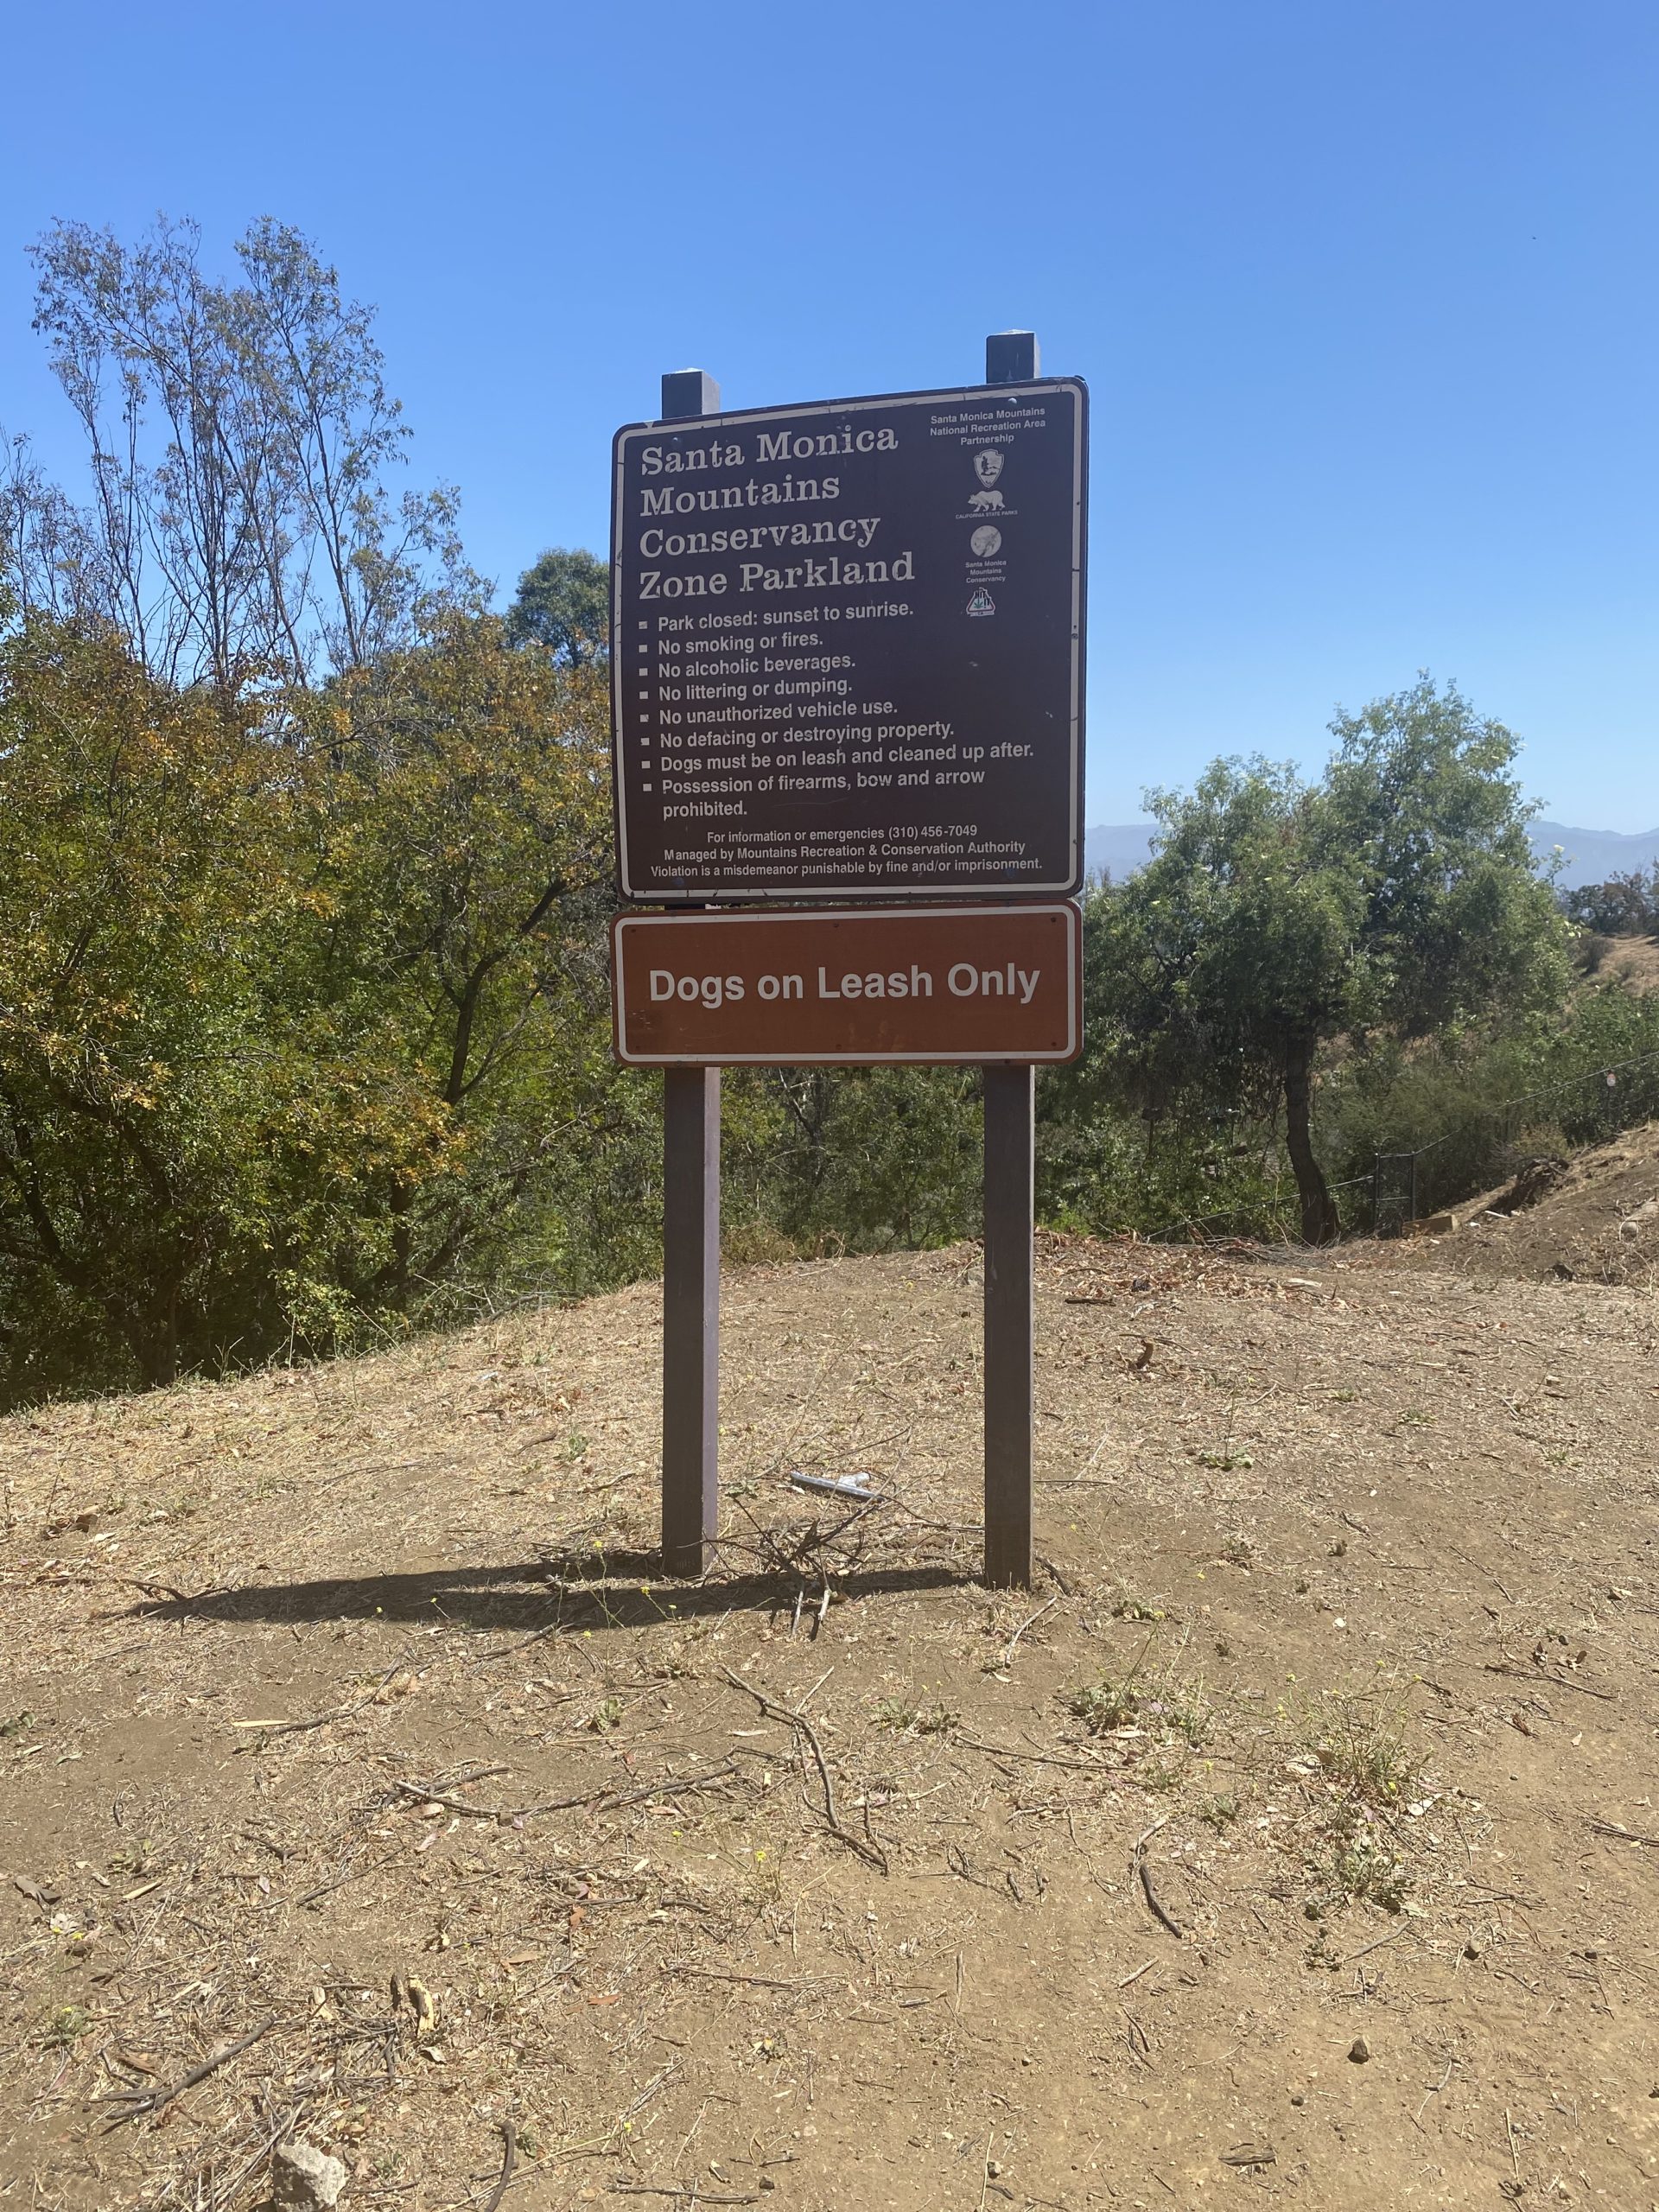
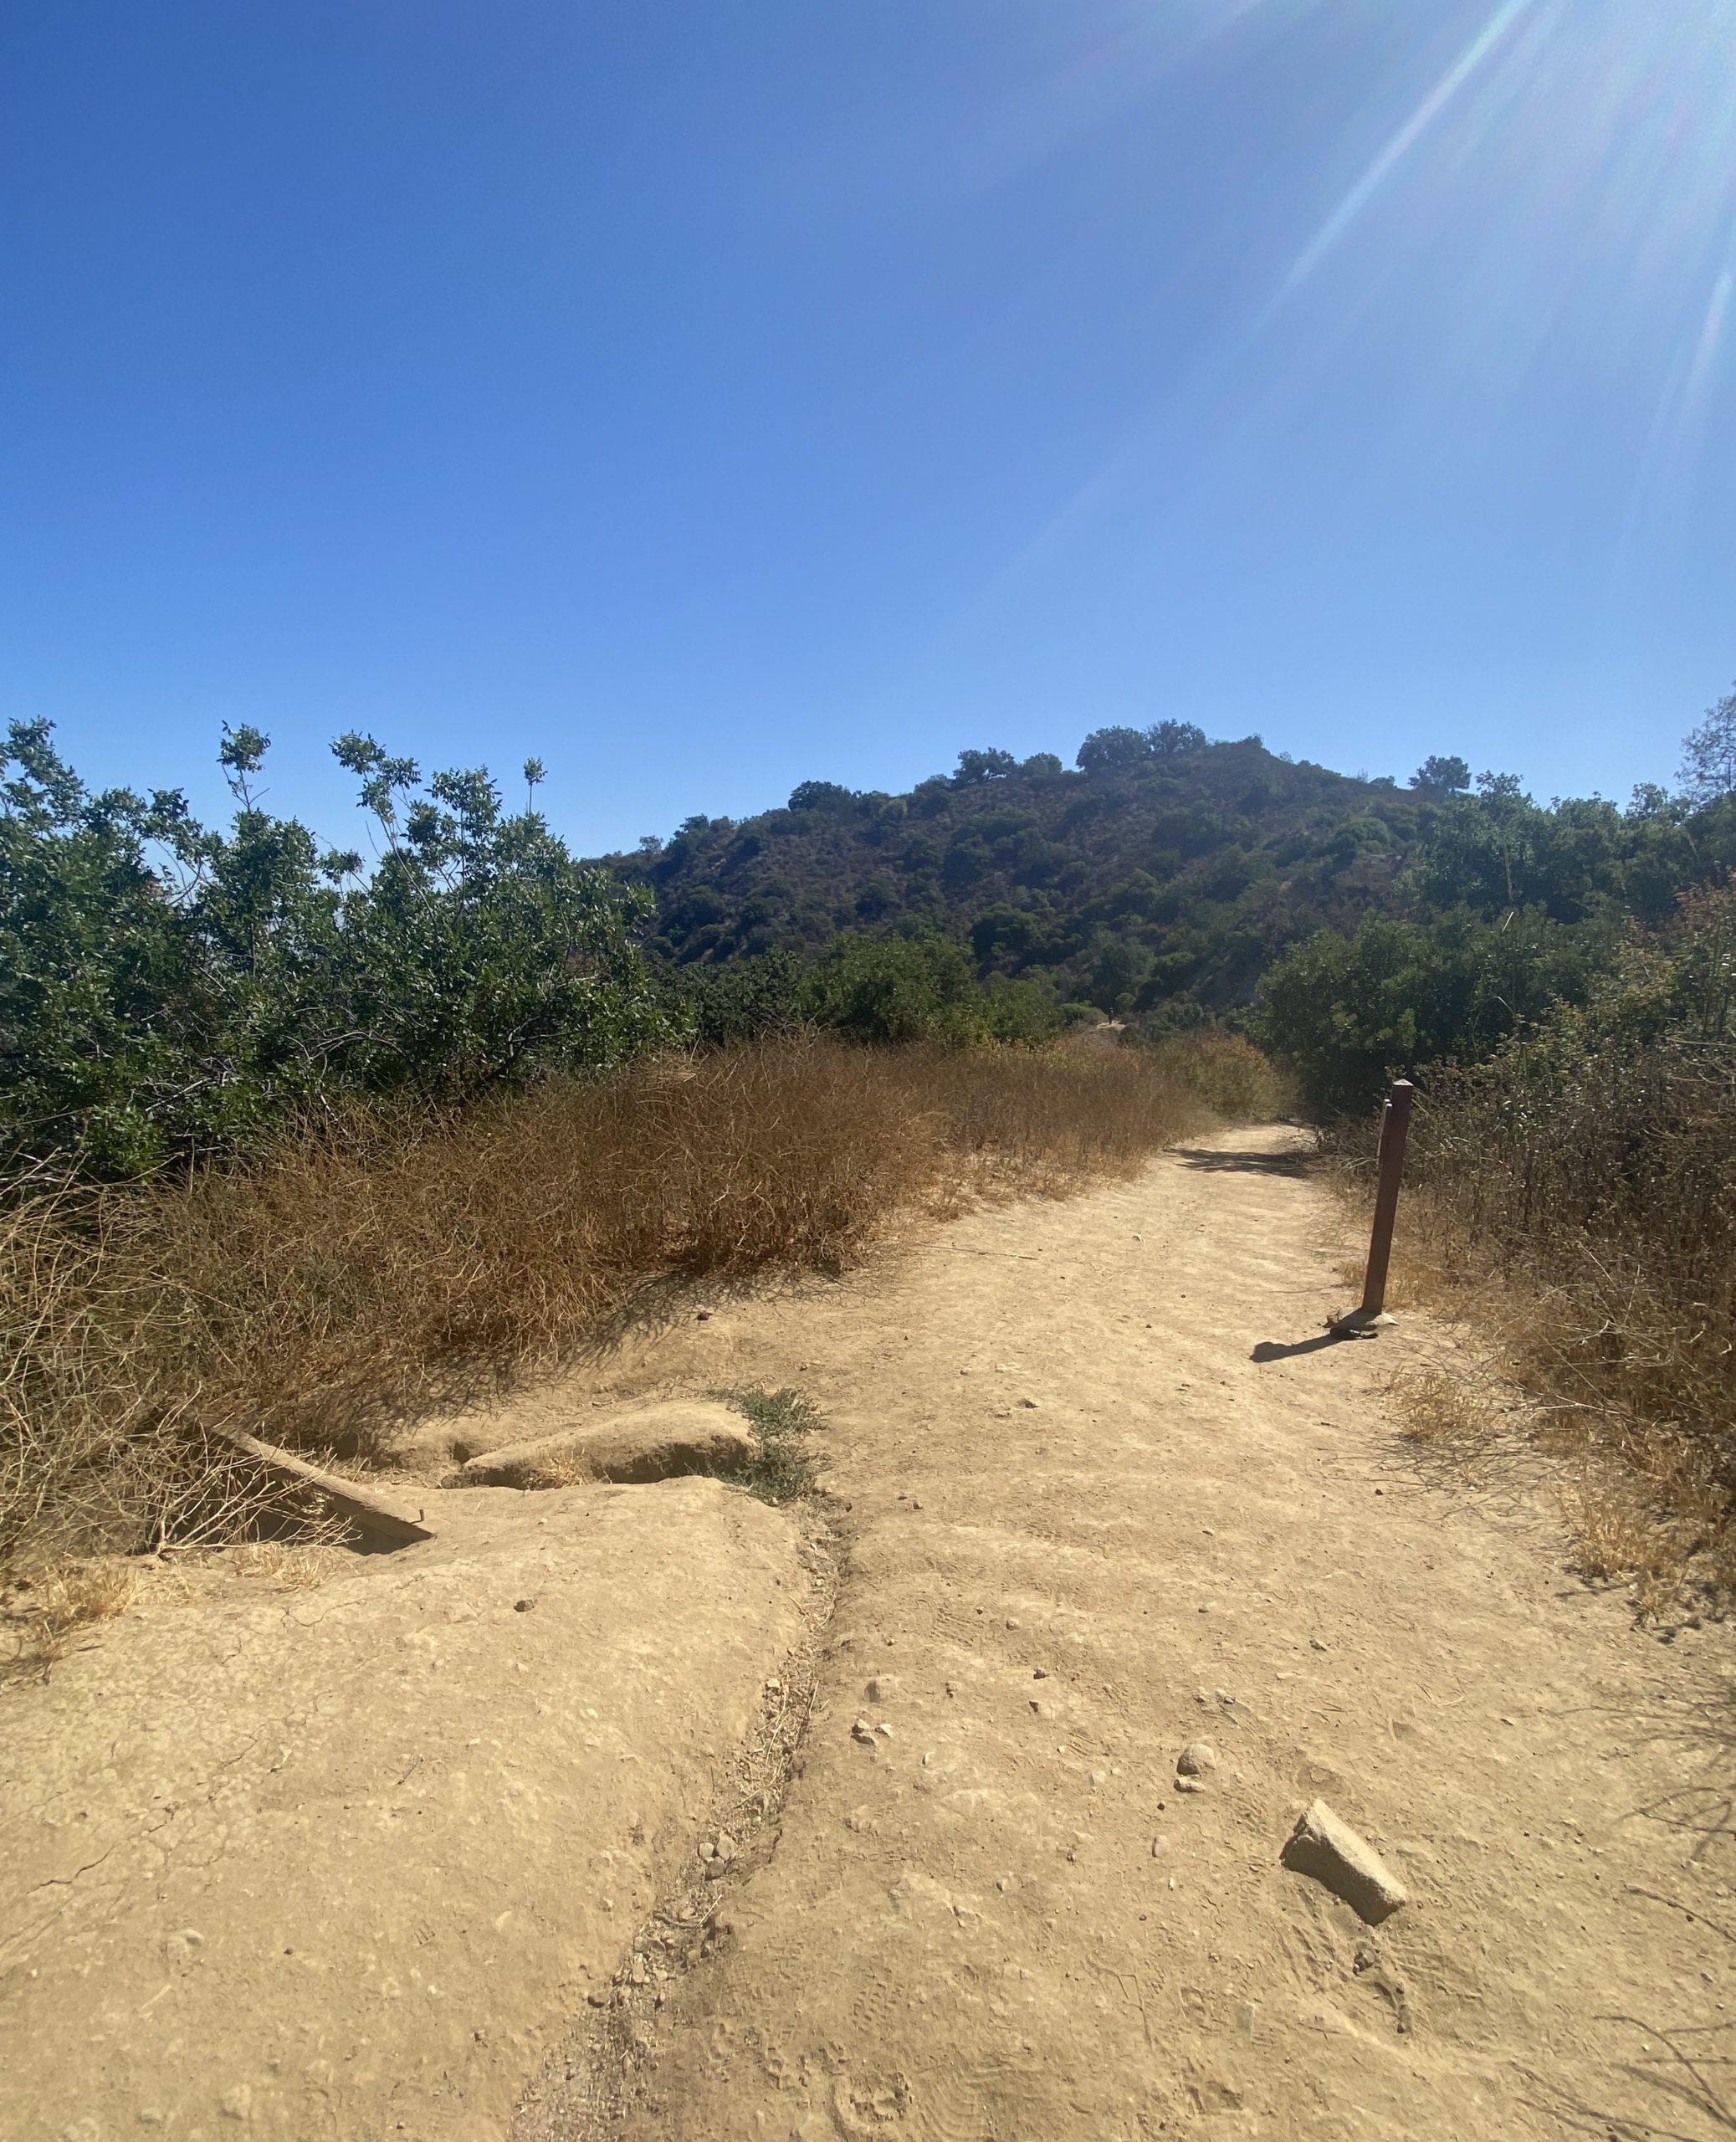
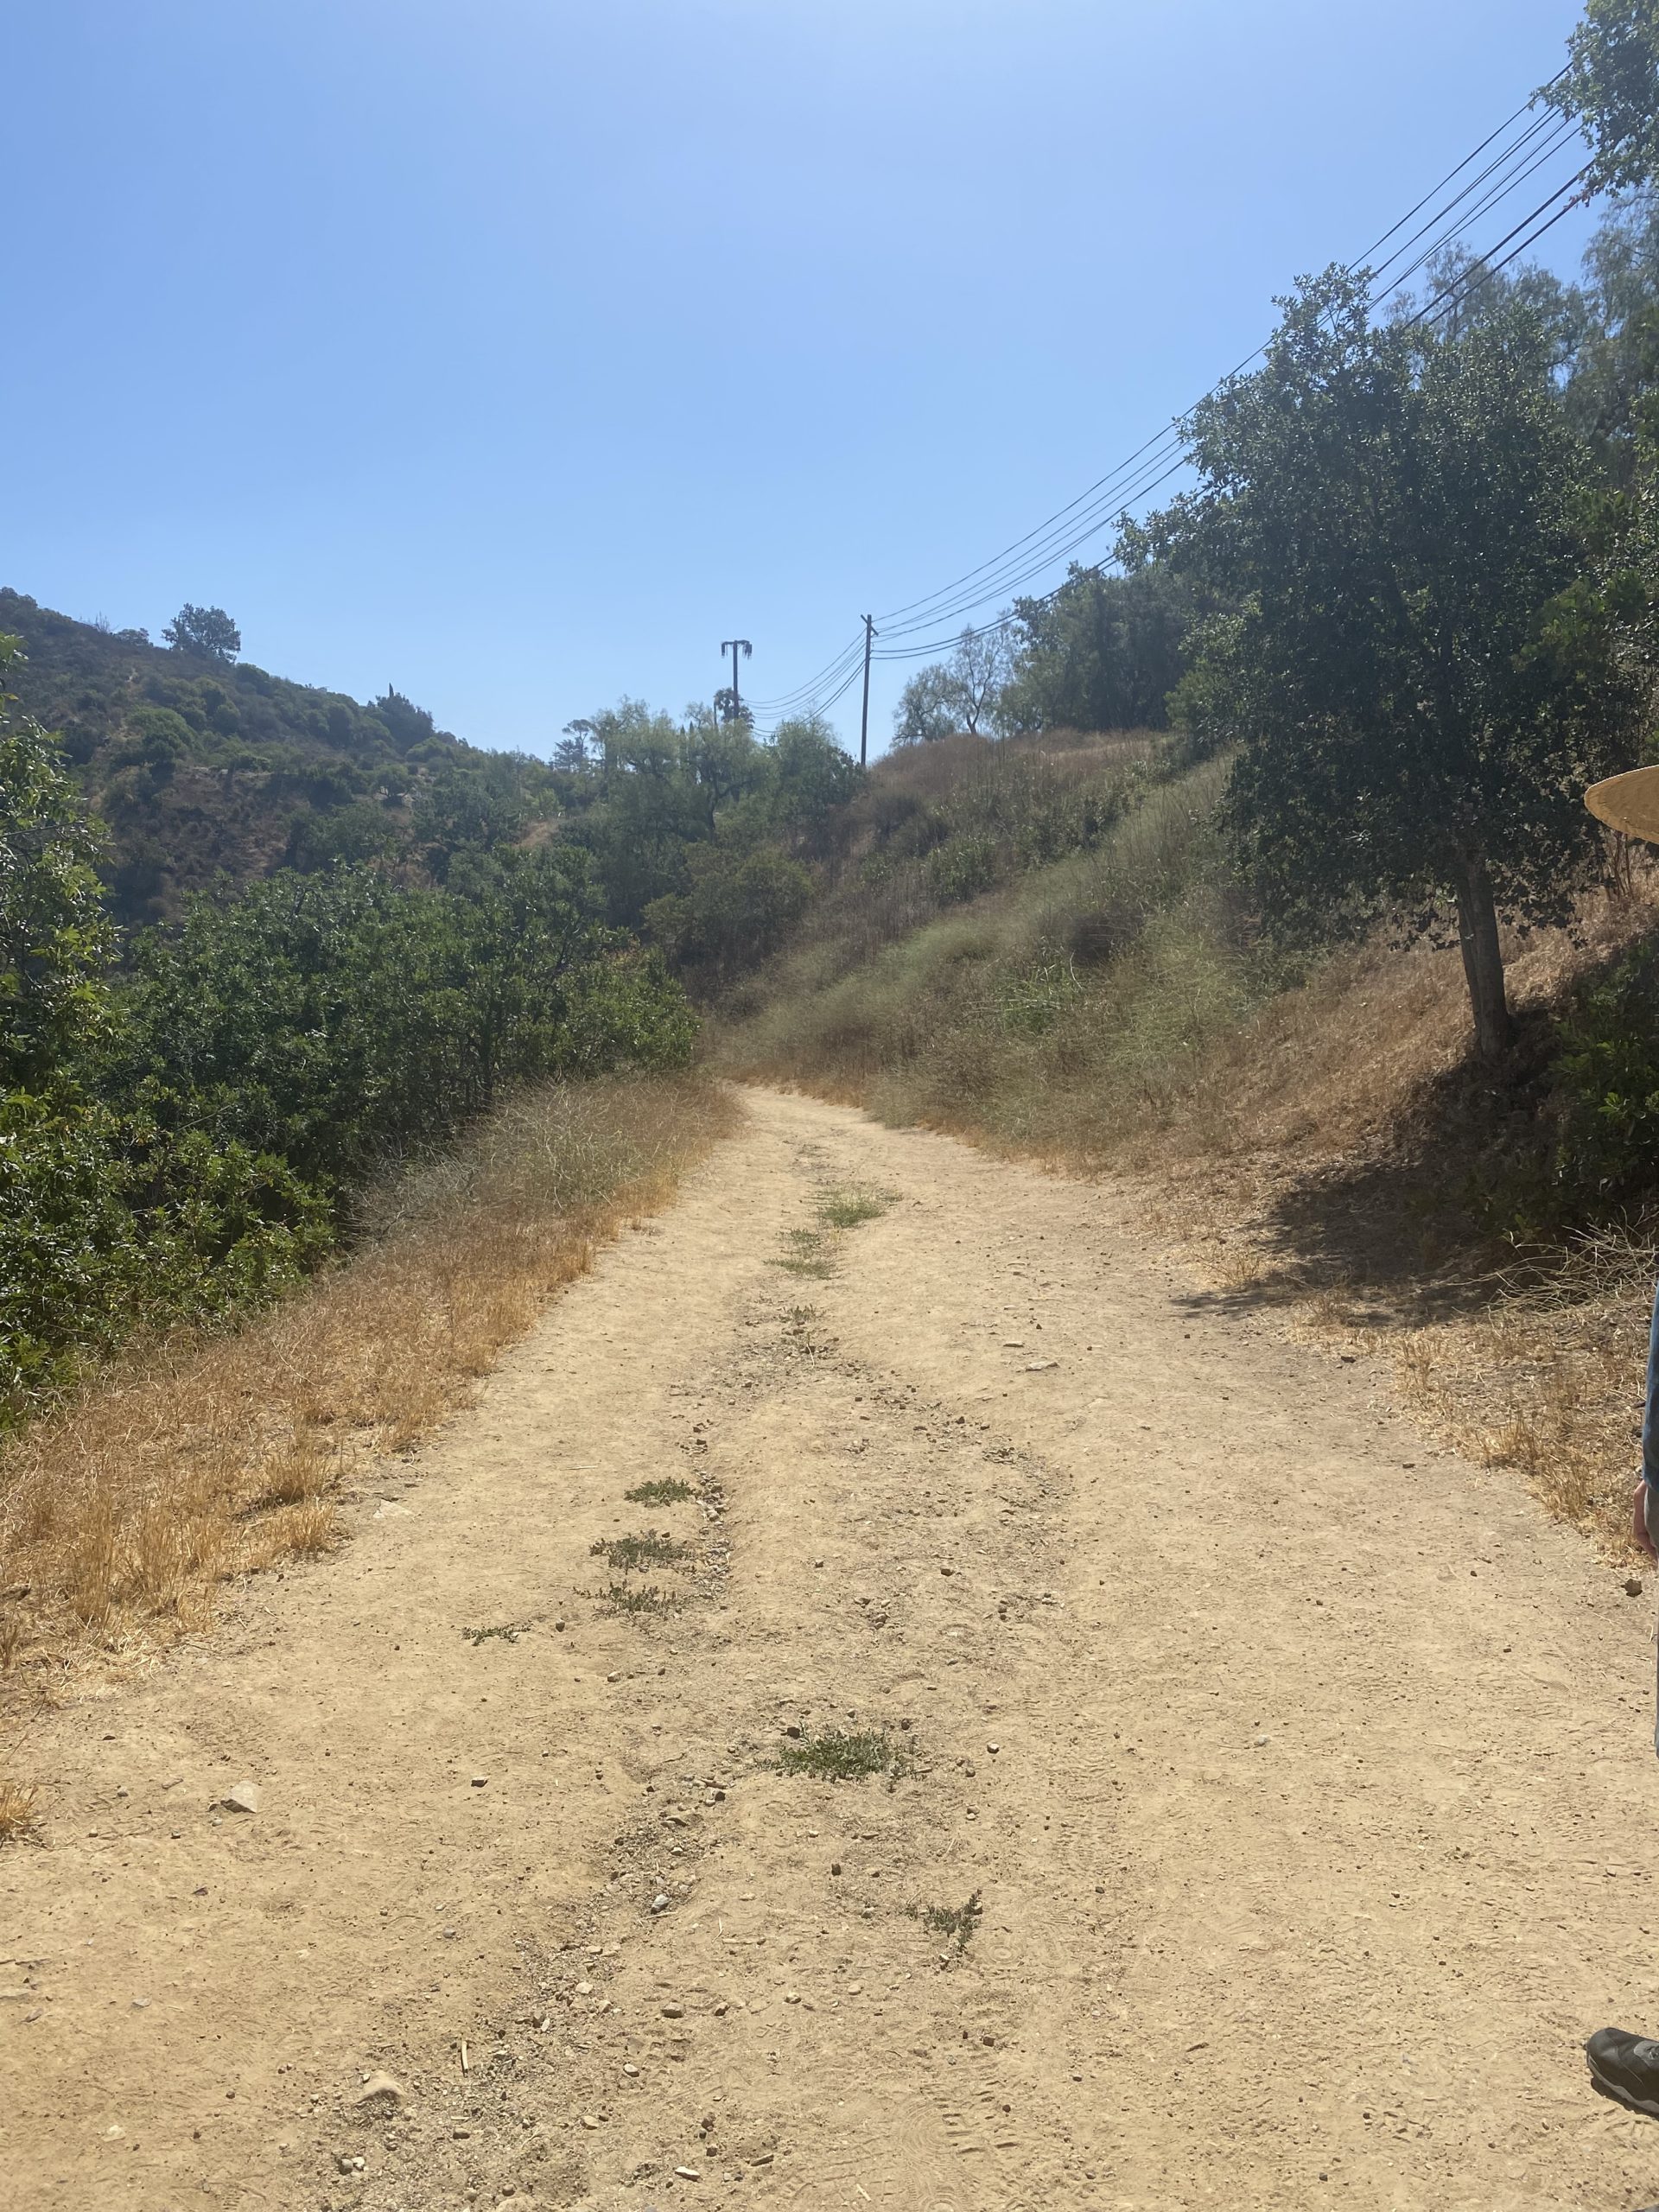
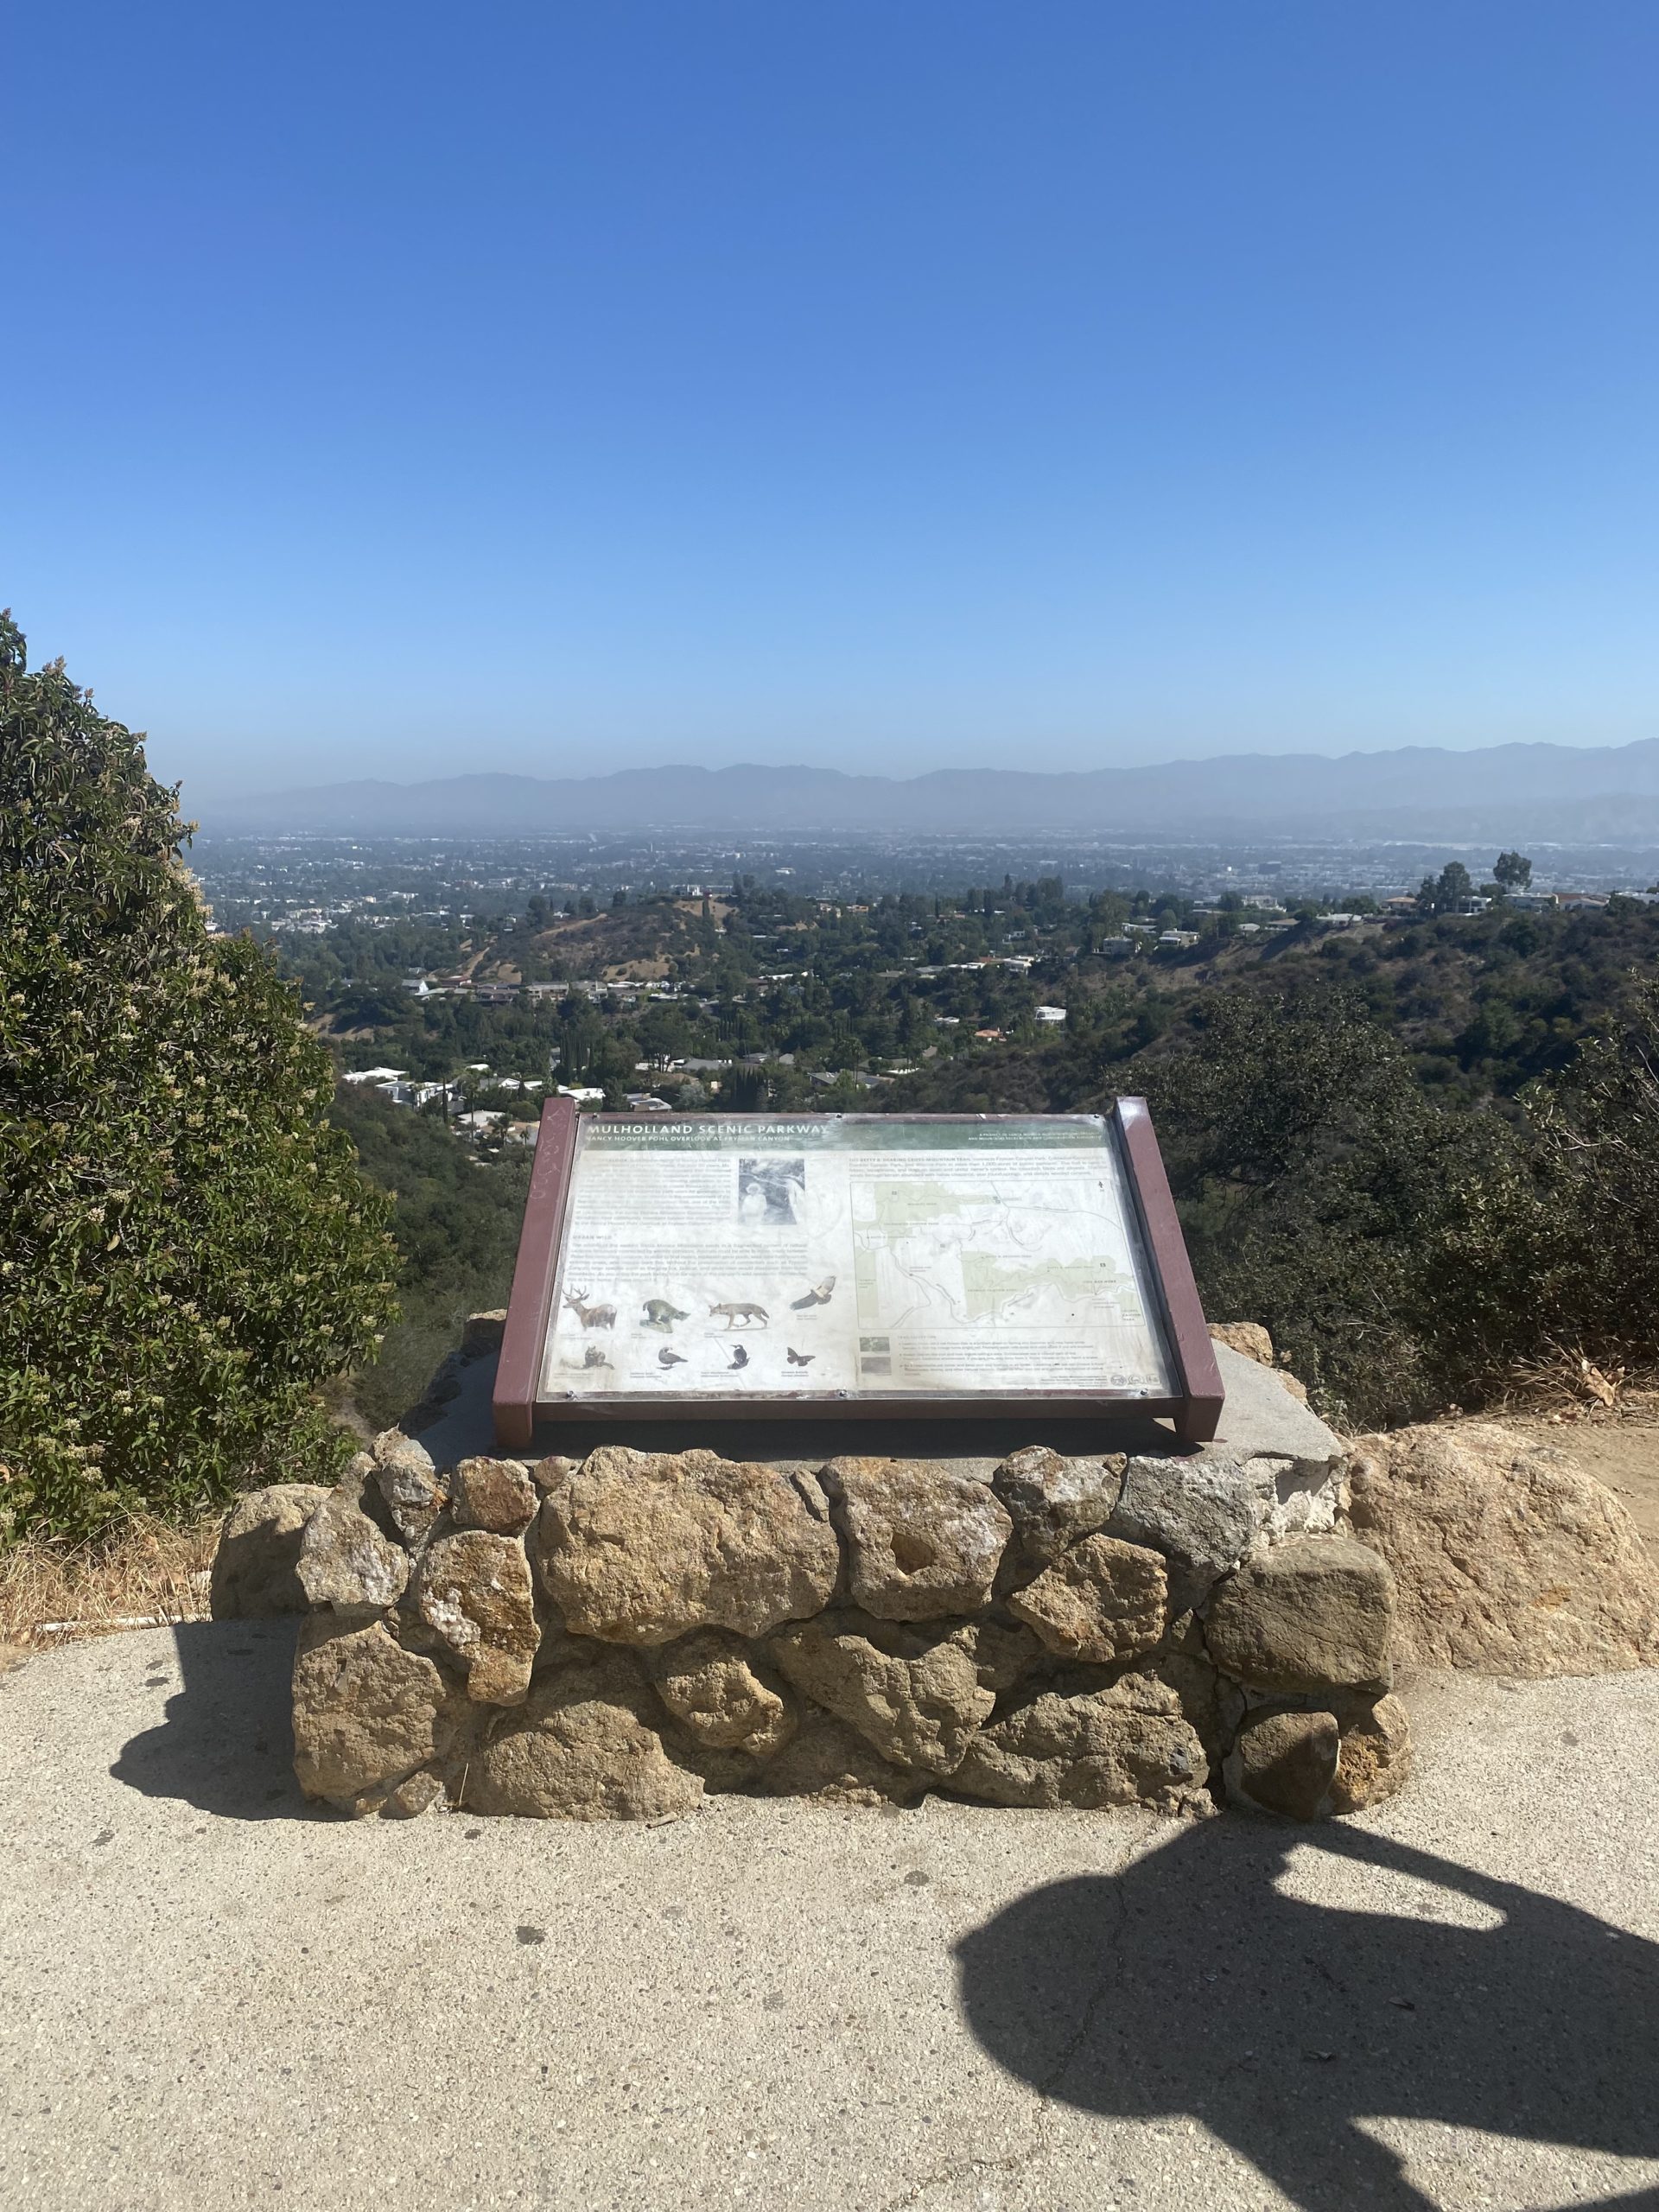
Take Coldwater Canyon to Mulholland Drive toward Laurel Canyon, until you see the sign for the Nancy Hoover Pohl Overlook. You’ll pass a few vista points on the way, but Nancy Hoover is what you’re looking for. You’ll turn into a parking lot with substantial parking — there’s also plentiful street parking. There is no restroom or water either at the trail head or on the trail itself. From the parking lot, keep right at the sign and head past the white gate to find yourself on the trail. You’ll find yourself on a dirt path with telephone poles on your right.


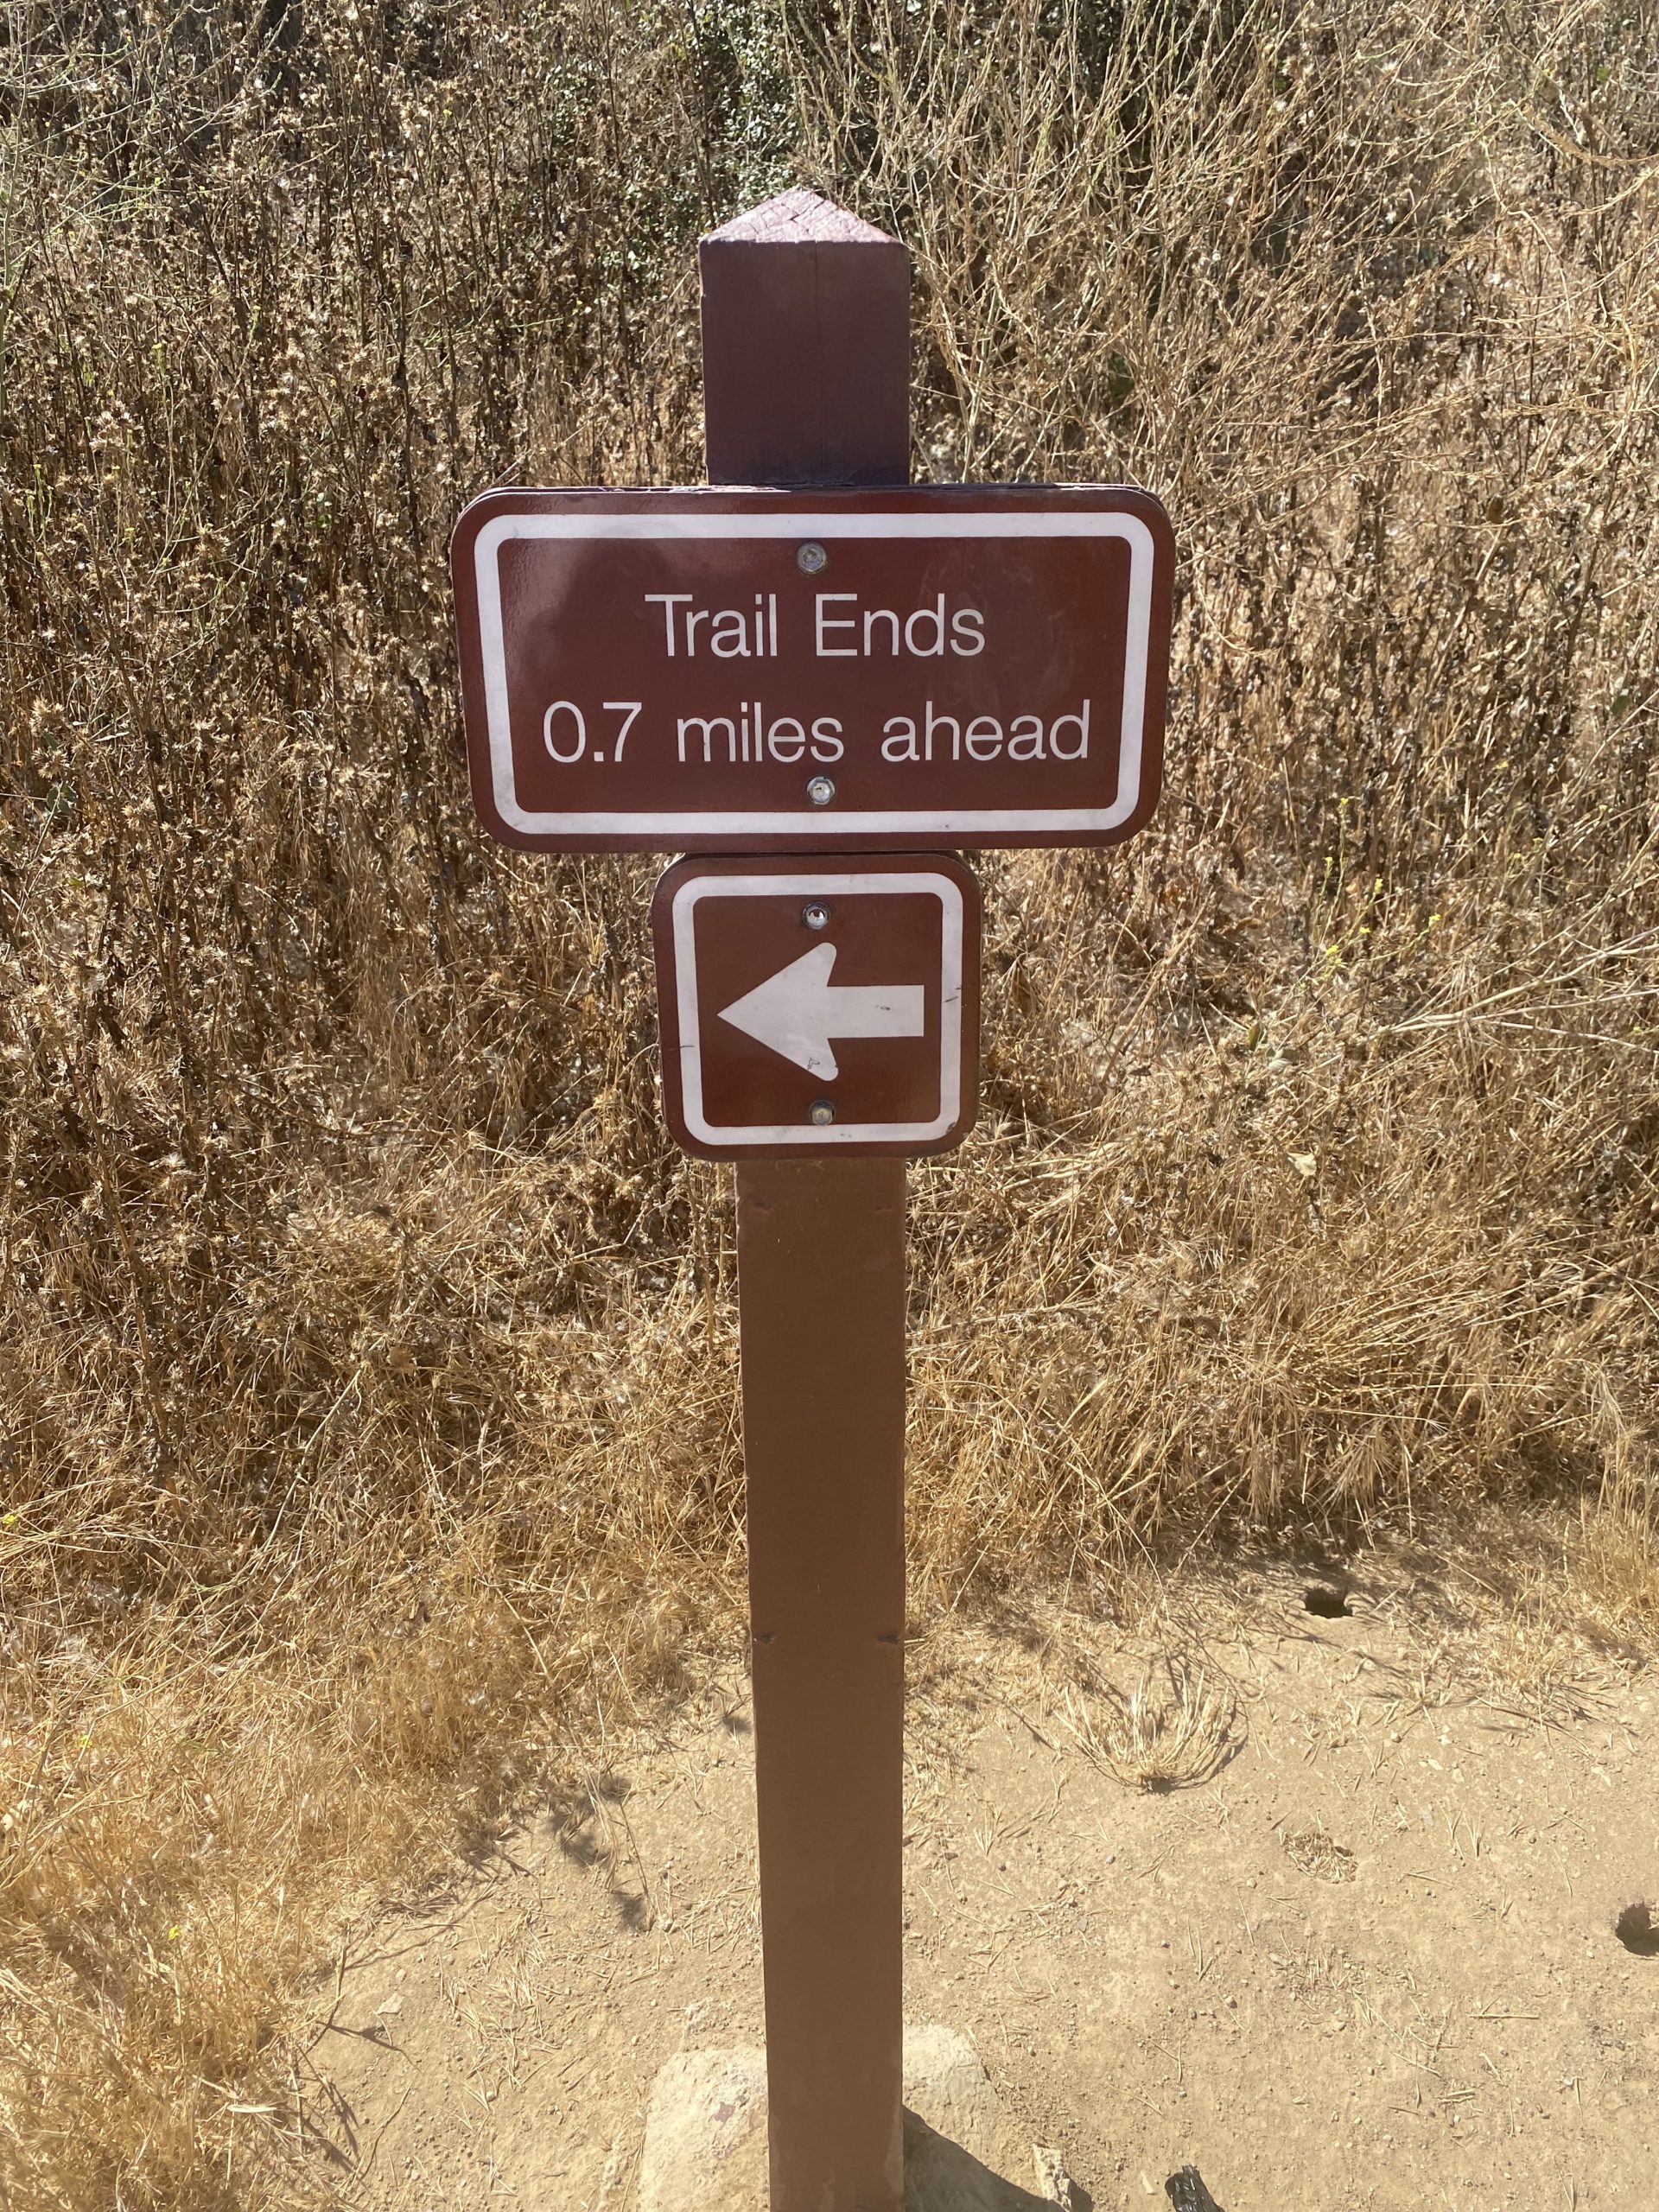
You’ll shortly come to a sign on your right that reads “trail ends.” Here, veer a sharp left on the steep, narrow path. Do not follow the arrow on the sign.


At this point, you’re going to start encountering a fair amount of switchbacks — sharp curves in the trail that help you ascend or descend steep terrain. Many of these switchbacks will be cut by user or ‘social’ trails, and while they may save you a negligible amount of time, please stay on the established trail wherever you can. These cuts often cause unnecessary damage to the terrain and can increase erosion, even damaging the established trail.
Sometimes on this route it can be tough to tell the established trail from these user trails — when in doubt, follow the wider path that curves instead of the narrow path that goes straight up or down!
A great switchback example up above: the path to the right will lead you in a steep descent on a user or social trail, whereas the path forward is the traditional trail.
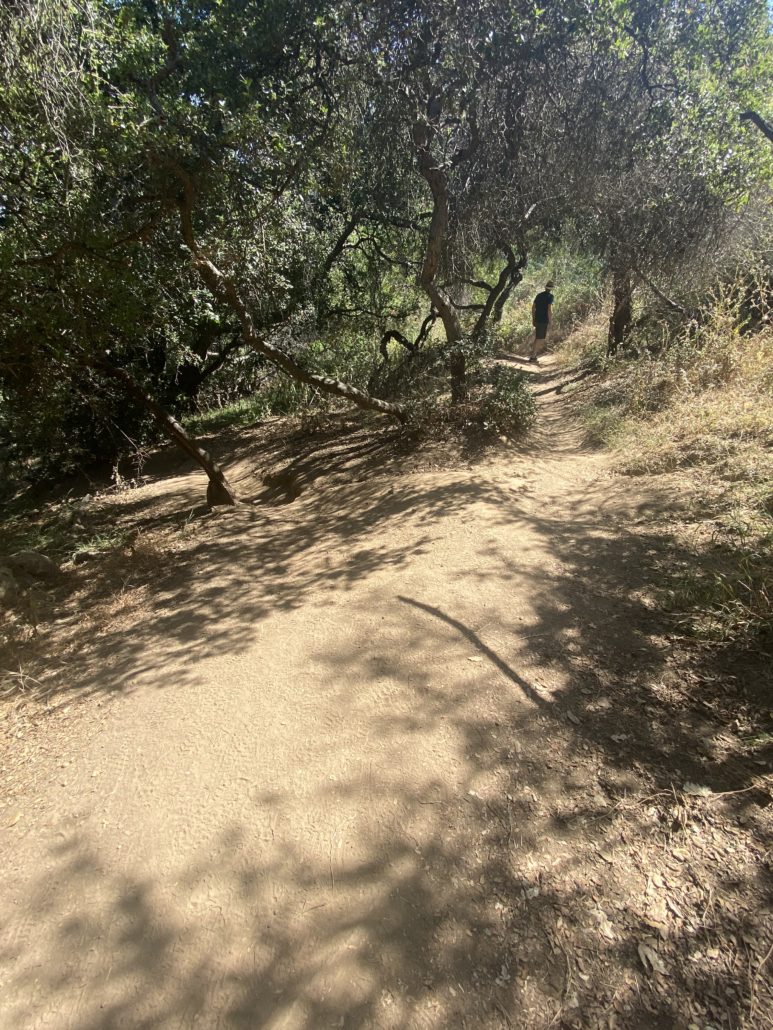

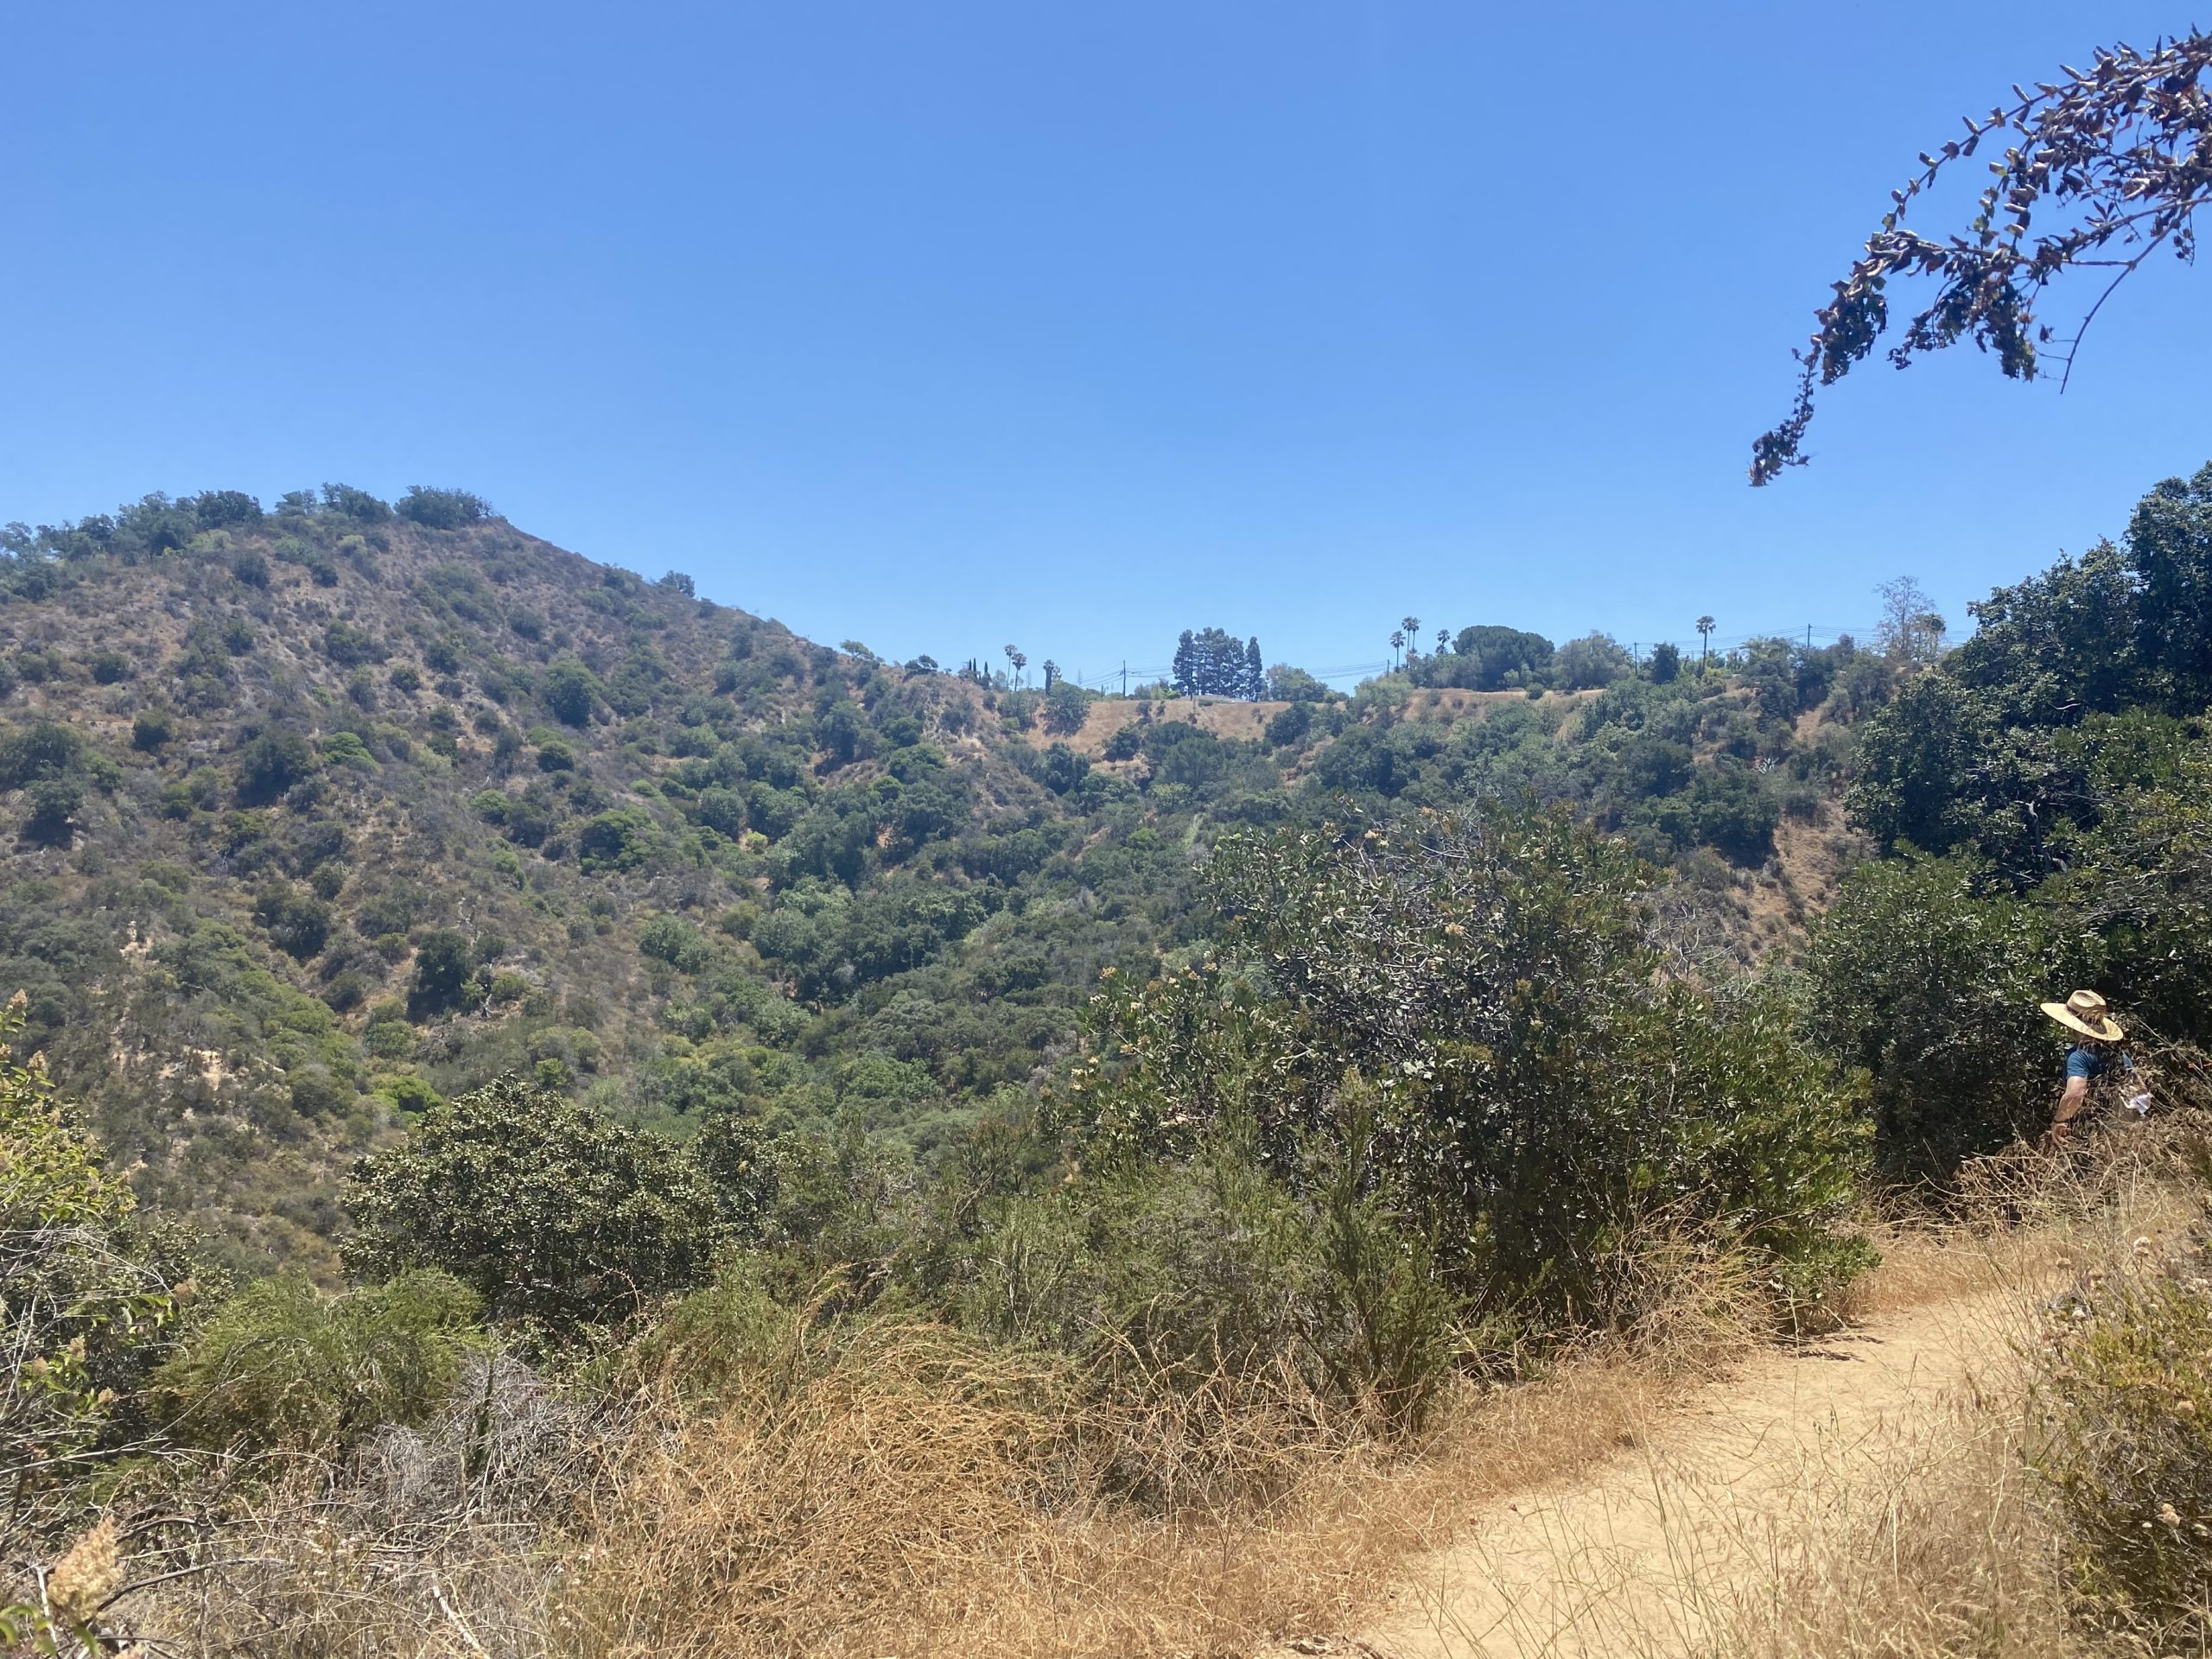
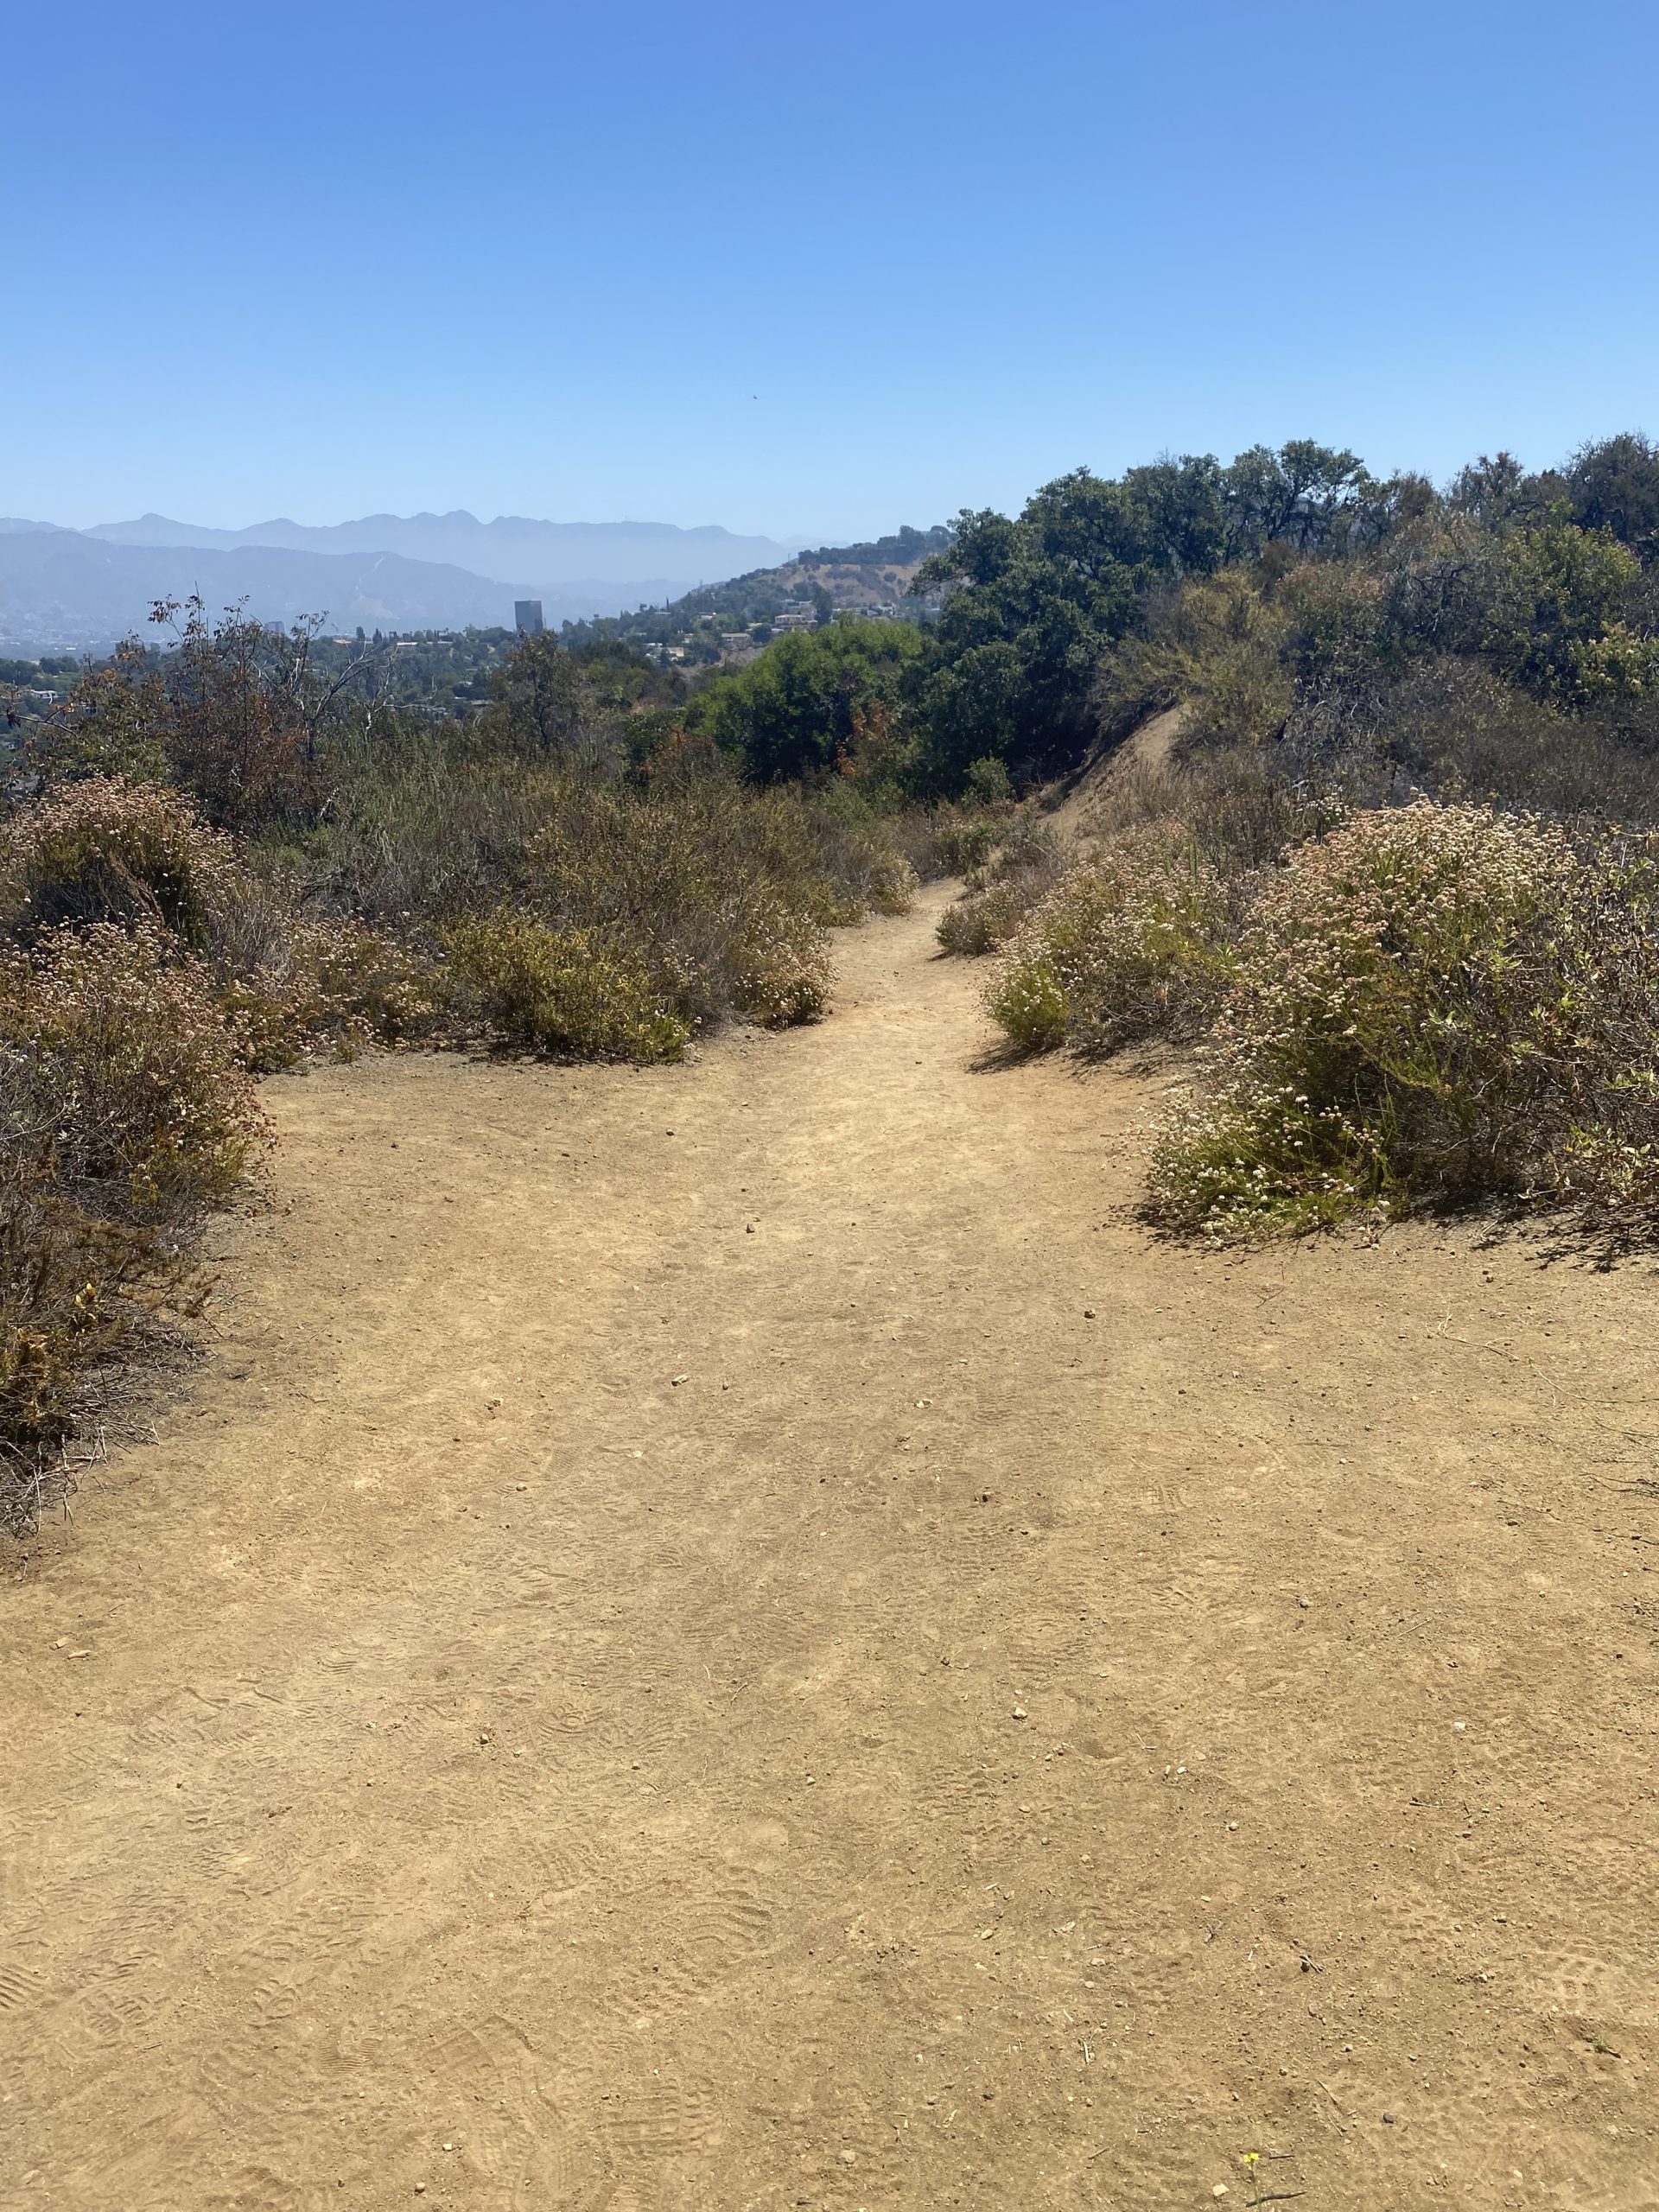
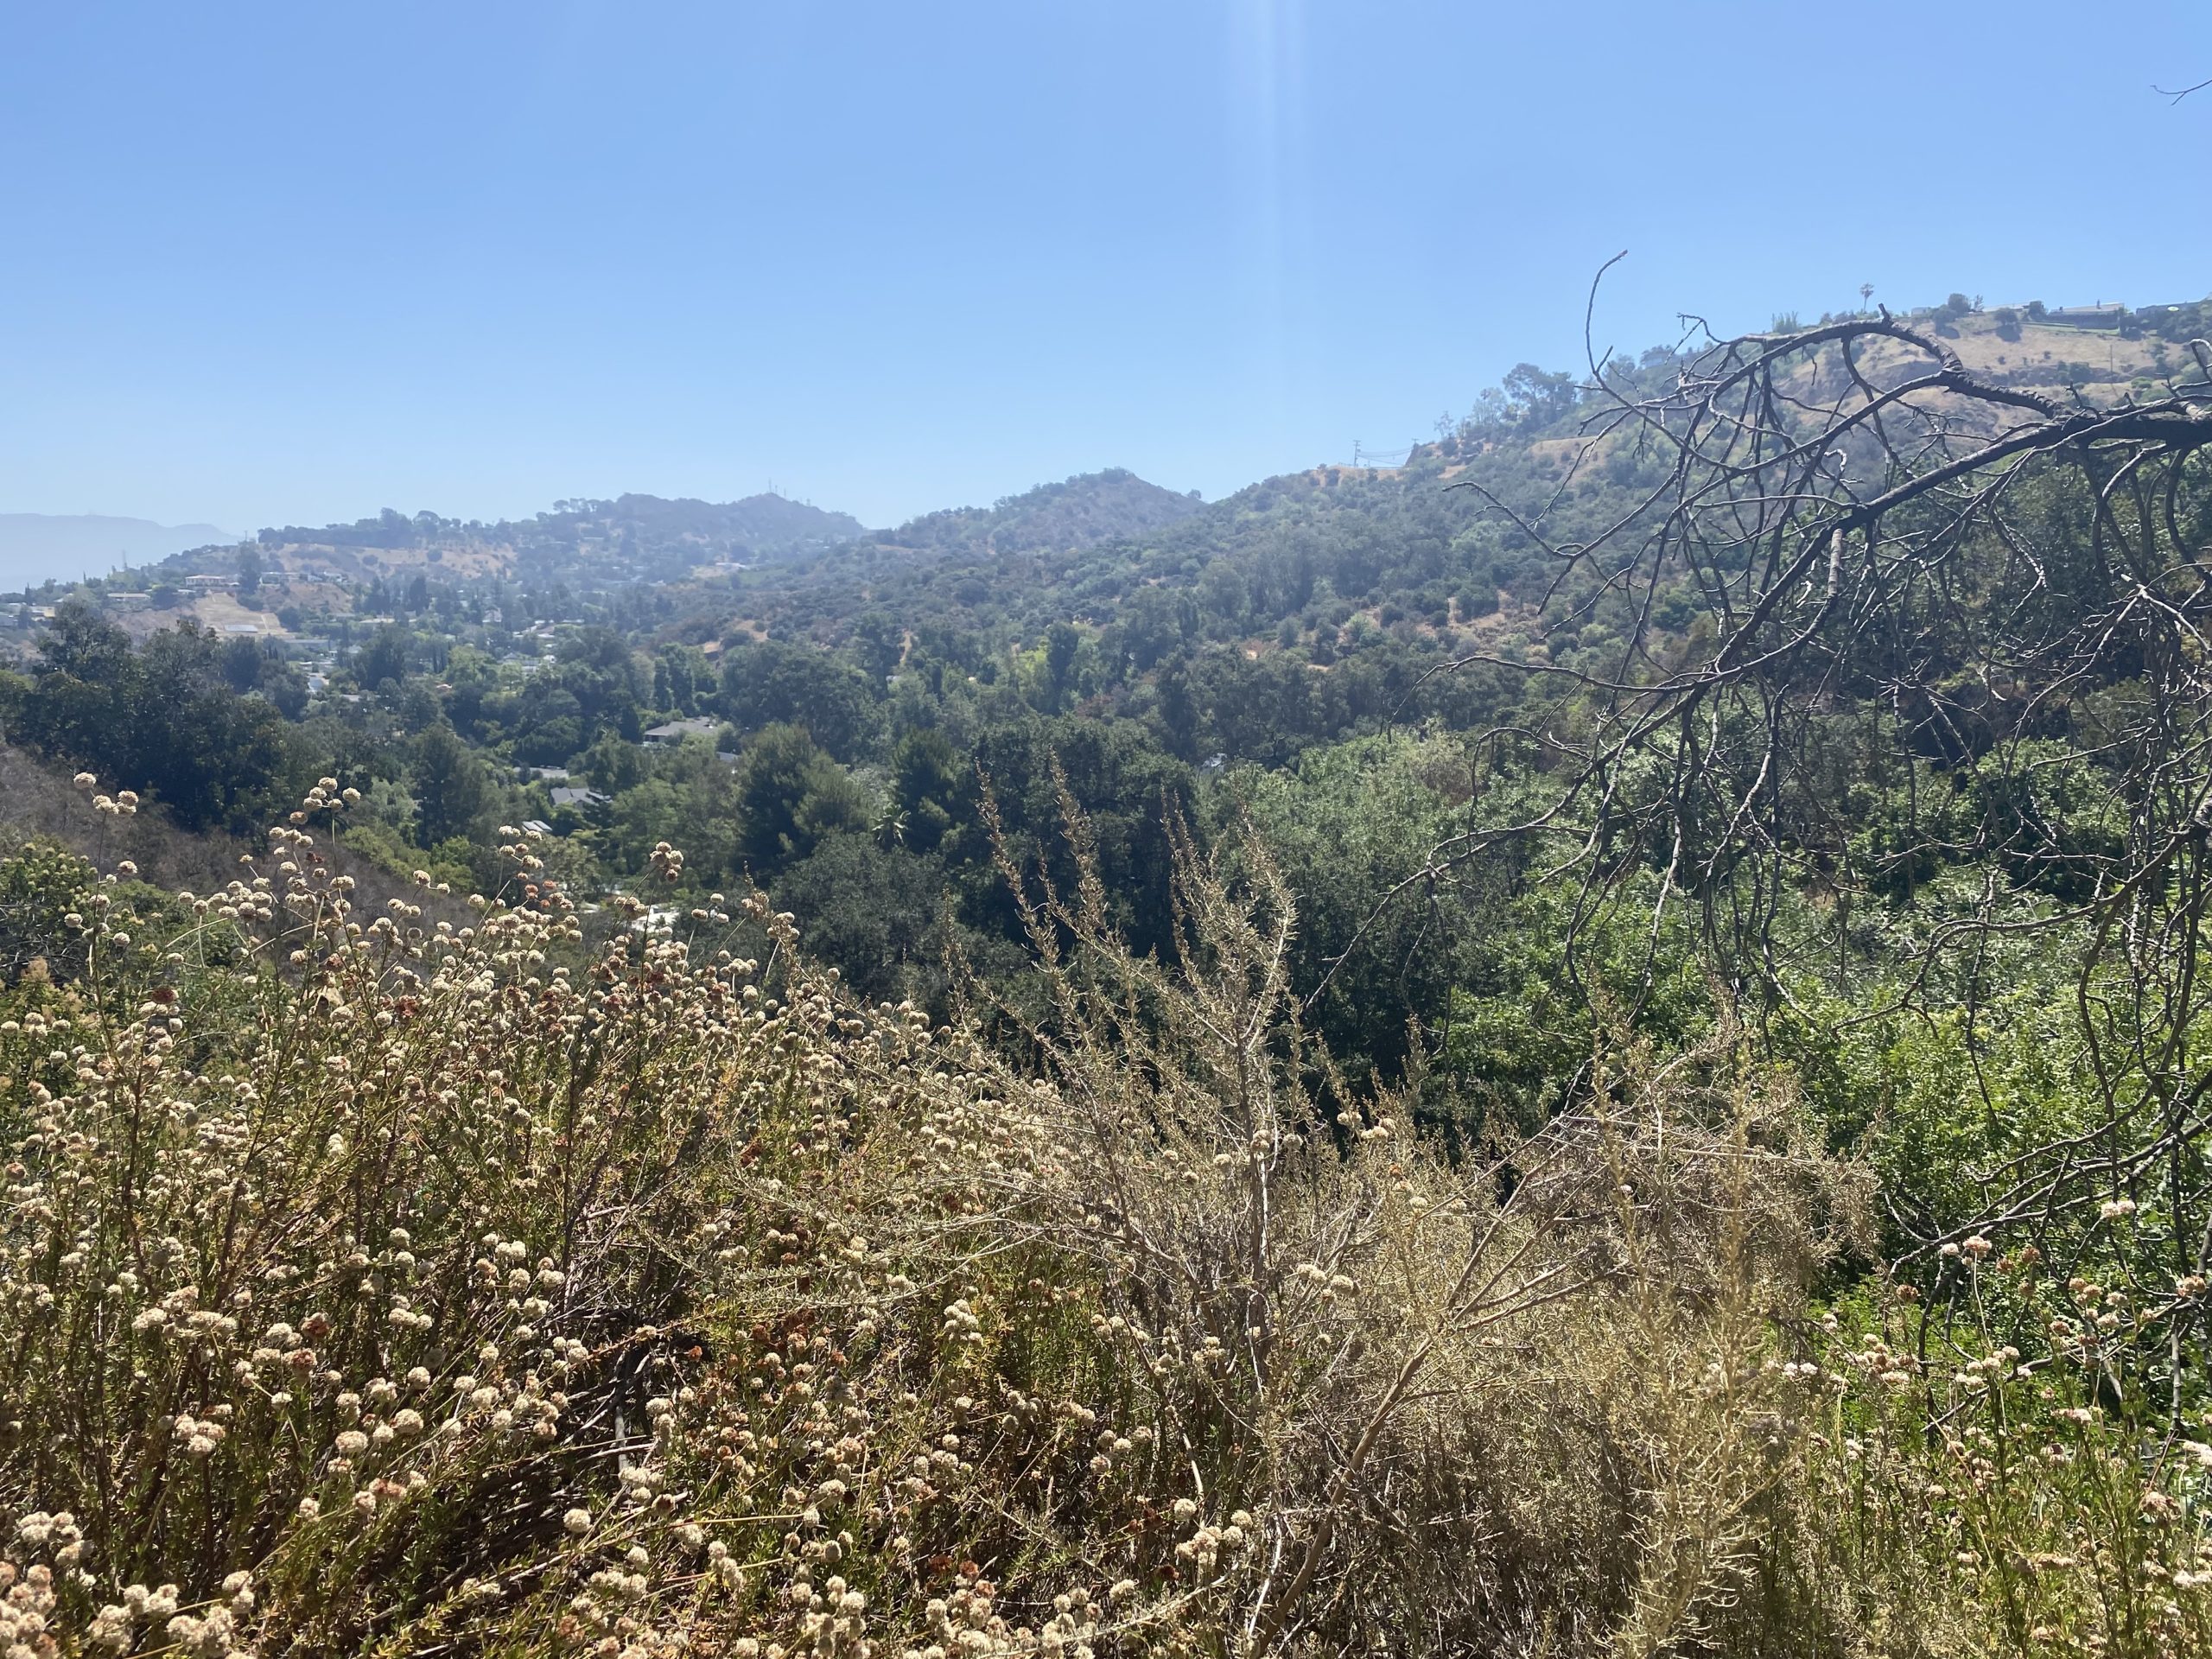
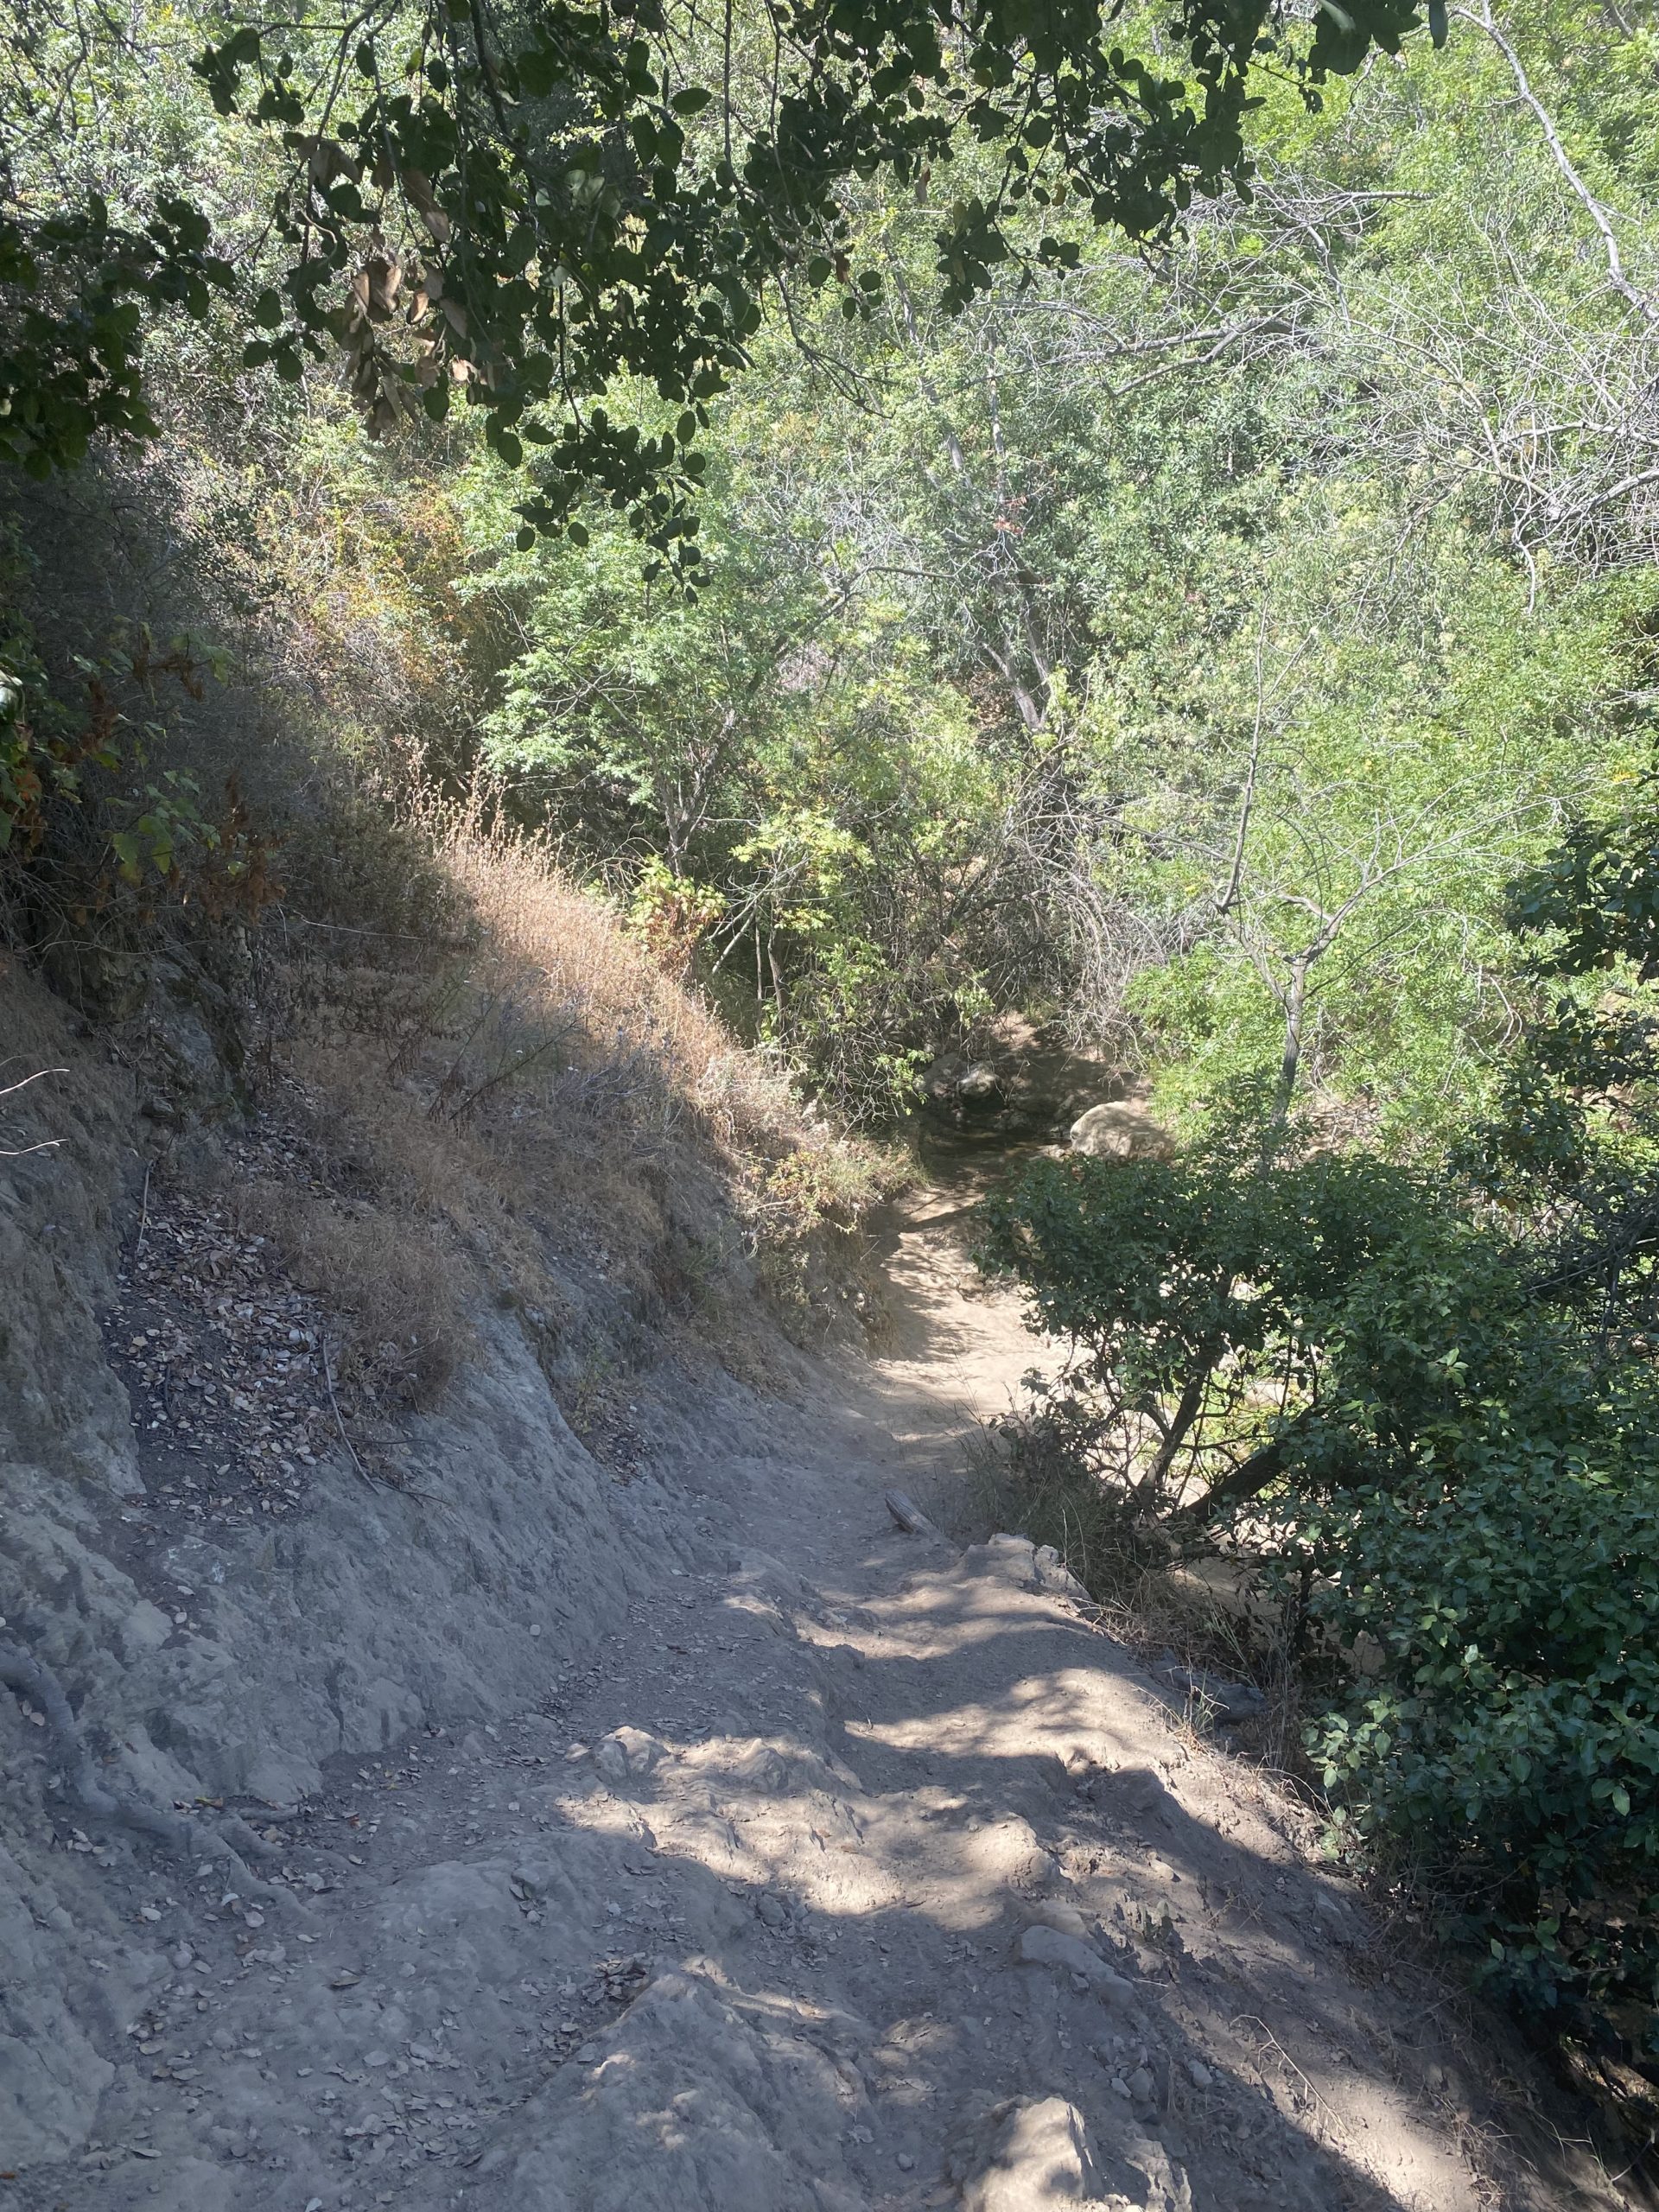
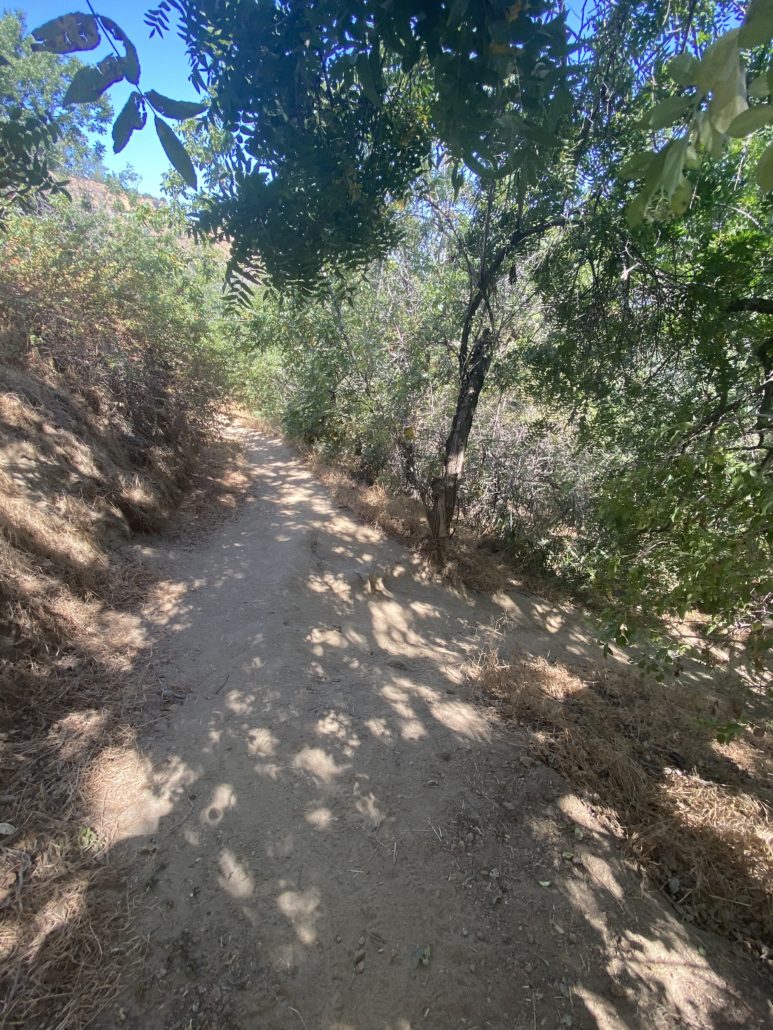
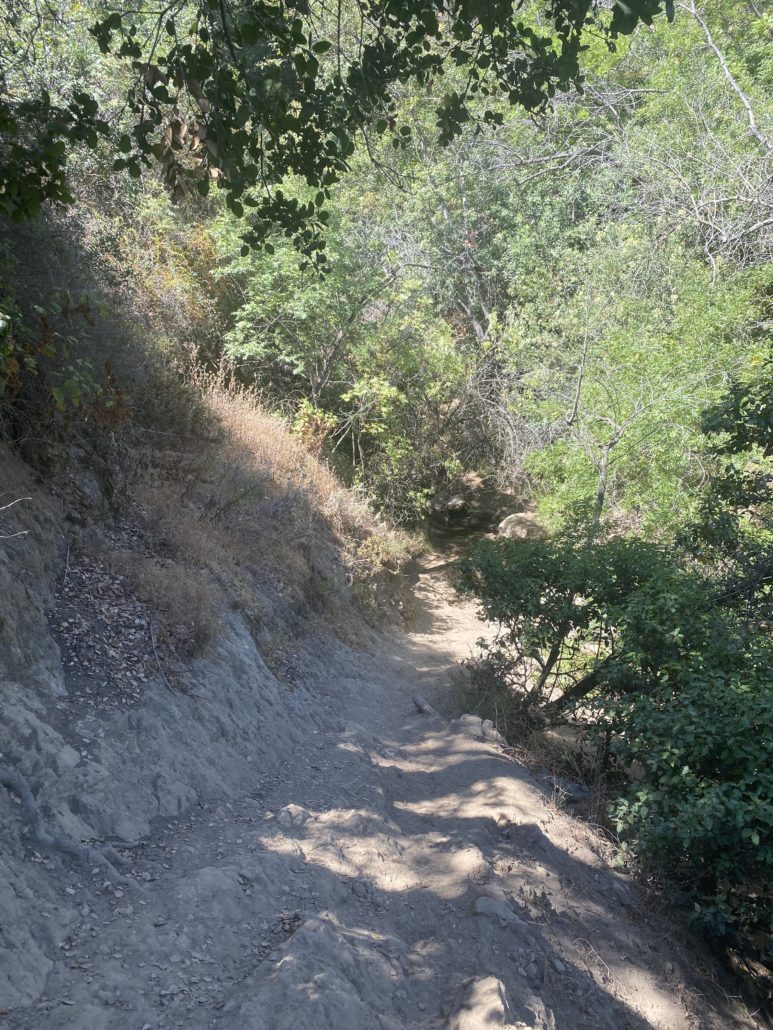
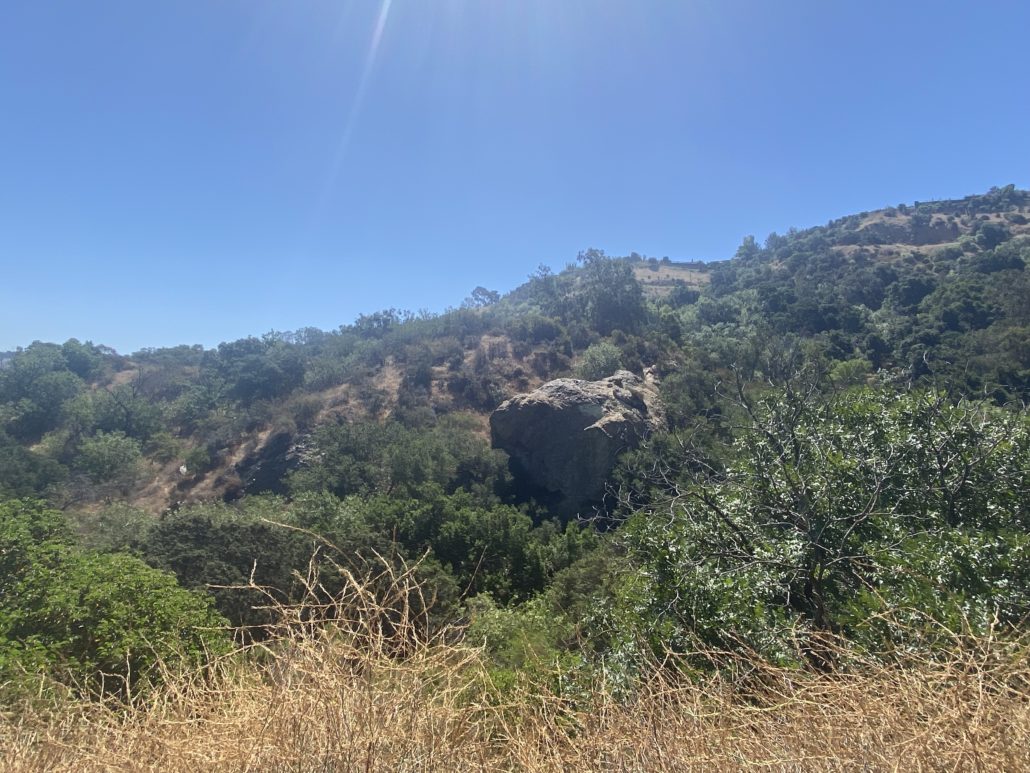
At this point, the Betty B. Dearing Trail narrows a bit, and you’ll need to walk single file. It’s a fairly quiet trail, though, so running into lots of people shouldn’t be an issue. Again, watch your footing so you don’t trip on any loose soil or hidden branches. You’ll start heading into the lusher, greener part of the hike (the best part, in my opinion!) Don’t forget to keep your eyes peeled for animal friends — we saw lizards, squirrels, hummingbirds, and even a snake up in a tree. At this point, you’ll also start getting beautiful mountain views.


You’ll come to a small creek that you’ll have to cross — at this time of year, it was little more than a trickle, but depending on when you go and the last time it rained, you may have to maneuver a bit over the water. There’s large rocks to help you step over. After this, keep right to continue ascending.
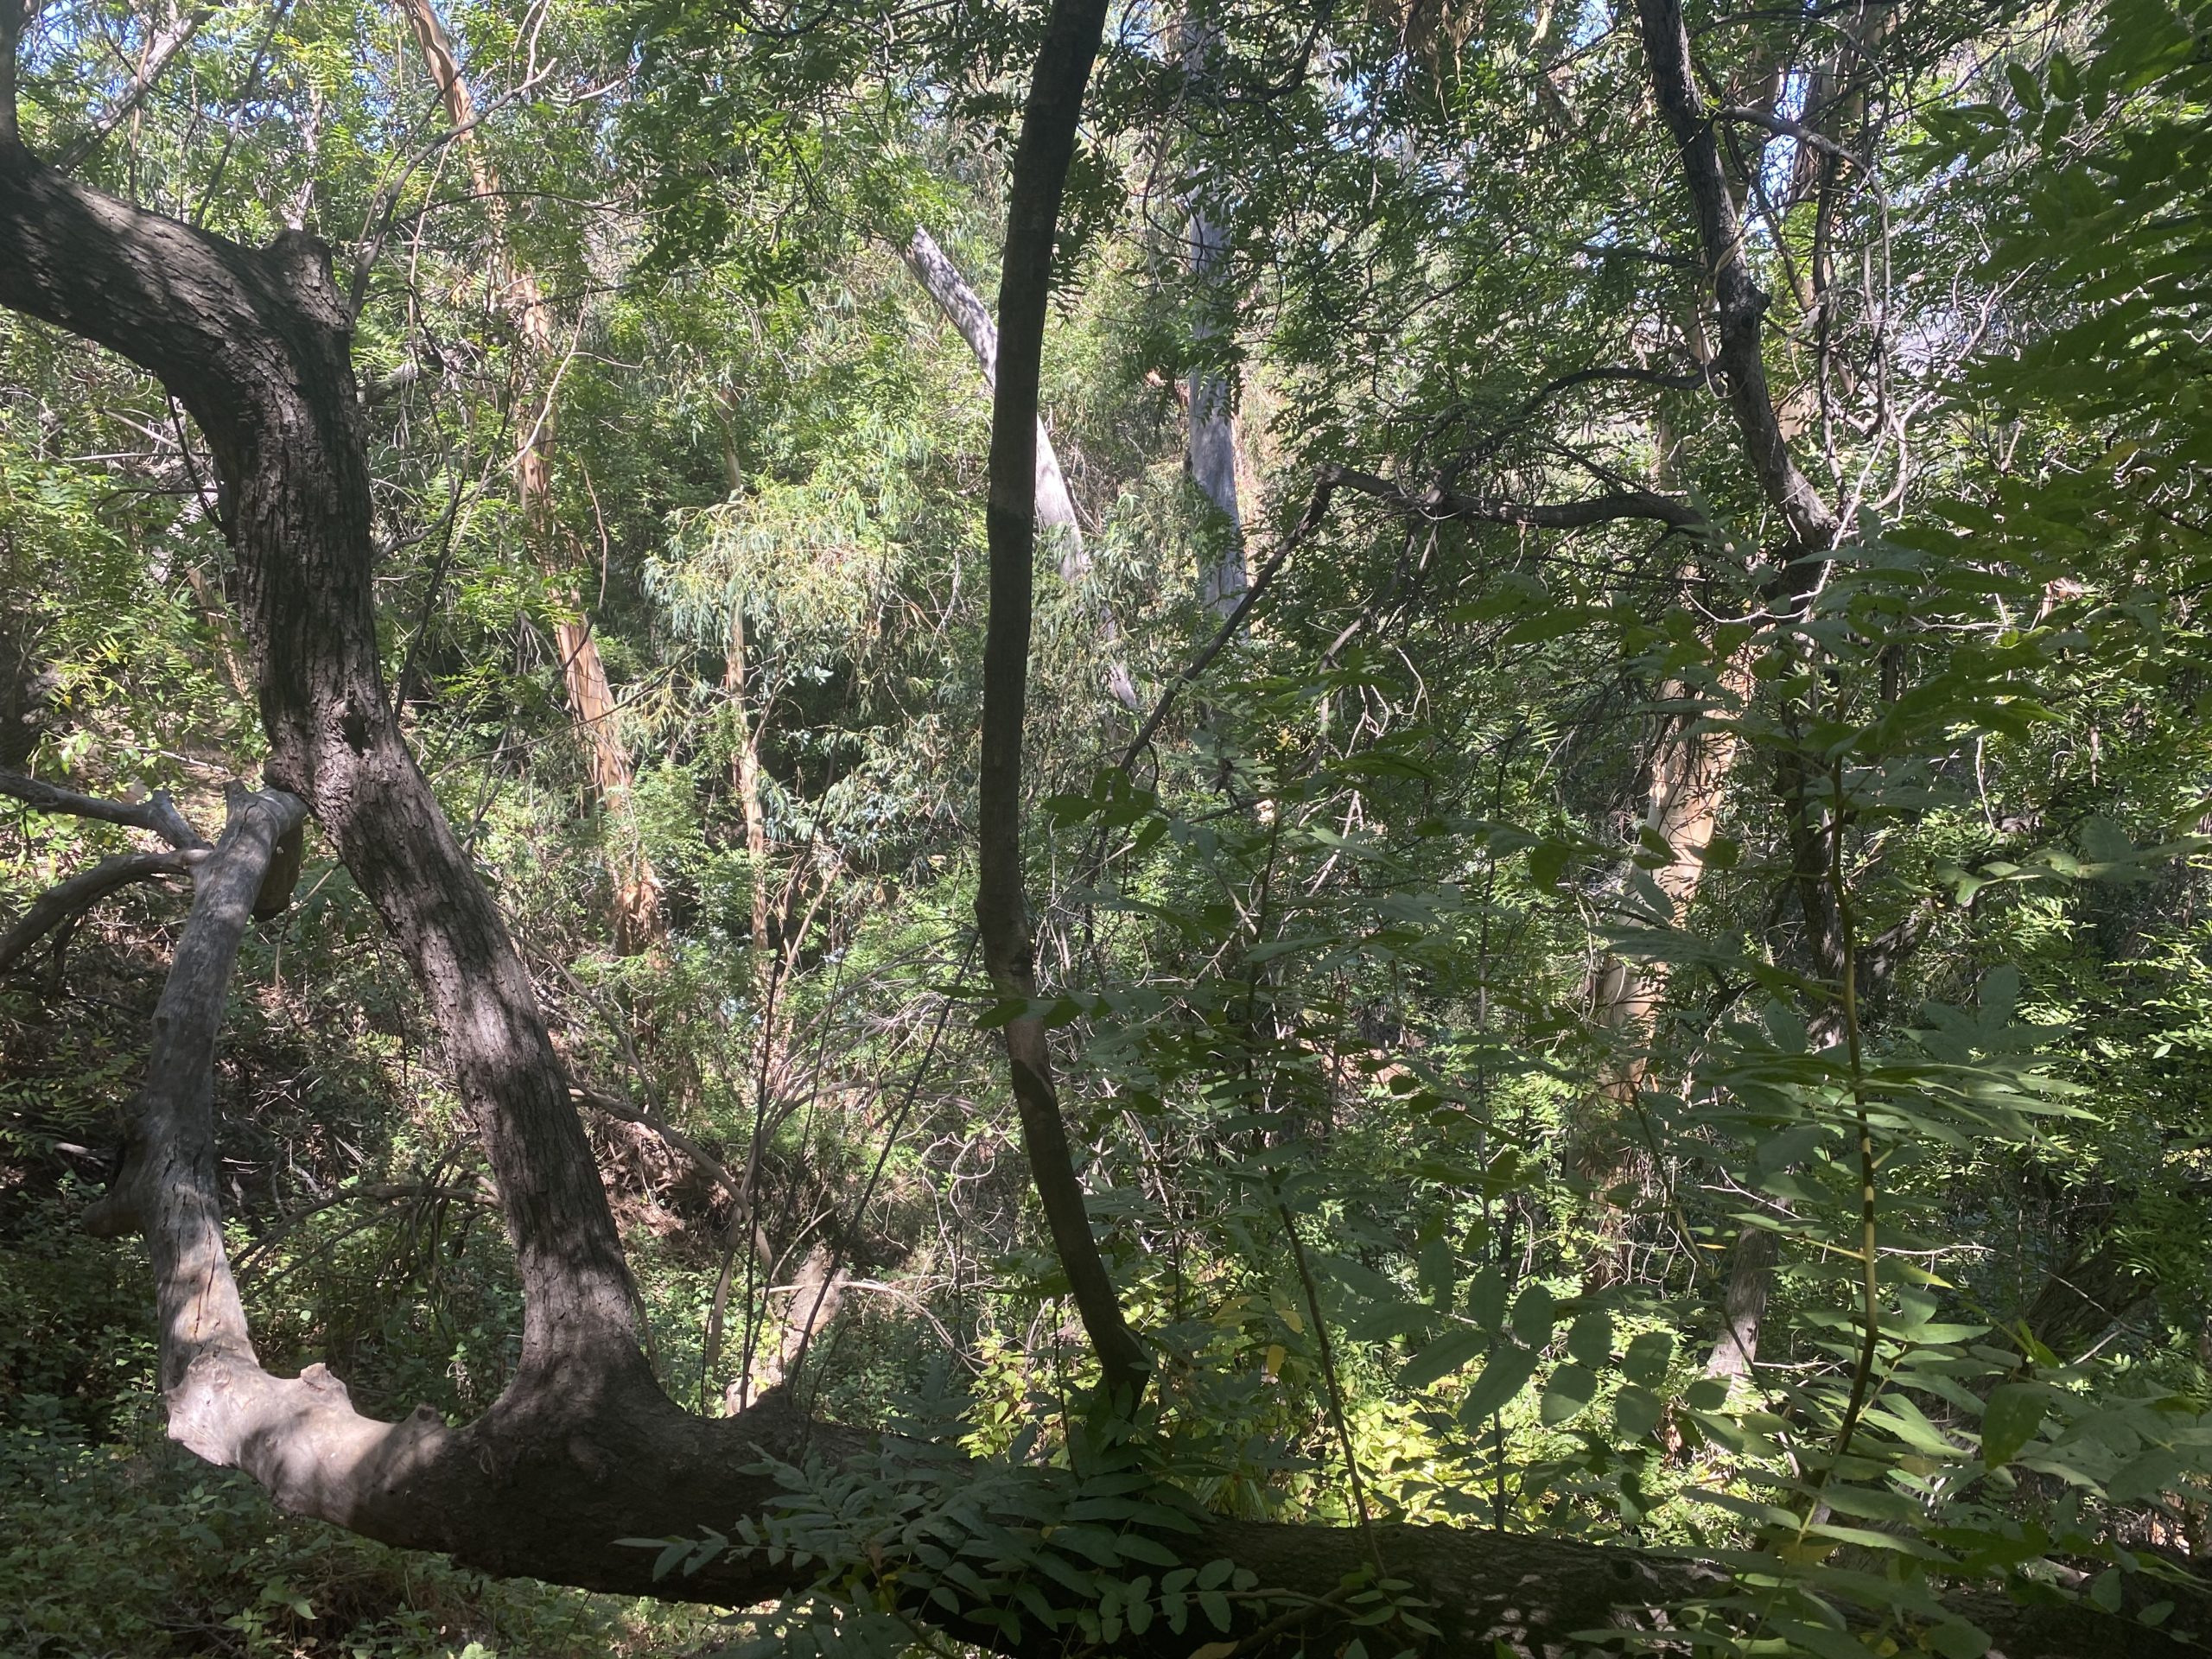
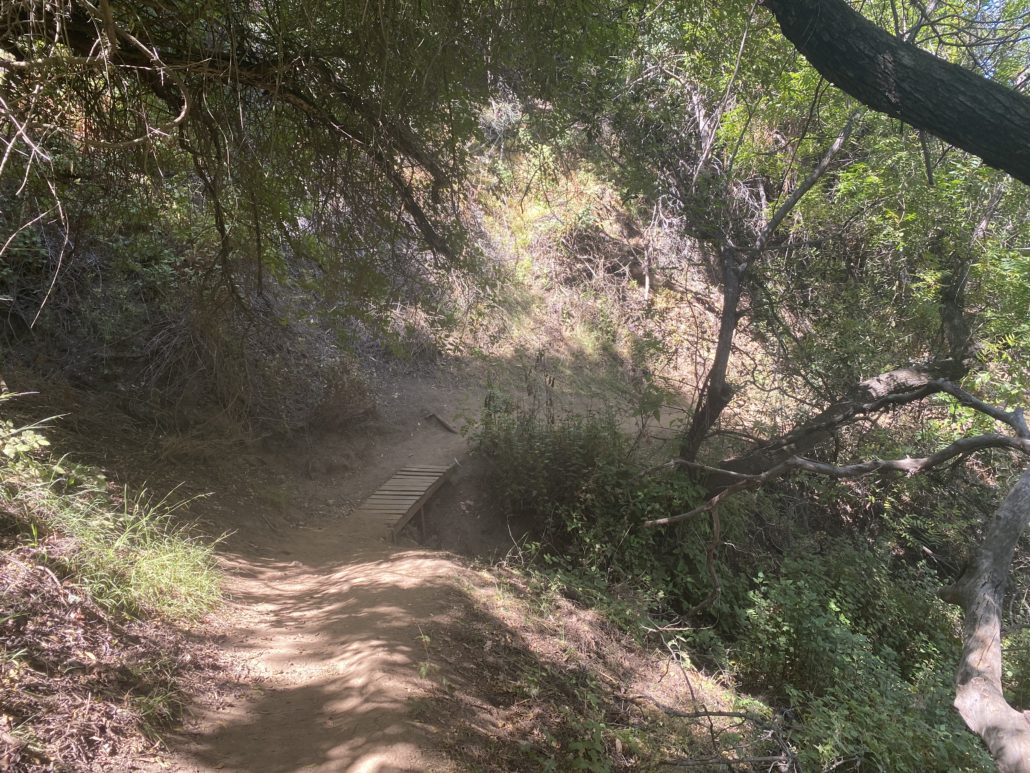
Another creek crossing! This time a handy bridge guides the way. If you’re feeling leisurely, take a moment to look in the water — we saw some fish hanging out! At this point, the hike is incredibly lush. Just watch your head for some low-hanging branches and leaves.

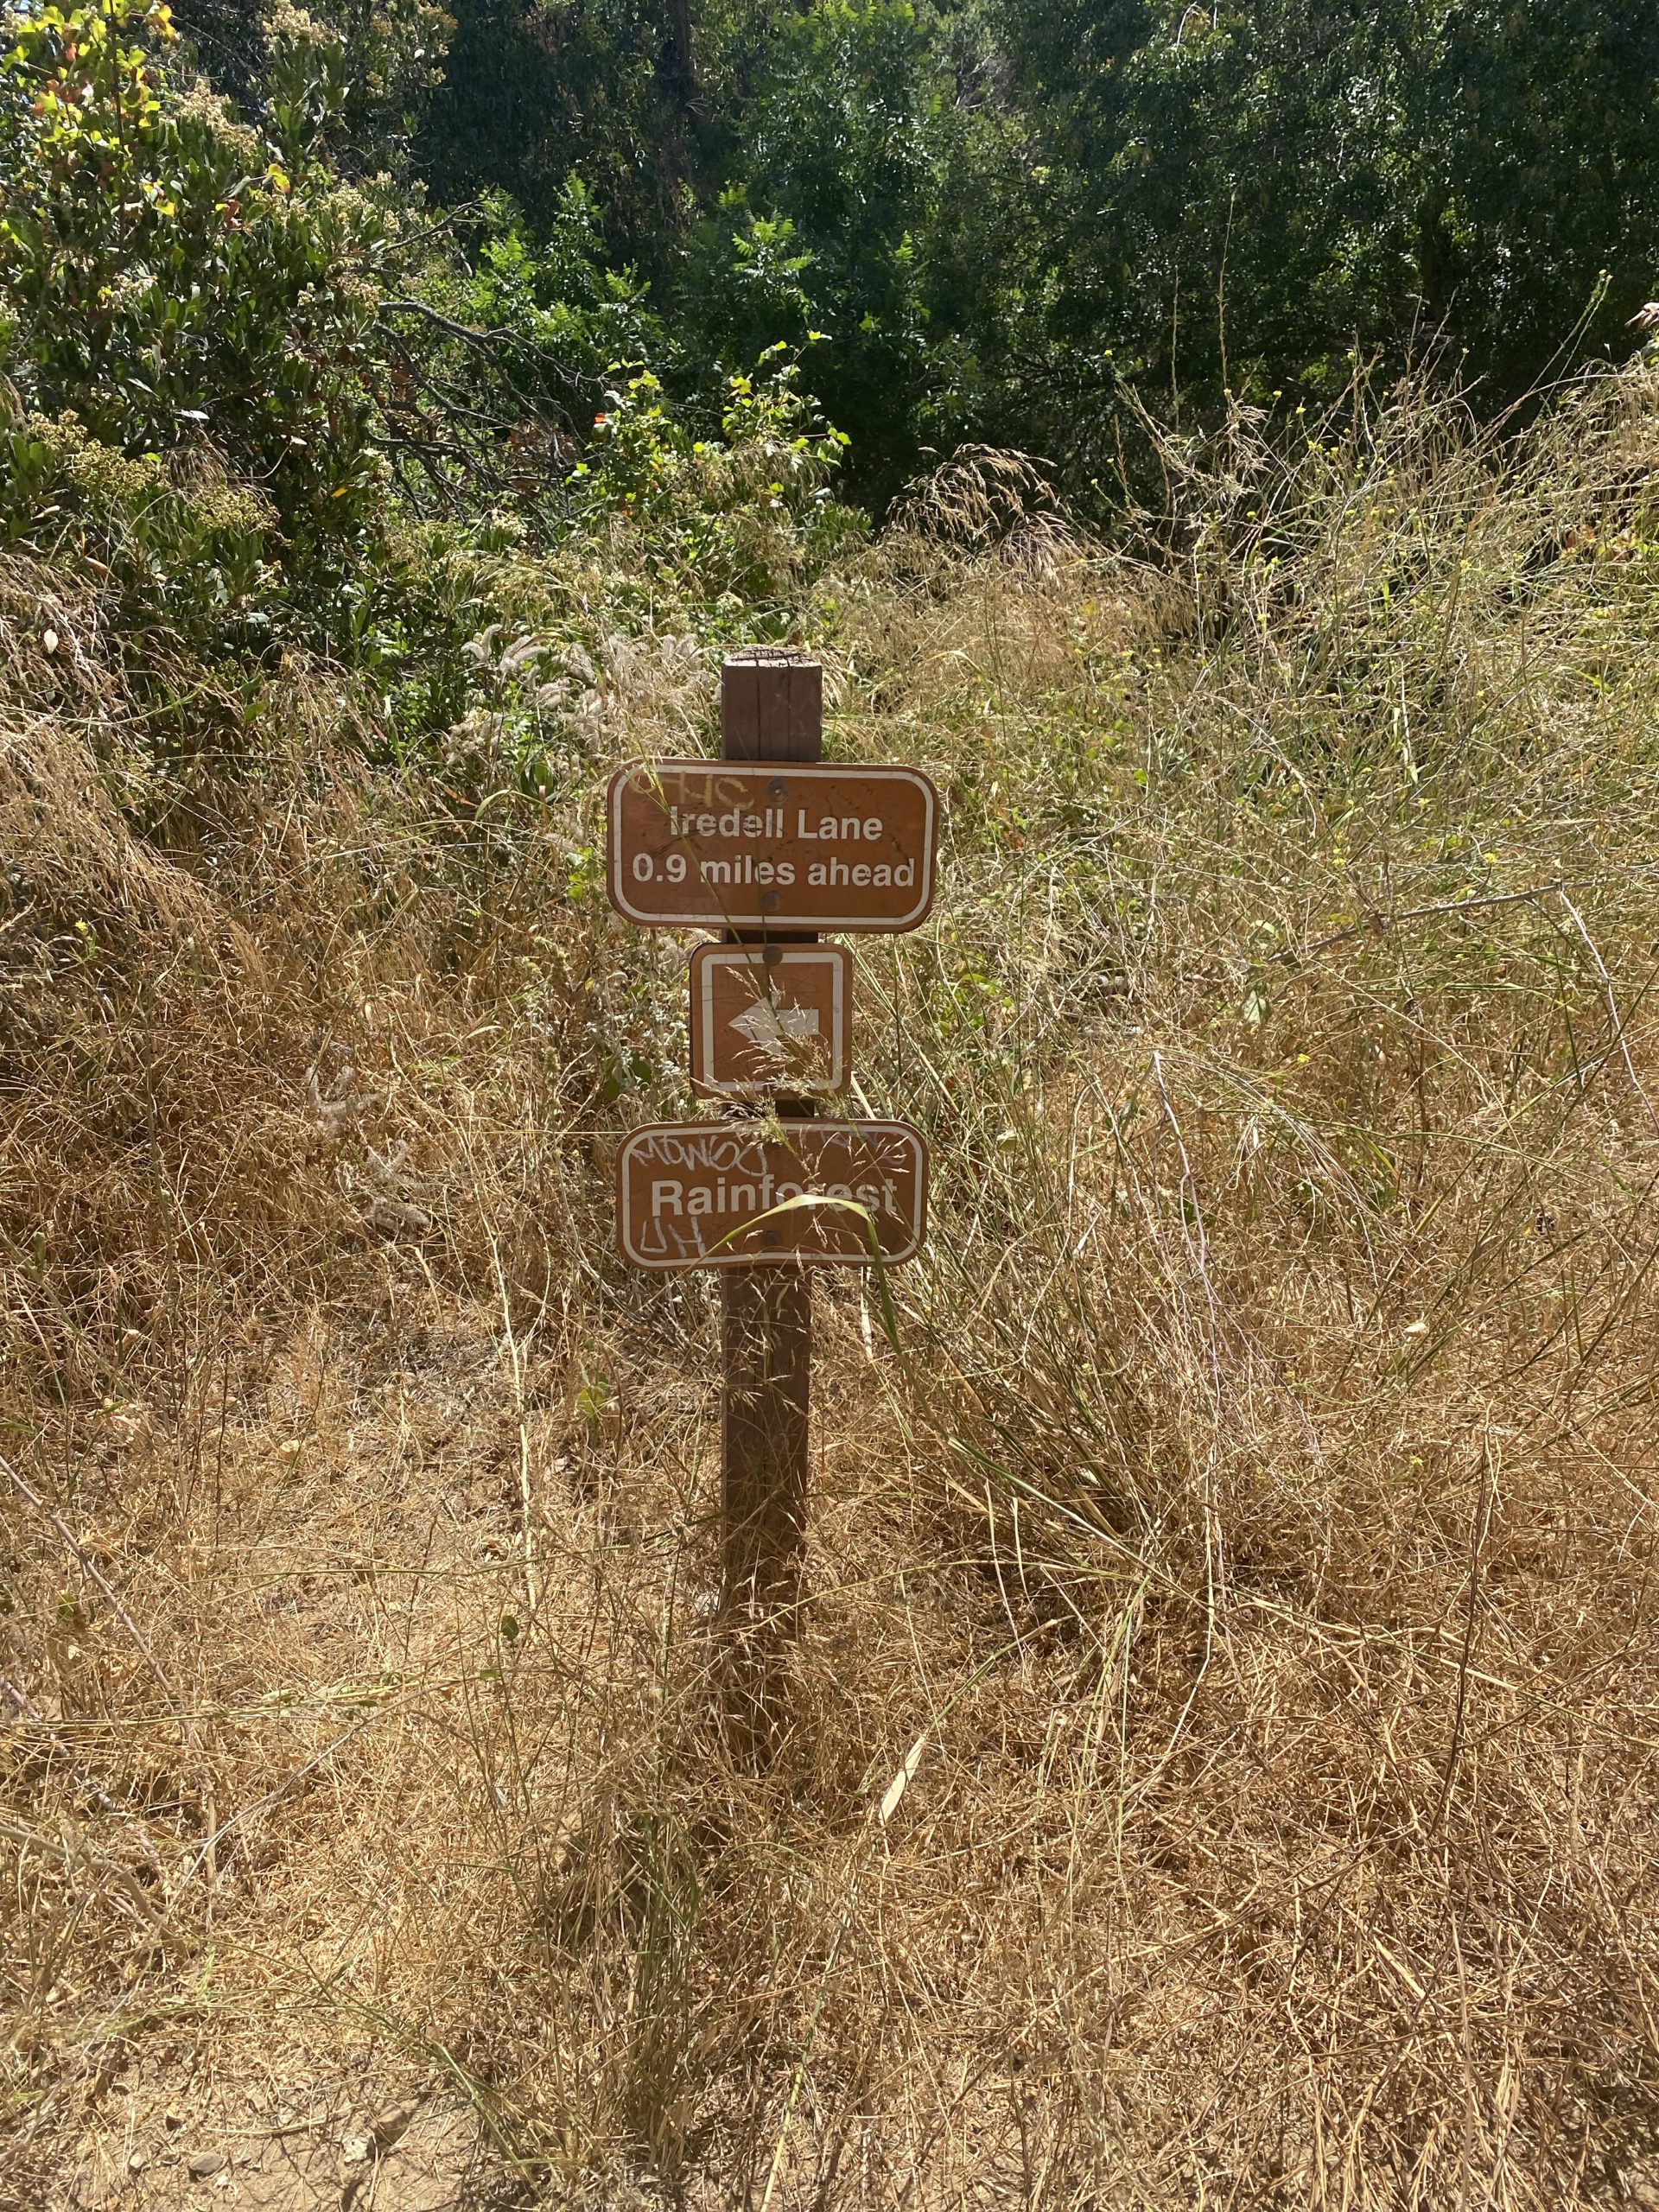
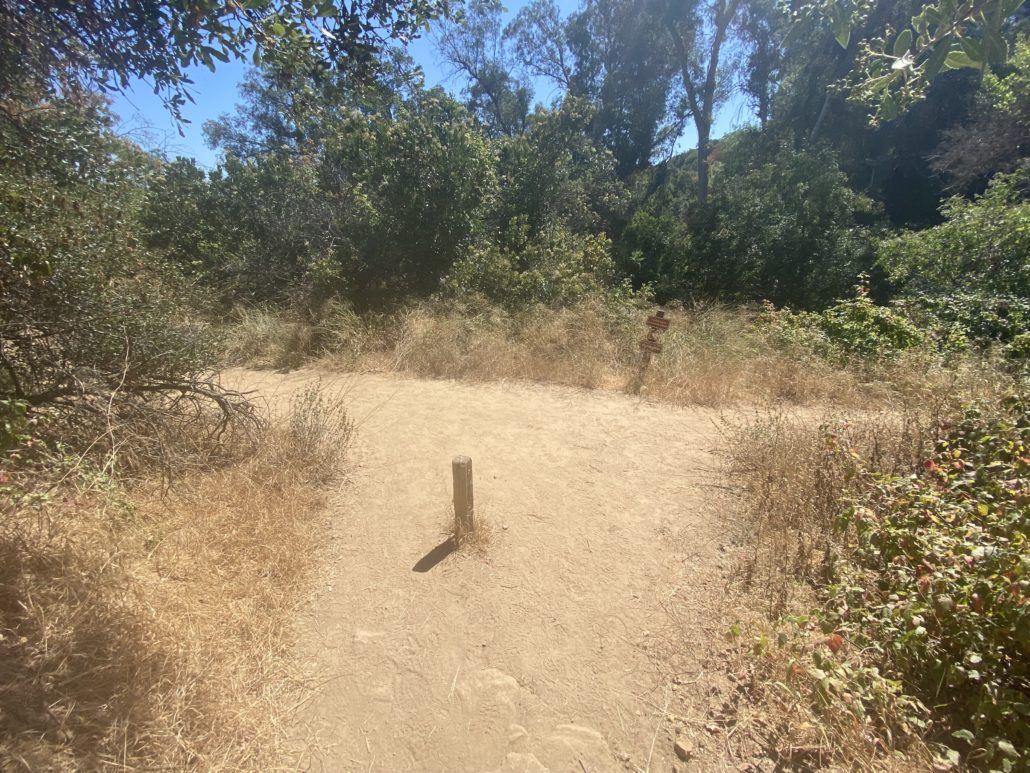
After a bit, you’ll come across your first sign post since the “trail ends” sign at the beginning of the hike. This time, follow the post for the “Rainforest,” and keep left to head toward Iredell Lane.

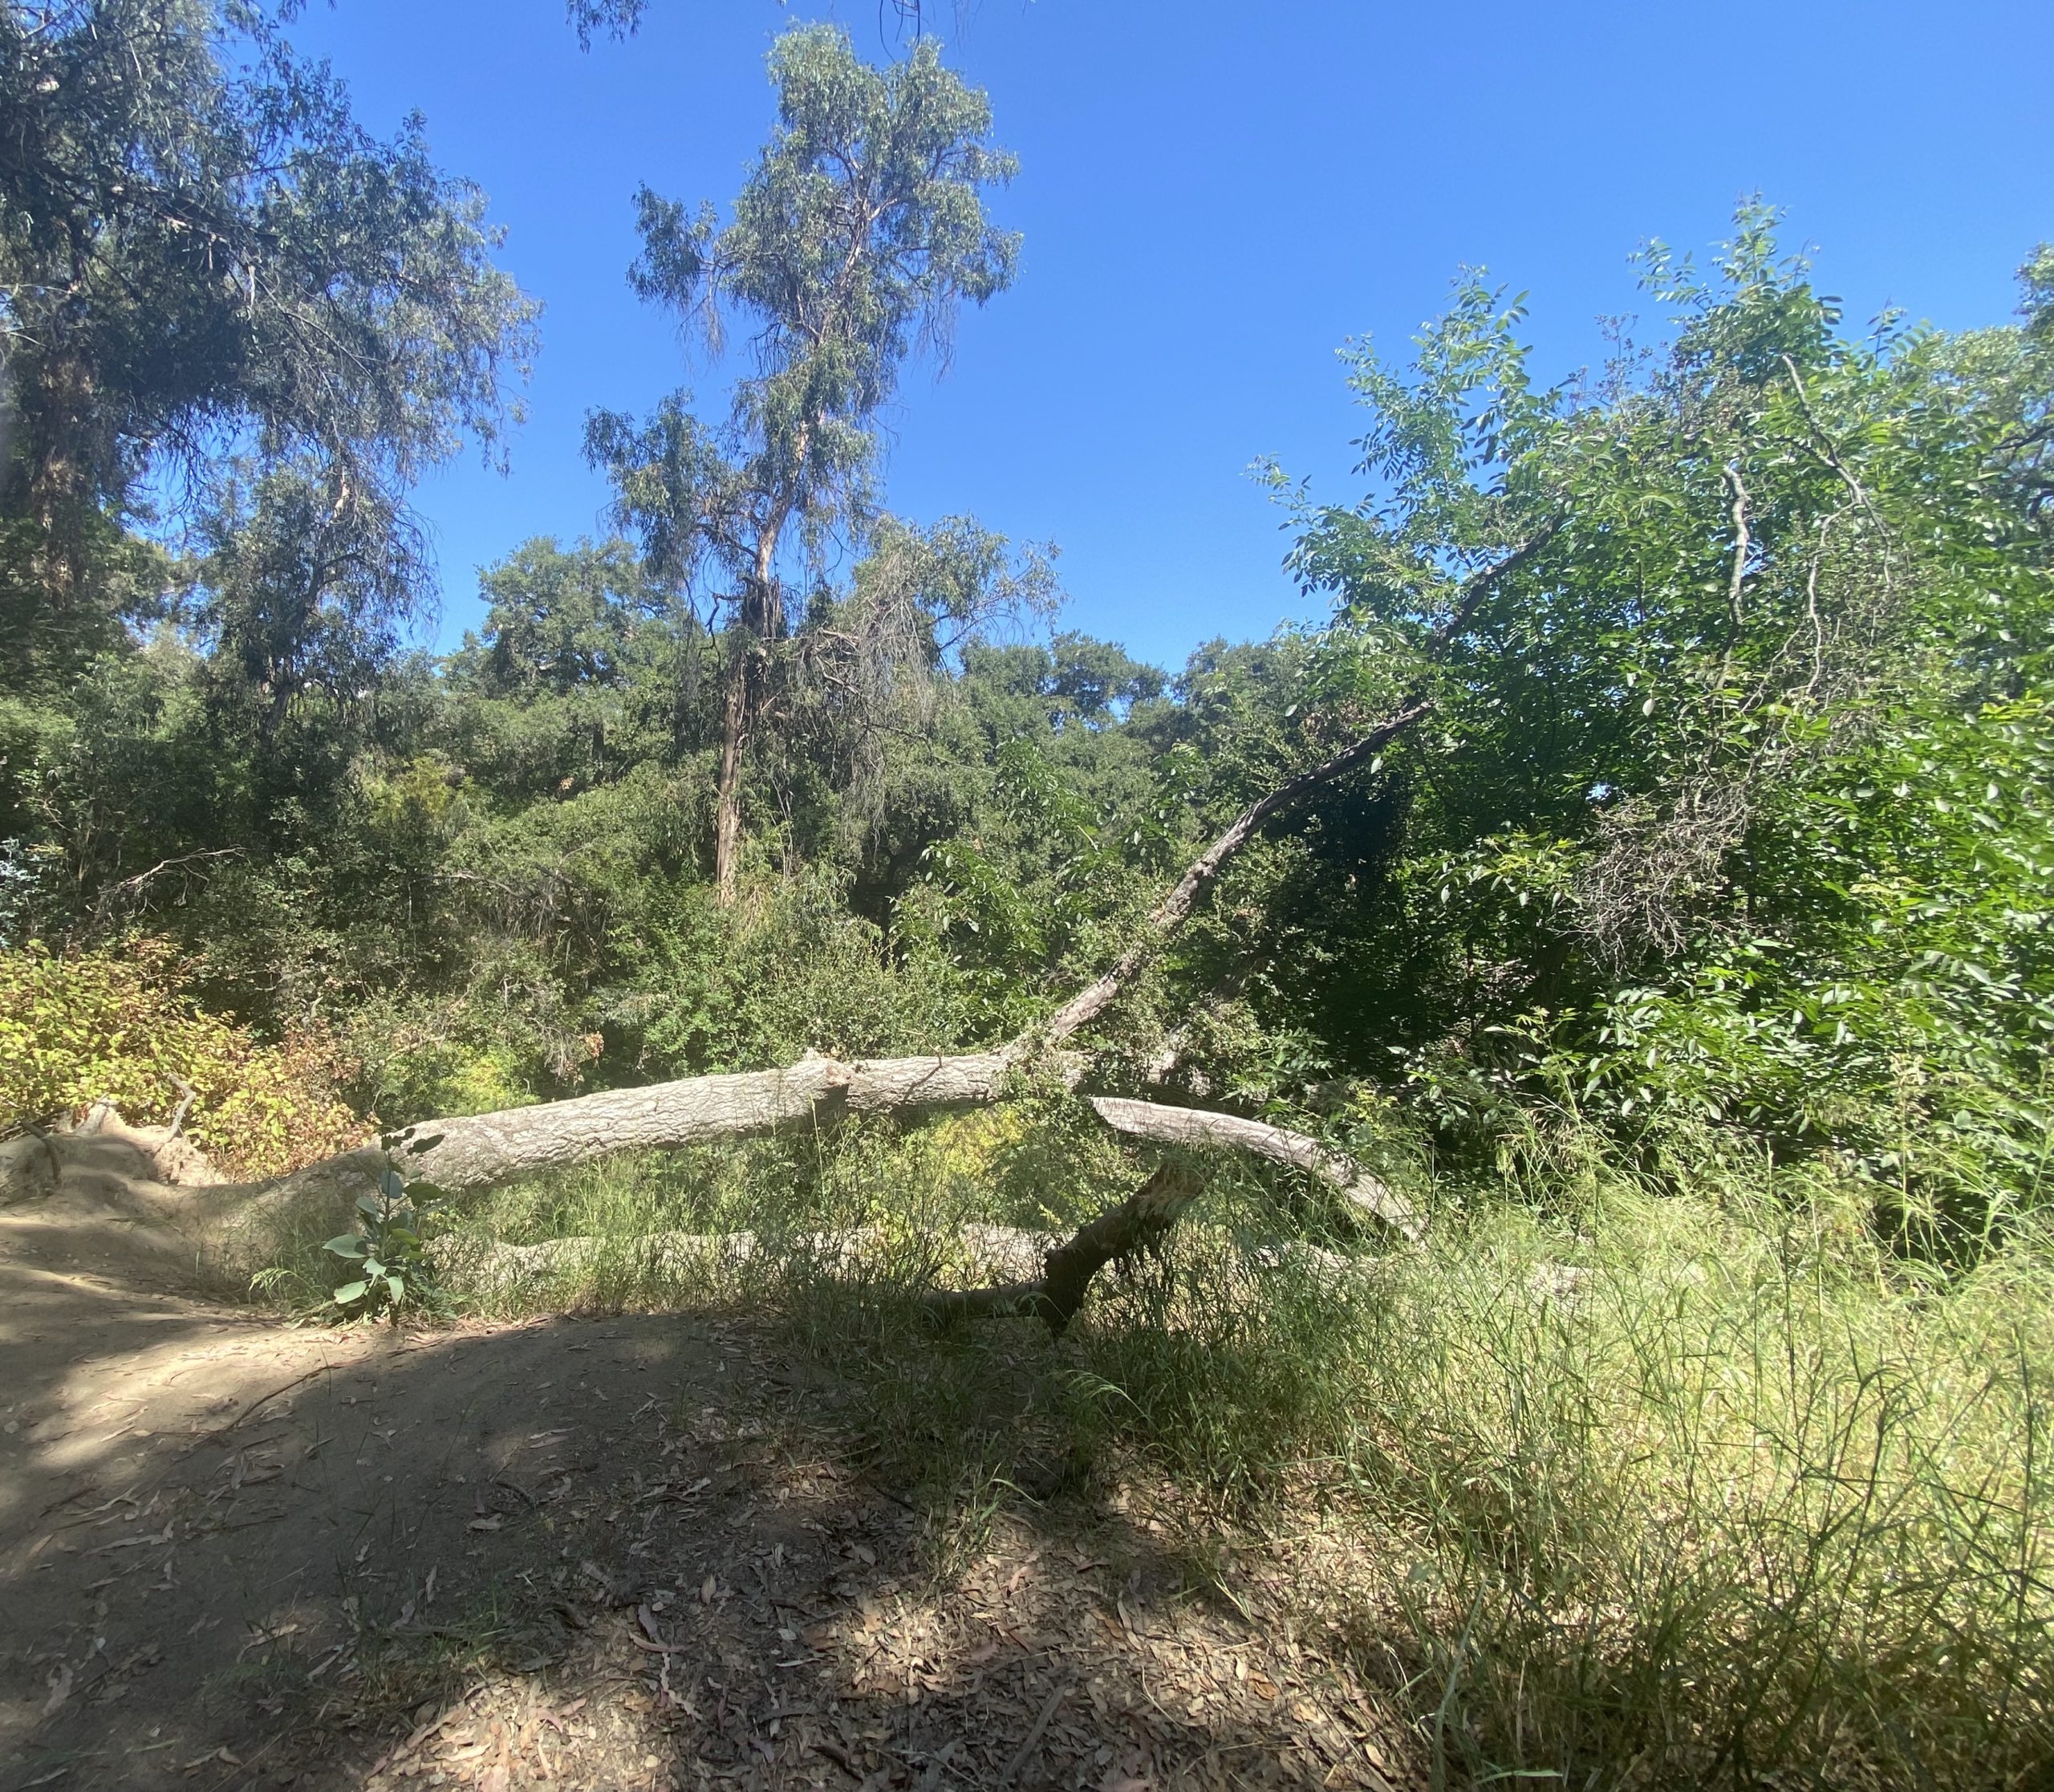
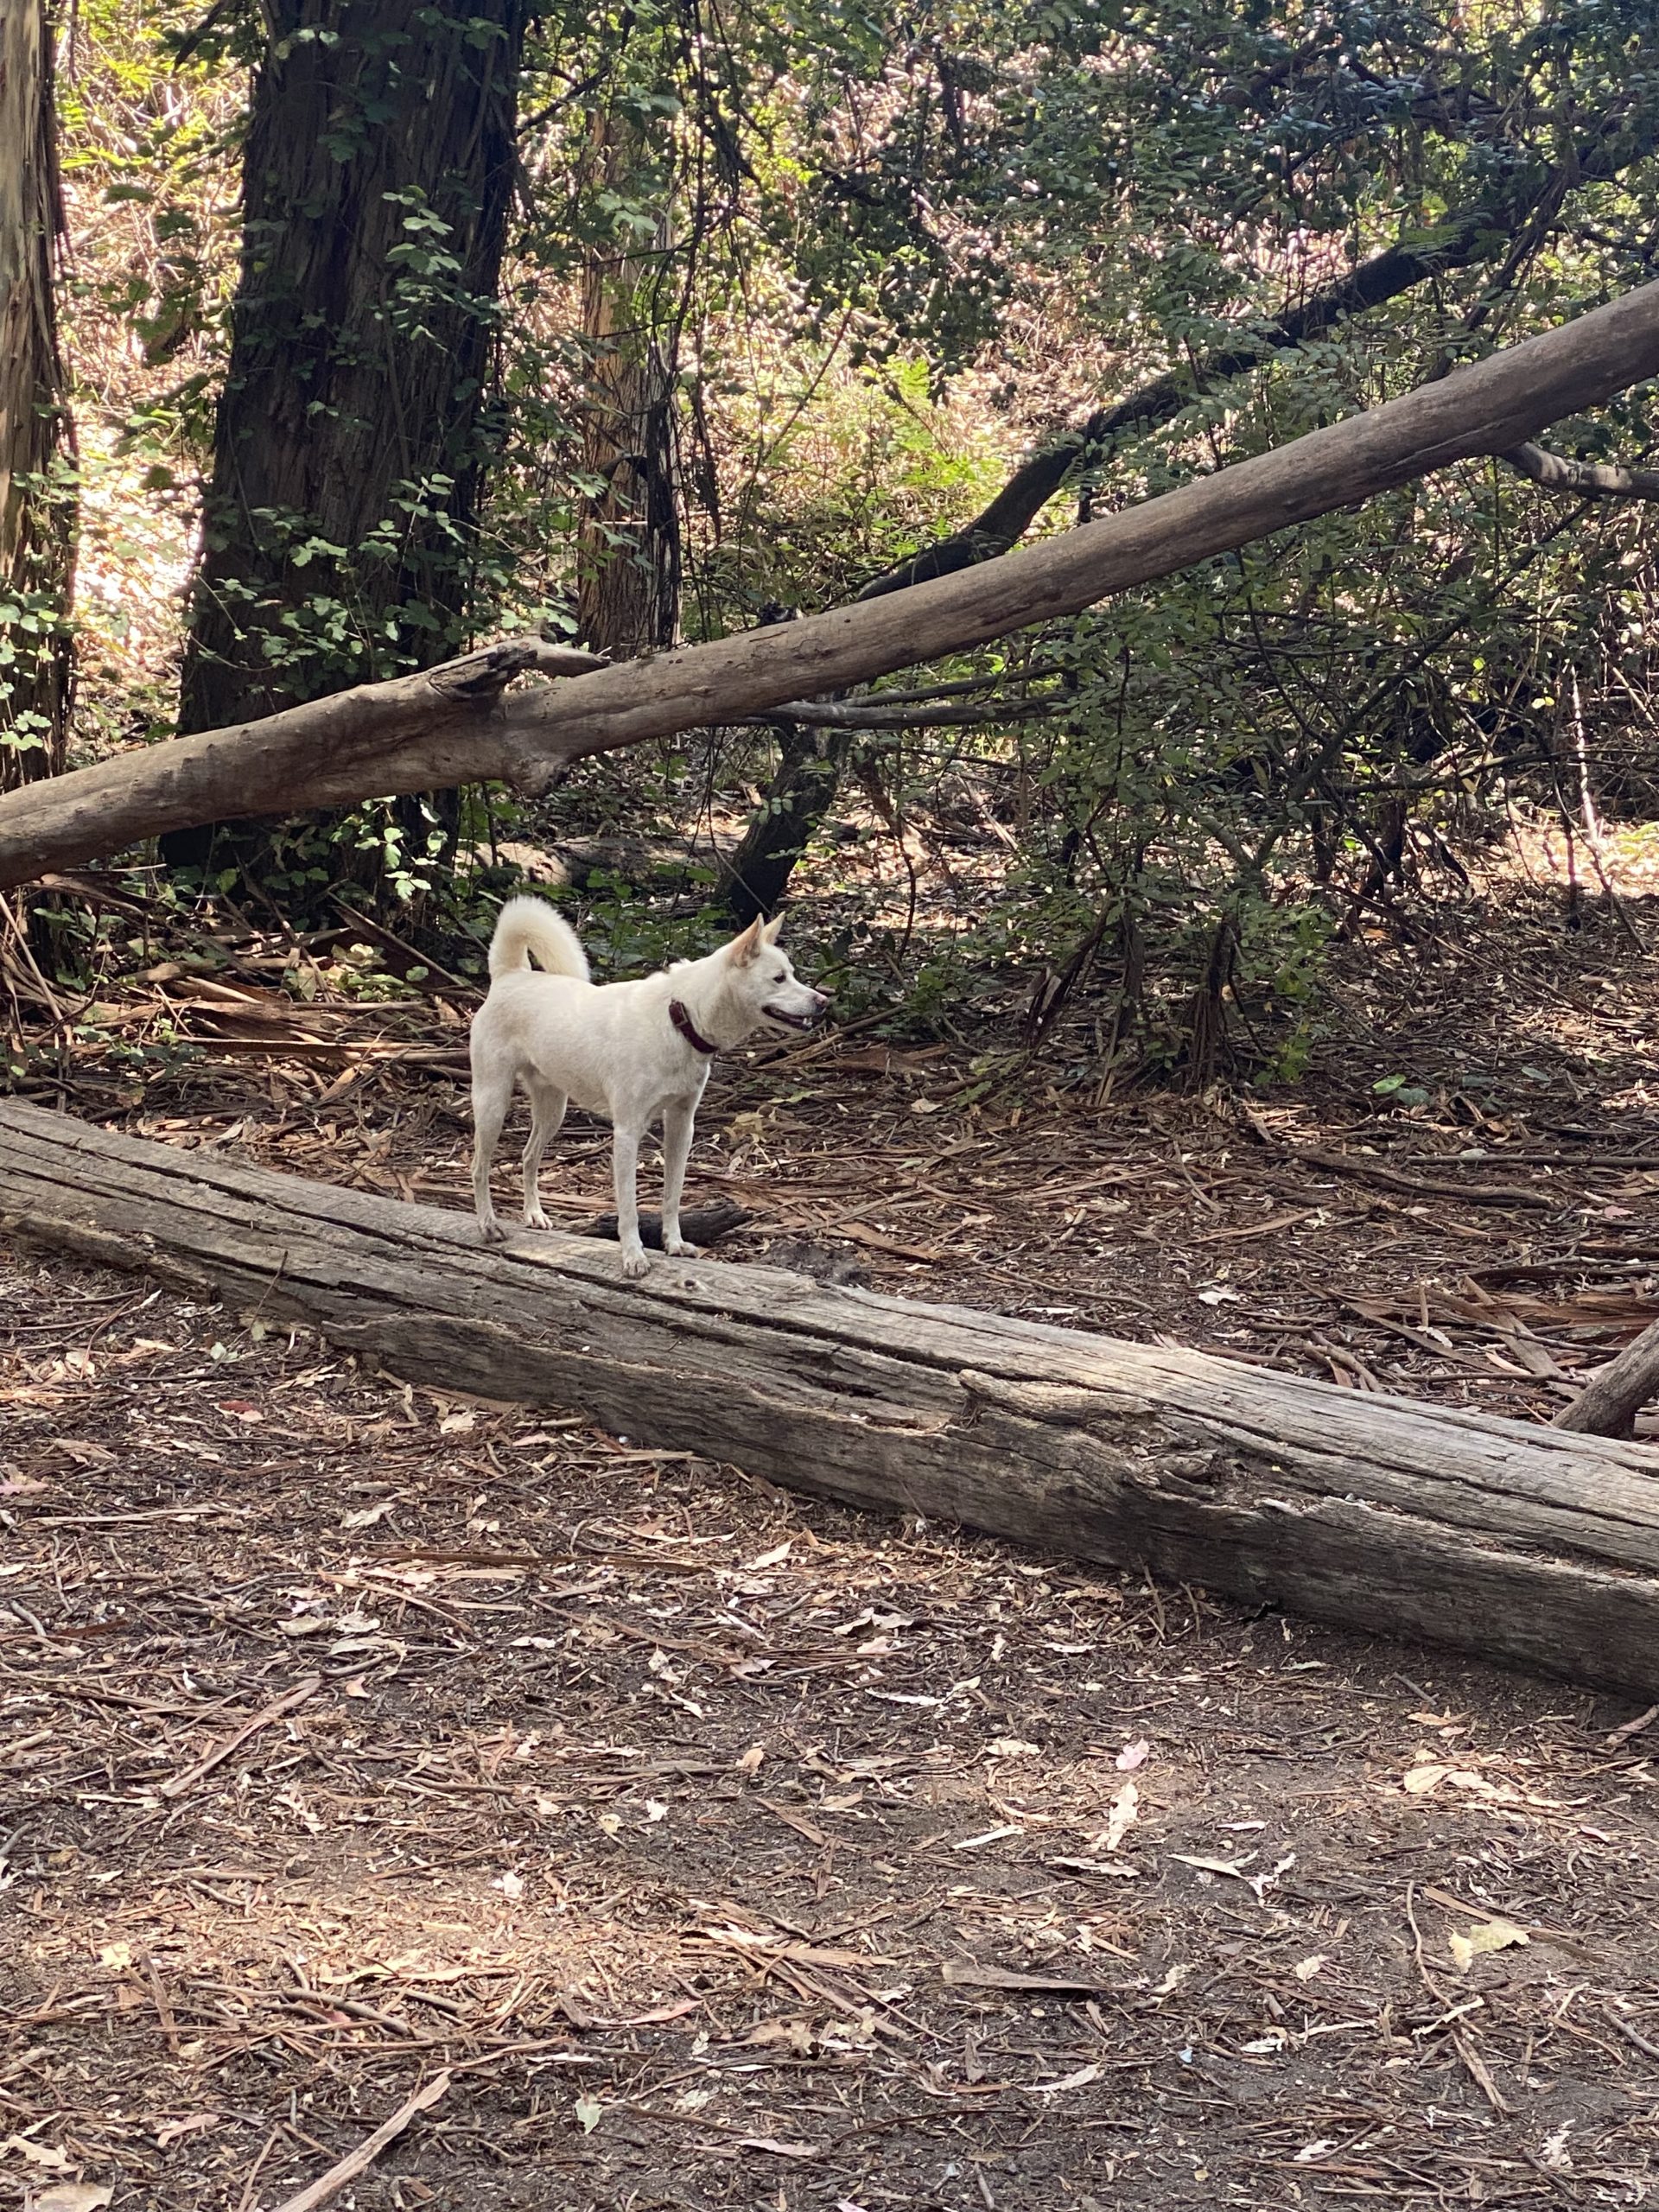
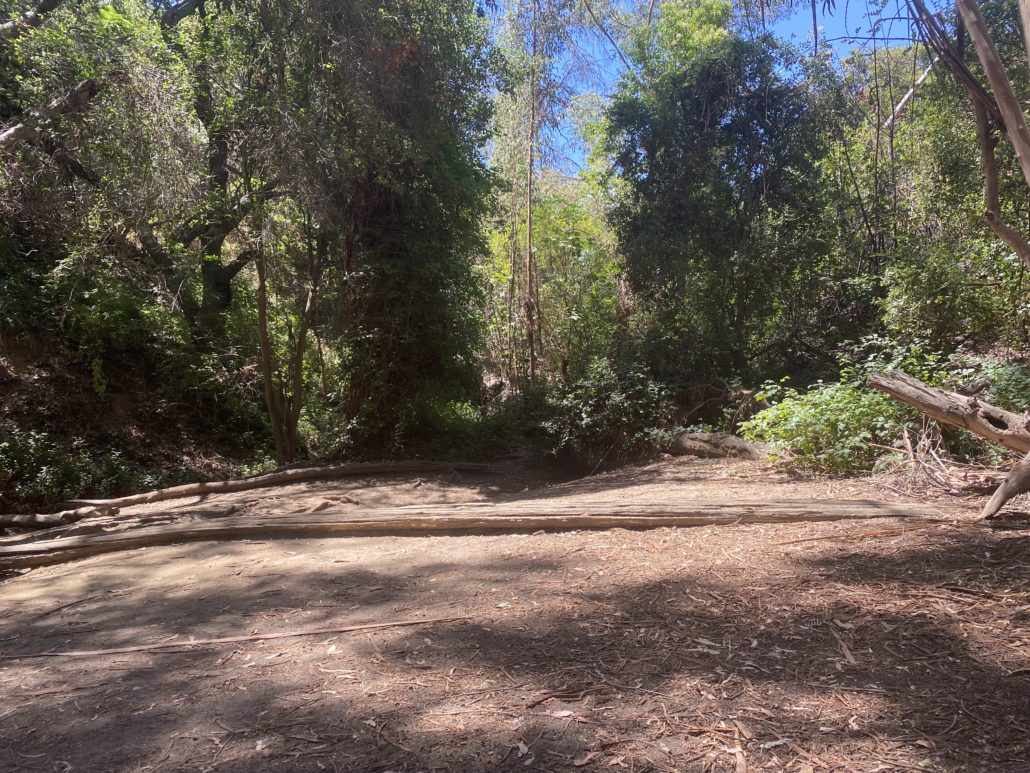
Your path will start widening, and you’ll soon find yourself in an open grove that serves as a perfect resting place. Fallen logs make great makeshift picnic tables if you’re feeling snack-y. This is, in my humble opinion, the best part of the entire hike, and the point most worth spending a few minutes to just take in. We even met an adventurous pup taking in the sights.
The so-called ‘Rainforest Trail’ is a popular “hidden” destination here in the Santa Monica Mountains. And while it is shaded and lush, you will not be surprised to find out it is not actually a rainforest. Still, it’s a great destination!


Now, you can treat this “rainforest” as your turnaround point at 2.72 miles, and simply return the way you came. I will let you know that if you continue, this will be the last of your shade, and you’ll be in for a pretty challenging, steep workout to get yourself back.
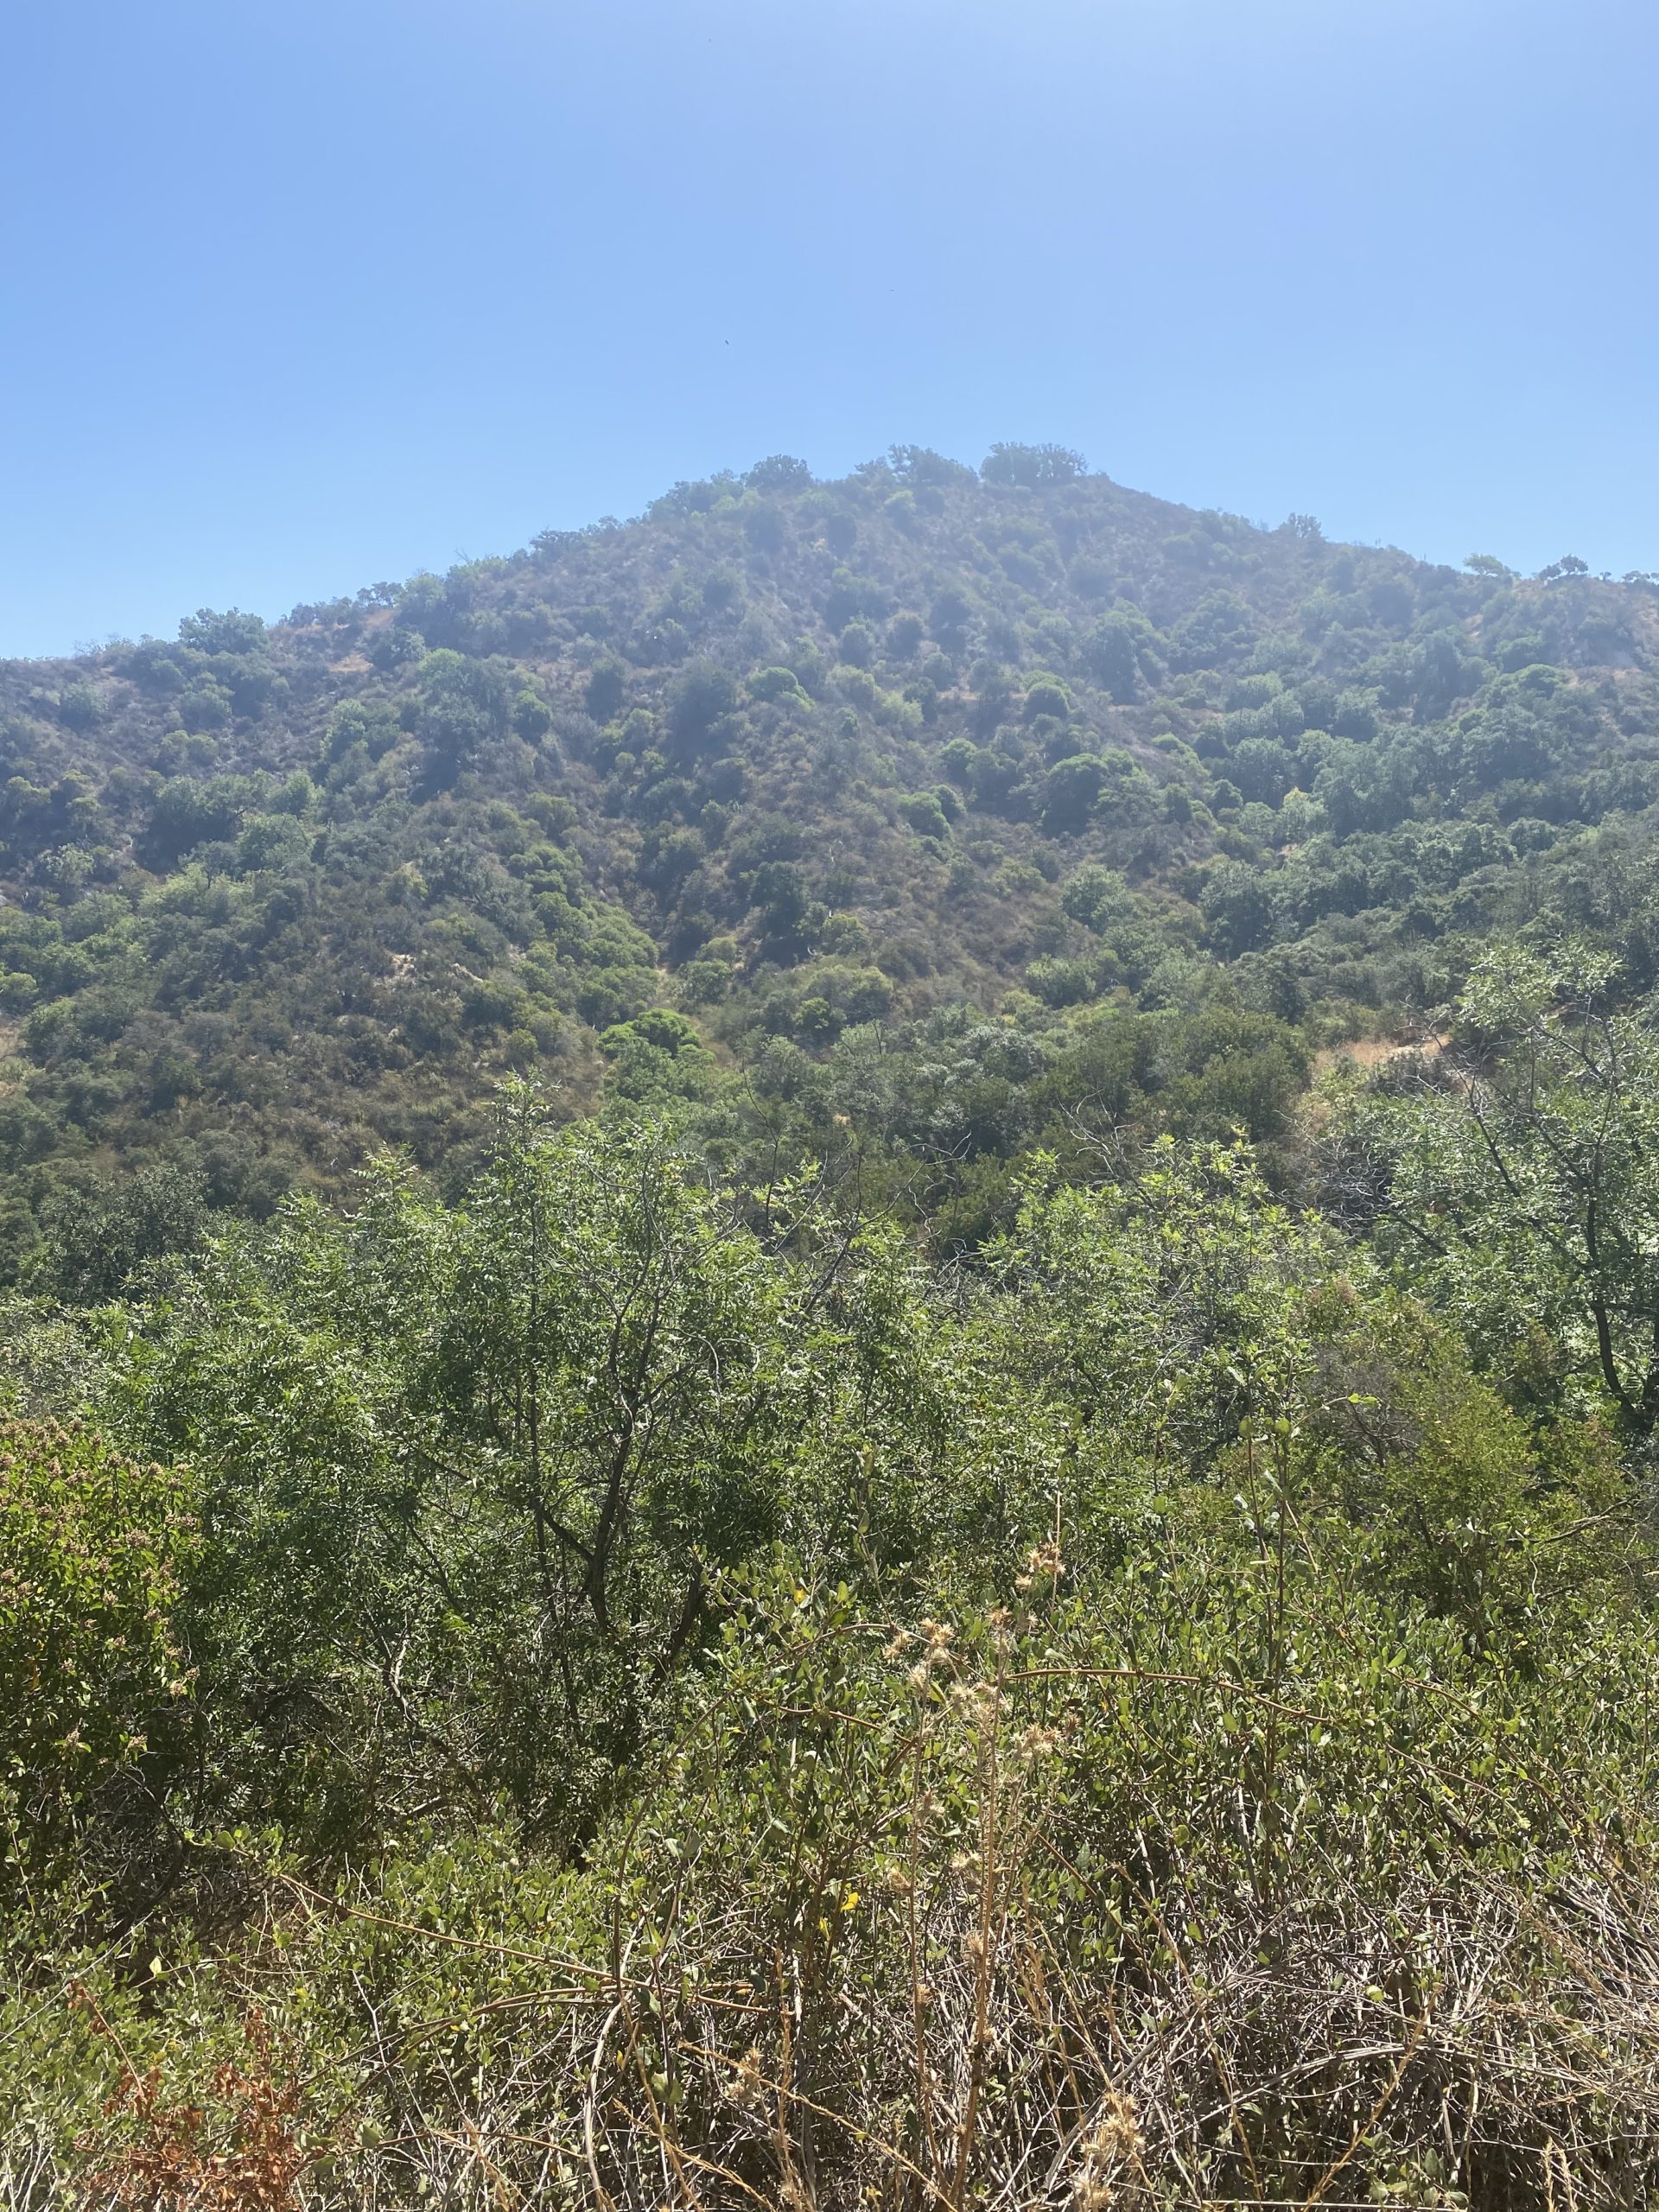
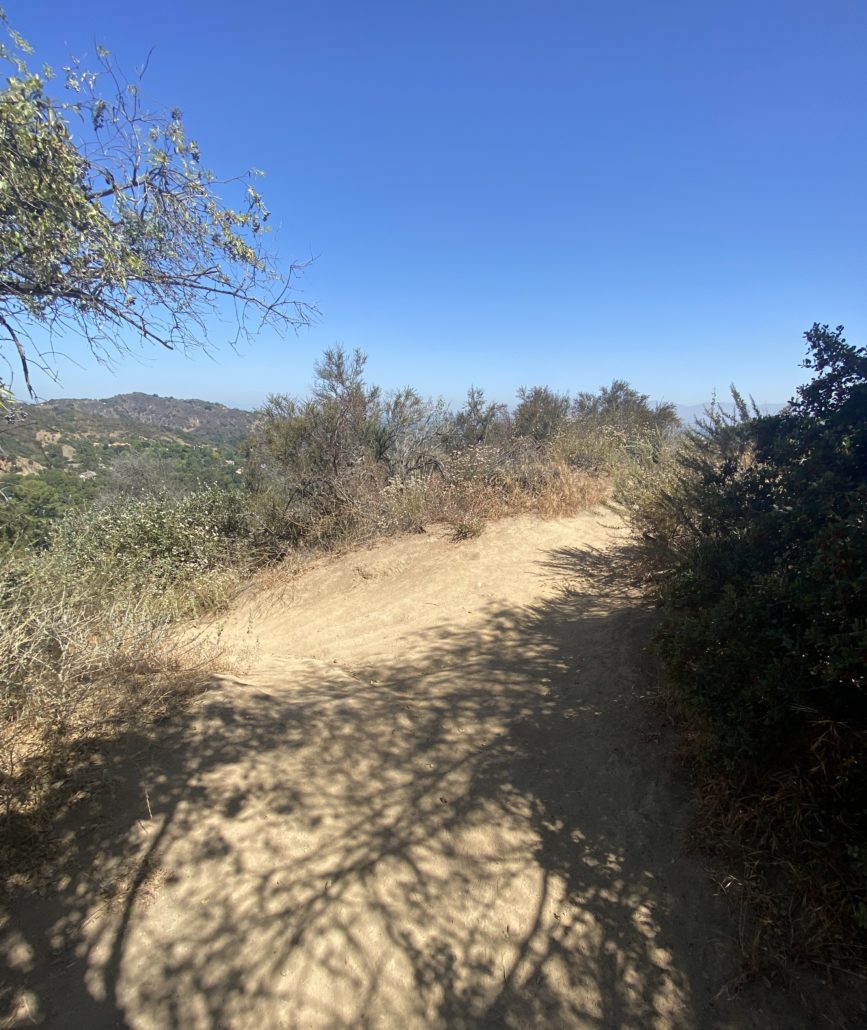
If you’re not tired and feeling like continuing on, simply walk straight over the large fallen log and keep straight. You’ll soon find yourself at the highest point of the hike, with the most rewarding views.


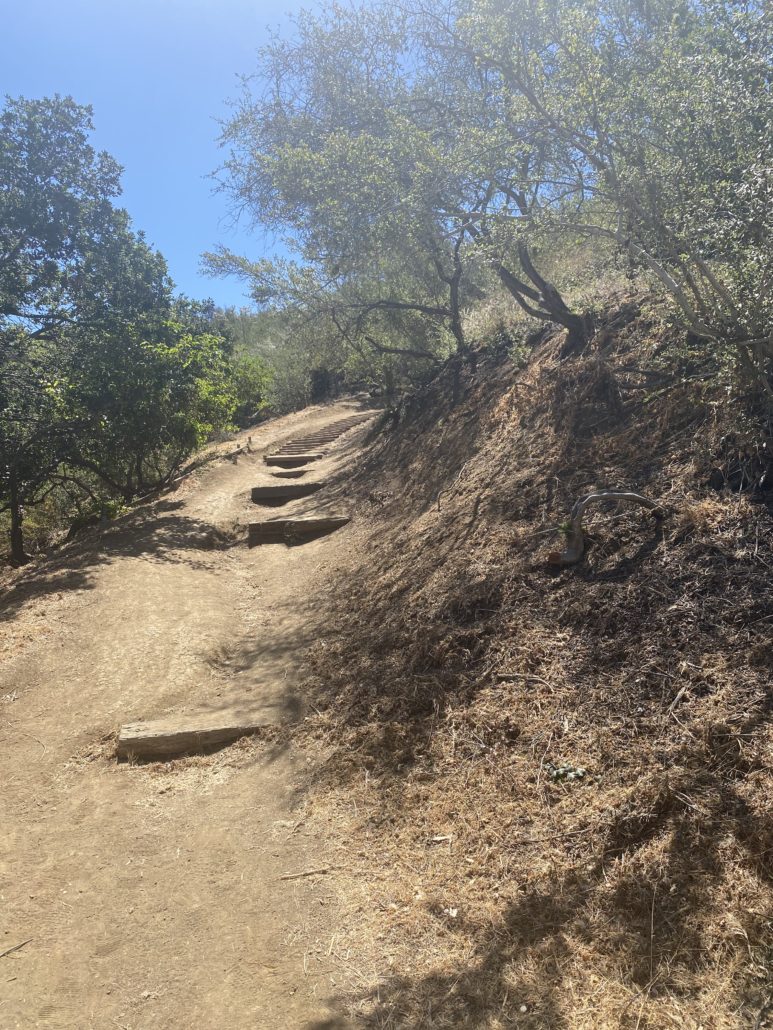
You’ll find yourself descending steeply after a short time on another dirt path similar to the start of the hike. There are old, built-in stairs to help, but you’ll definitely want to be careful with your footing as you descend.
You’ll come across your third sign post. This is the point at which we chose to turn around, as we were running low on water, but you can continue on the trail for another mile, approximately, to reach the very end of the trail. Either way, to get back you’ll want to come back the way you came.
And this is where that steep descend comes back to bite you, in the form of a fairly steep climb.
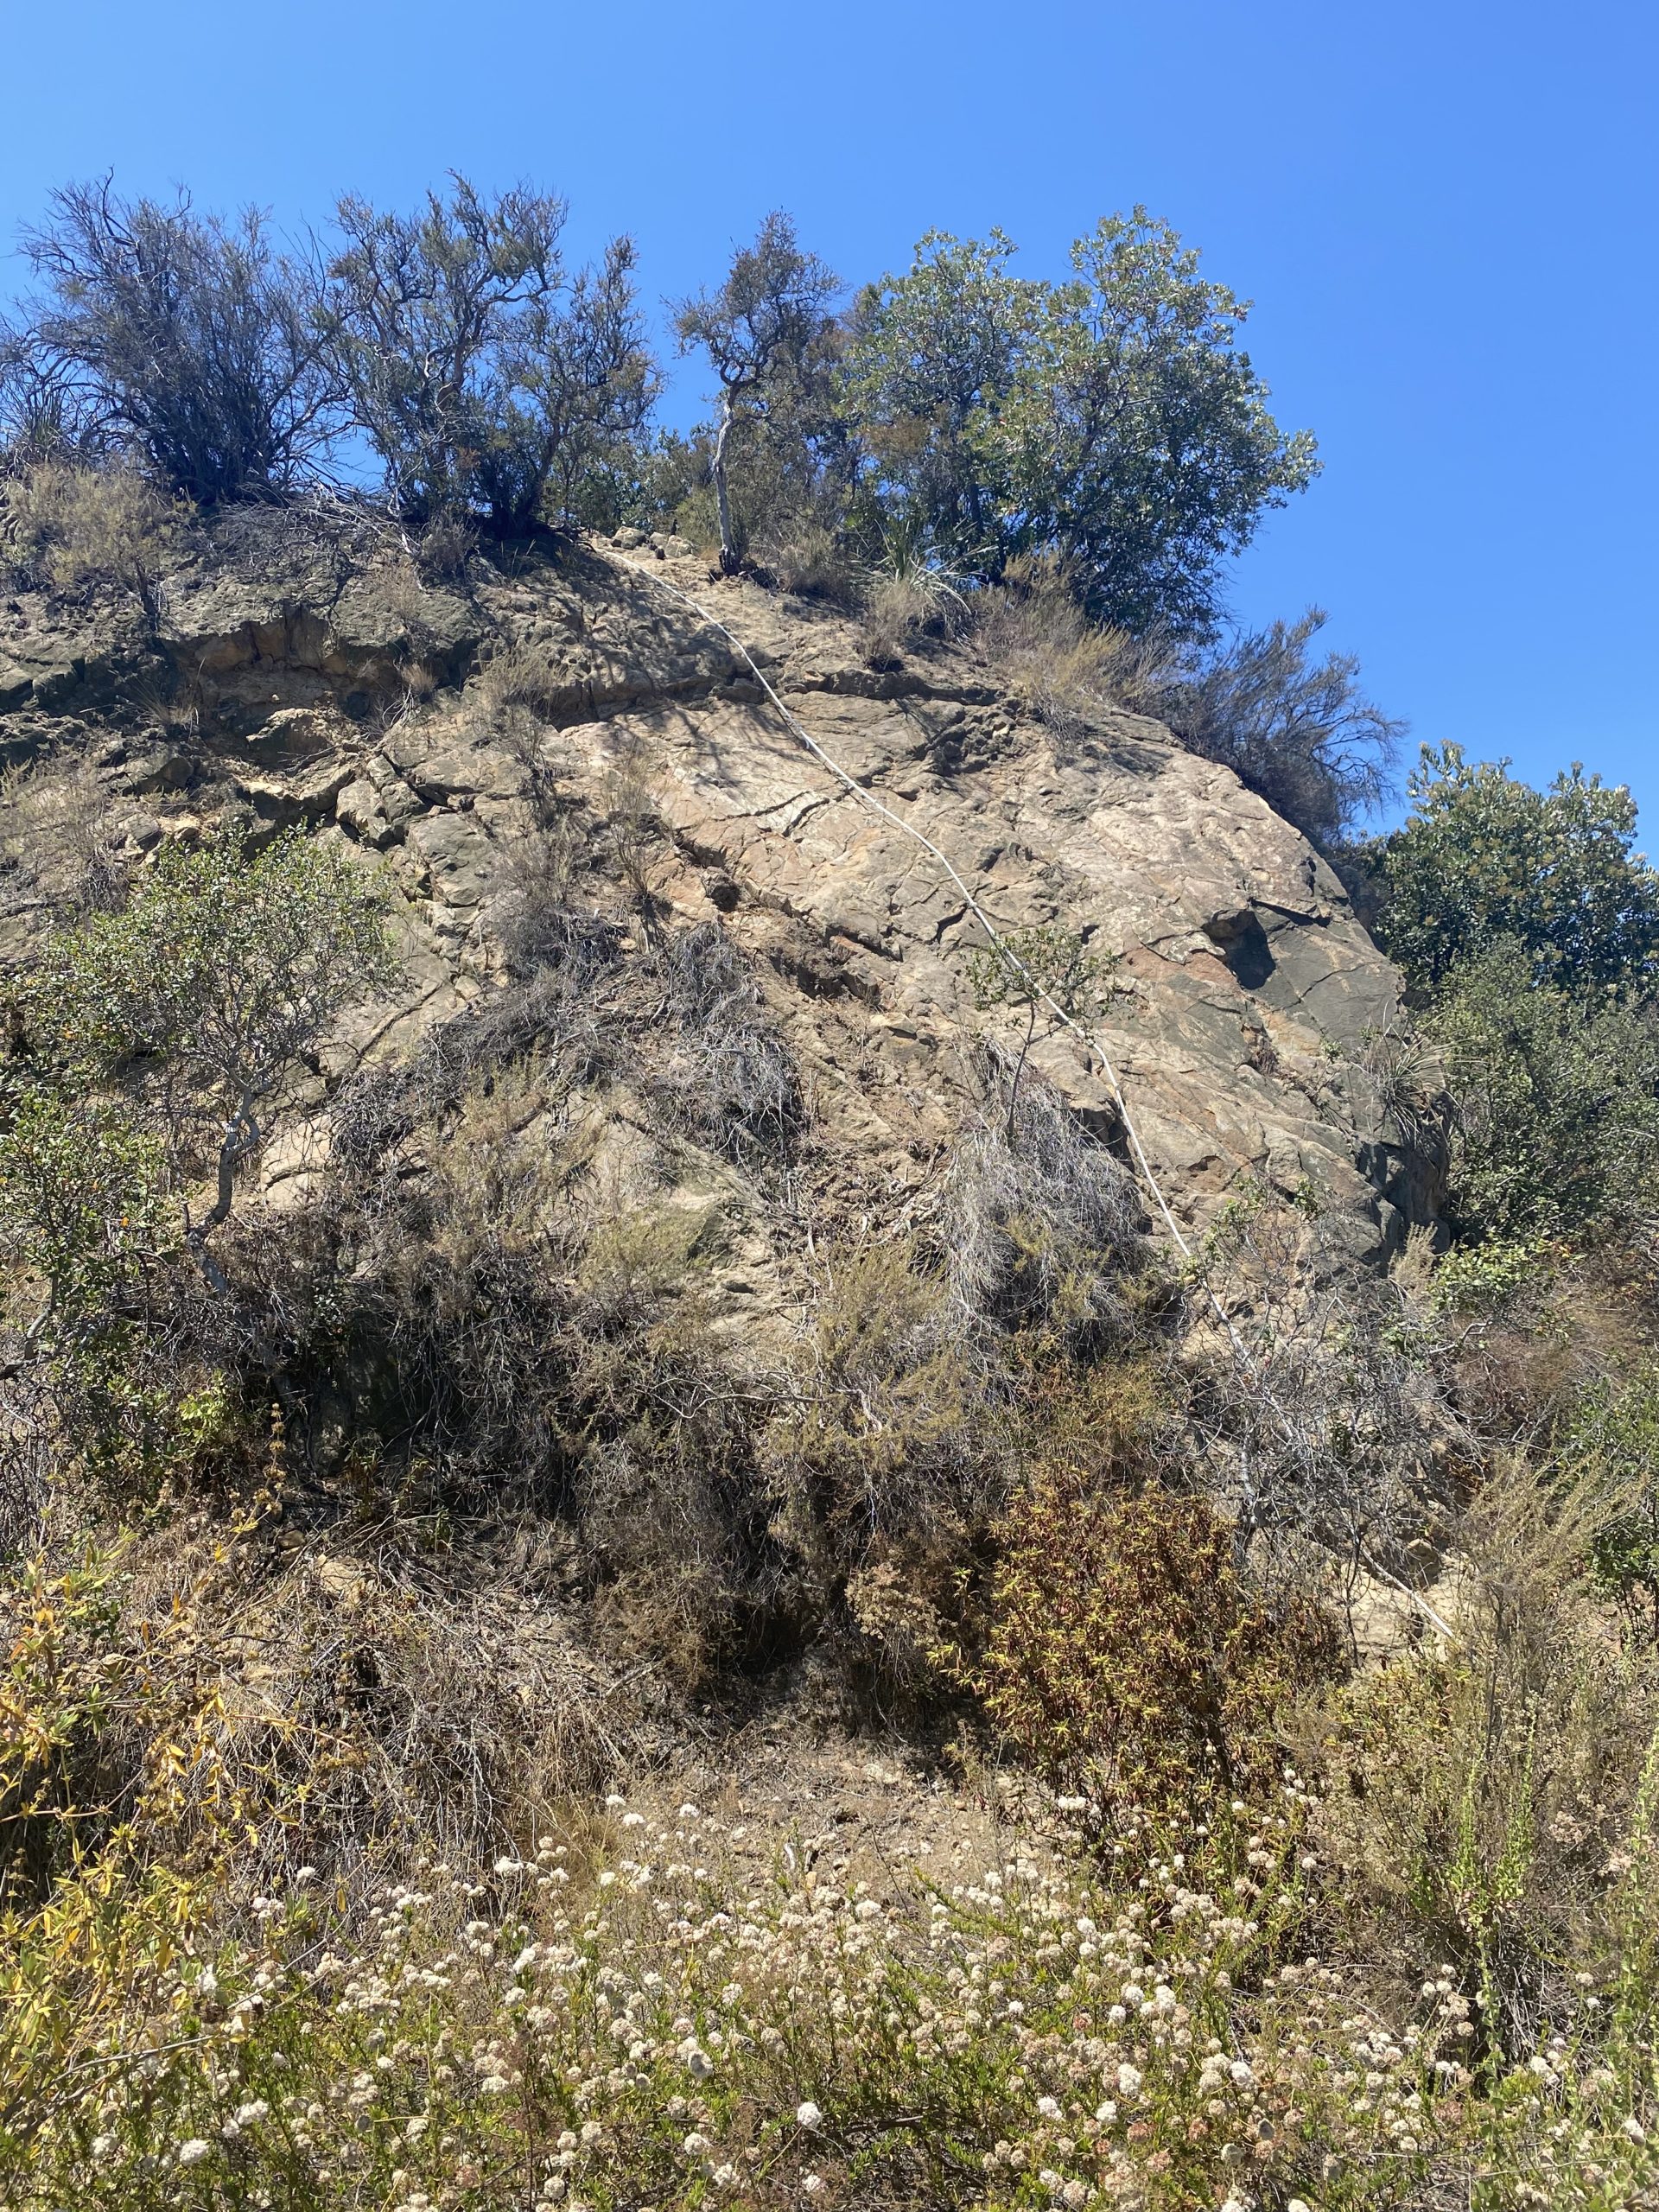
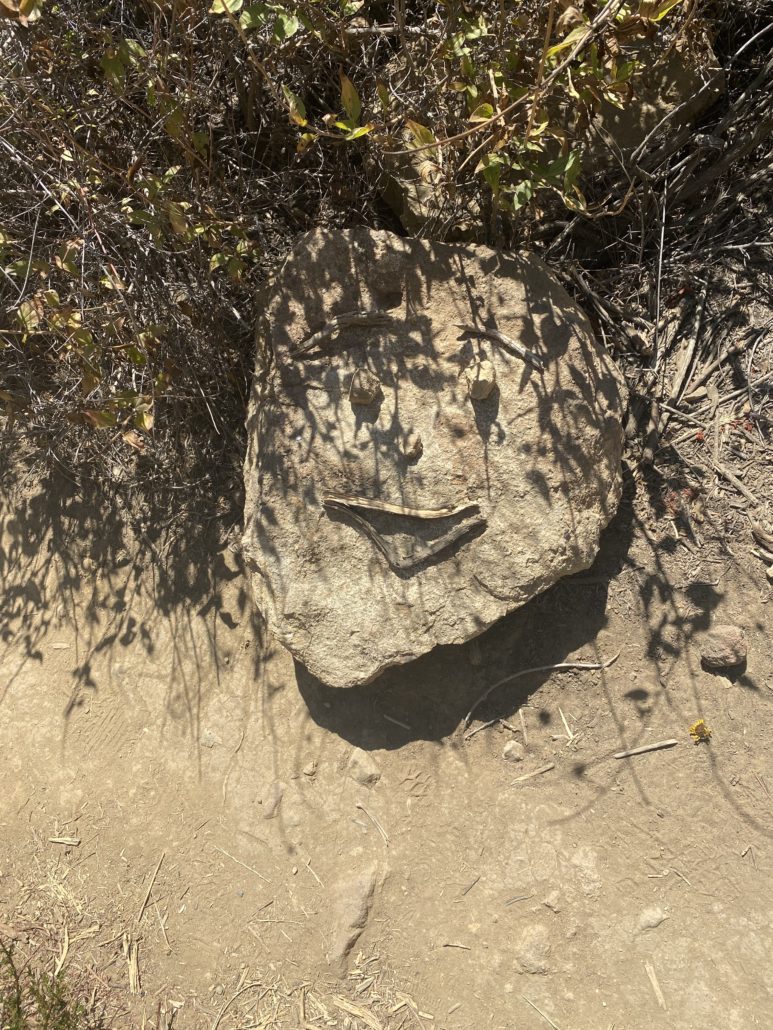
The rest of the trail is easy in terms of navigation, though — simply go back the way you came! Enjoy the mountain views, rejoice as you return to the very welcome shaded grove, and keep an eye out for a rock with a rope attached to the top. If you’re feeling brave, you could probably climb up, although the rope is nylon, the footing is difficult, and I can’t vouch for its sturdiness.


Overall, this is a great hike for those looking for something a bit longer and more challenging, with scenic mountain views and diverse terrain to keep the hike new and interesting at every turn. For more exploration in this area, consider adding some miles on from the Fryman Canyon area to make an out-and-back, meet a friend with another car or take Metro back, or just do a nice long lollipop loop!
Tags: Betty B Dearing Trail, rainforest trail, Santa Monica Mountains