As someone who enjoys hiking in the mountains, winter can feel like a perilous time, as many of Southern California’s high-alpine trails are either painfully cold or covered in snow. Luckily, the Santa Monica Mountains are the perfect destination for those trying to get their fix of tall peaks and never-ending vistas during the colder months. Starting at the western terminus of the 67-mile-long Backbone Trail, this hike offers just that – a decent challenge that rewards your efforts with panoramic ocean, beach, and mountain views. And when you’re done, head across the PCH and cool off in the Pacific. Because why not, you’re in SoCal after all.
Past the La Jolla Group Campground and to your left, you’ll find a large parking lot next to the trailhead with enough spots for about 50 vehicles. Portable restrooms, potable water, and a trash can were also available nearby for hikers to use. When you’re ready to go, follow signs for the Ray Miller Trailhead/Backbone Trail Western Terminus to start the out-and-back section of your hike.
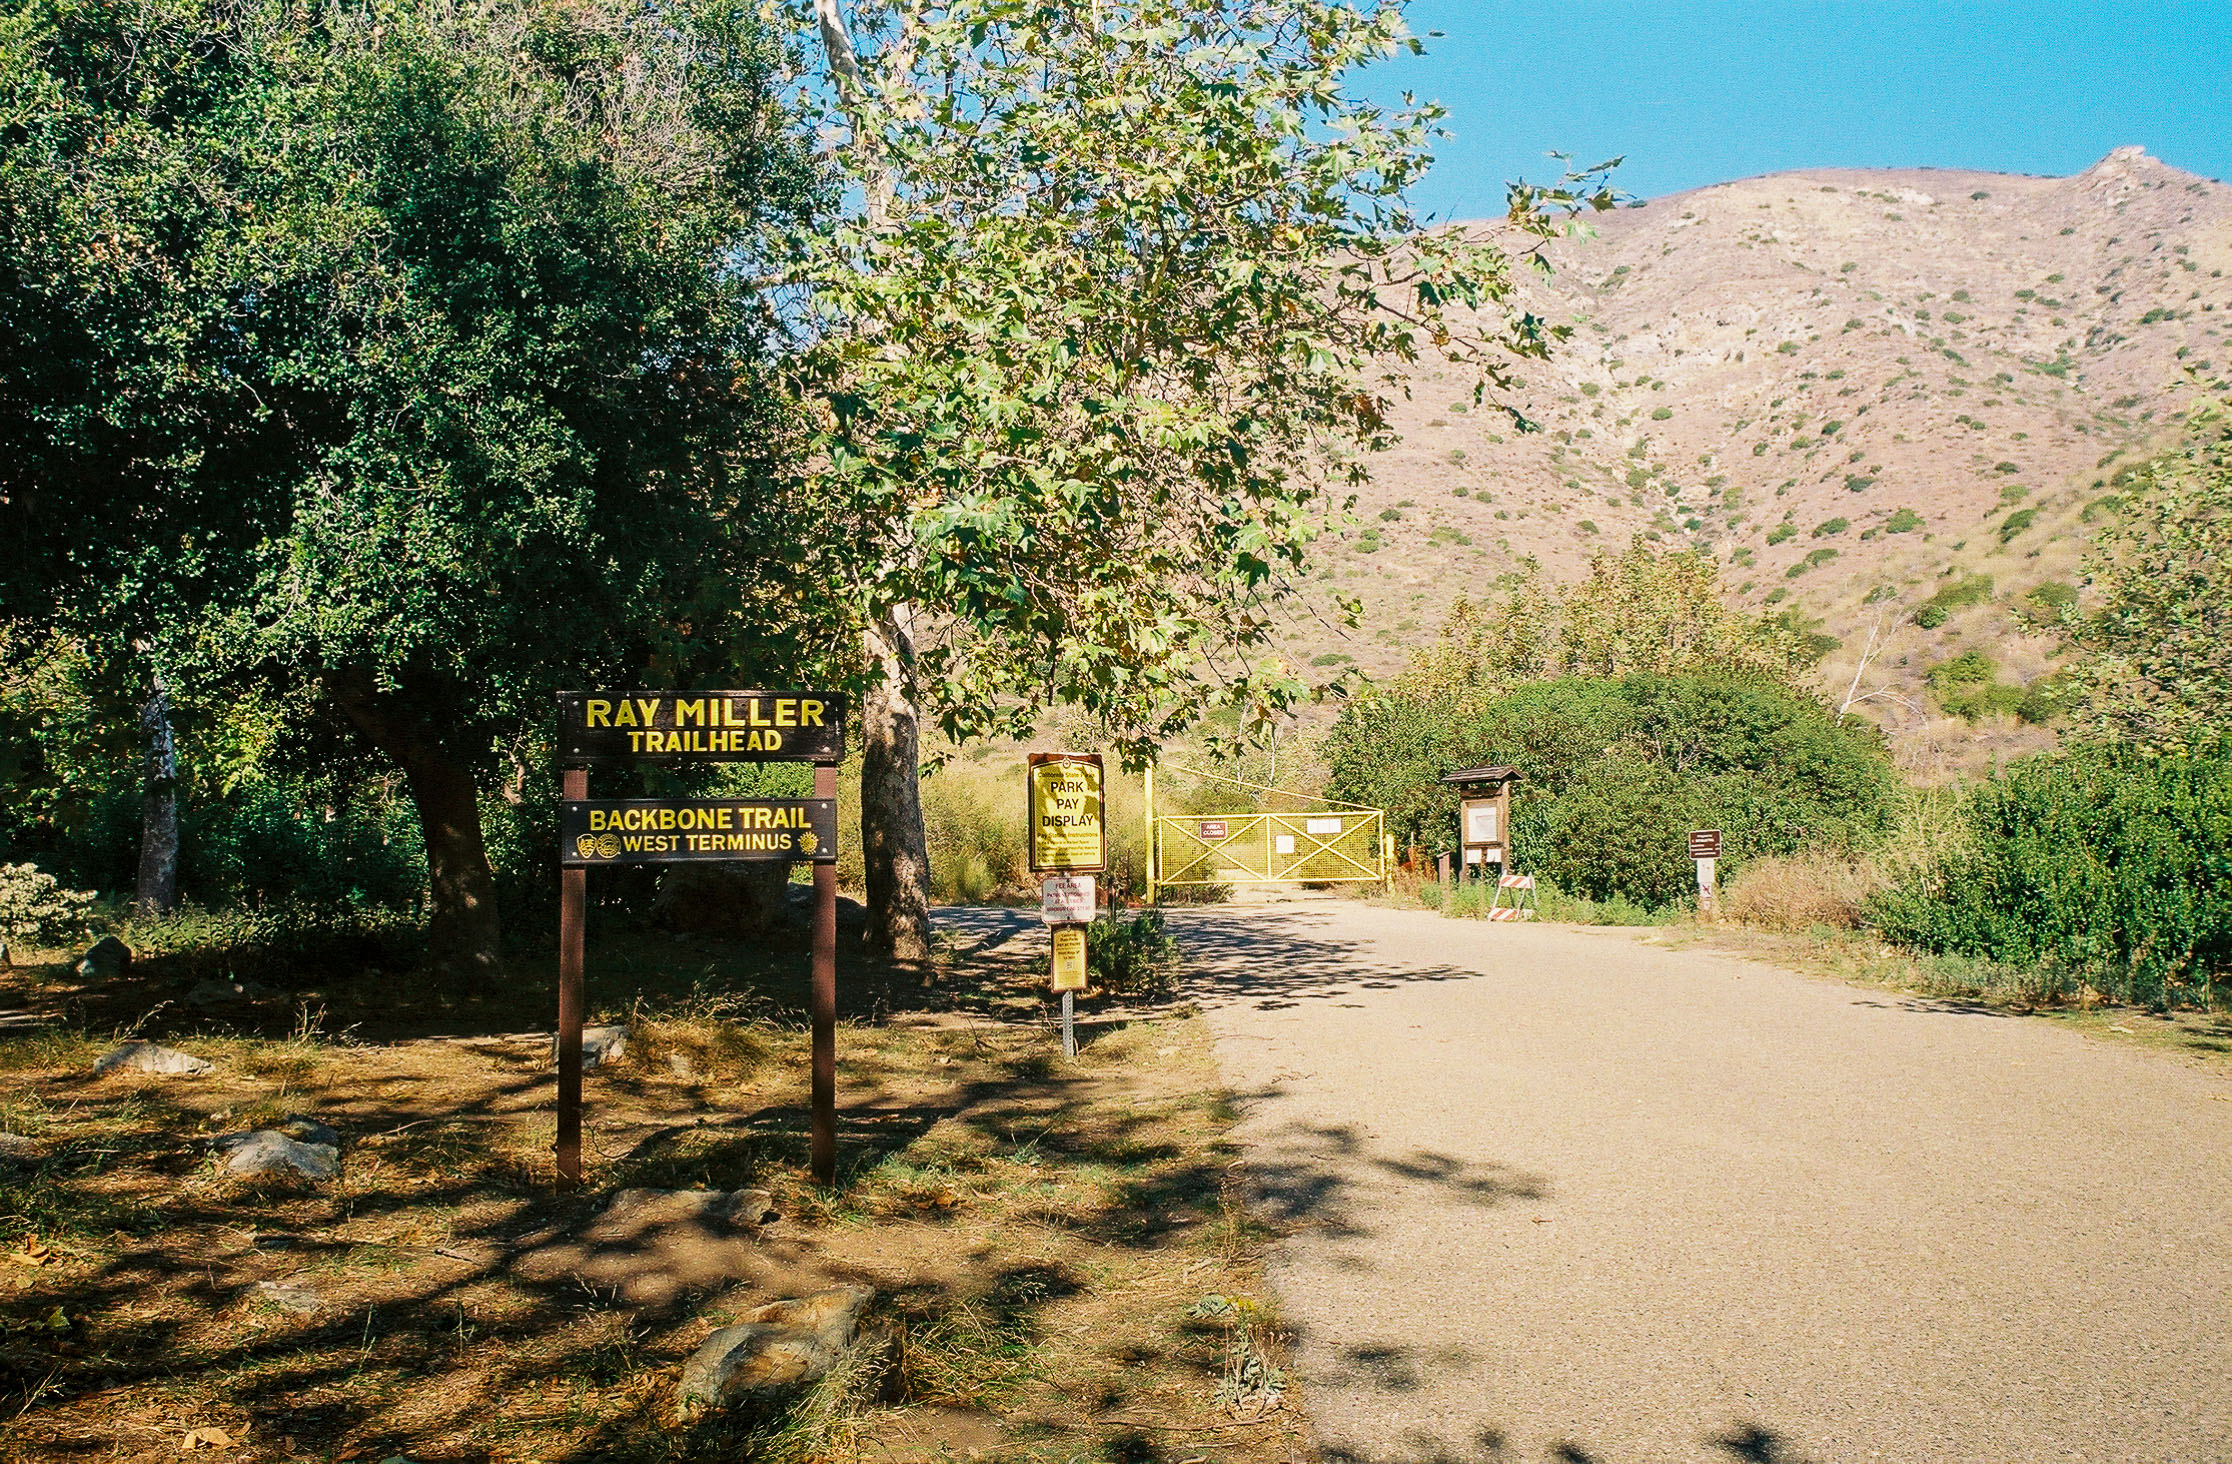
A sign marking the Ray Miller Trailhead, which also is the Backbone Trail’s western terminus. Shot on Fujicolor Superia X-TRA 400 film.
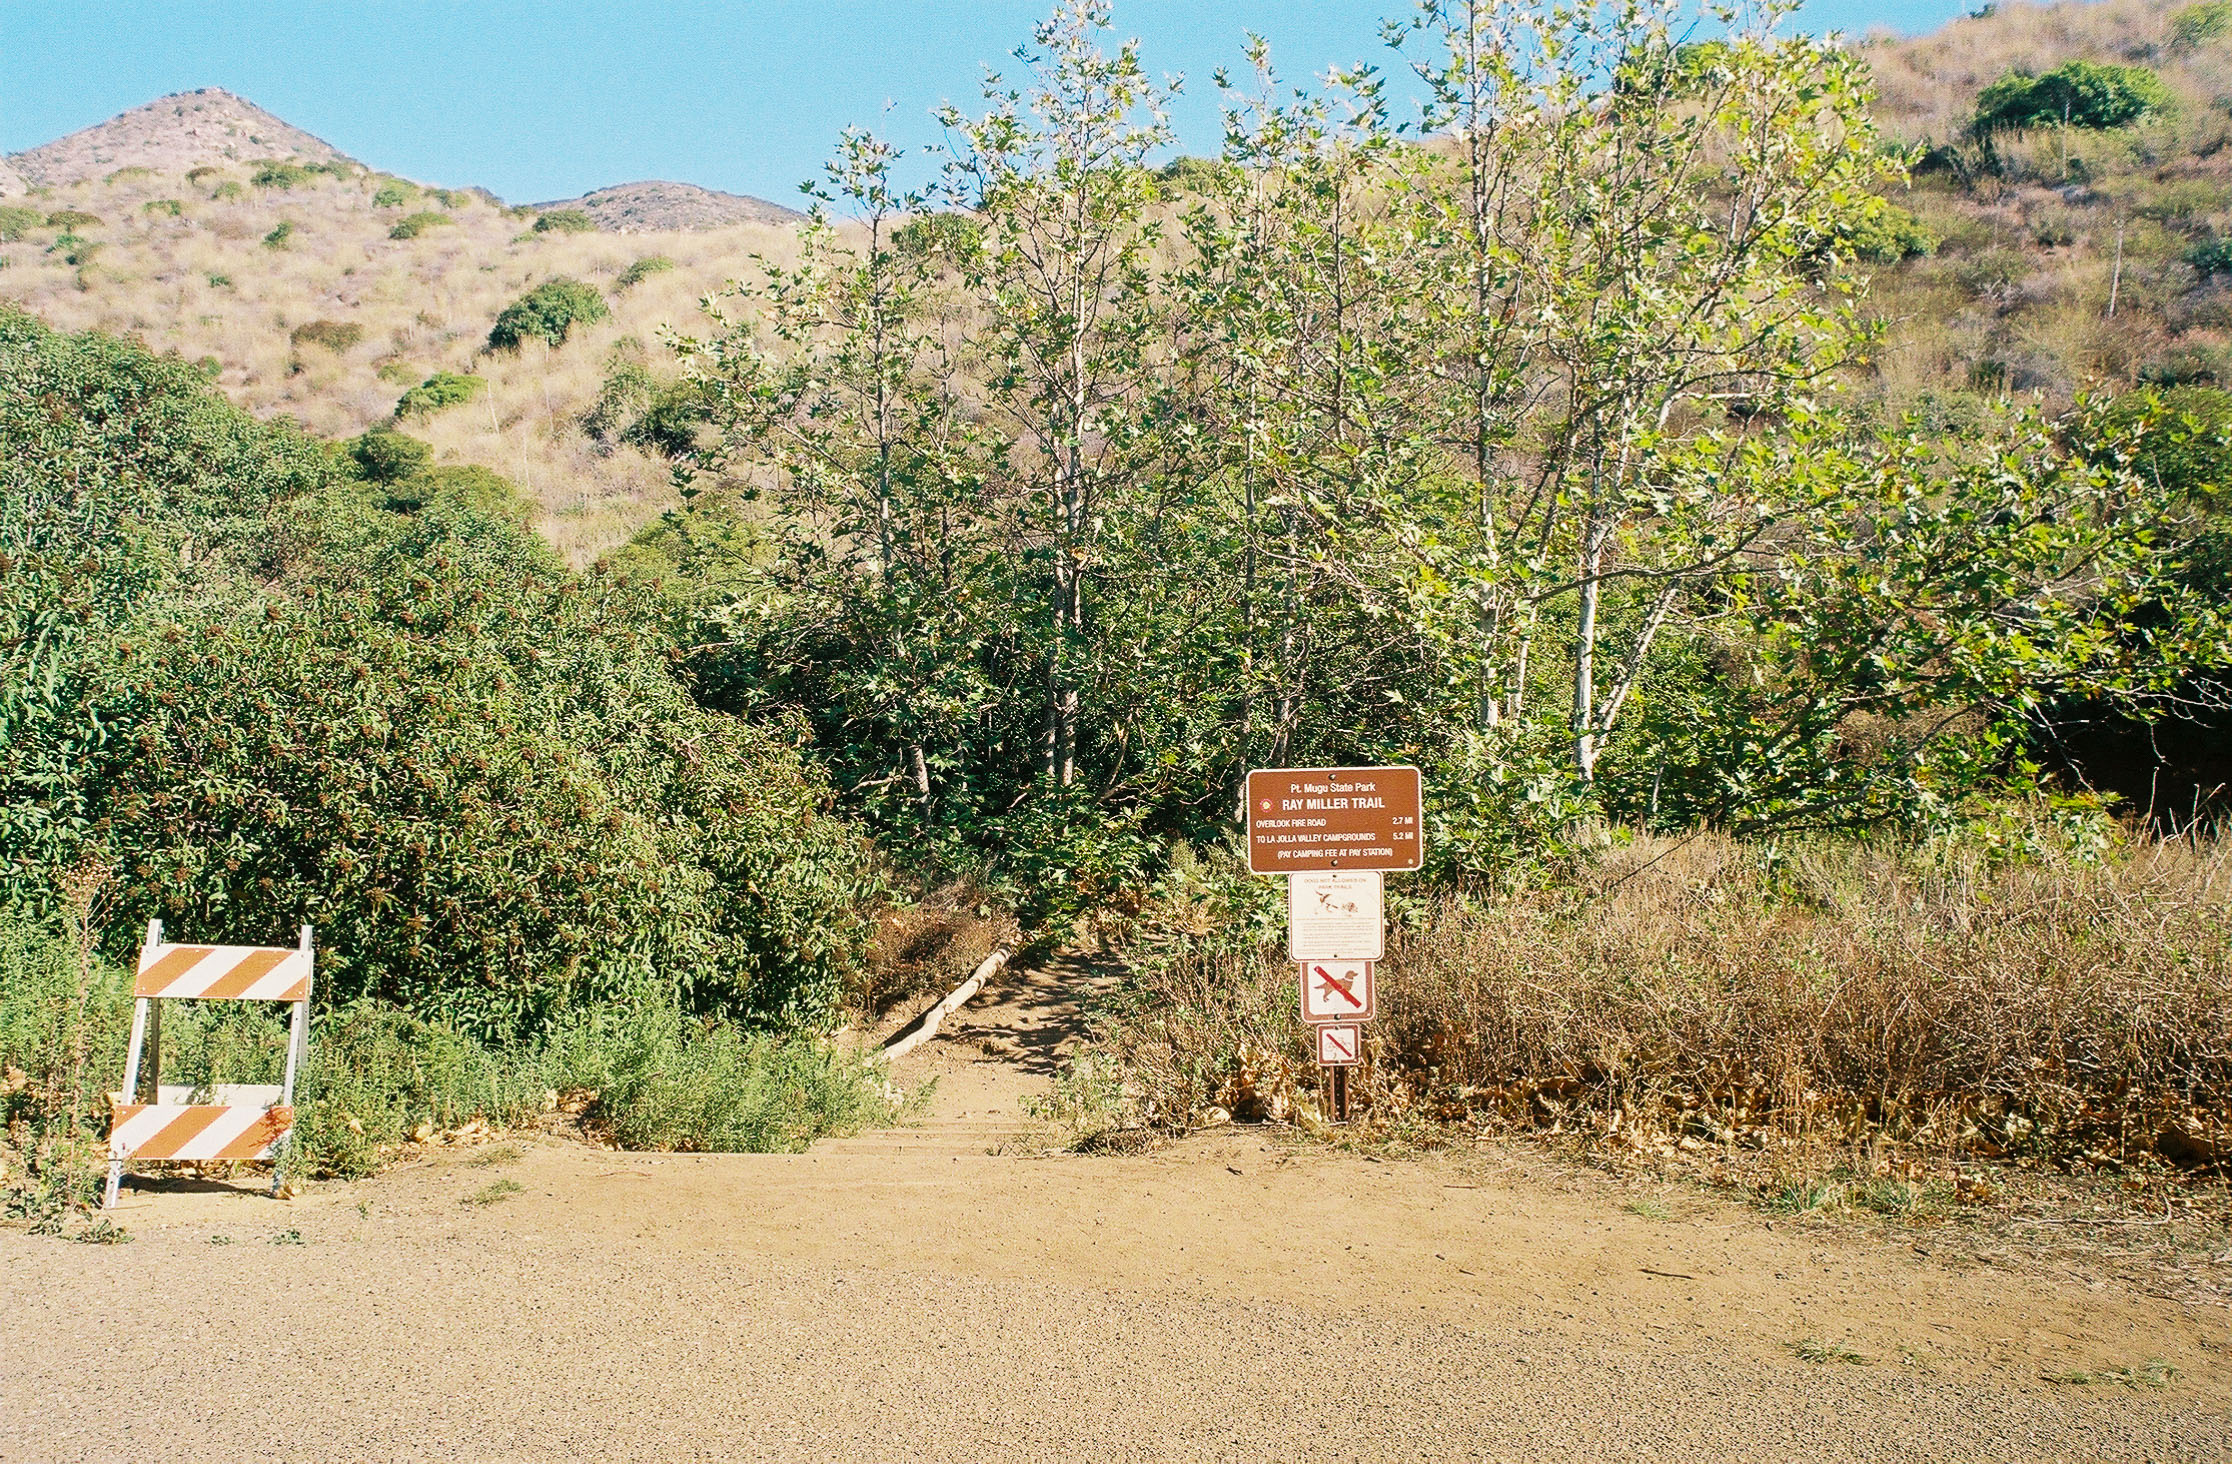
The trailhead. Shot on Fujicolor Superia X-TRA 400 film.
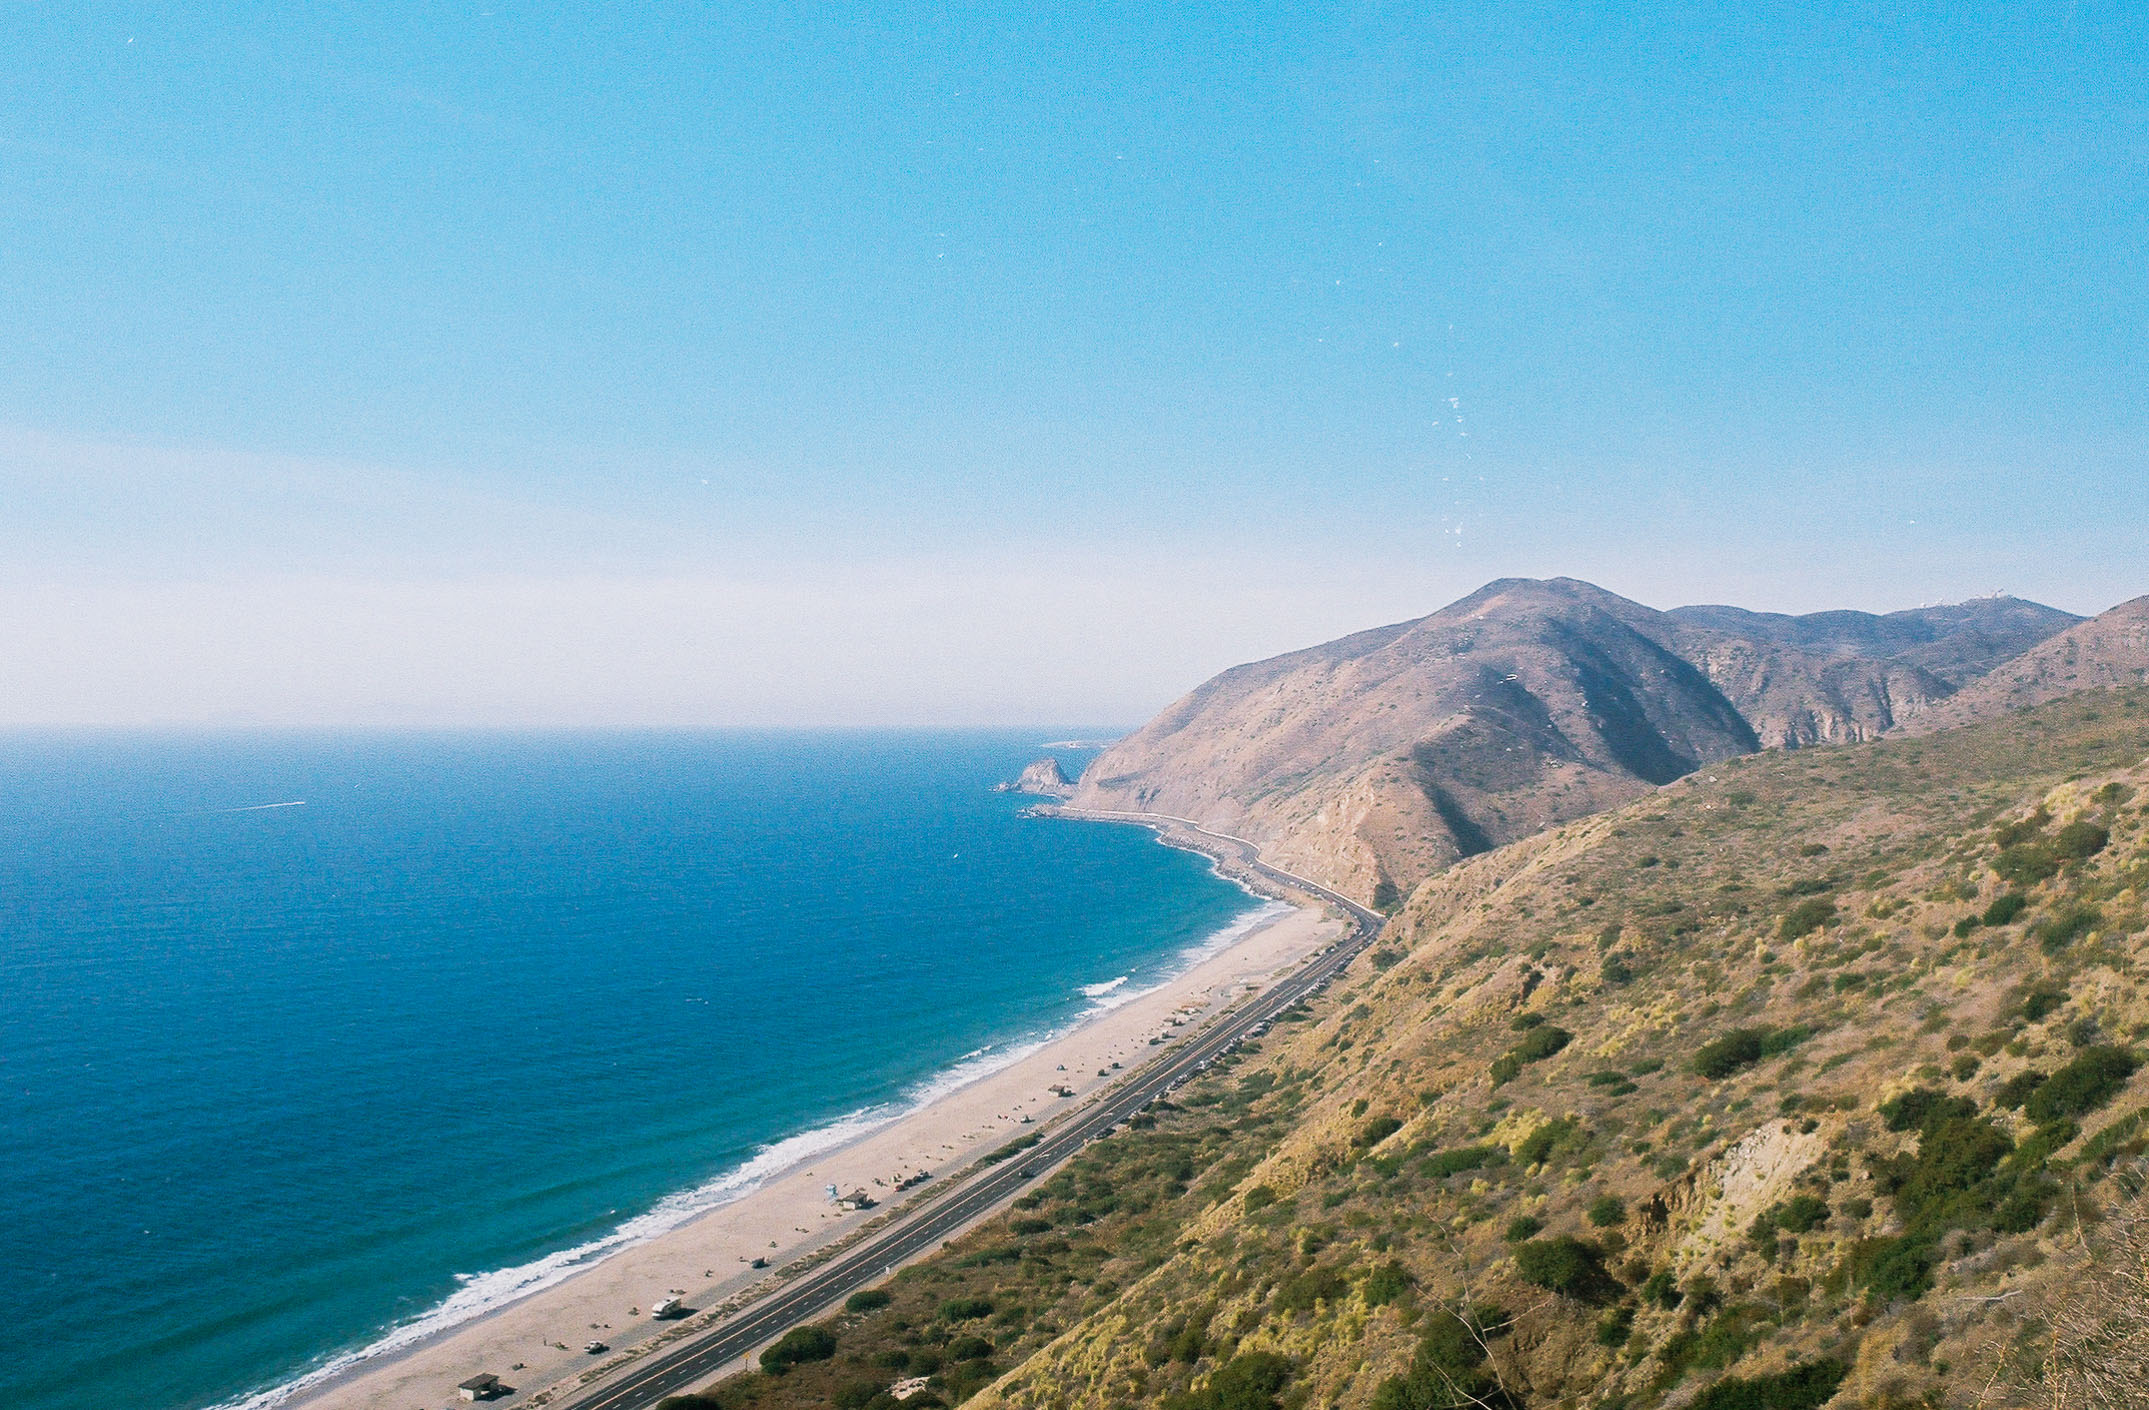
The very exposed single-track trail immediately starts climbing at a decent incline. If you’re attempting this trail in the summer, avoid hiking during the middle of the day, and make sure to bring plenty of water and sun protection. Your efforts are soon rewarded, however, with gorgeous sweeping views of the Santa Monica Mountains and Pacific coastline. Looking closer to the path you’ll find classic Southern California fauna, including Chaparral yucca, Laurel sumac, California sagebrush, Ashyleaf Buckwheat, and Prickly Pear cactus.
You’ll continue to slowly ascend as the trail slithers along the mountainside, the vistas becoming more and more expansive with each step. Three-fourths of a mile in, there’s a viewpoint where you can rest and take in your surroundings. To the west, you’ll be able to see the Silhouette of Anacapa Island, a member of Channel Islands National Park. About a third of a mile further, views of PCH and Malibu truly start to open up.
The Pacific coastline. You can just make out Anacapa Island in the distance. Shot on Fujicolor Superia X-TRA 400 film.
At mile 2.15, you’ll reach a viewpoint where you can see layers of mountains stacked on top of each other in the distance. To the northeast, the jagged and stark spires of some of Santa Monica Mountains’ highest points, including Boney and Sandstone Peaks, are on prominent display. And not to be outdone, looking out over the Pacific you can now see one of Anacapa’s larger sisters, Santa Cruz Island, protruding out of the ocean. At that moment, the rolling mountains, dirt trails, endless coastline, and deep blue Pacific Ocean calmed my busy mind and washed away my stresses and worries – it was the perfect reminder of why I love to get outside.
It’s also here where the loop portion of your hike begins. We headed left to hike clockwise and recommend you do the same, as the steep section is easier (and safer) to climb than descend. Note that while this trail junction is easy to miss, don’t fret too much as it naturally will lead you in the clockwise direction.
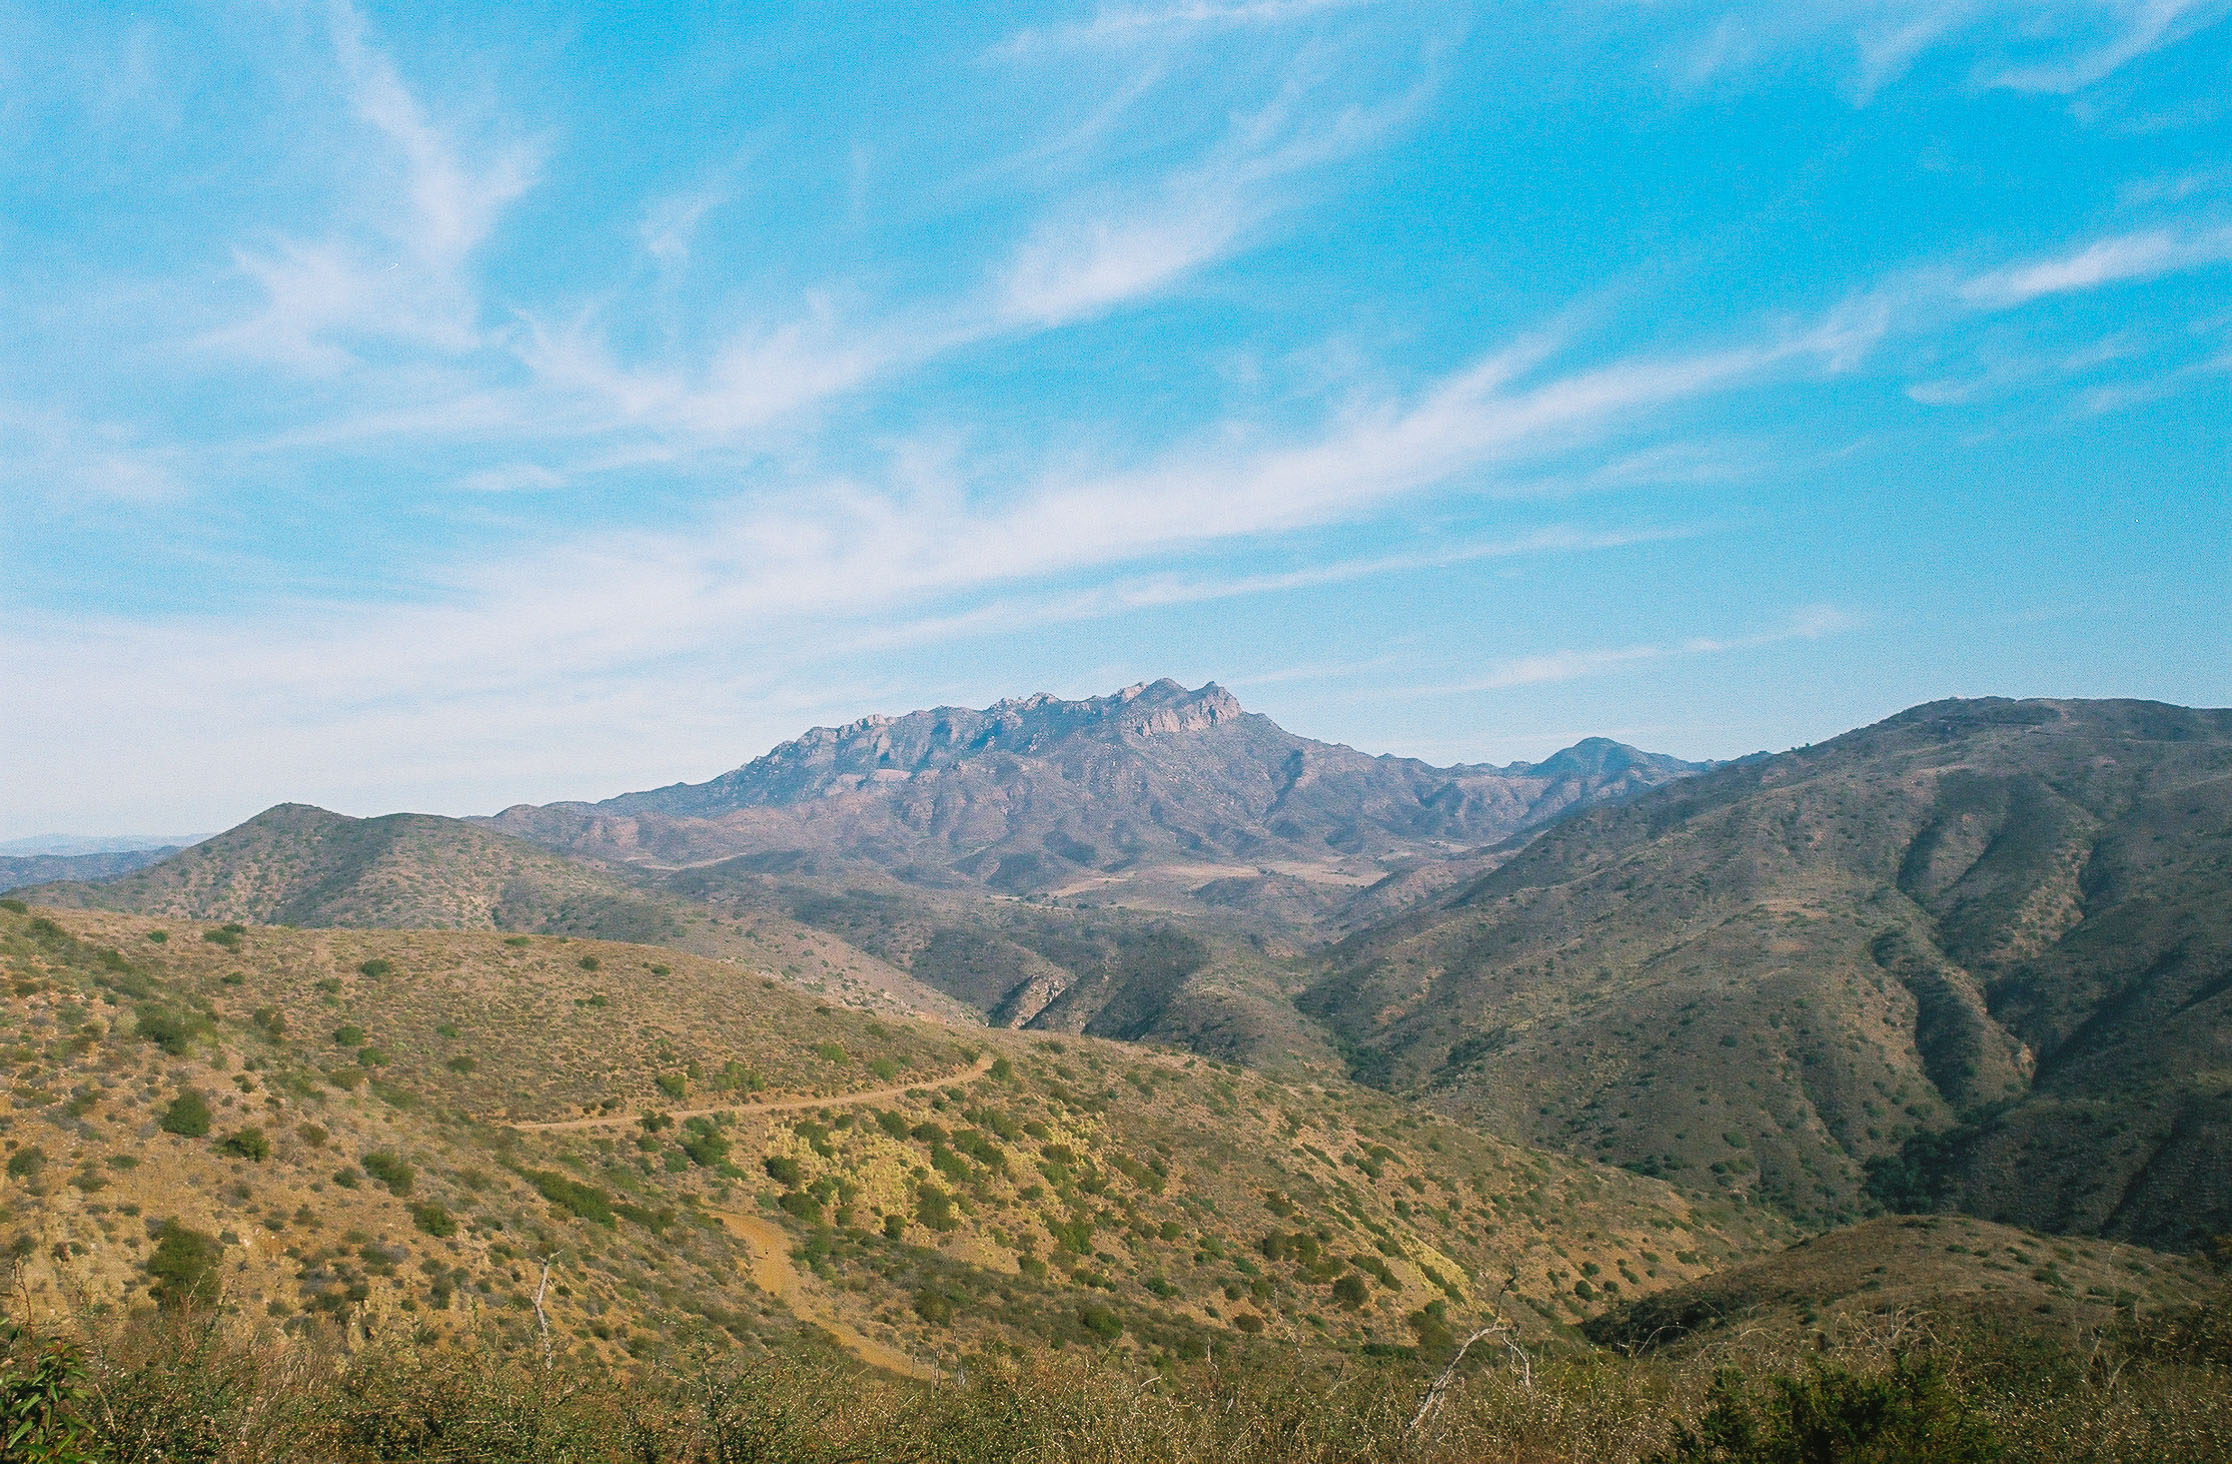
Rolling hills with several mountain peaks in the distance. Shot on Fujicolor Superia X-TRA 400 film.
At mile 2.4, the trail starts to flatten out and then gradually descend. Then 0.3 miles later, turn right to head along the Overlook Trail.
You’ll leave the ocean views behind, trading them for gorgeous green rolling hills. As you gradually wind your way downhill along this fire road, you may run into mountain bikers and trail runners. In fact, when we hiked, we were passed by many tired and sweaty athletes competing in a trail run.
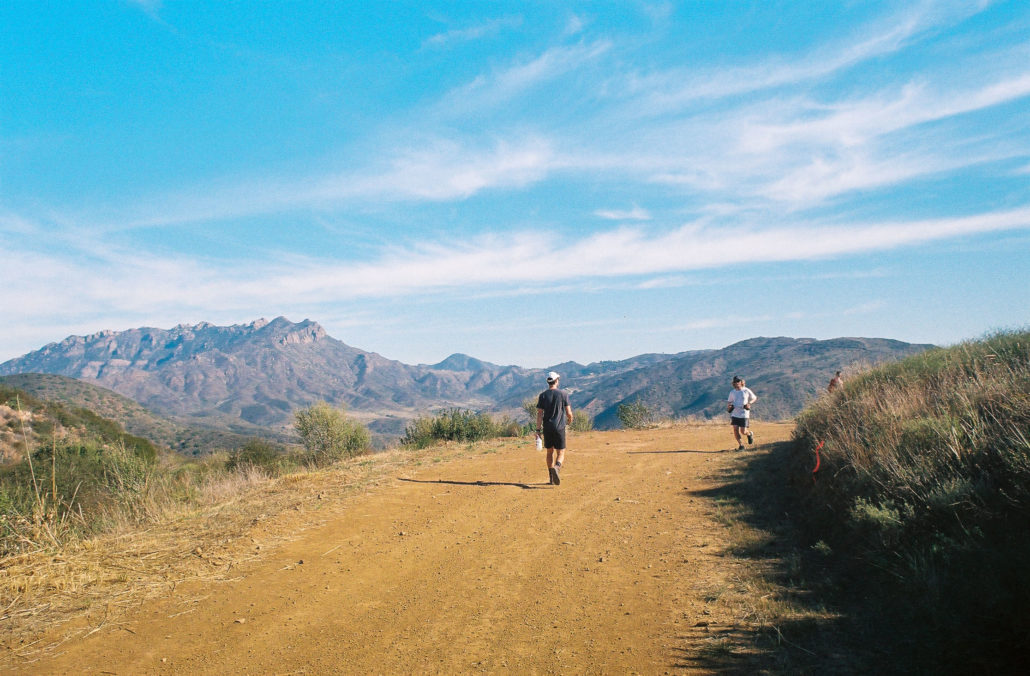
Even without ocean views, the trail is still beautiful. Shot on Fujicolor Superia X-TRA 400 film.
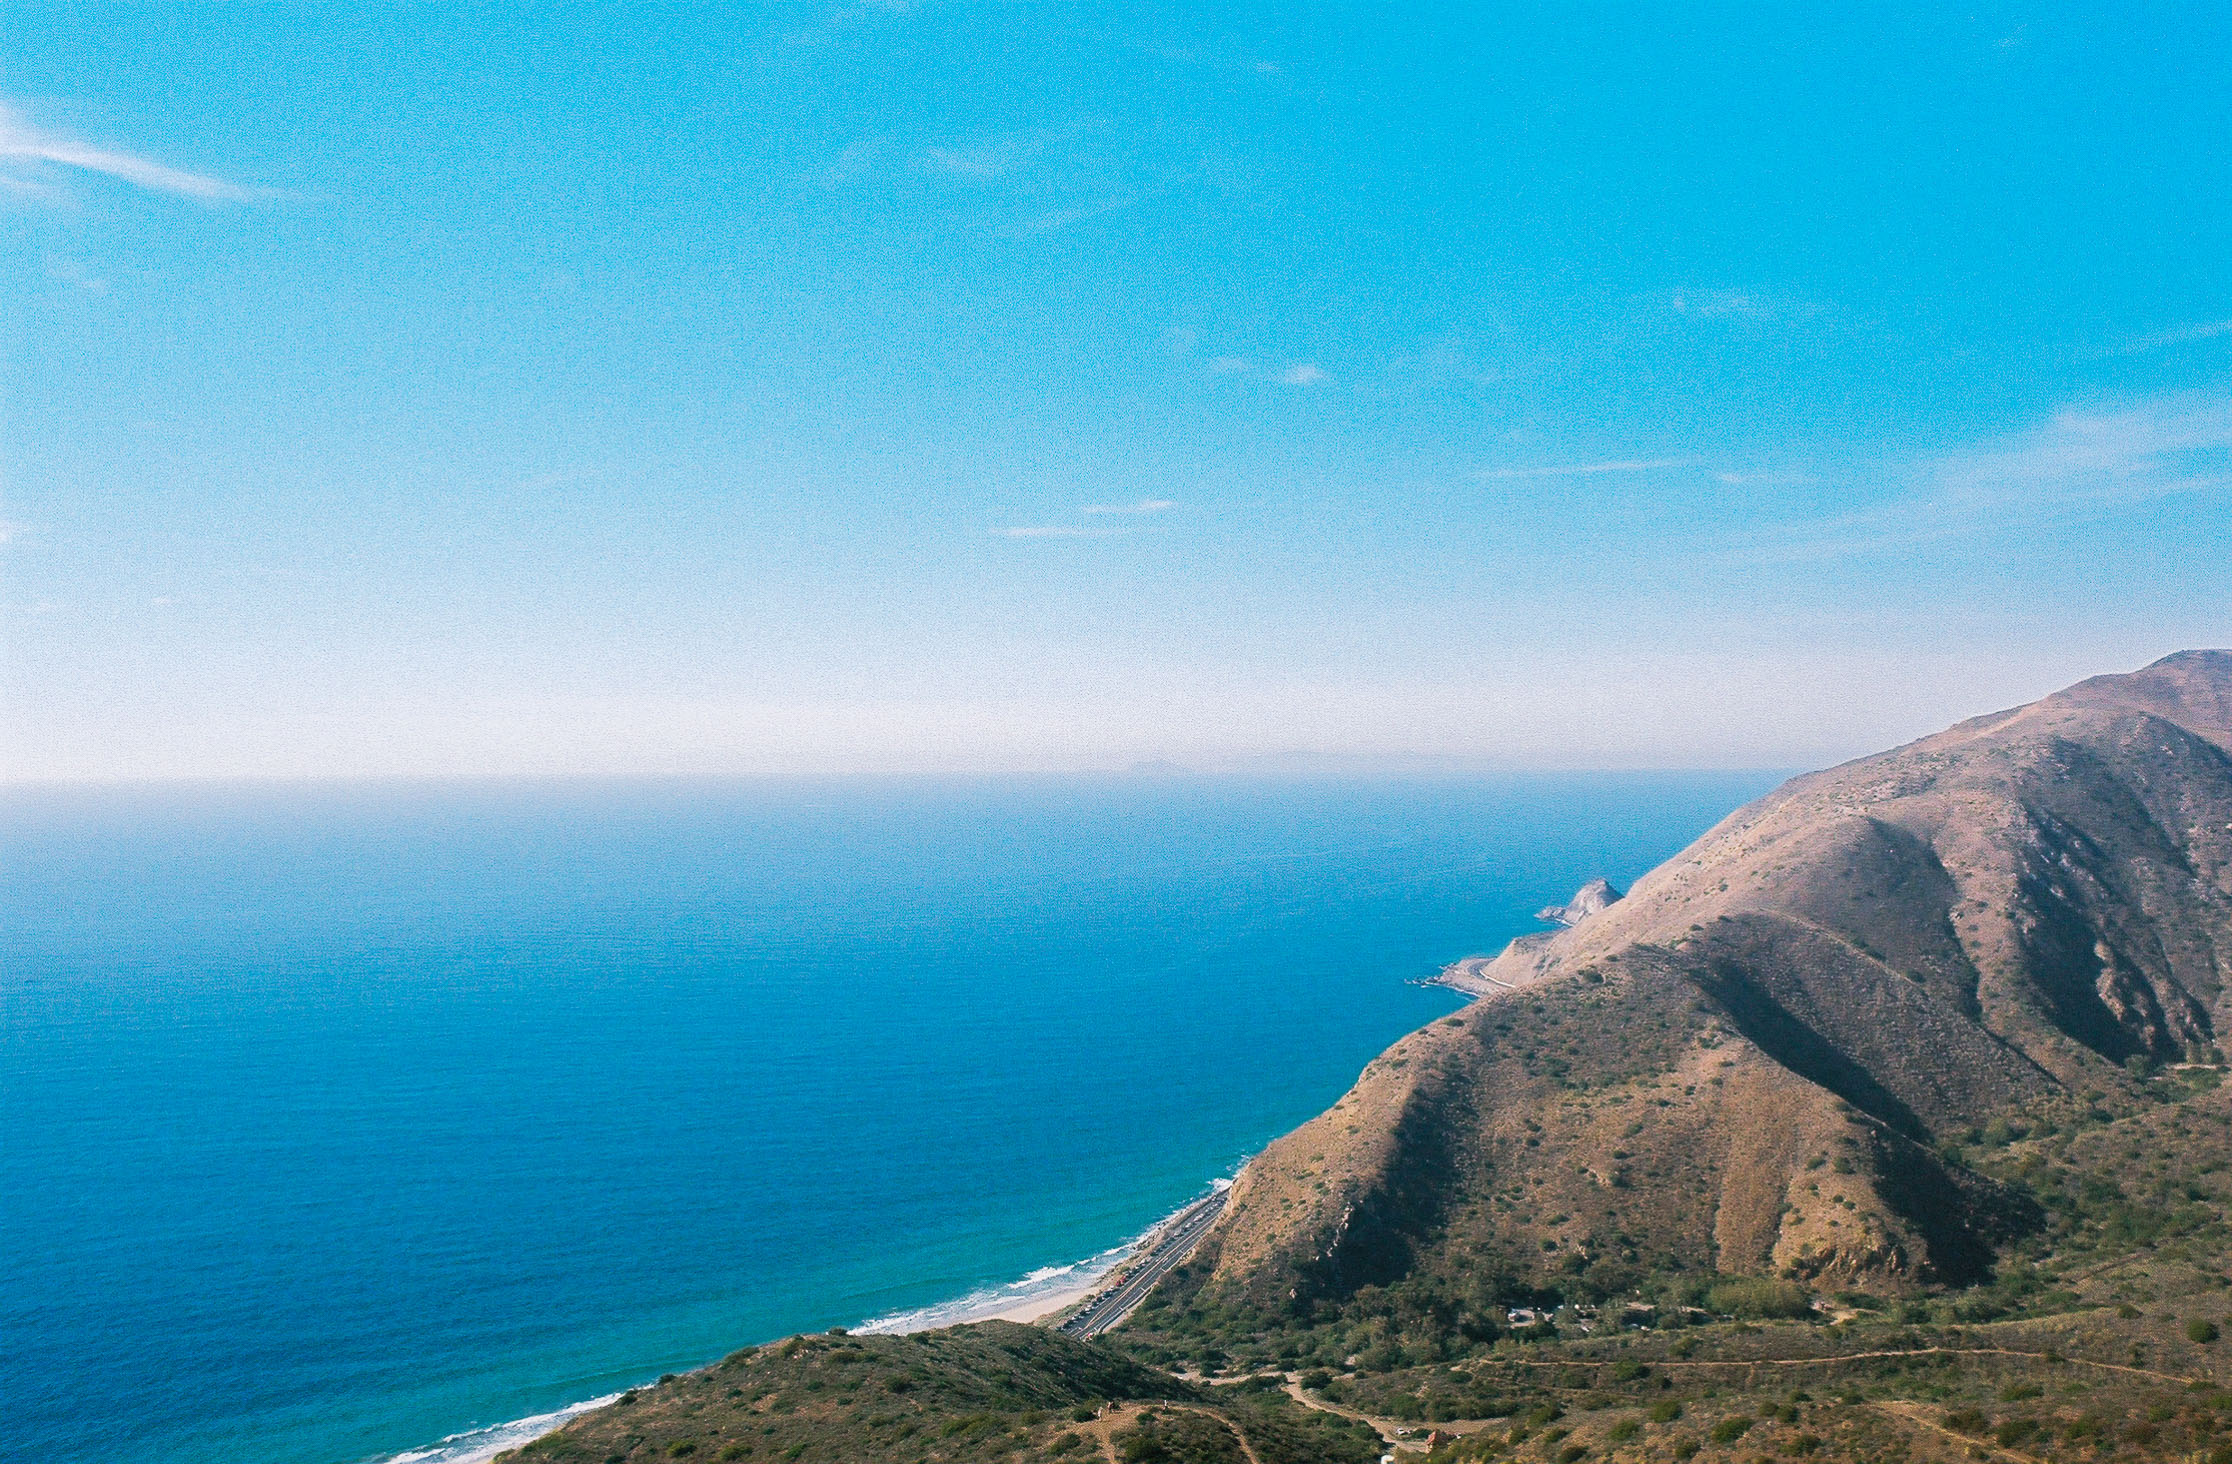
At about mile three, the Pacific Ocean will start to reappear in front of you, slowly revealing more of itself as you hike.

You’re once again greeted with picturesque views of the mountainous terrain and Pacific Ocean. Shot on Fujicolor Superia X-TRA 400 film.
Mile 4.2 marks the end of this downhill section. You’ll leave the fire road, taking two right turns in quick succession to begin the leg-buster portion of the hike. While the trail is relatively well-maintained, this uphill slog gains 502 feet in elevation in just over half a mile for a short but intense ascent.
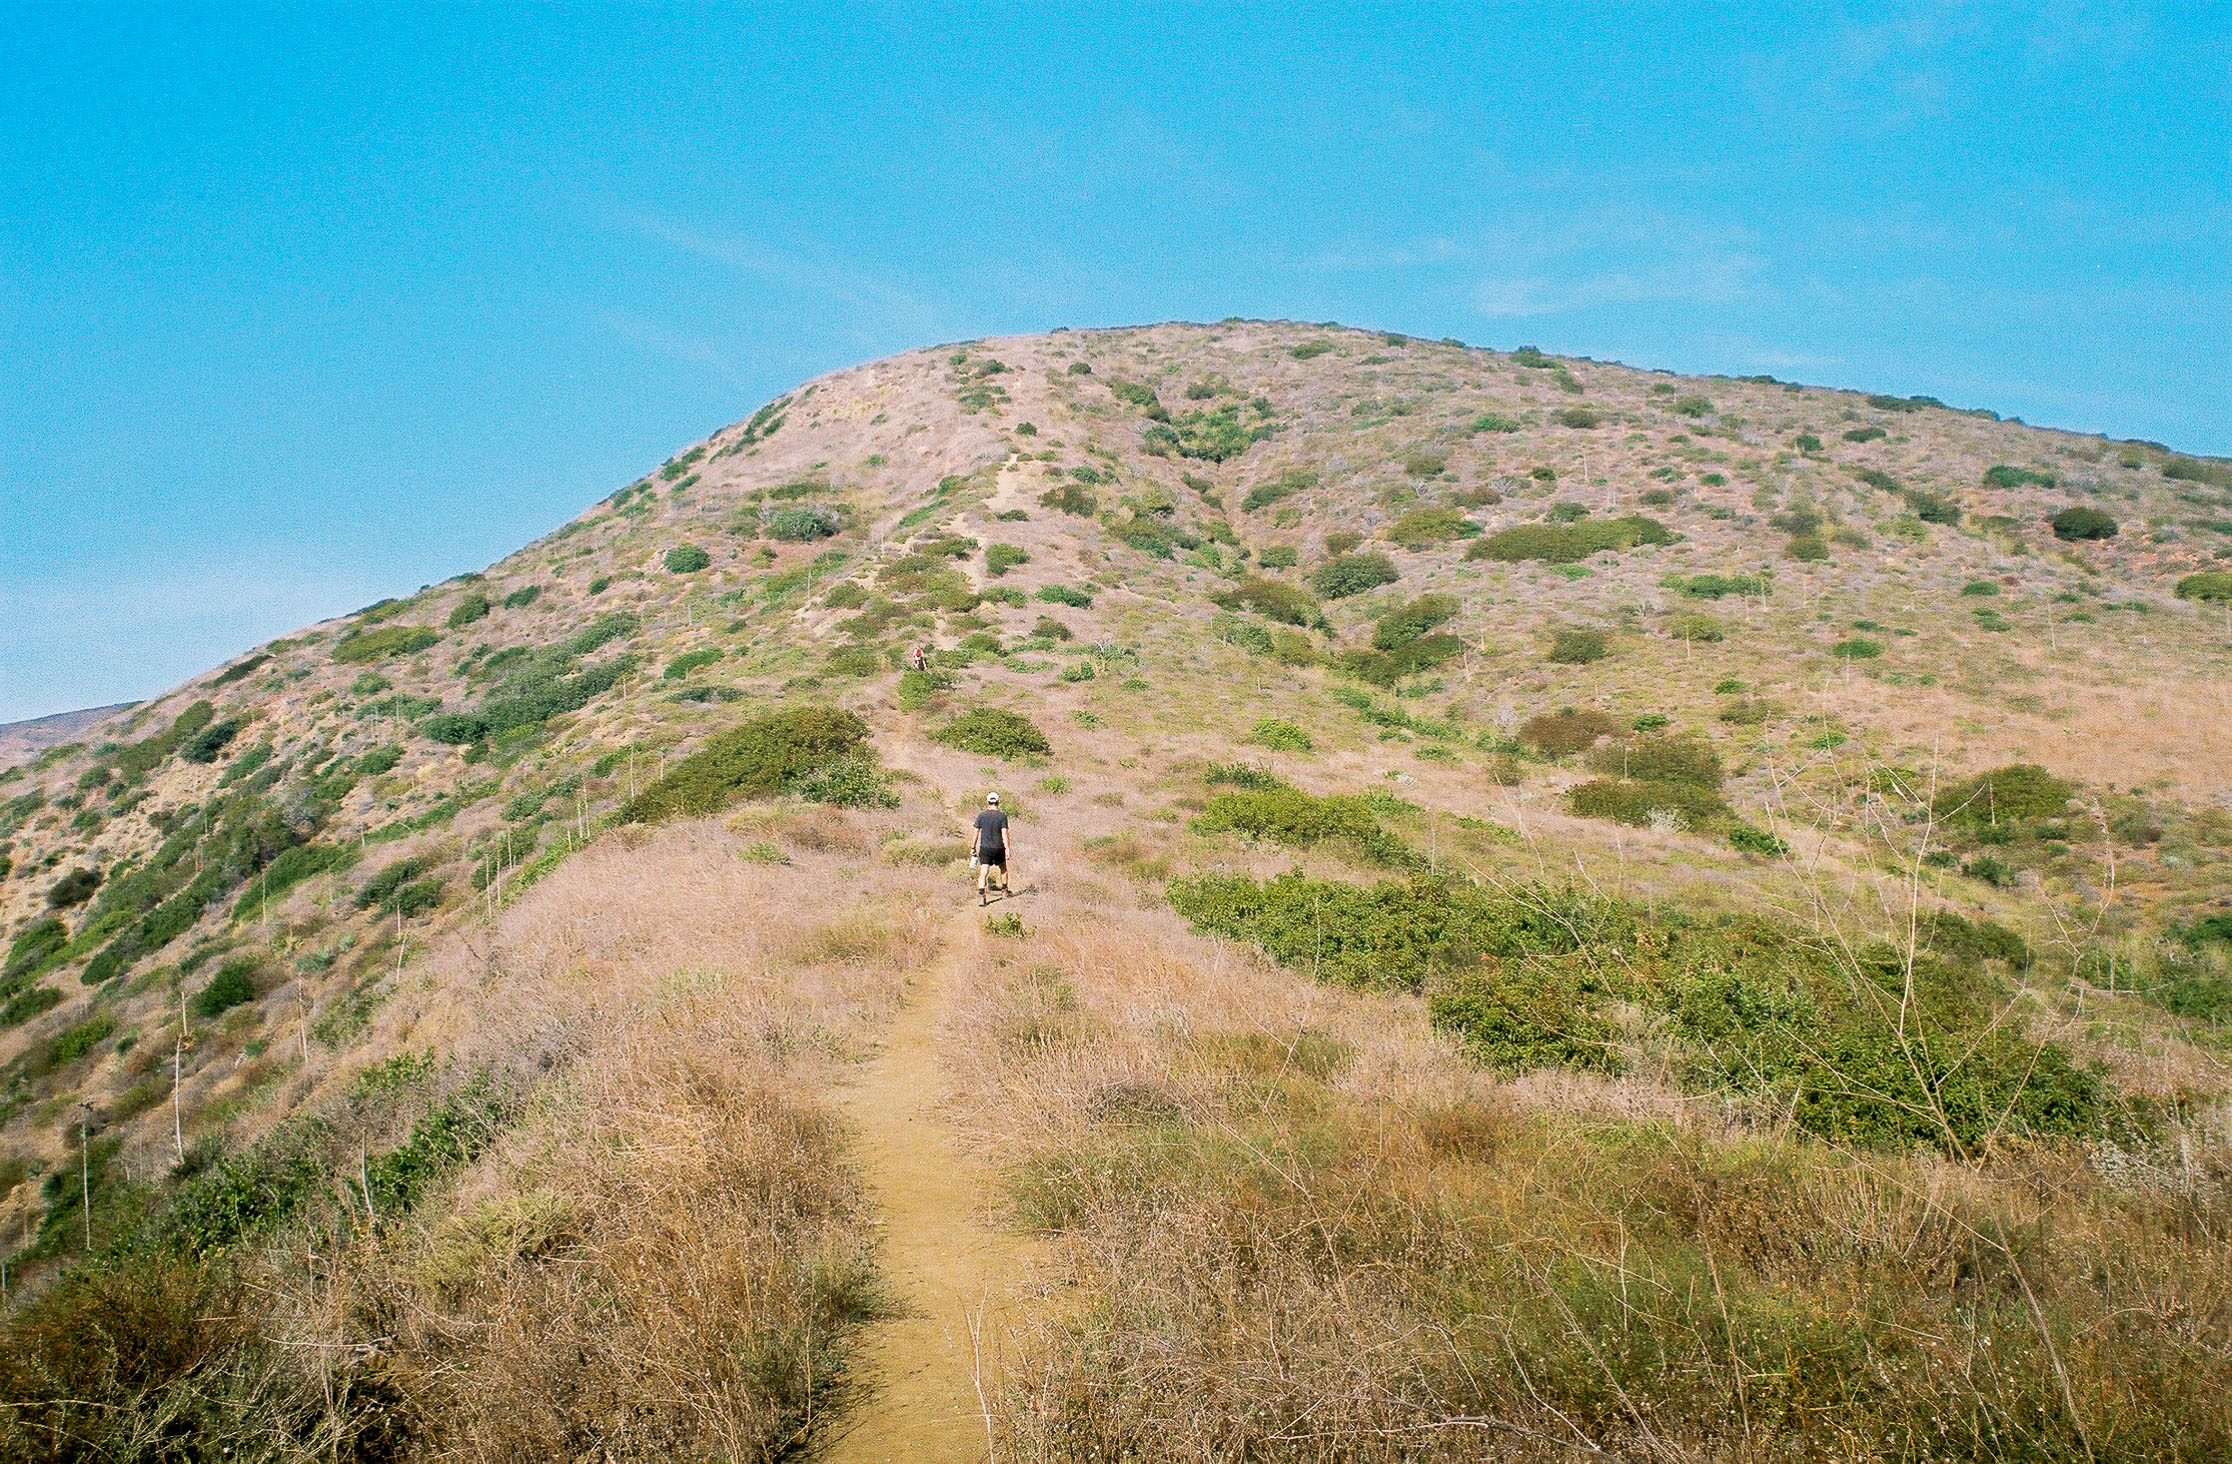
This steep ascent completes the loop section of the hike. Shot on Fujicolor Superia X-TRA 400 film.
At mile 4.8, you’ll reach both the end of your climb and the loop. Turn left and follow the Backbone trail back to the trailhead to complete your hike.
Tags: Backbone Trail, Beach Hiking, Ocean Views, Santa Monica Mountains, Ventura County