If you’ve ever wanted to surf in the Arizona desert then look no further than the Wave Cave! This trail in the Superstition Mountains leads you up to a rock formation that looks like a wave protruding from a cave, making it a unique and memorable hike — with fantastic photo opportunities, too.

The path to the Wave Cave is an unmarked and somewhat “secret” route that’s also unsigned, so you’ll definitely want to have a map and know how to read it on this hike.
If you do accidentally get lost, no need to worry. Even though I’ve gotten lost on this hike a few times when I first started exploring it, I’ve always found my way to the Wave Cave. The cave will be in your view for most of the hike, so you will be able to tell what direction to head toward. If I can navigate my way through, then you can too!
The parking lot for the Wave Cave is located along Peralta Rd, which leads to the very popular Peralta trailhead. If you’re not paying attention, you may even miss that this area is a parking lot. There is no sign indicating that there is a trail here, and if you didn’t know to look for it, you may not even see it. It is located 6.3 miles off the main road on your left hand side. If you get there early in the morning you will likely get a parking spot, but as the day goes on and the more popular this trail gets, it can be harder to find a spot to park in this small trailhead.

Parking area for the Wave Cave
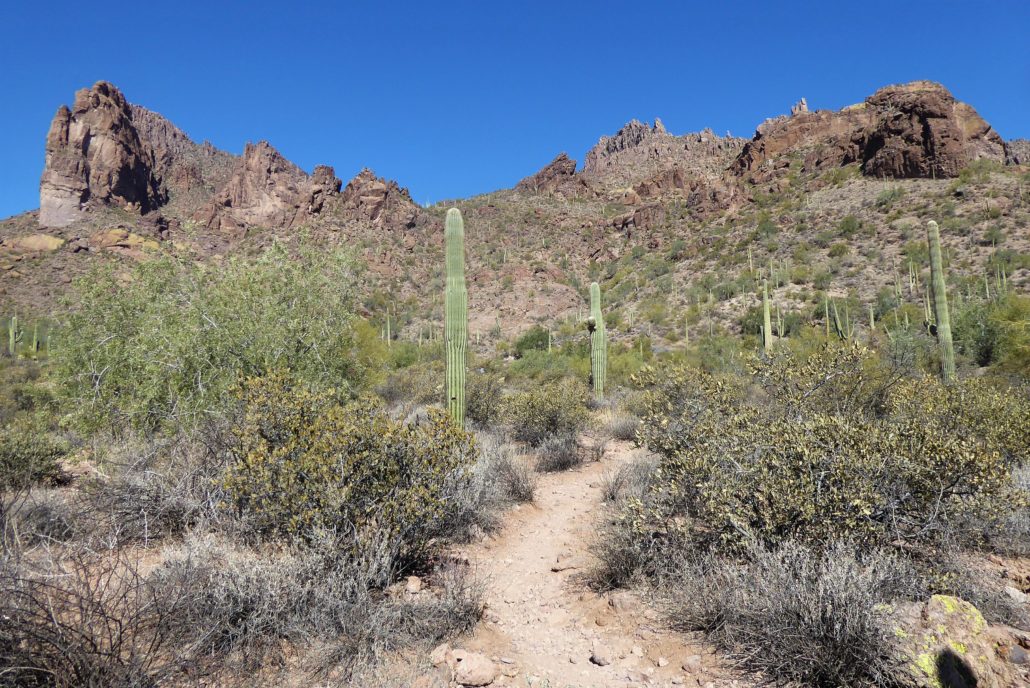
From the parking lot you will be able to see the cave toward the left. The trail begins on a wide flat path directing you toward the base of the mountain. You will follow this straight ahead.

Notice the cave in the mountain, located slightly to the left.
At around 0.6 mile you will come across a fence. Near this fence you will see trail signs indicating to go either right or left for the trail. Do not follow these signs. To reach the Wave Cave you need to continue going straight directly past the fence.

Approaching the fence from a distance
From a distance it may look as though there is not an opening through the fence, but as you approach closer you will be able to see that there is a gap that hikers are able to walk through.

Gap in the fence that you need to walk through
Once on the other side of the fence, this trail gets going and it starts moving you up along the mountain towards the cave. You will begin to notice a lot of other dirt paths that branch out, leaving numerous forks in the trail. In many cases, these side trails that branch off will be more prominent and wider than the actual trail itself. Therefore it’s easy to assume that these more distinguished paths would be the correct route. But, unfortunately this isn’t the case, which is why I had gotten lost so many times on this trail before!
During the years, I’ve seen numerous attempts from other hikers and even trail builders to try to direct hikers away from these wrong paths. As of the time of this write up in March 2018, there were rocks lined up against the opening of the wrong paths to act as a blockade, but you can’t depend on those little rock walls always being there. The areas that I had previously gotten lost at were at around 0.8 mile and 0.9 mile. In both these cases, the actual trail veers left. So keep in mind around these areas: stick to the left!

Do not cross the rocks lined up along the trail. This is blocking the wrong path, instead you need to go to the left at around 0.8 mile

At around 0.9 mile, stay towards the left and do not cross the bigger rocks
Again, don’t worry if you do accidentally get off the trail. These other little branched out routes, will eventually fade out. Once you realize you are no longer on a trail, you’ll just have to back track it back onto the main trail.
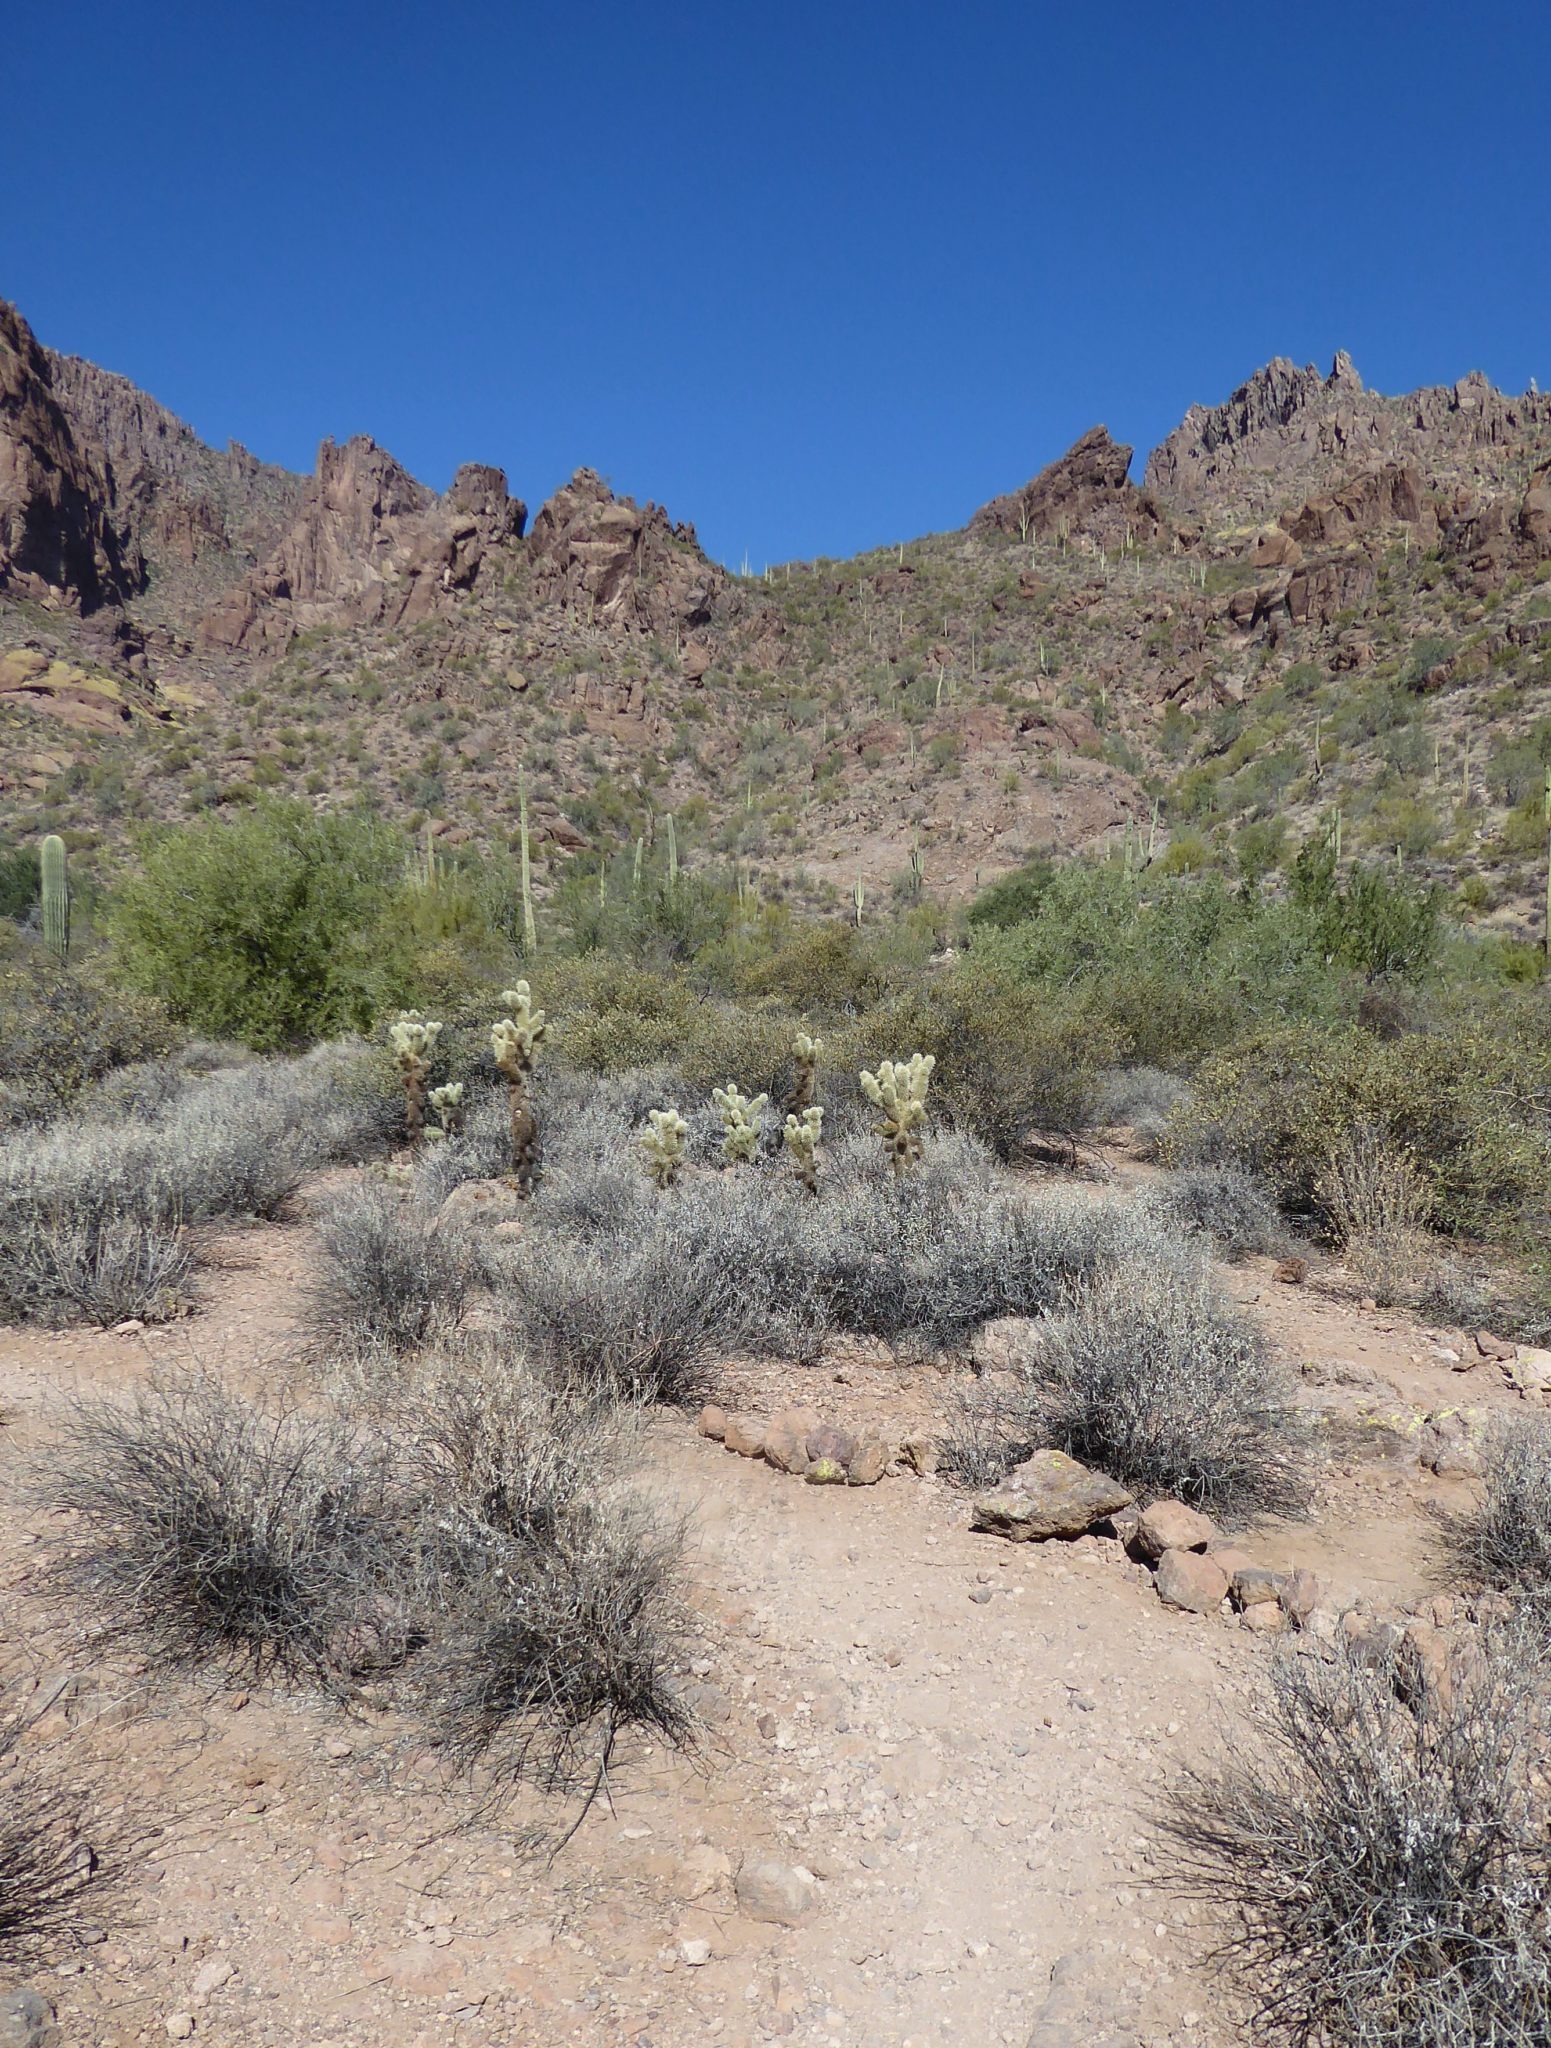
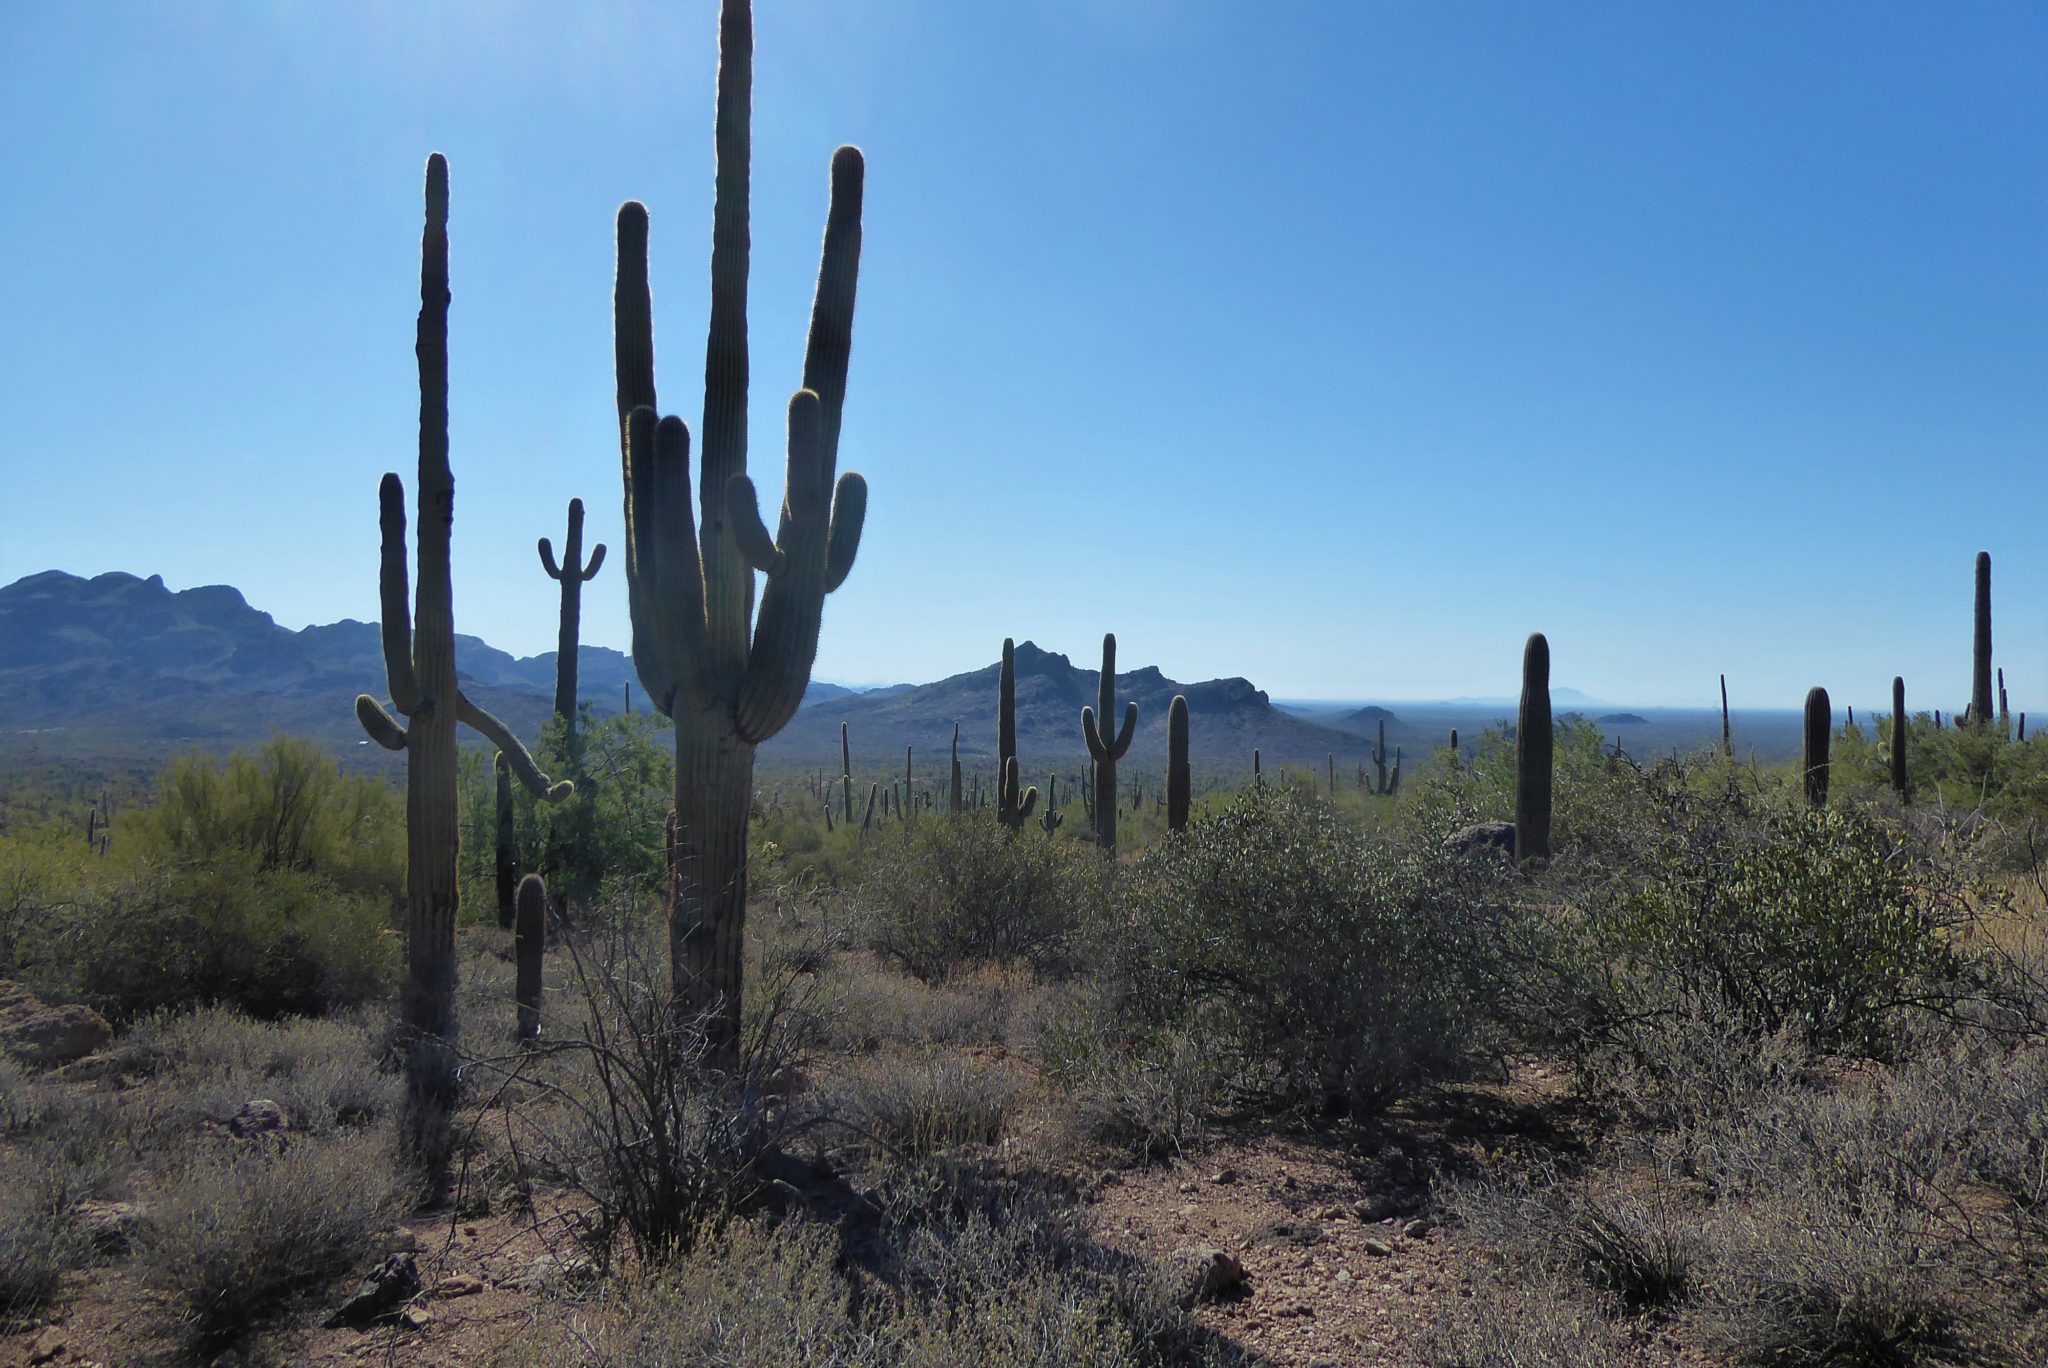
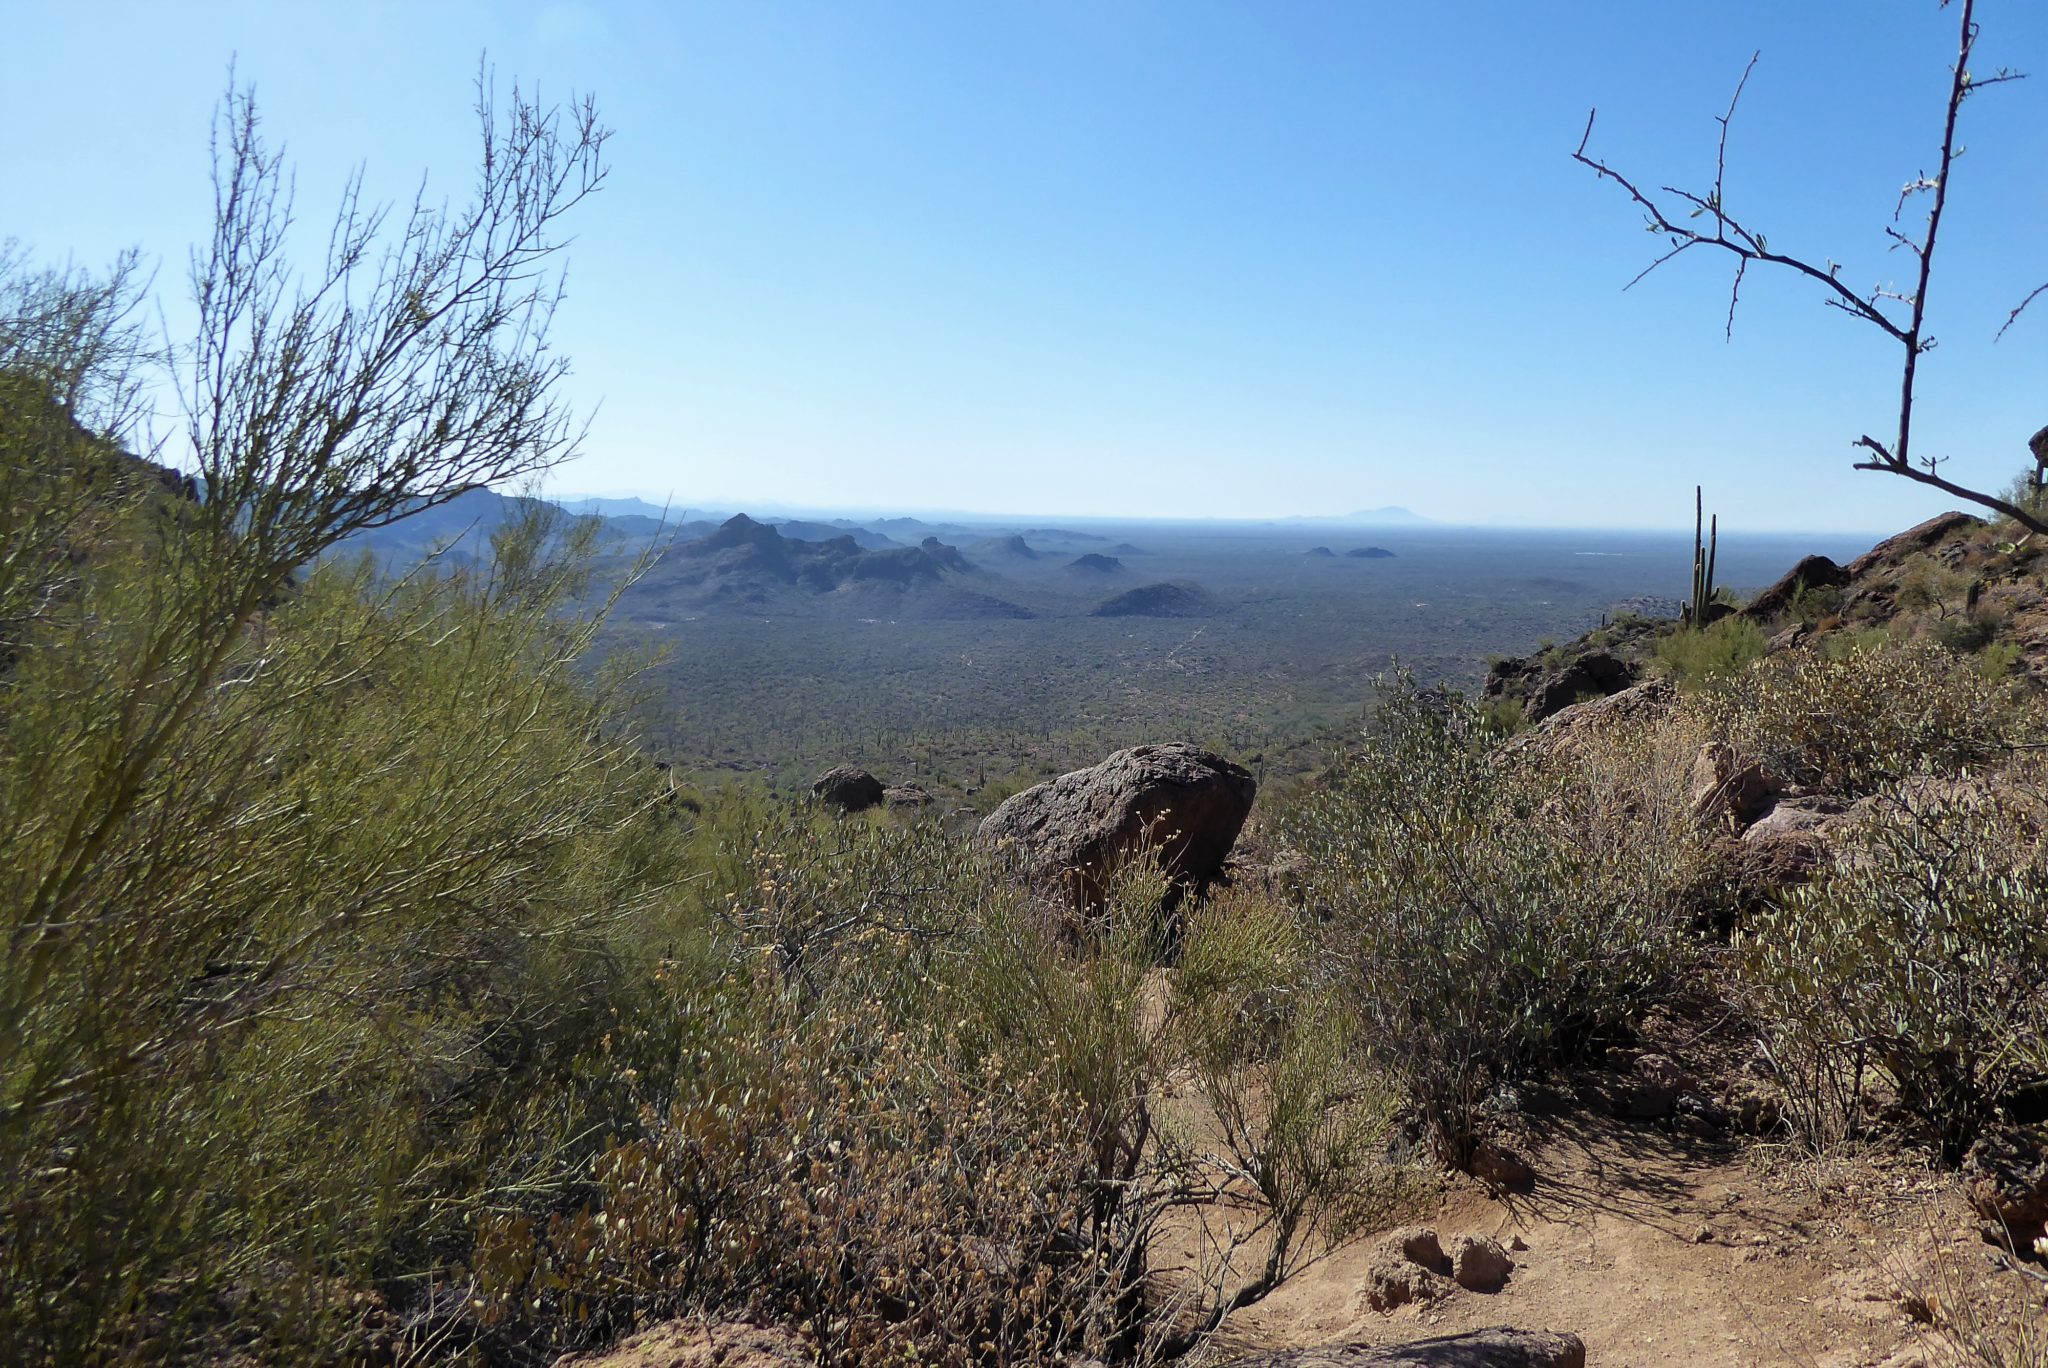
This route becomes increasingly steeper and steeper which gets your heart pumping. The amazing scenery makes a good excuse to pull over and take in the view while you catch your breath. In this area, everything seems brighter and larger than life. The tall surrounding saguaro cacti have a healthy green glow making the sky seems bluer against the contrast.


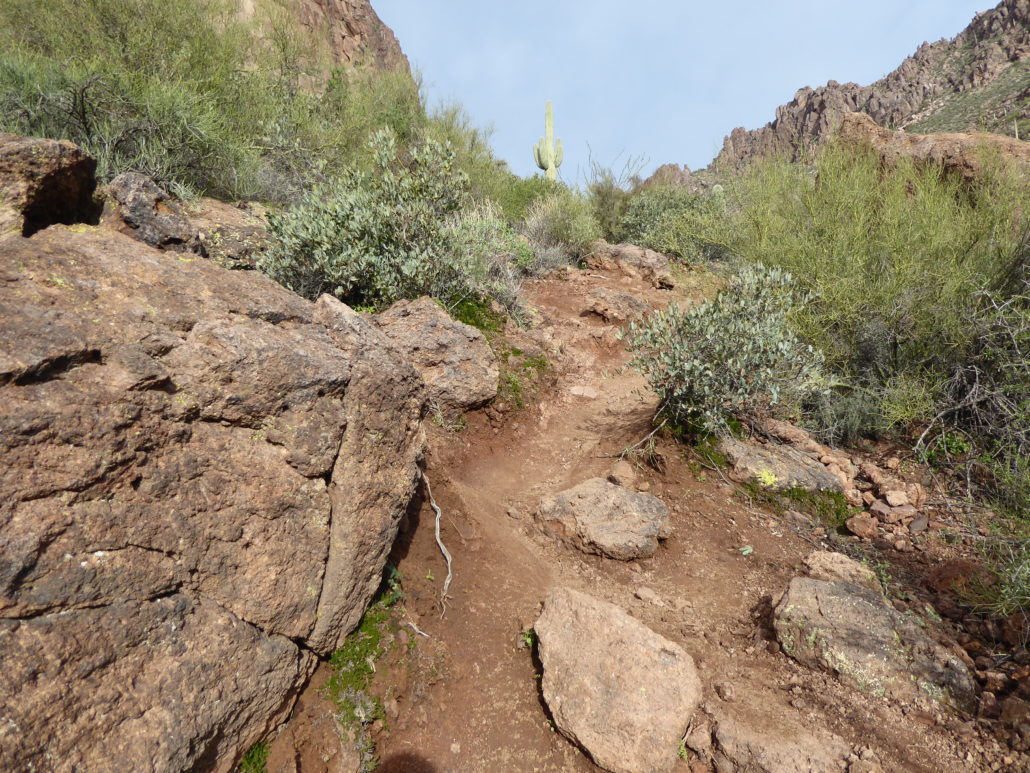
At around a mile the trail becomes steeper but also less confusing. It turns more into a direct route that is clear to make out and follow.

The higher up you go the more you will be surrounded by bigger dark boulders spread out in the landscape. Above you, you’ll still be able to see that cave hovering above you, waiting for you to come ride the wave!

As you make the final ascent, this last section can be a little tough. While it is a short stretch, it is the steepest part of the entire hike. You may find this area being harder on the way down than going up, so use caution because the dirt is a little loose.
Once at the cave, you will be rewarded with breath taking views, both inside and out. The cave itself is impressive in size, as it is a big hollowed out area within the mountain side.

As you stand back and gaze upon the actual wave it really makes you wonder, “how did nature do this?” It’s a perfect sized wave for you to stand on that is even accompanied with a sandy ground to walk on! It really feels as if you’re sitting on a beach but instead of an ocean view you get the desert view!

For the most part hikers will be very respectful of one another in the cave and usually will offer to take pictures of one another while on the Wave. If you get there early enough in the day then you have a better chance that the cave will be less crowded, so you can enjoy it a bit more peacefully. When you’re done surfing, head back down the way you came — taking care on those steep, slippery sections.
Tags: Arizona, AZ, hike, Hiking, nature, outdoors, Phoenix, Superstition Mountain, Wave Cave