Iron Mountain #1, also known as “Big Iron”, is often considered one of the most remote and strenuous day hikes in the San Gabriels. This exposed and relentless, extremely rough use-trail climbs 6,000 feet to reach the summit. Once at the top, you will feel you are at the center of the San Gabriels with breathtaking views in all directions.
Red tape and warnings:
- Self-issued day permit required which can be found at the trailhead
- Adventure Pass required for parking
- Bring trekking poles for the steep sections
- Bring LOTS of water. Even if you are doing this trail in the cooler months, bring a good amount of water as there is none on the trail. I had 4-5 liters of fluids and it barely got me through the trip.
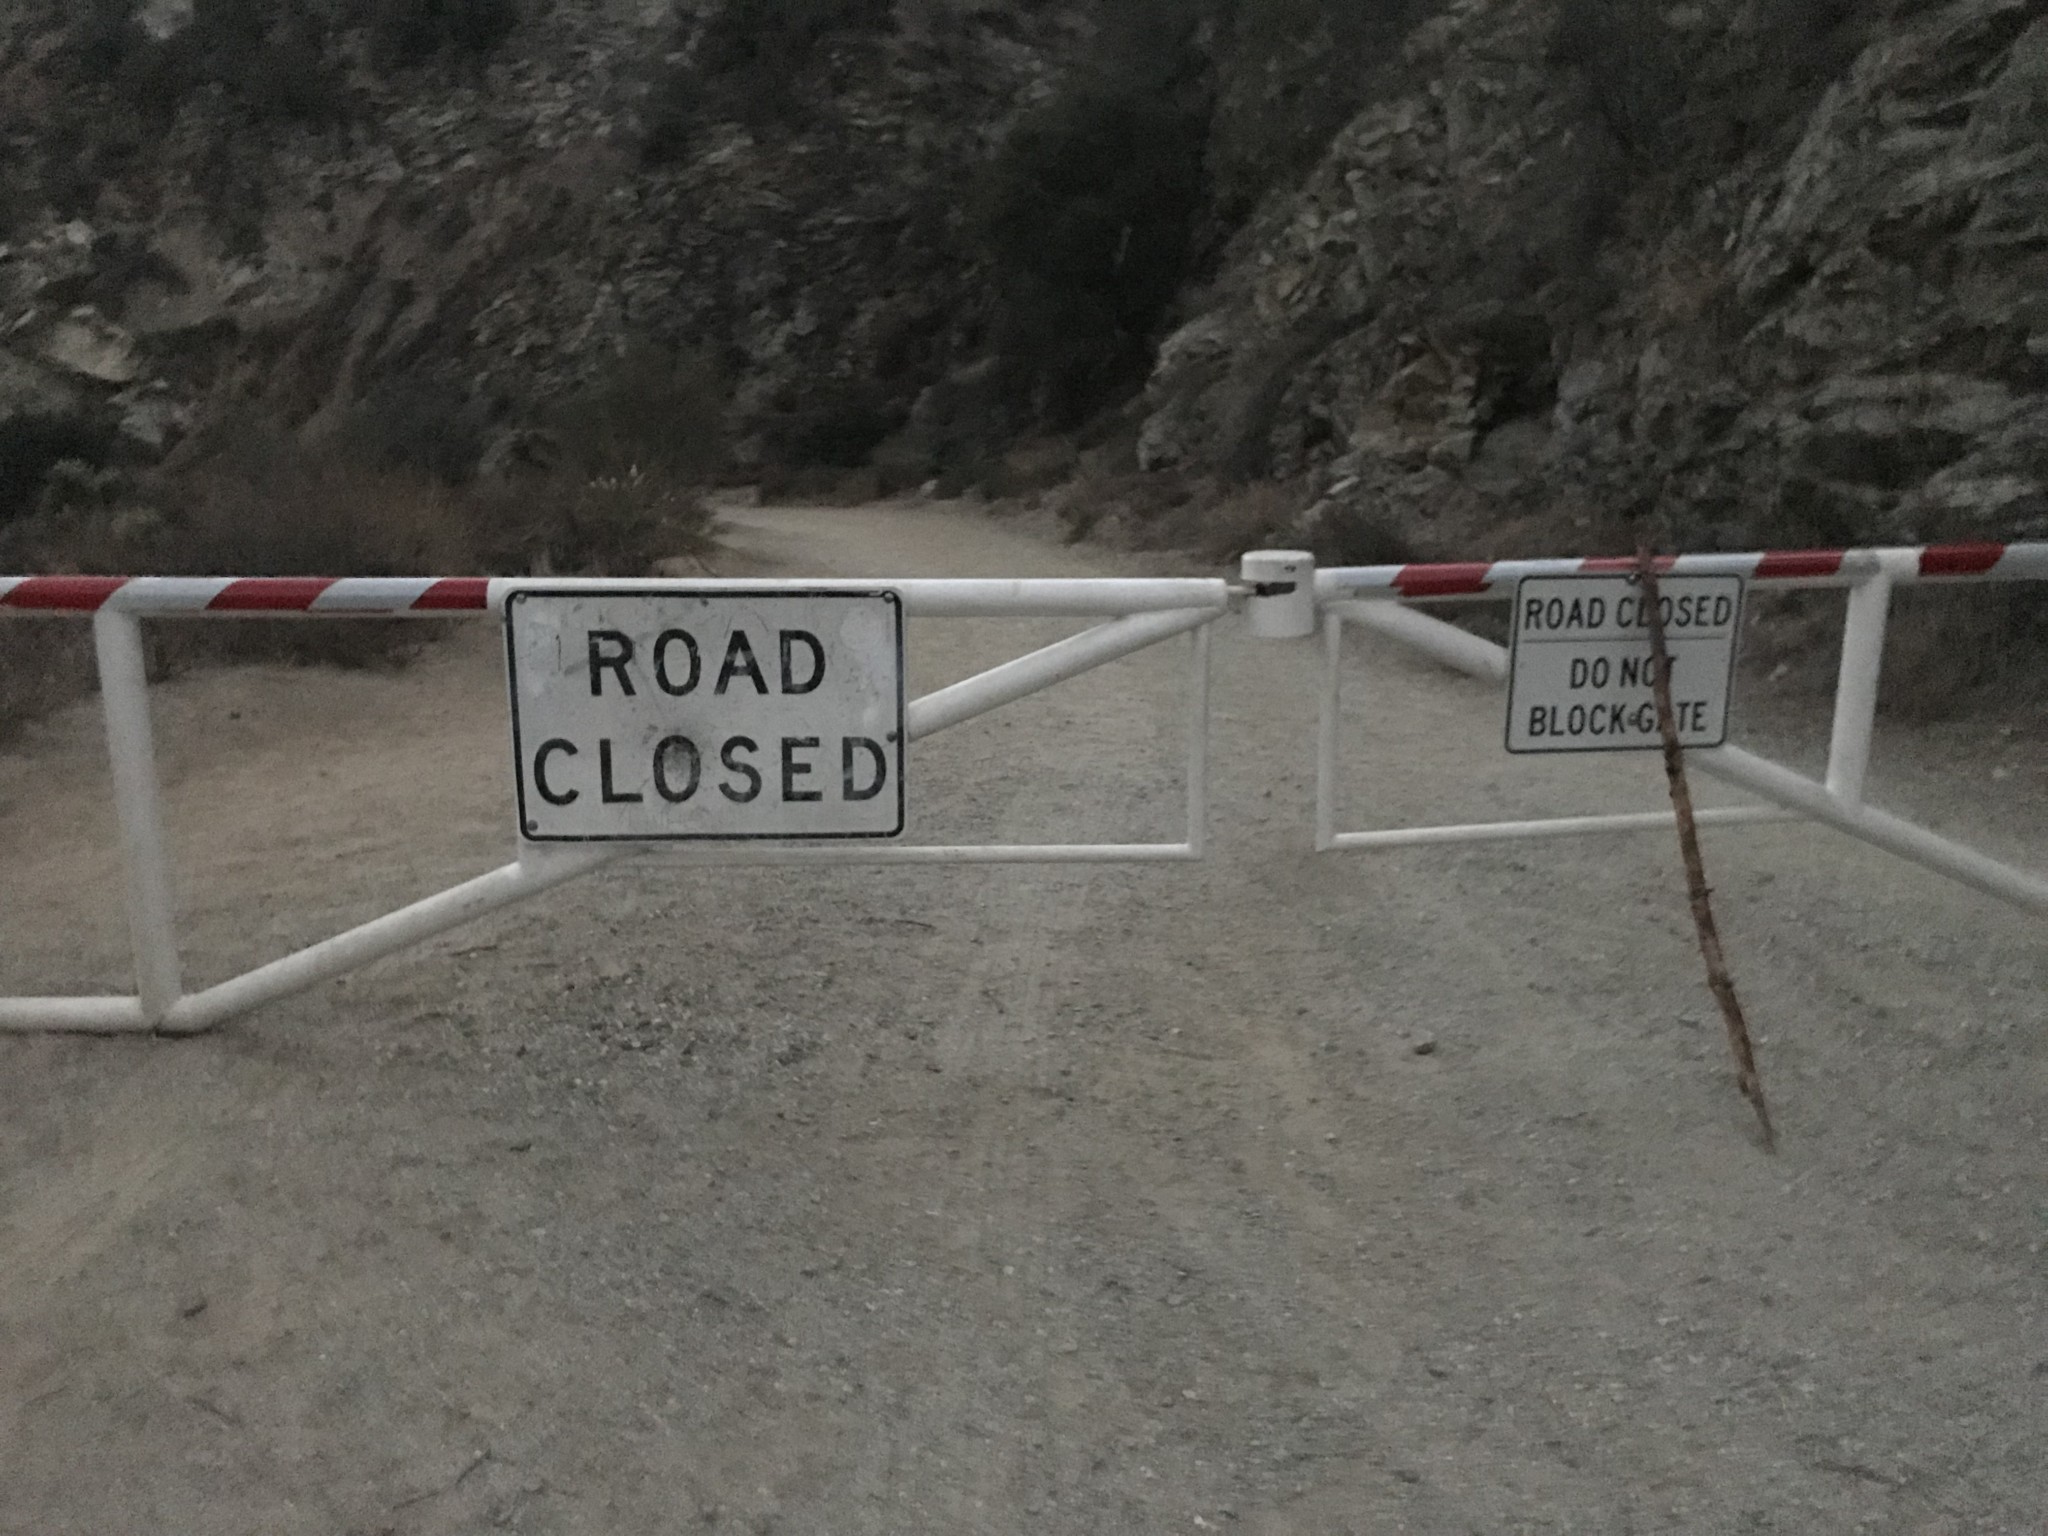
When you park at the lot, display your Adventure Pass and then walk past the gate half a mile down the road to the trailhead. This parking lot is often crowded as the trail to the popular Bridge to Nowhere hike is also down this road, so try to get here early — especially on weekends.

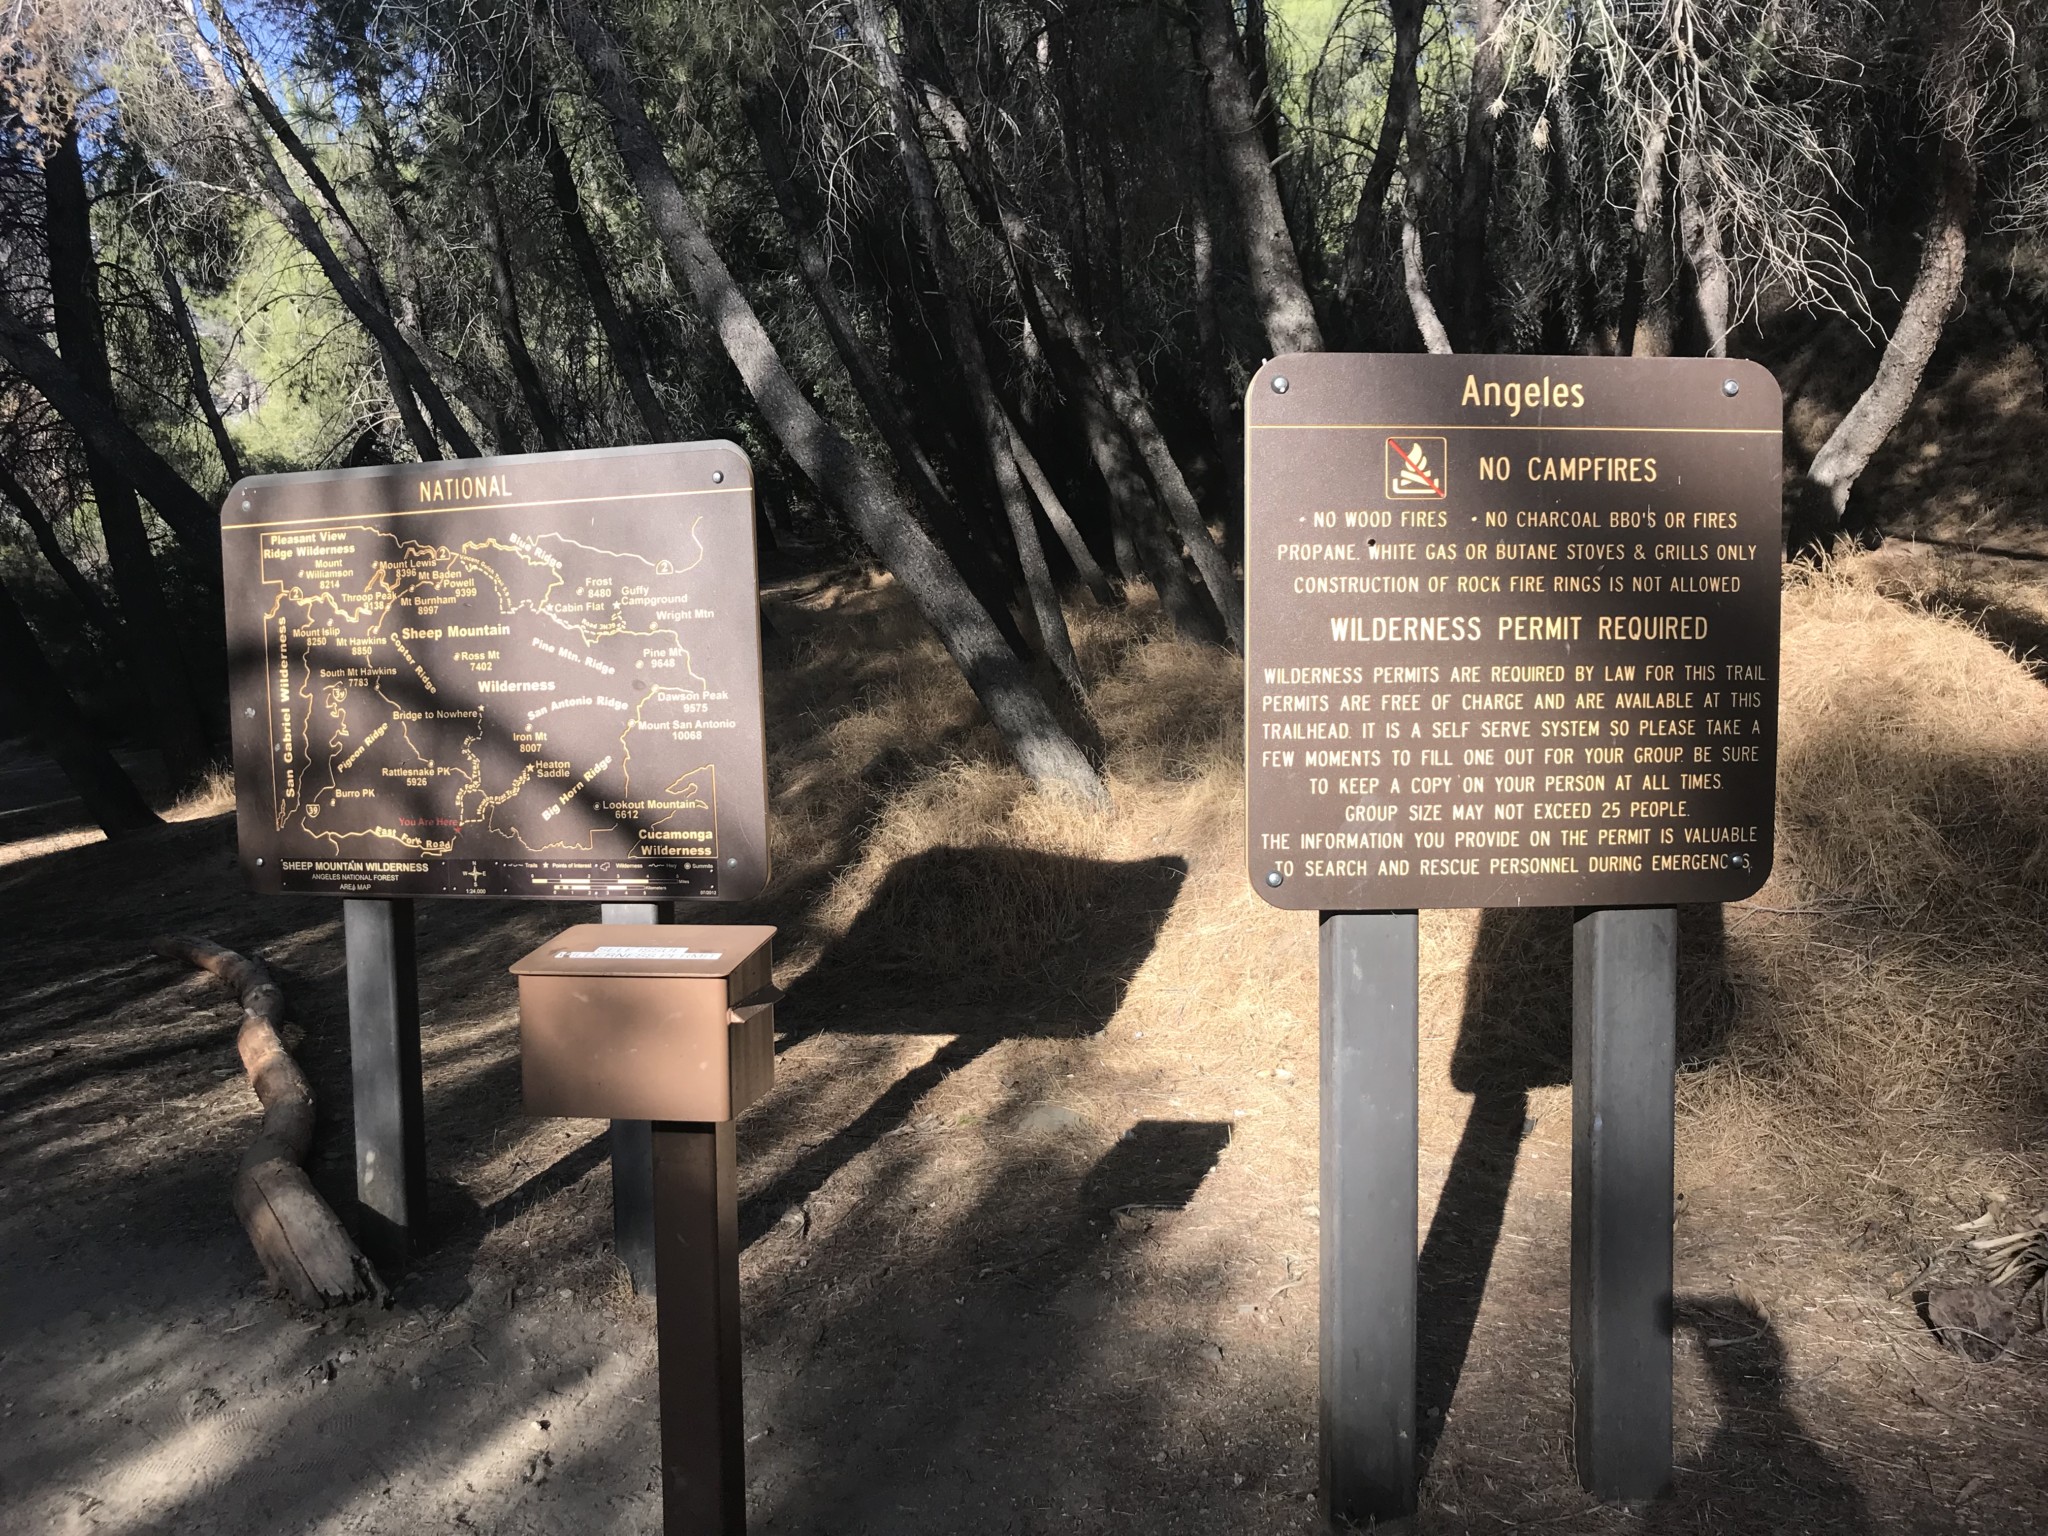
The road will lead you to a bathroom on your right and behind that bathroom is the trailhead. However, before going to the trailhead, first walk toward the signs several feet down the road. This is where you will pick up your self-issued day permit. The permits are located in the brown box. Fill out the form and deposit it in the box, be sure to keep a copy with you.

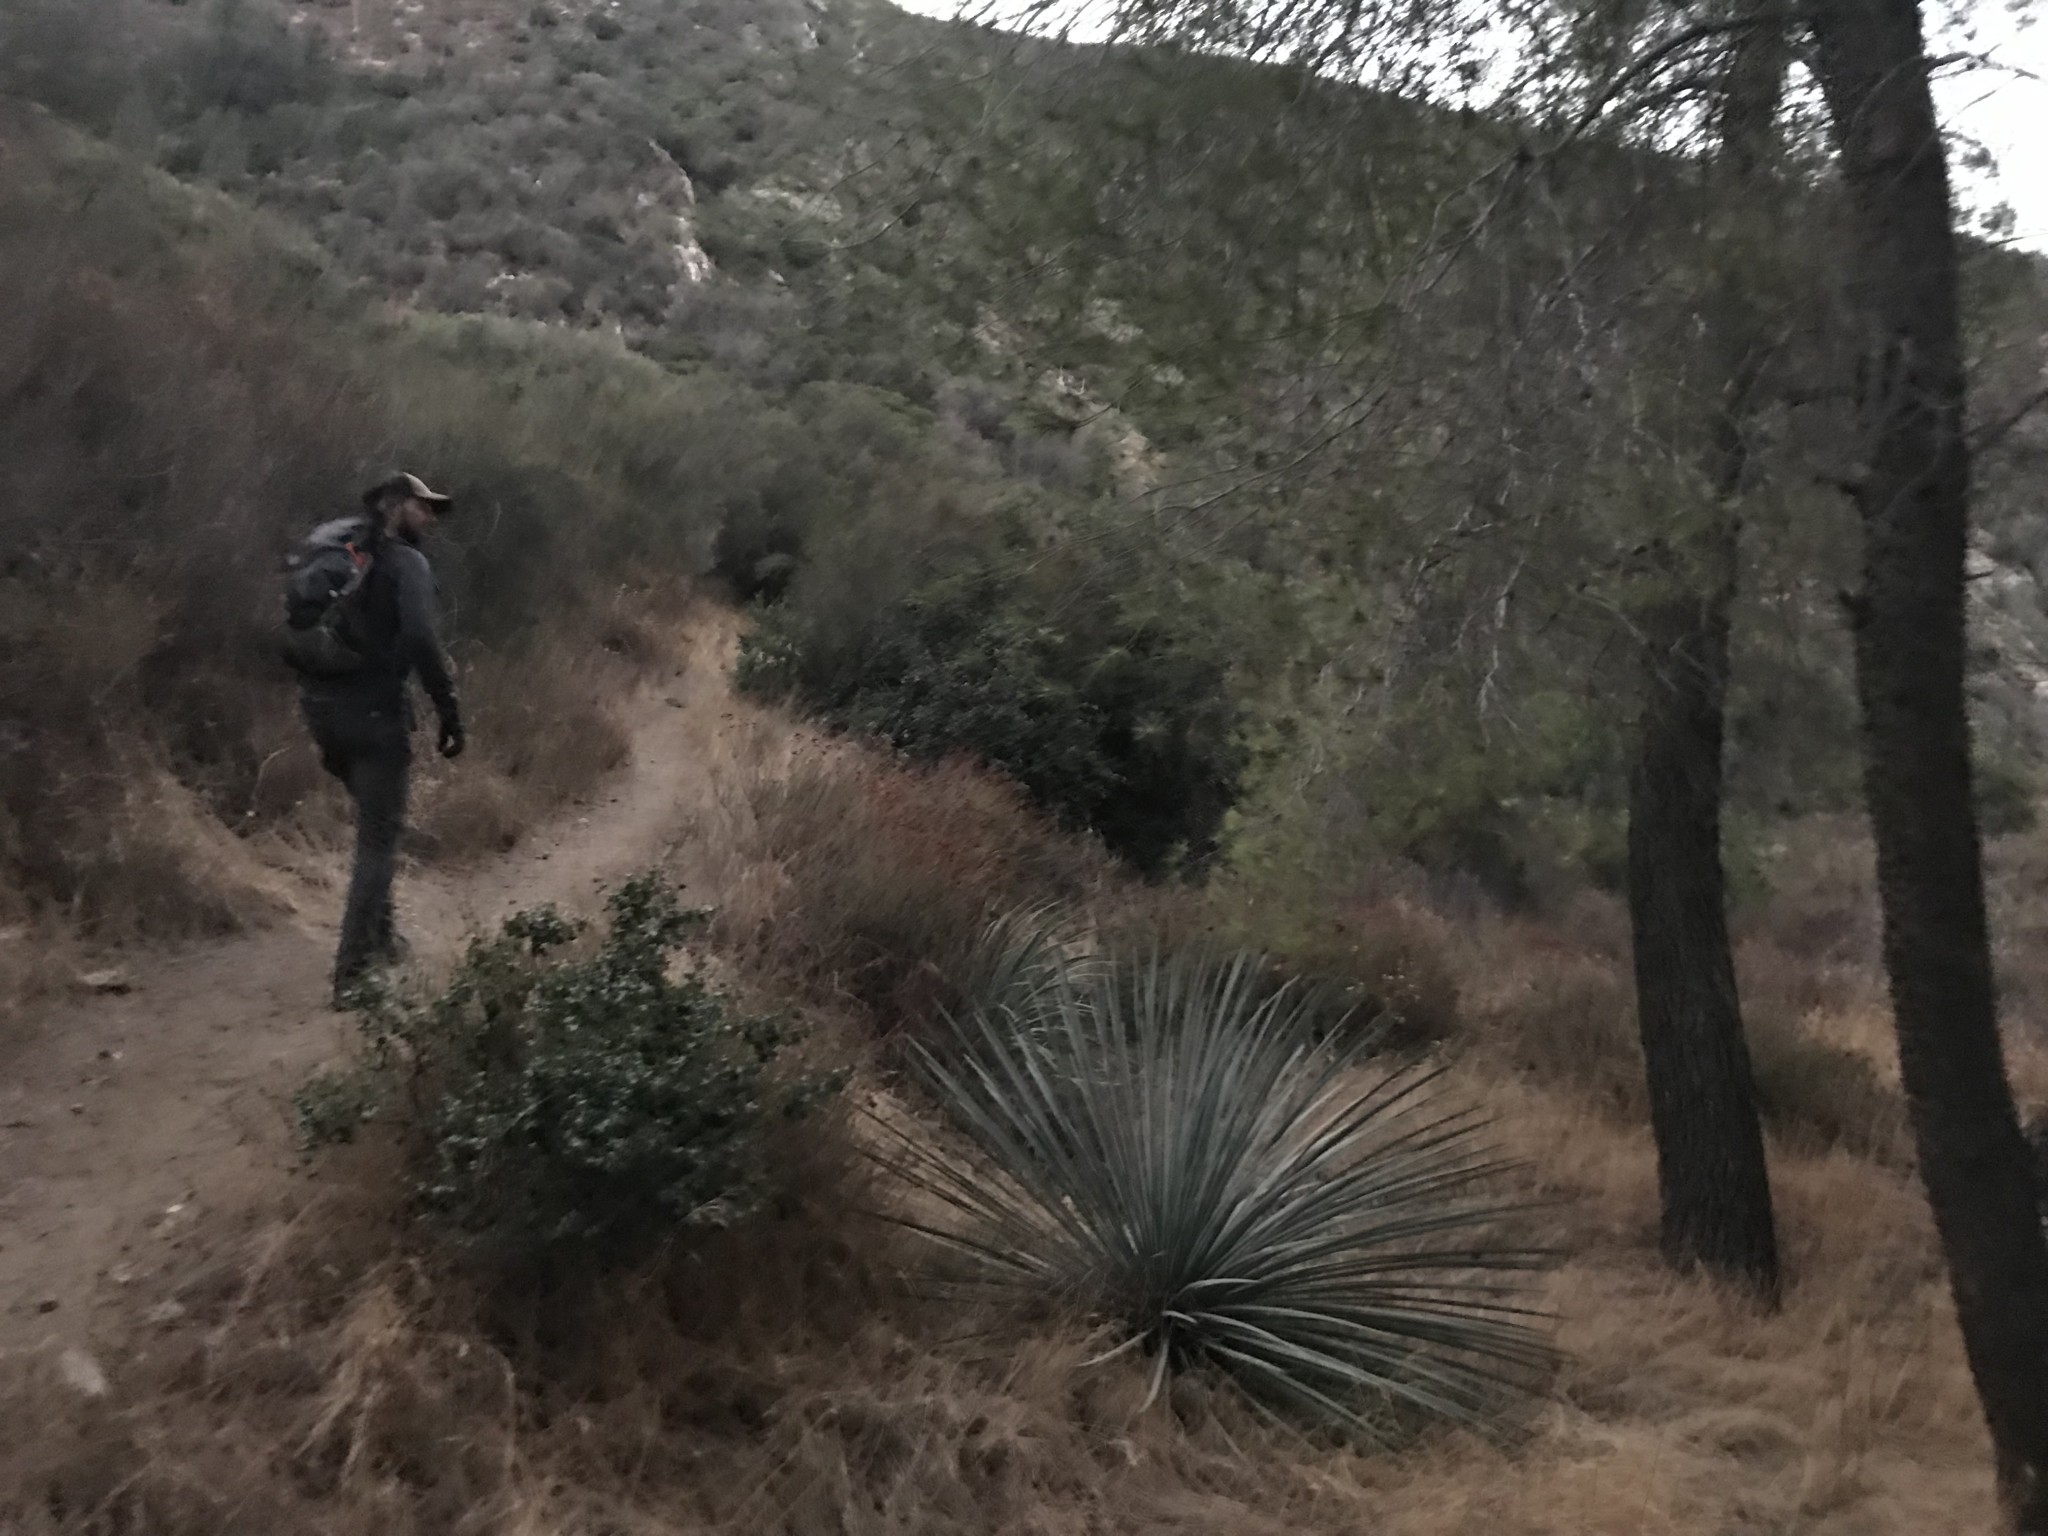
Now that you have your permit, walk to the trailhead behind the bathroom area. The Heaton Flats Trail is where your journey to Iron Mountain begins.

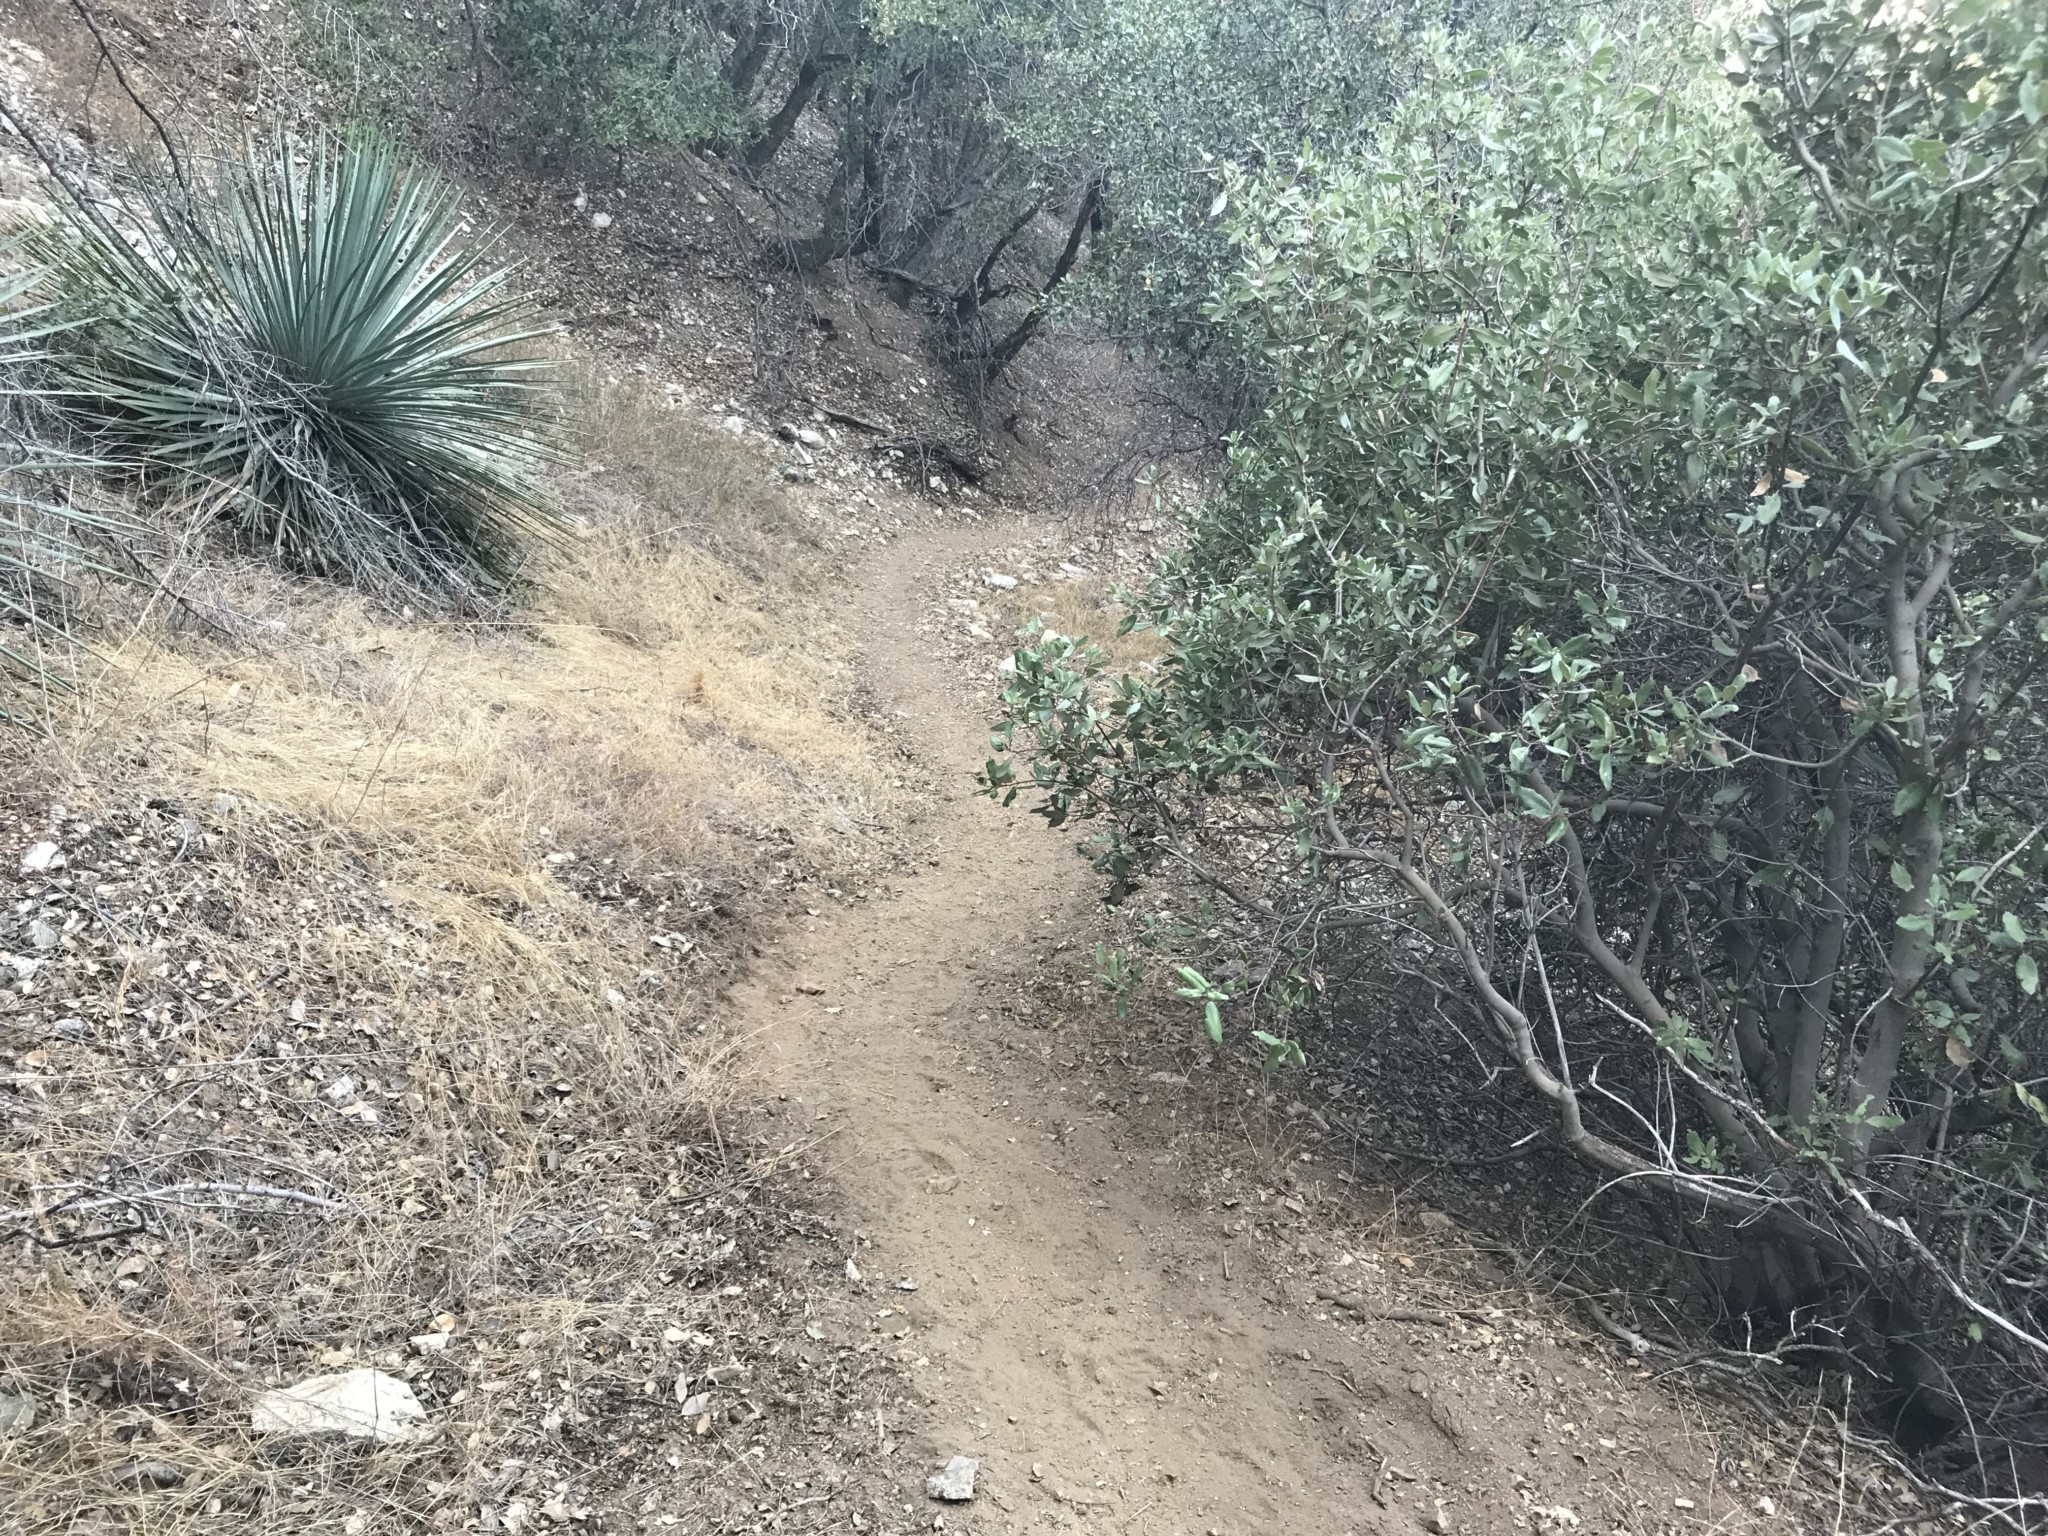
You will climb gentle switchbacks along the hillside for about 1.2 miles to reach a saddle. Along the way, you may have to cross the stream at several spots. The water level will of course depend on the time of year. When I hiked this in late November, the stream bed was completely dry, but if we’re in the wet season you can expect a bit more water up here.

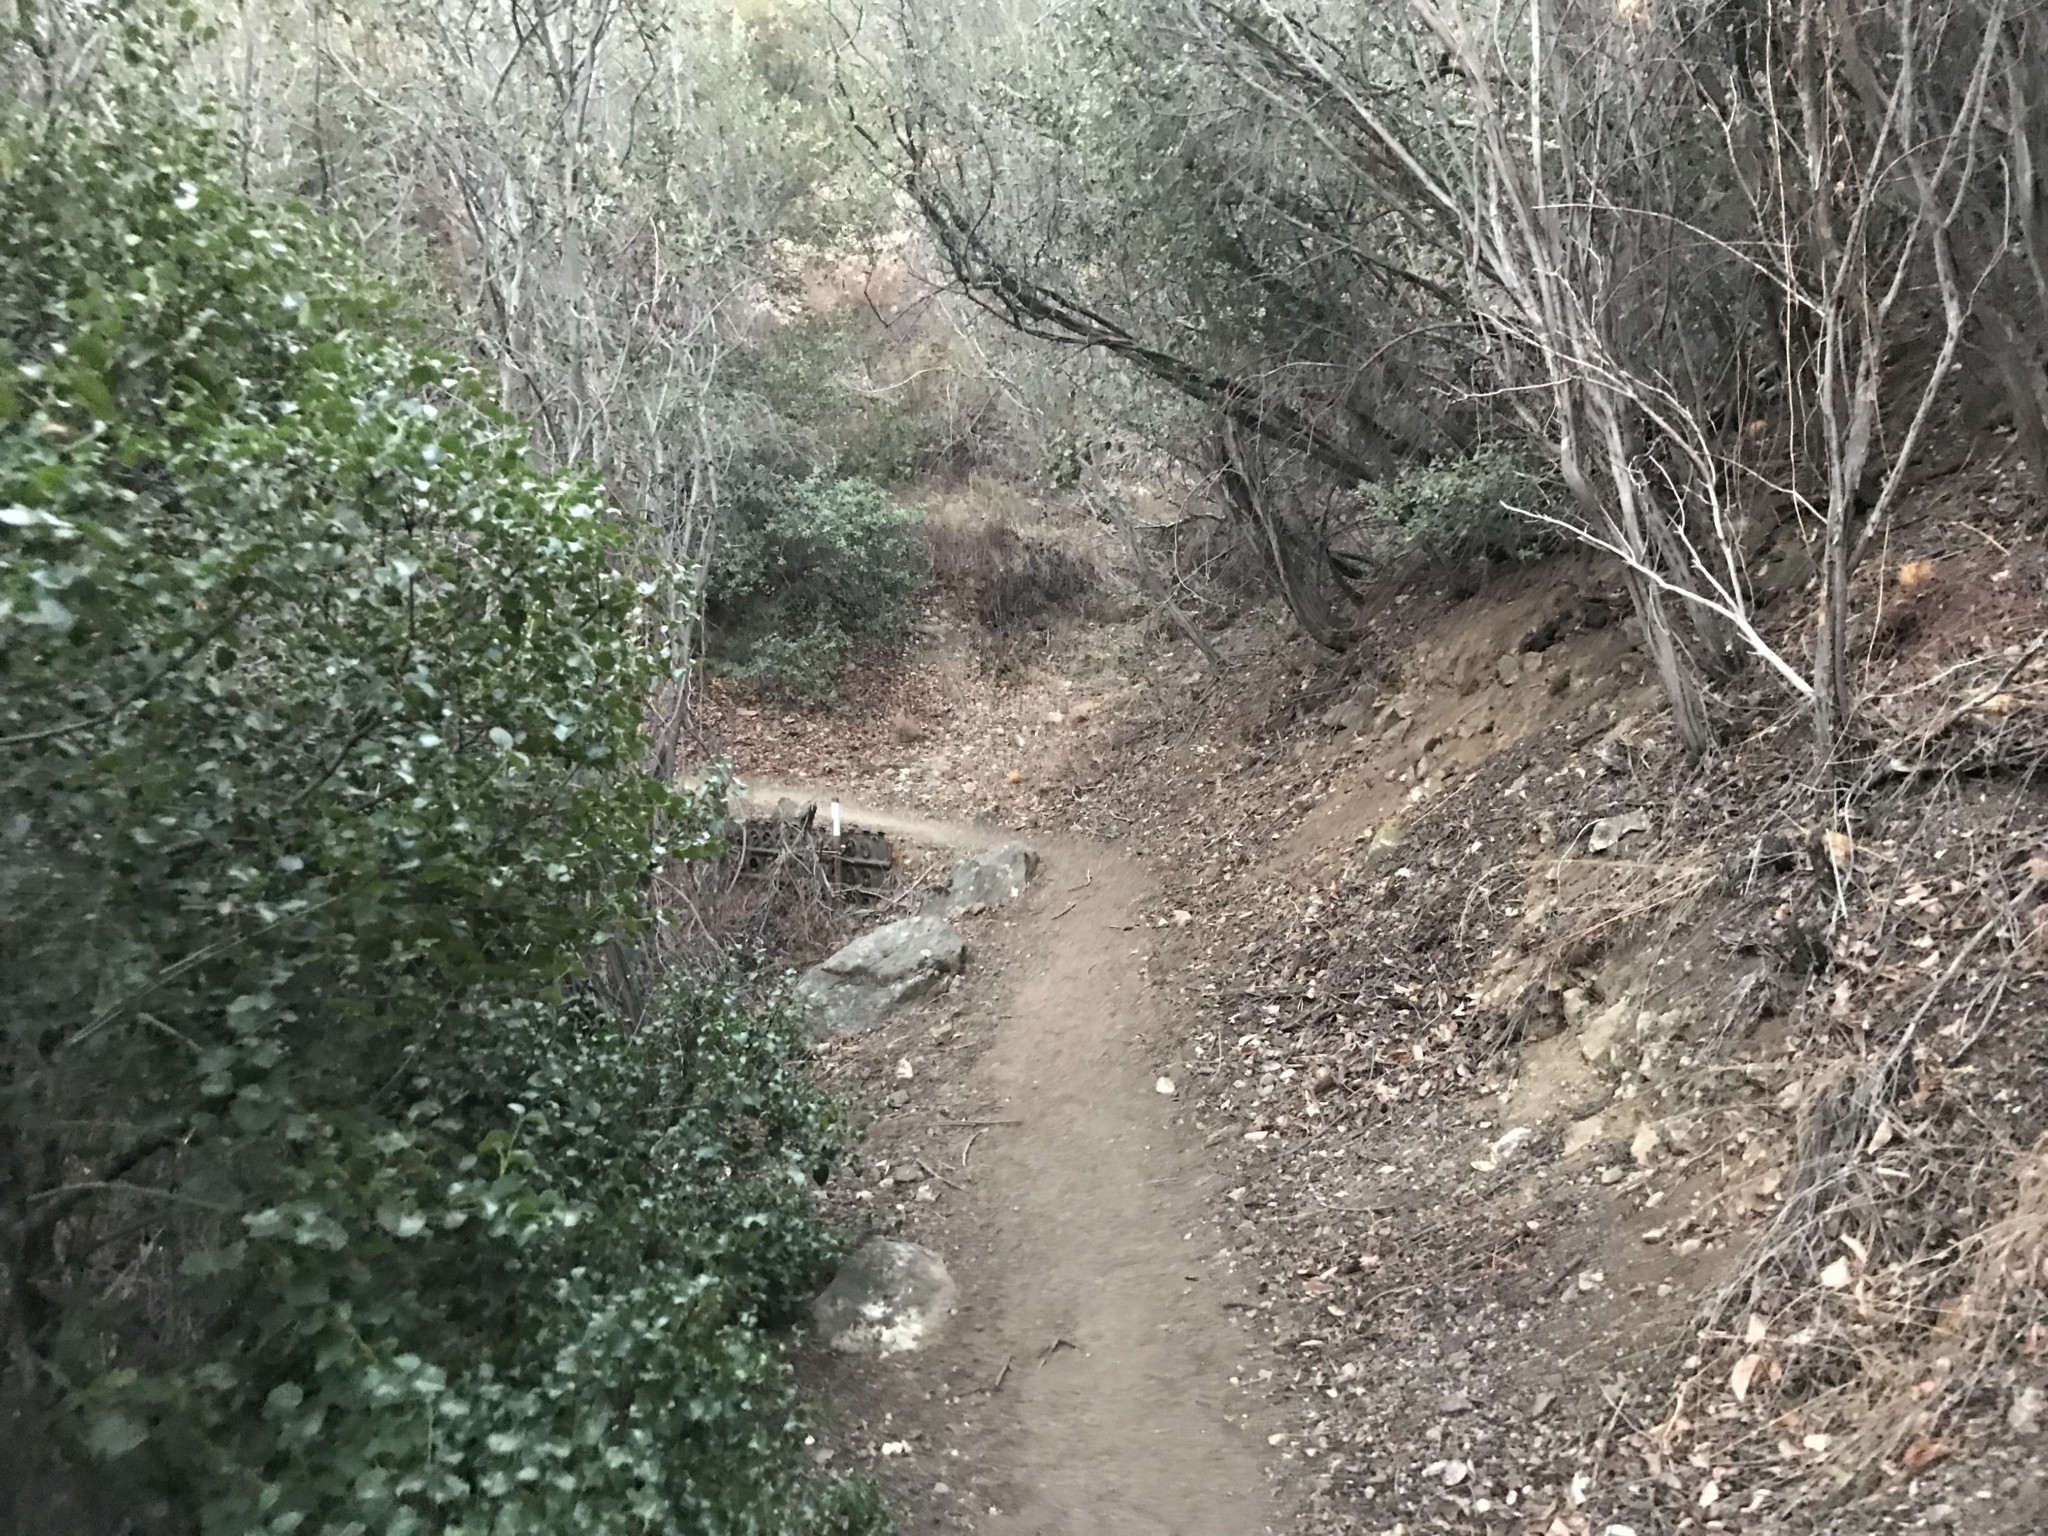
Shady section of trail along the stream. Enjoy the shade while you can.

Dry stream crossing
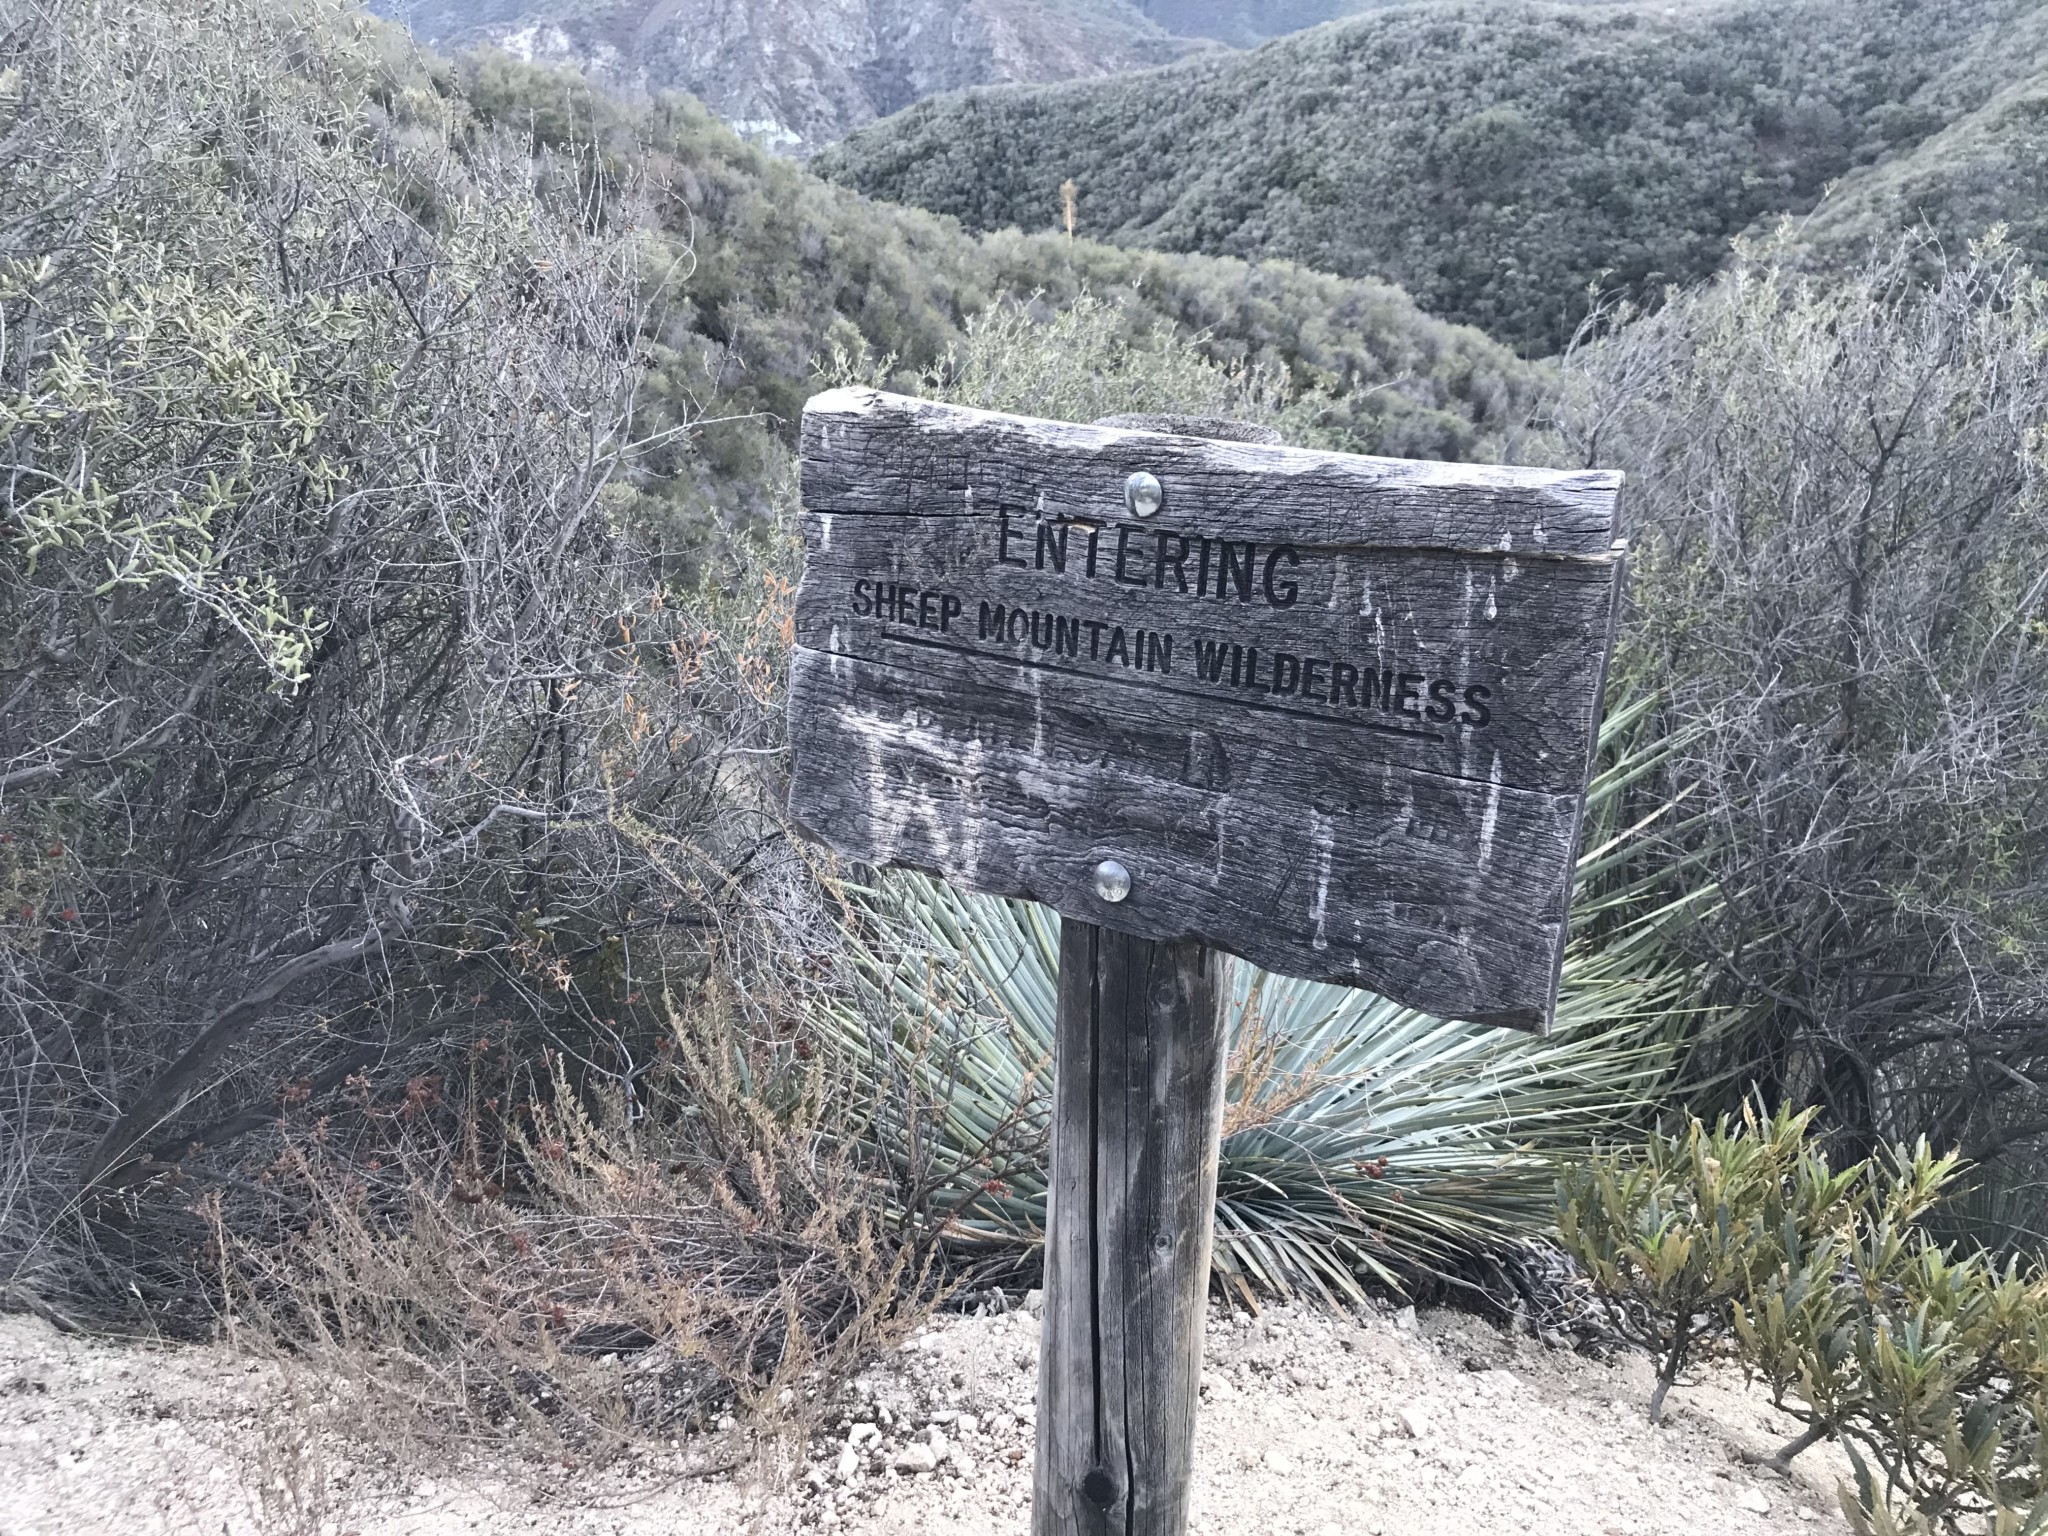
Once you have reached the saddle, look back for some great views before you venture into the Sheep Mountain Wilderness.

At the saddle, you will see the trail climb left up the hill. Follow the trail but be sure to apply some sunscreen first. There is little to no shade in this upcoming section.

Trail leaving left from the saddle

The only sign on the entire trail
The trail begins to slowly climb up the ridge and then veers off to the left traveling along hillside.

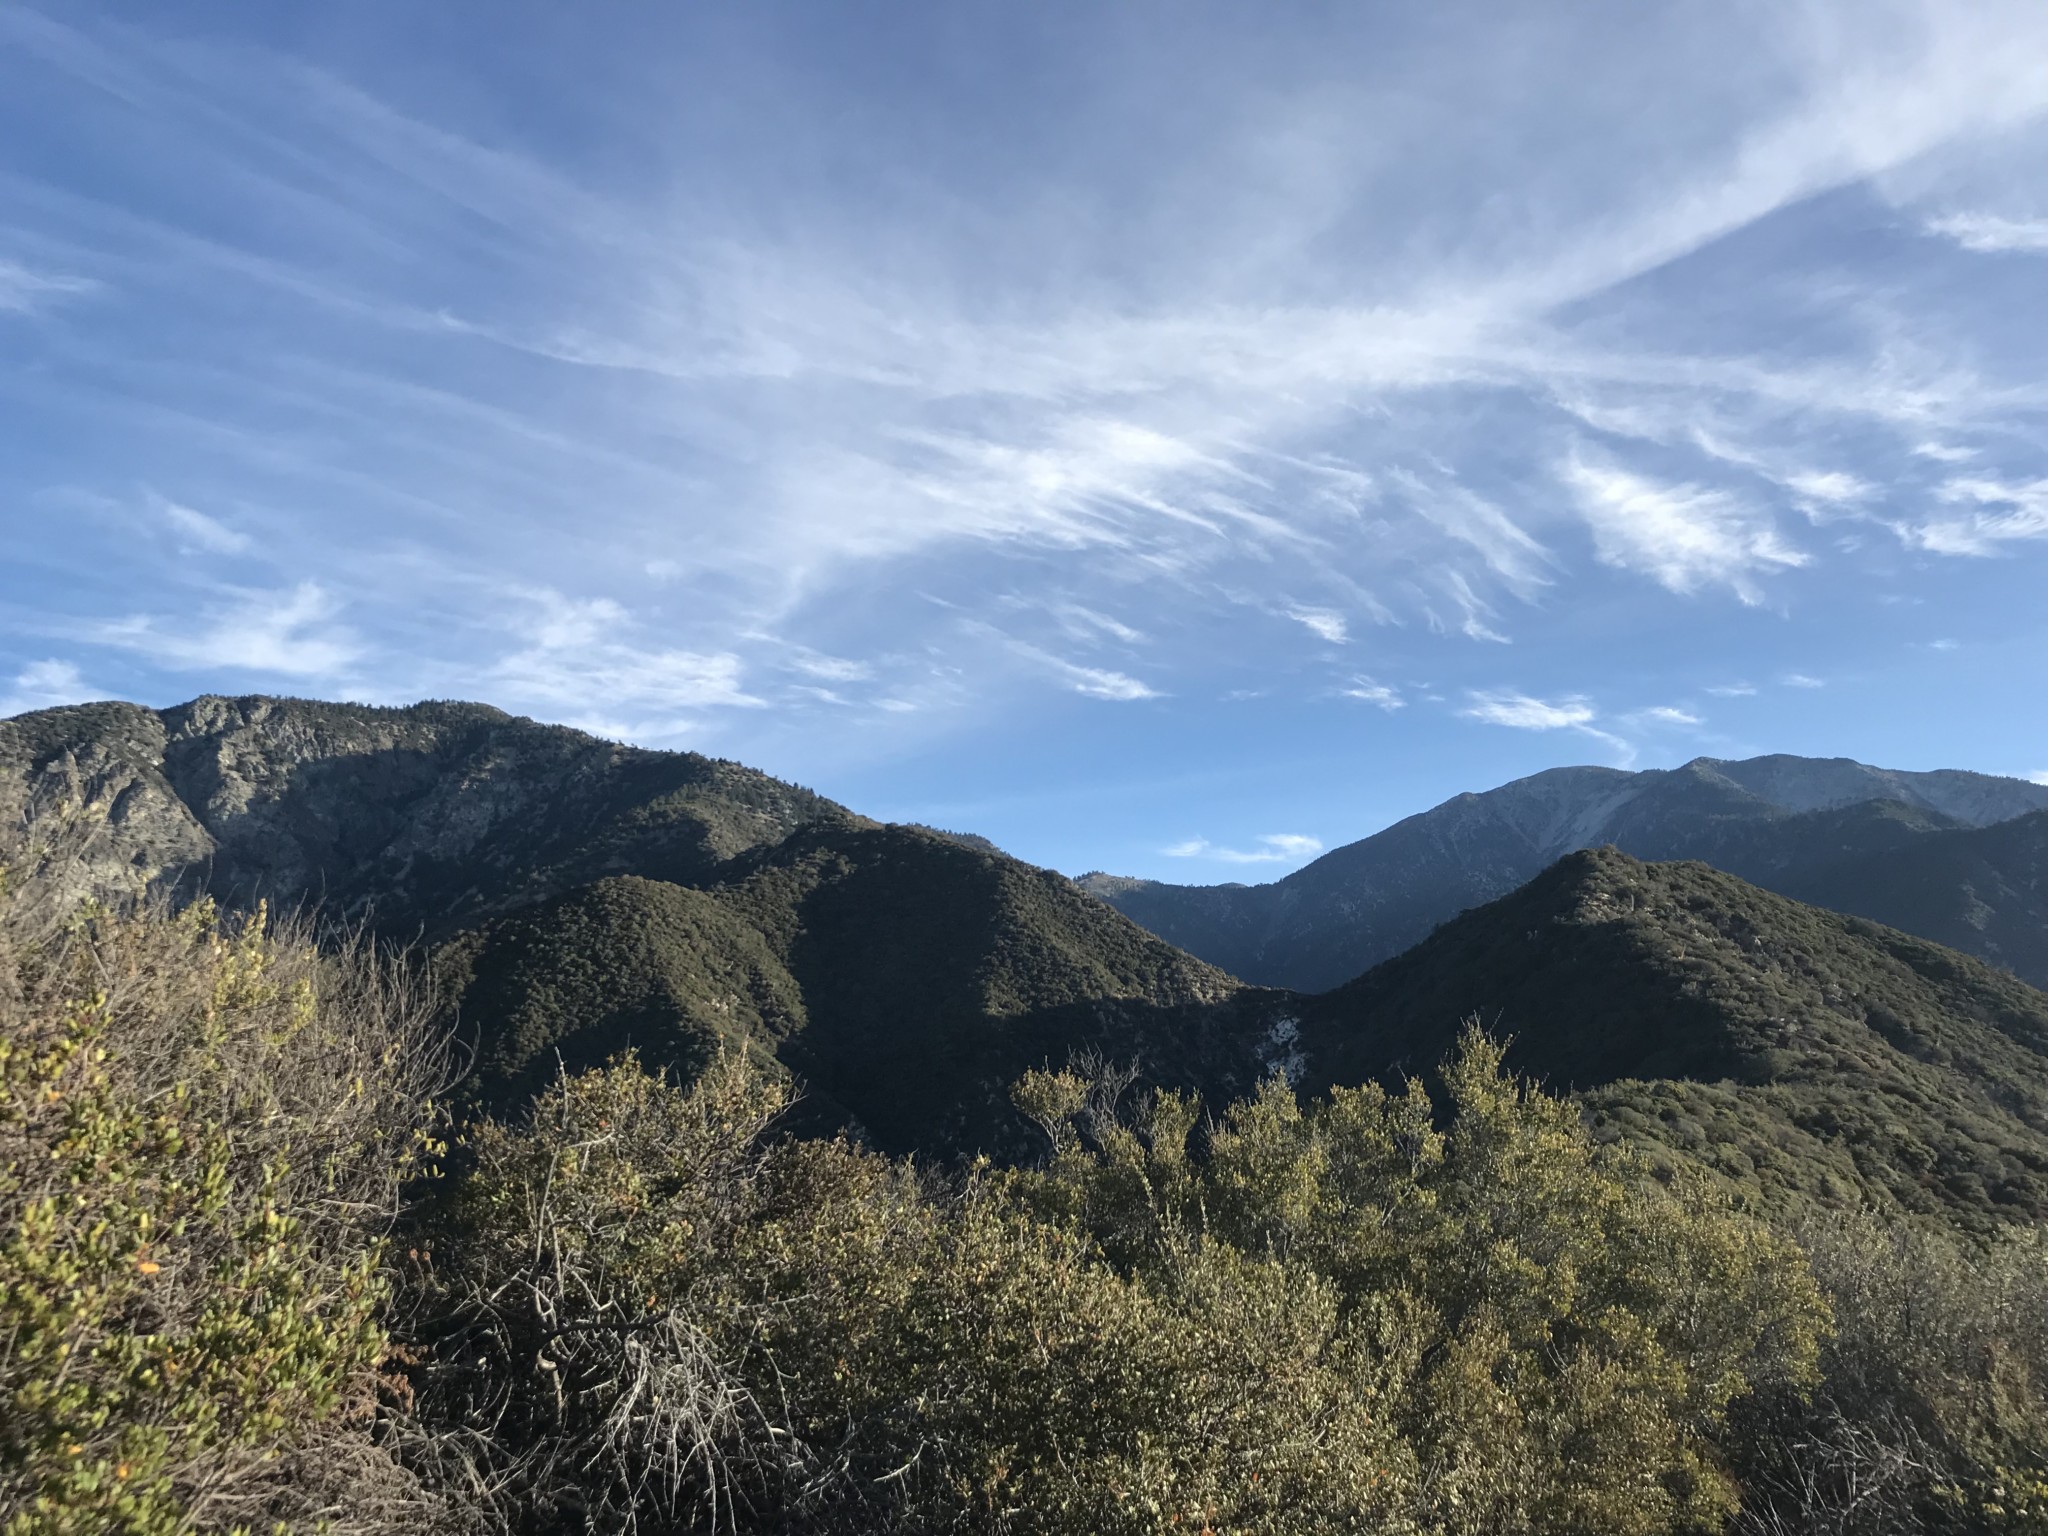
Roughly 2.5 miles from the trailhead sign, you will reach a plateau. As you look to the northeast, you will recognize Mt. Baldy in the distance. In the foreground, there is a ridge line with several bumps. This is the ridge you must traverse to approach Iron Mountain.

Beginning of the ridge with Mt. Baldy in the background
The initial bumps along the ridge are not too strenuous; however, they become more difficult the farther you travel. Iron Mountain is the large prominence at the end of the ridge line.

Iron Mountain at the end of the ridge
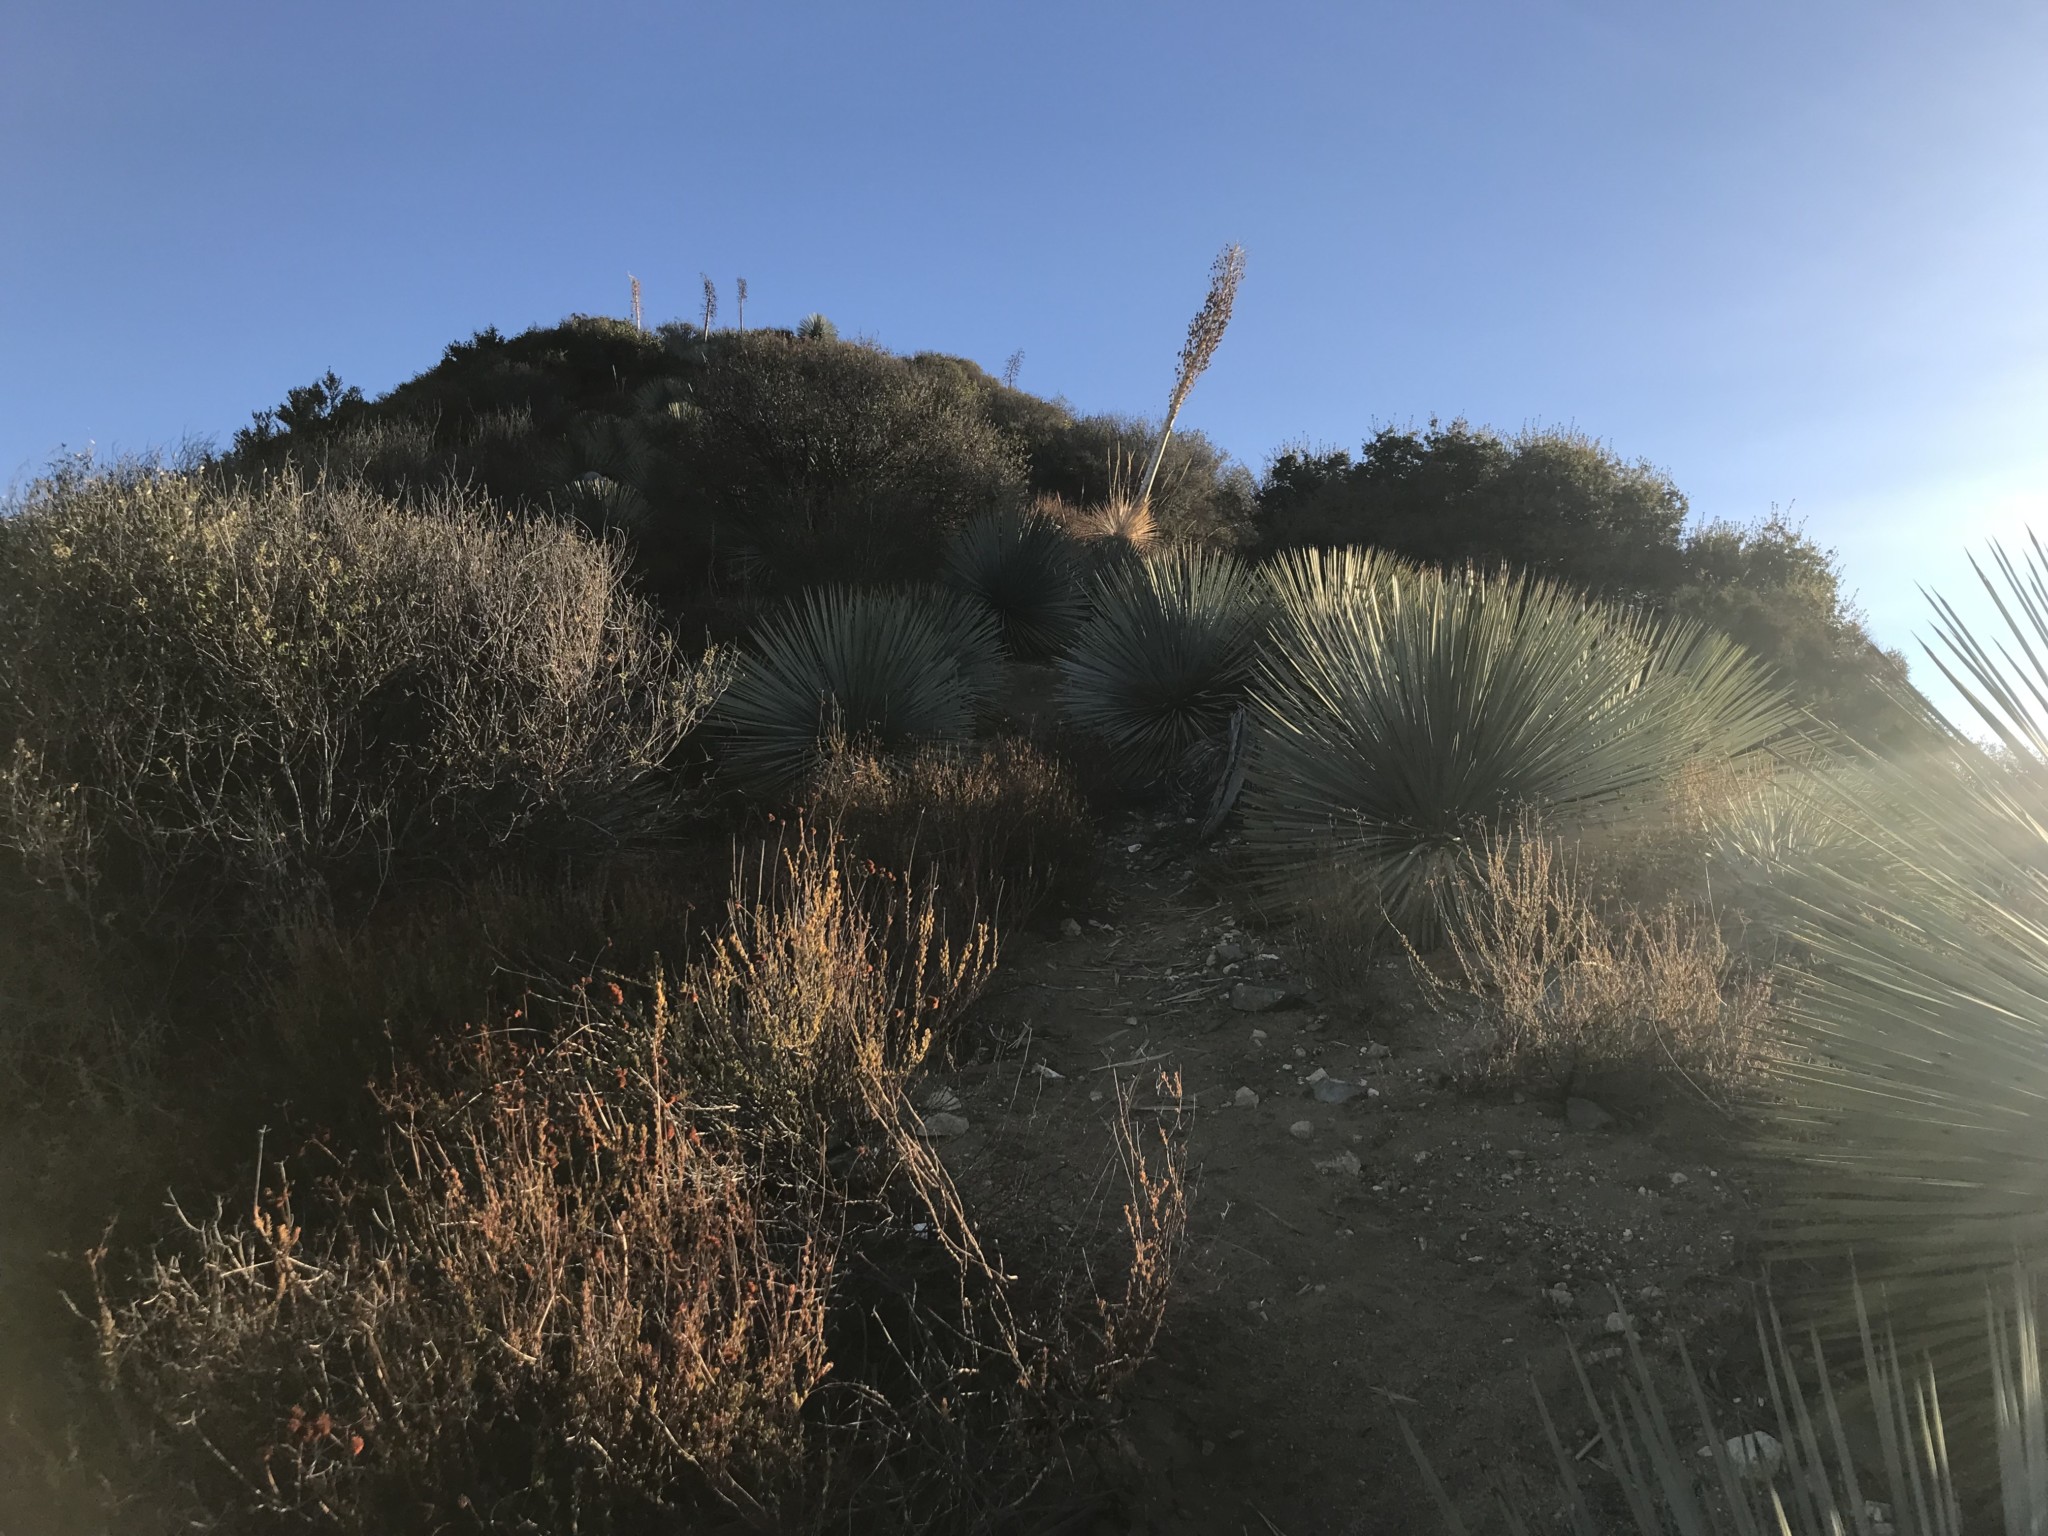
As the elevation increases, the size of the yucca plants also increases. Most of them have been cut down to where they won’t stab you; however, they still hurt when you run into them. Wear long pants on this trail!

The ridge bumps become steeper as you make your way toward Iron Mountain. These relatively small inclines will give you a taste of what is to come when you reach the slopes of Big Iron — and perhaps help you understand why it got that nickname.

As you summit the last bump, you will see that the trail actually winds downhill toward Coldwater Saddle. This is rather disheartening. After losing a couple hundred feet in elevation, you’ve reached the saddle before Big Iron.

Trail leading downhill to Coldwater Saddle
From the saddle, you’ll realize just how far you have left to climb. If you work out the numbers, you actually have a little under 3,500 feet to climb in about 2.5 miles. This part of the trail makes me think of one of my favorite childhood book series, Lemony Snicket’s A Series of Unfortunate Events. Mr. Snicket often prefaced his books saying that there are many happier alternatives than reading his unfortunate tale. As Mr. Snicket gave warning to his readers, I feel I should do the same for this trail. Your physical and mental well being may be in a much better state if you were to turn around at this point. Go enjoy a tasty lunch, give yourself a pat on the back, and be satisfied with a decent 9 mile hike. However, if you choose to continue hiking this trail, know that only mental anguish and total fatigue lie in your future.
You’ve been warned.

Looking up at Iron Mountain from Coldwater Saddle
Immediately, the trail begins a quick ascent from the saddle. Beware loose rock and eroded soil that may result in multiple slips and falls as you climb.

The trail does level off in some sections which gives some respite from the relentless climb. These sections are few and far between, though. At just over 8000 feet, Iron Mountain’s summit is not nearly as tall as some its neighbors, but the elevation gain required to scale this peak is much greater than other trails nearby. For instance, nearby Mount Baden-Powell has an elevation gain of about 2,818 feet from Vincent Gap. That trail is about 4 miles to the summit. In contrast, Iron Mountain will climb nearly 3,500 feet in just 2.5 miles! Keep in mind the fully accumulated elevation gain of the entire trail is over 7,000 feet.
The landscape begins to change here too. Tall, shady pine trees replace the aggressively sharp desert plants from below.

Finally, after several false summits and a daunting amount of uphill travel, you reach a hillside covered in rock. You are nearly there.

An old survey post labeled “W15″will alert you that you have arrived. Enjoy the 360 degree views of the San Gabriels and sign the register.

Although getting to the summit was difficult enough, the 2 mile descent is strenuous in a different way. Trekking poles are useful in this section to help avoid further slips and falls. Your knees will appreciate you if you use the poles as well. Despite trying to descend slowly and carefully, I slipped about 3 times on the way down, earning myself some battle scars on my elbows and hands. Take your time and safe journeys on your way back down!
Tags: Angeles National Forest, heaton flats, Hiking, iron mountain, San Gabriel Mountains, sheep mountain wilderness