A nearly 13 mile loop that hits some of the highlights of Yosemite National Park. This route starts out with a refreshing soak from Vernal Falls on the Mist Trail, then treats you to great views of Nevada Falls and Half Dome before giving wide vistas of the Valley Floor from the Panorama Trail and Glacier Point. A knee-busting descent on the Four Mile Trail takes you through some welcome shade and back down to the valley floor. This is a challenging but incredible way to spend a day in the park.
Yosemite National Park has a well-deserved reputation as an outdoorsperson’s paradise. The landscape is rugged and breathtaking, and the trail system is top-notch. I’ll always remember the first time I set eyes on Yosemite Valley, and if you’ve never been there yourself, you’ll most definitely have the same experience. There’s so much to see, it’s tough to soak it in all at once – but if you want to get a few great tastes of what the park has to offer, you should consider spending a day on the High Sierra Loop.
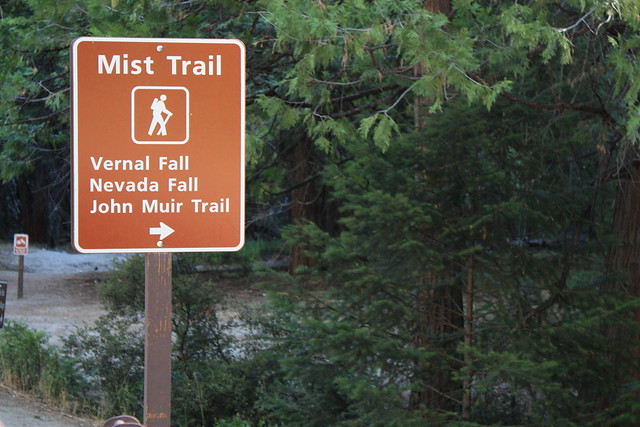
The trail starts at the eastern end of Yosemite Valley. Cars are kind of a hindrance on the floor – especially during the summer – so ditch the wheels at the central parking area and take the free shuttle to the Happy Isles Nature Center stop, then hop off and look for the signs for the Mist Trail.
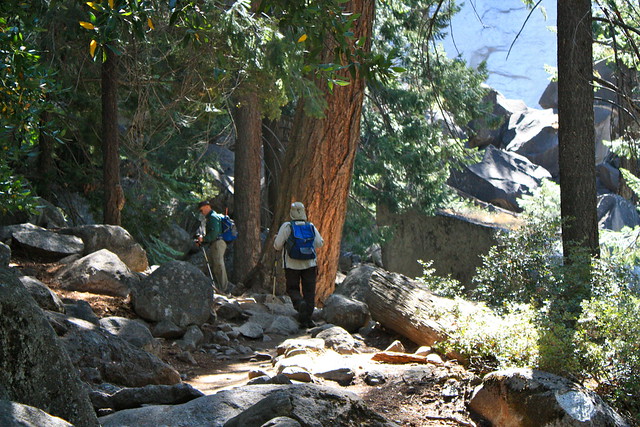
This stretch of the trail is likely to be crowded. Not only is it the starting point for Half Dome, but it’s also a great short hike to the drenching cascades of Vernal Falls – a very popular destination on hot summer days.
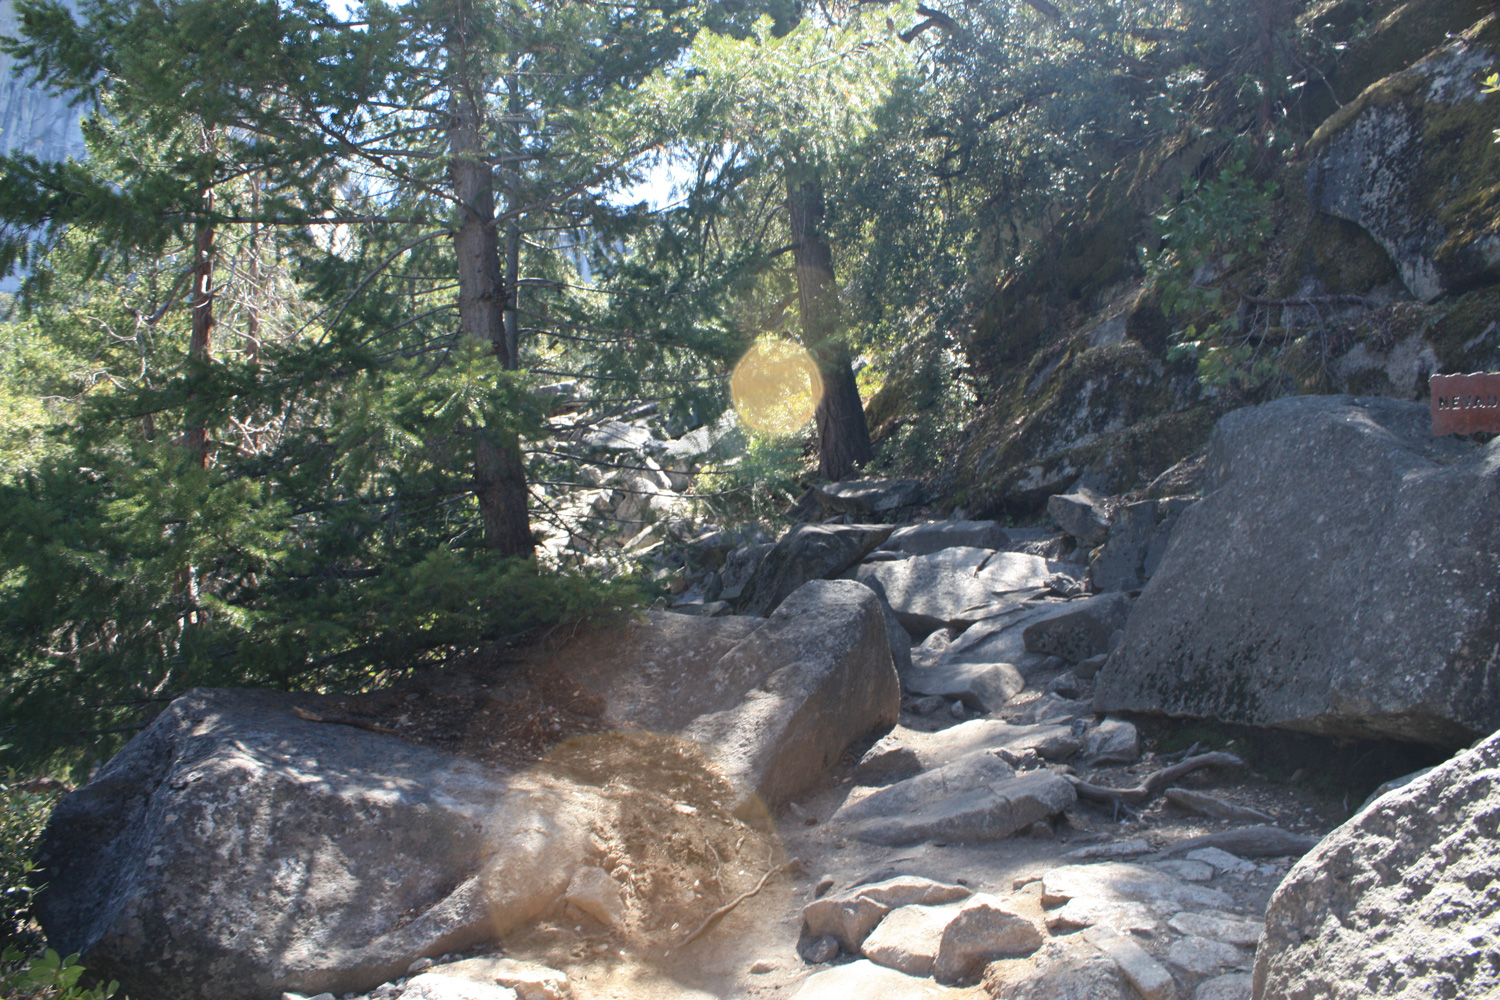
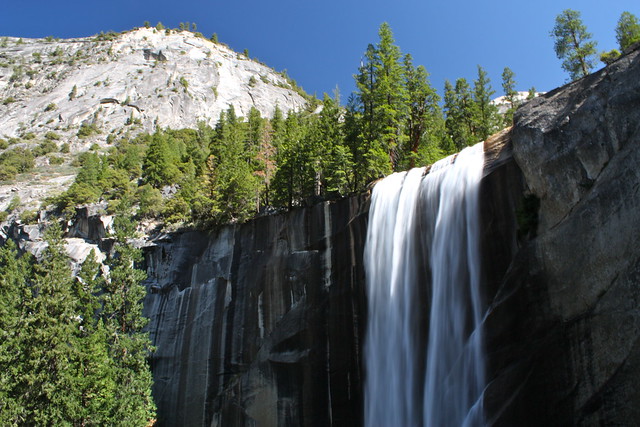
The Mist Trail is a 2.6 mile trail that follows a branch of the Merced River as it tumbles down from the Sierras. It starts off on a manageable paved path, but after crossing the river becomes a more uneven, but still fairly wide path. There are railings on some of the steeper drop-offs, but you should exercise extra care here, as most of the time the trail is completely drenched from mist from Vernal Falls.

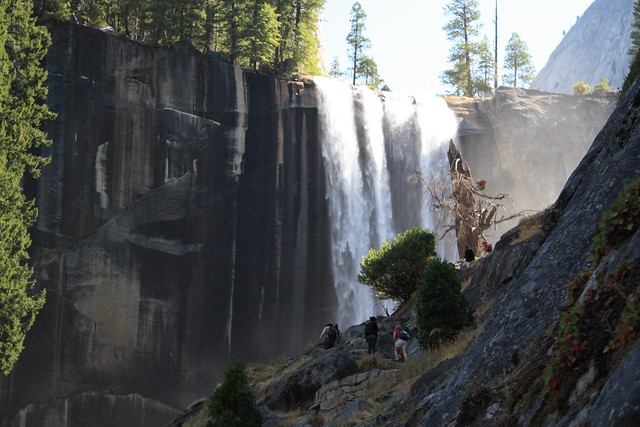
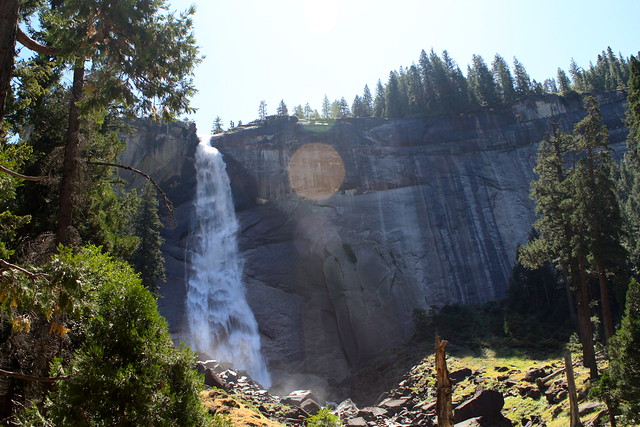
Many of the waterfalls in Yosemite are fed by snowmelt, and can be reduced to trickles by the end of the summer – but Vernal and Nevada tend to hang on throughout the year. When I was there, there was still a lot of water coming over the falls, but the trail wasn’t particularly drenched. In an earlier visit, this waterfall was raging, and I ended up looking like I’d just been thrown in a swimming pool at the end of the hike. Be prepared for rain-like conditions and slippery rocks, along with fantastic views!
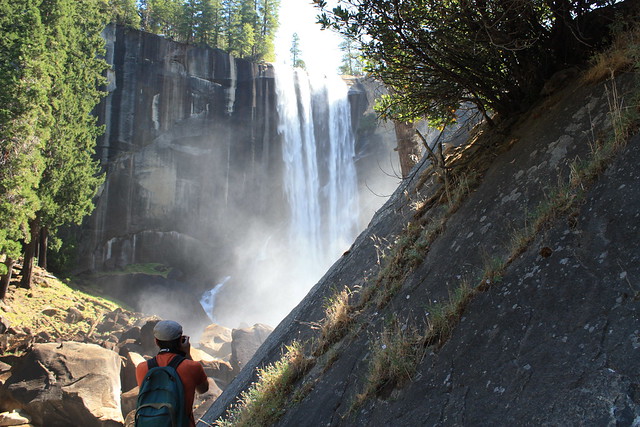
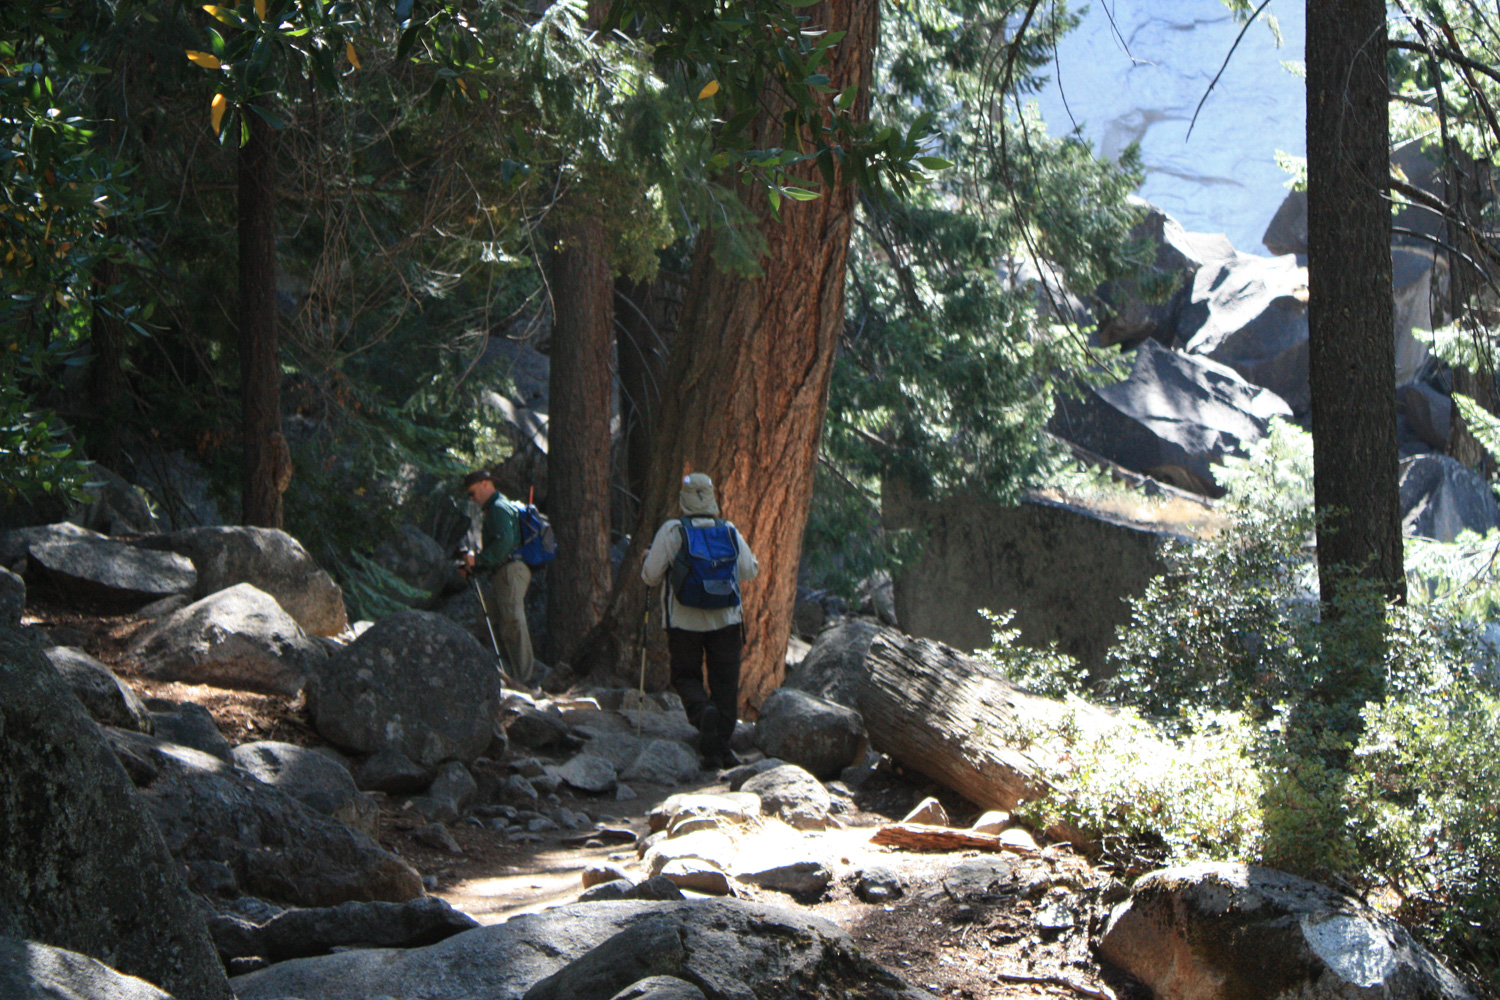
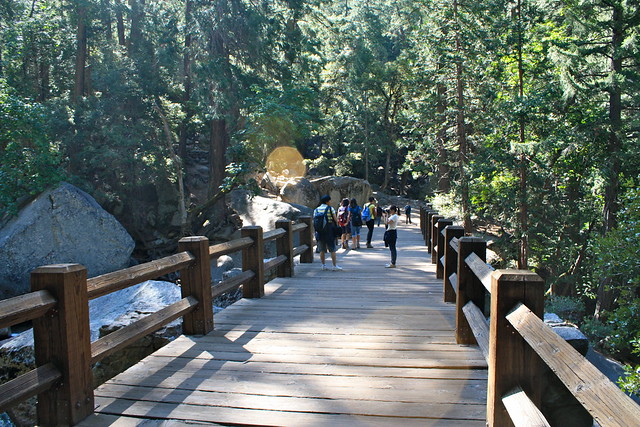
At 1.5 miles, you’ll be at the top of Vernal Falls. Continue along the river but stay a safe distance away from the banks – swift currents here can and will take you right over that beautiful waterfall you just saw if you’re not careful. Here, the crowds may thin out a bit, but you’ll probably still be dealing with heavy foot traffic from Half Dome Hopefuls for the next 1.3 miles. Enjoy the views of nearby Liberty Cap and the increased shade as you cross the river and continue toward Nevada Falls.
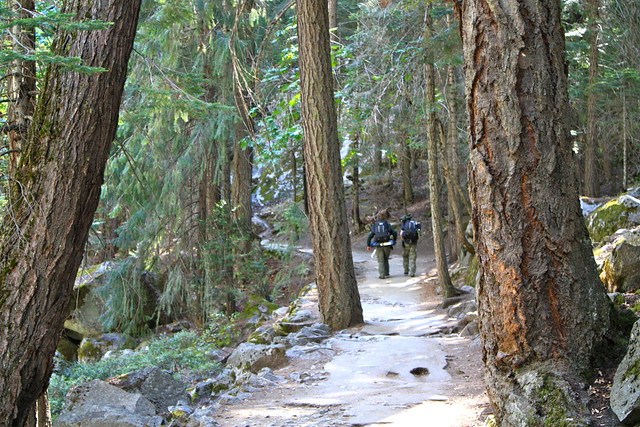
In this stretch of the Nevada Trail, there’s a pretty decent ascent through some rocky terrain – but you won’t have to worry quite as much about the trail being slippery. Nevada Falls is very impressive, but the water falls with a bit more control. The trail gets pretty close to the cascade at parts, but you’ll have to go off-trail if you want to get close to the water at this point. Don’t worry, though – you’ll get a very up-close view a bit further along the trail.
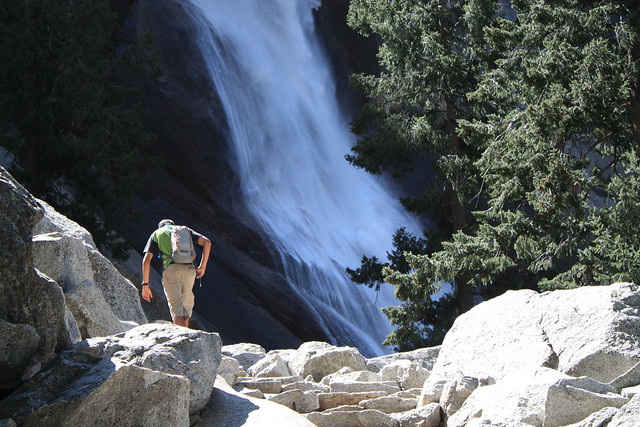
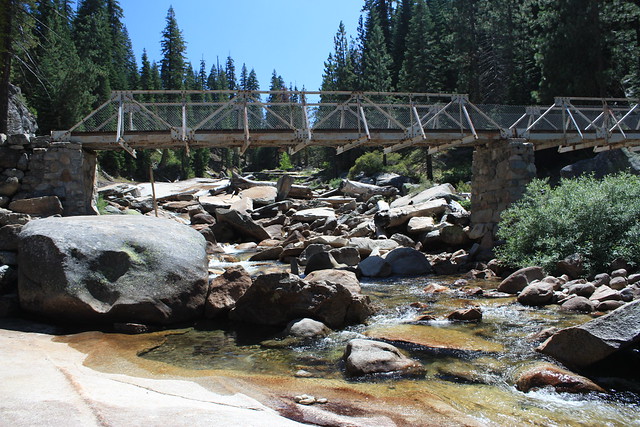
At about 2.6 miles, ignore the bustling throngs headed up to Half Dome and keep right at the junction to turn onto the Panorama Trail. You’ll note this route is much less crowded than what you’ve been hiking on so far, but don’t have any regrets about missing out on anything – you’re in for some spectacular park experiences of your own. For instance, crossing near the precipice of Vernal Falls.
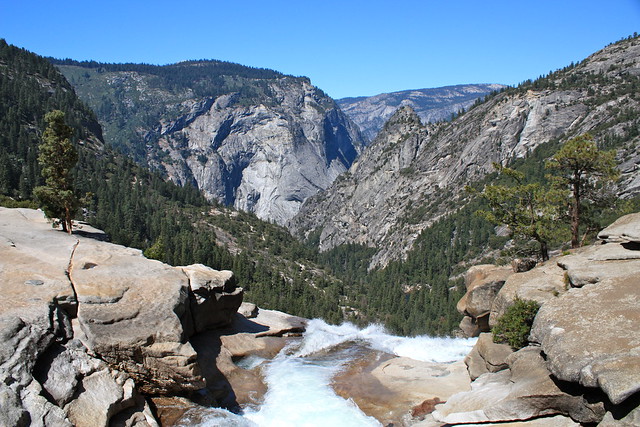
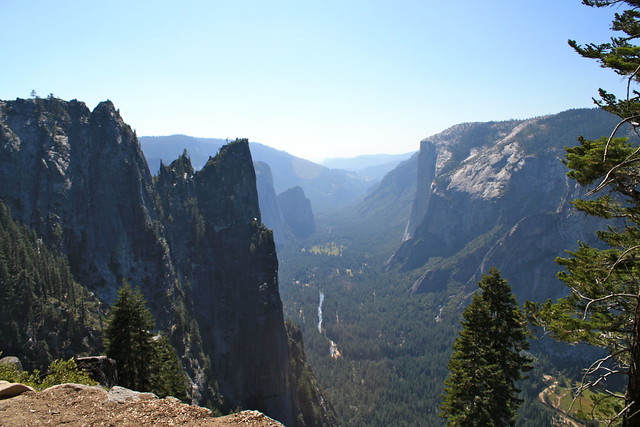
Don’t worry – there’s a bridge. Get a good look at that granite outcropping directly across the canyon – that’s Glacier Point and it’s your next destination.
0.4 miles past Nevada Falls, keep left at the junction with the John Muir Trail and continue another mile through some tight (but not too steep) switchbacks. The trail is nice and shaded here, and chances are you’ll probably have it to yourself, as the Panorama Trail is not nearly as popular as the route to Half Dome.

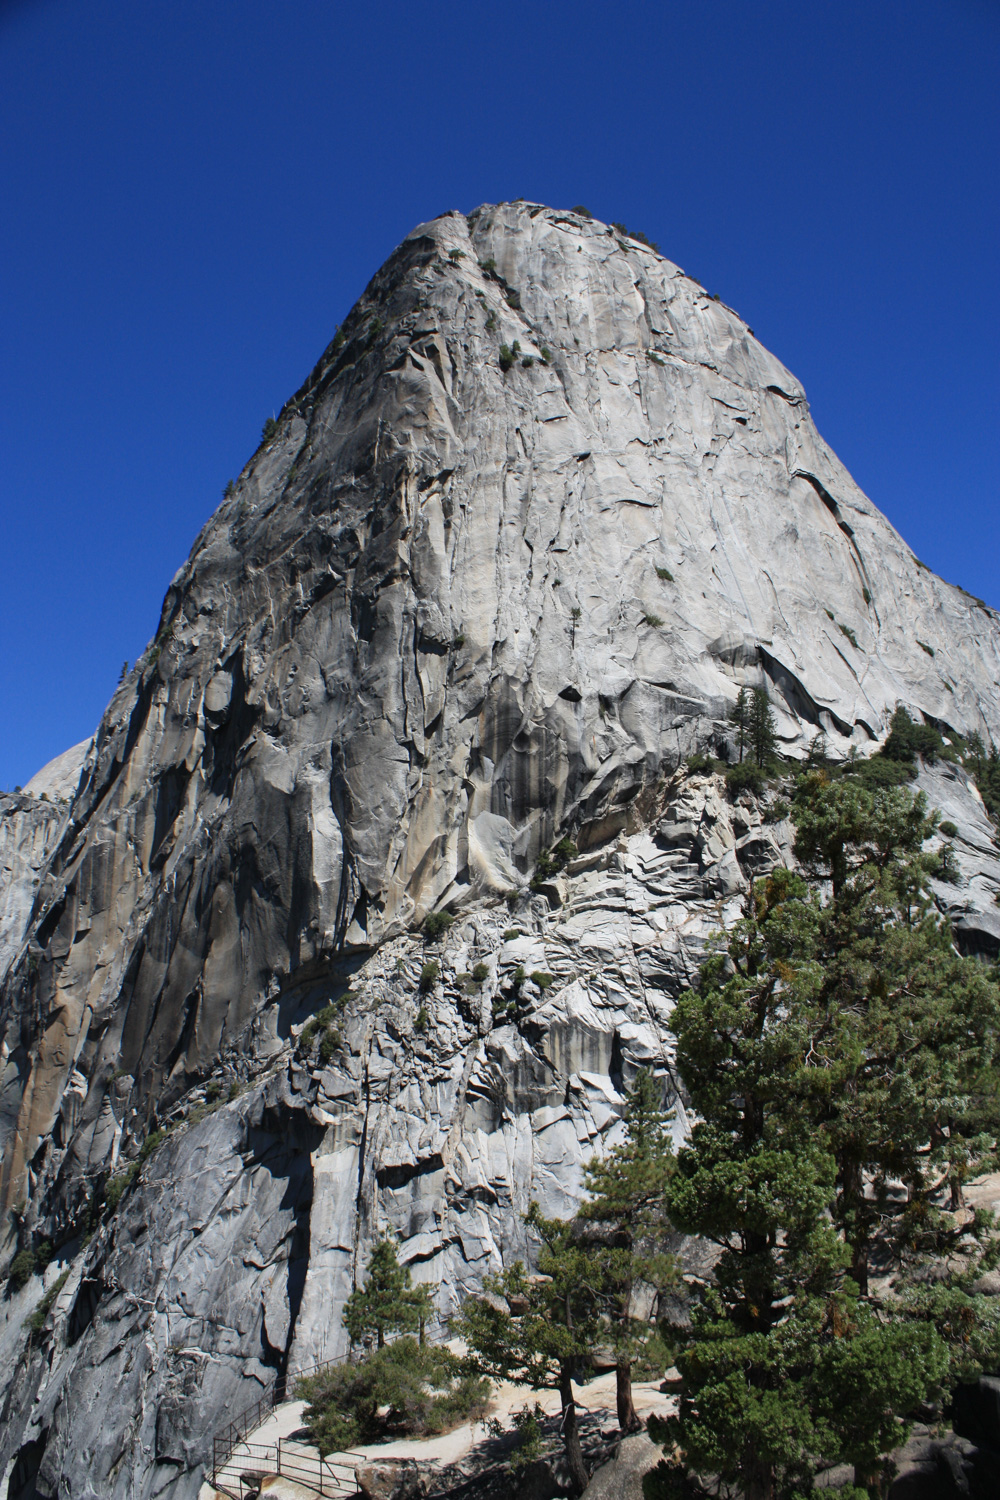
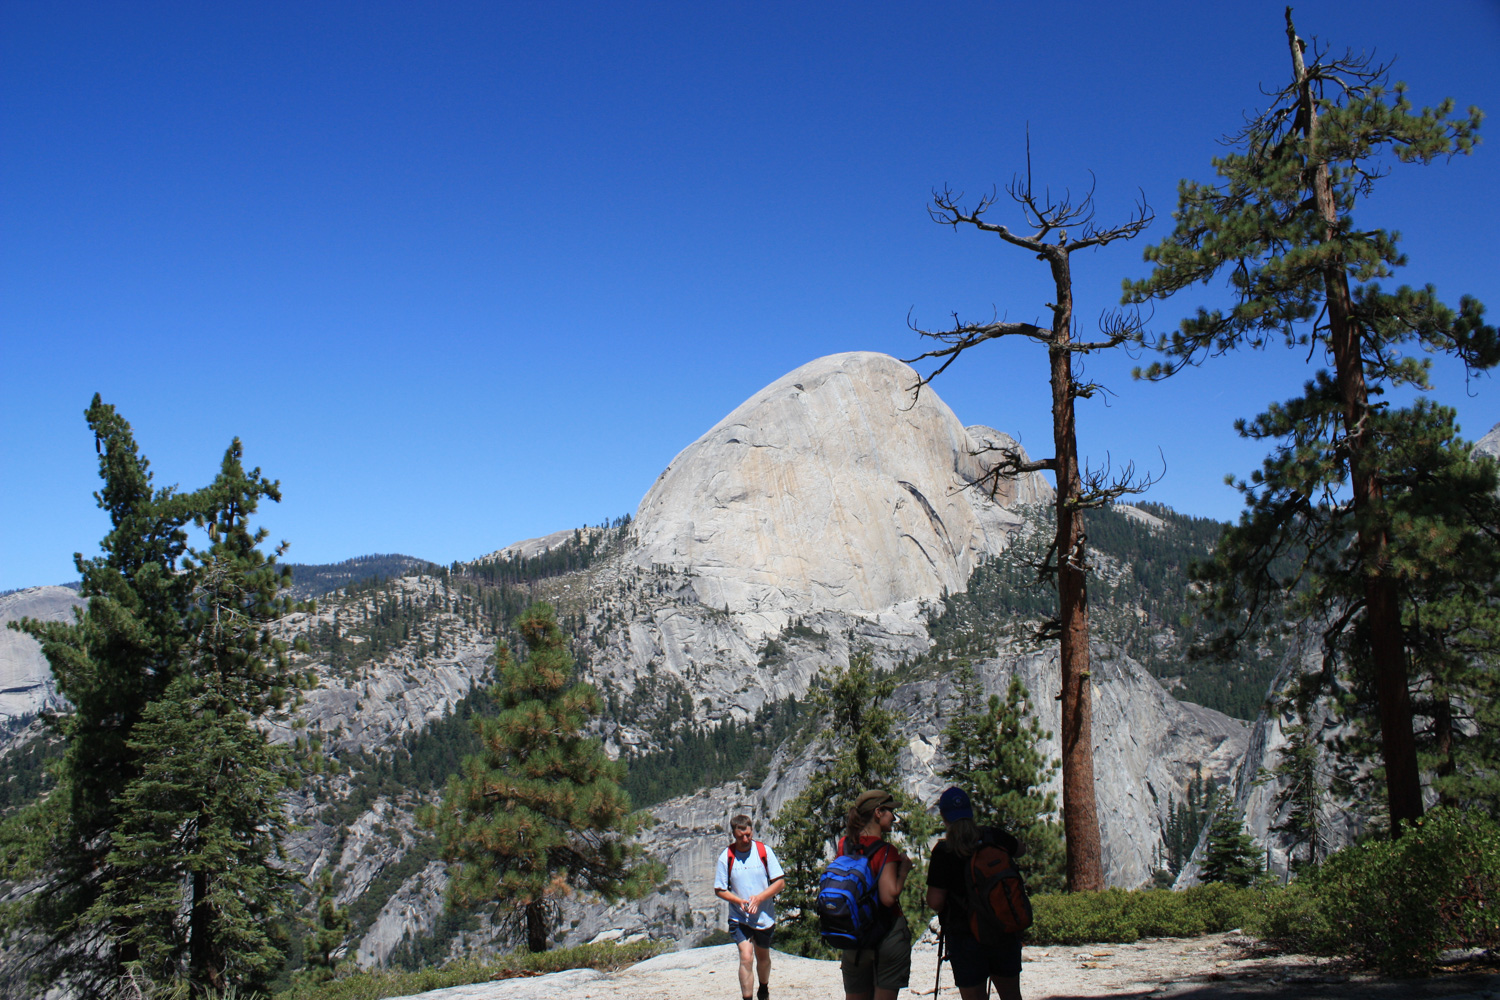
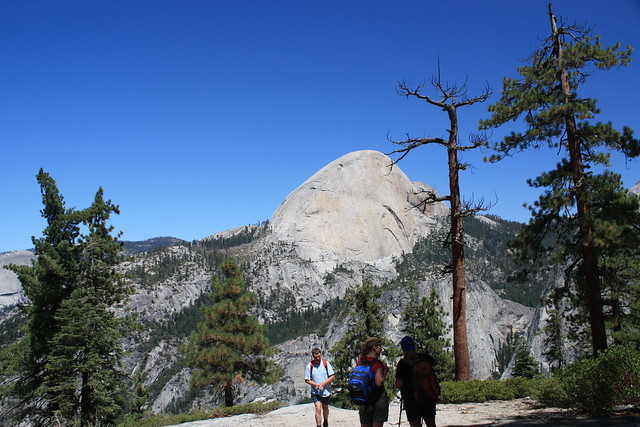
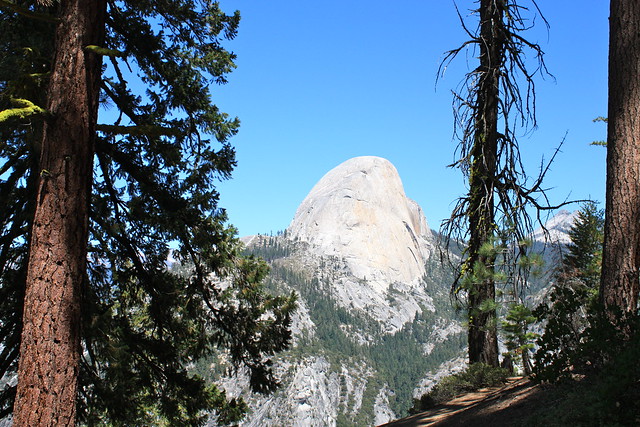
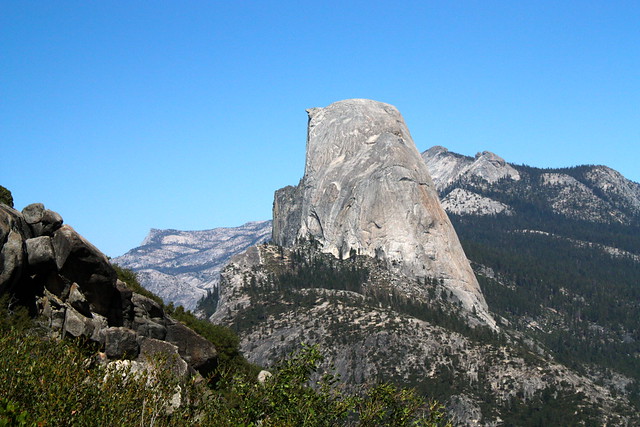
Once you get past this short section of switchbacks, you’ll be on an area called Panorama Cliff. The trail skirts the edge of this cliff (although you don’t really have to worry about drop-offs) and basically backtracks west overlooking the canyon you just climbed up out of. The views of the landscape beneath you are pretty breathtaking here, not to mention the picture-perfect views of Half Dome.
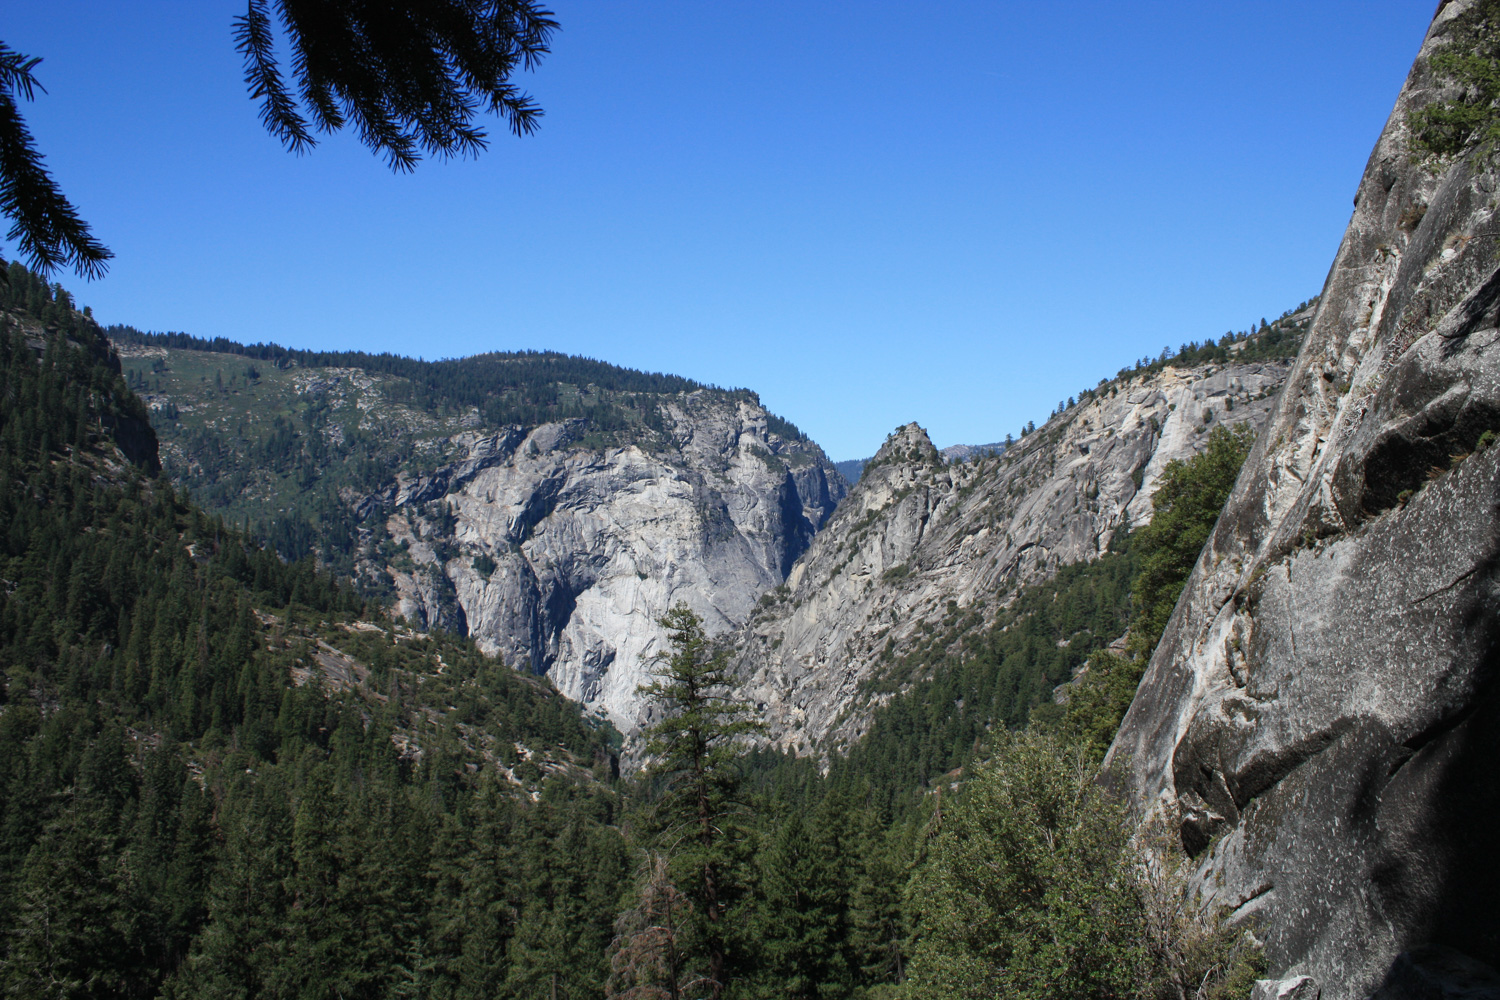
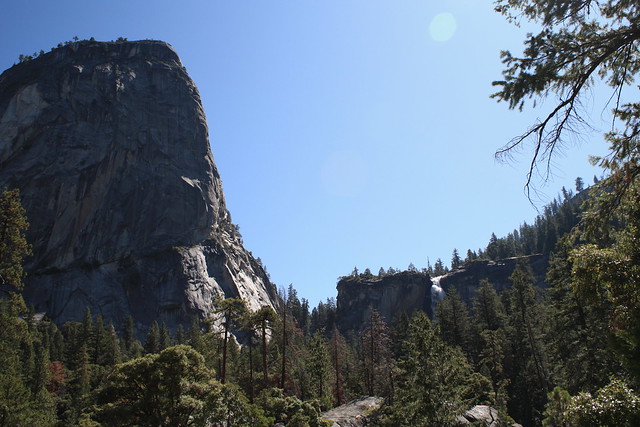
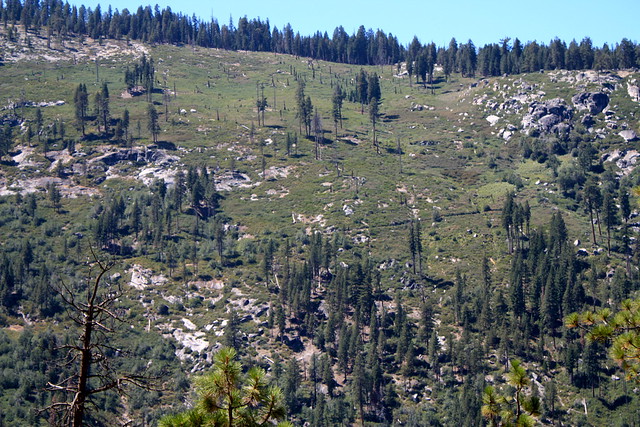
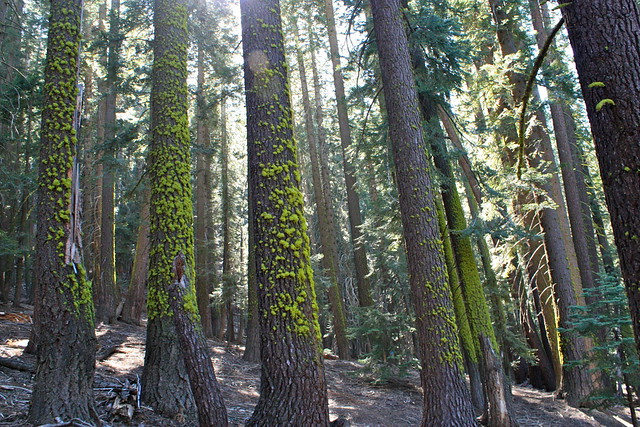
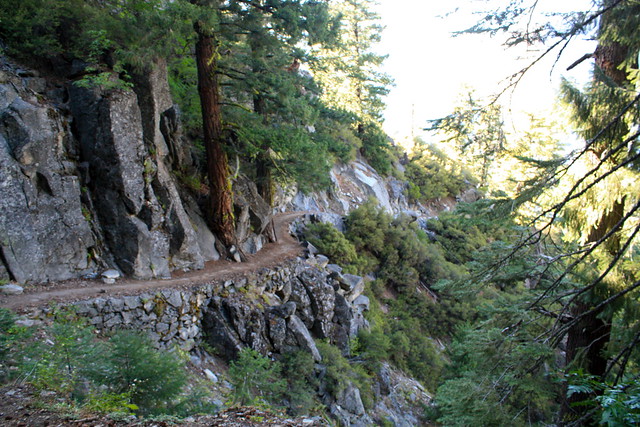
The trail continues west for 2.6 miles, gently descending toward Illouette Gorge in plenty of shade. Enjoy it now, because the next big ascent up to Glacier Point is mostly shadeless, as you can see in the trailcuts across the gorge:
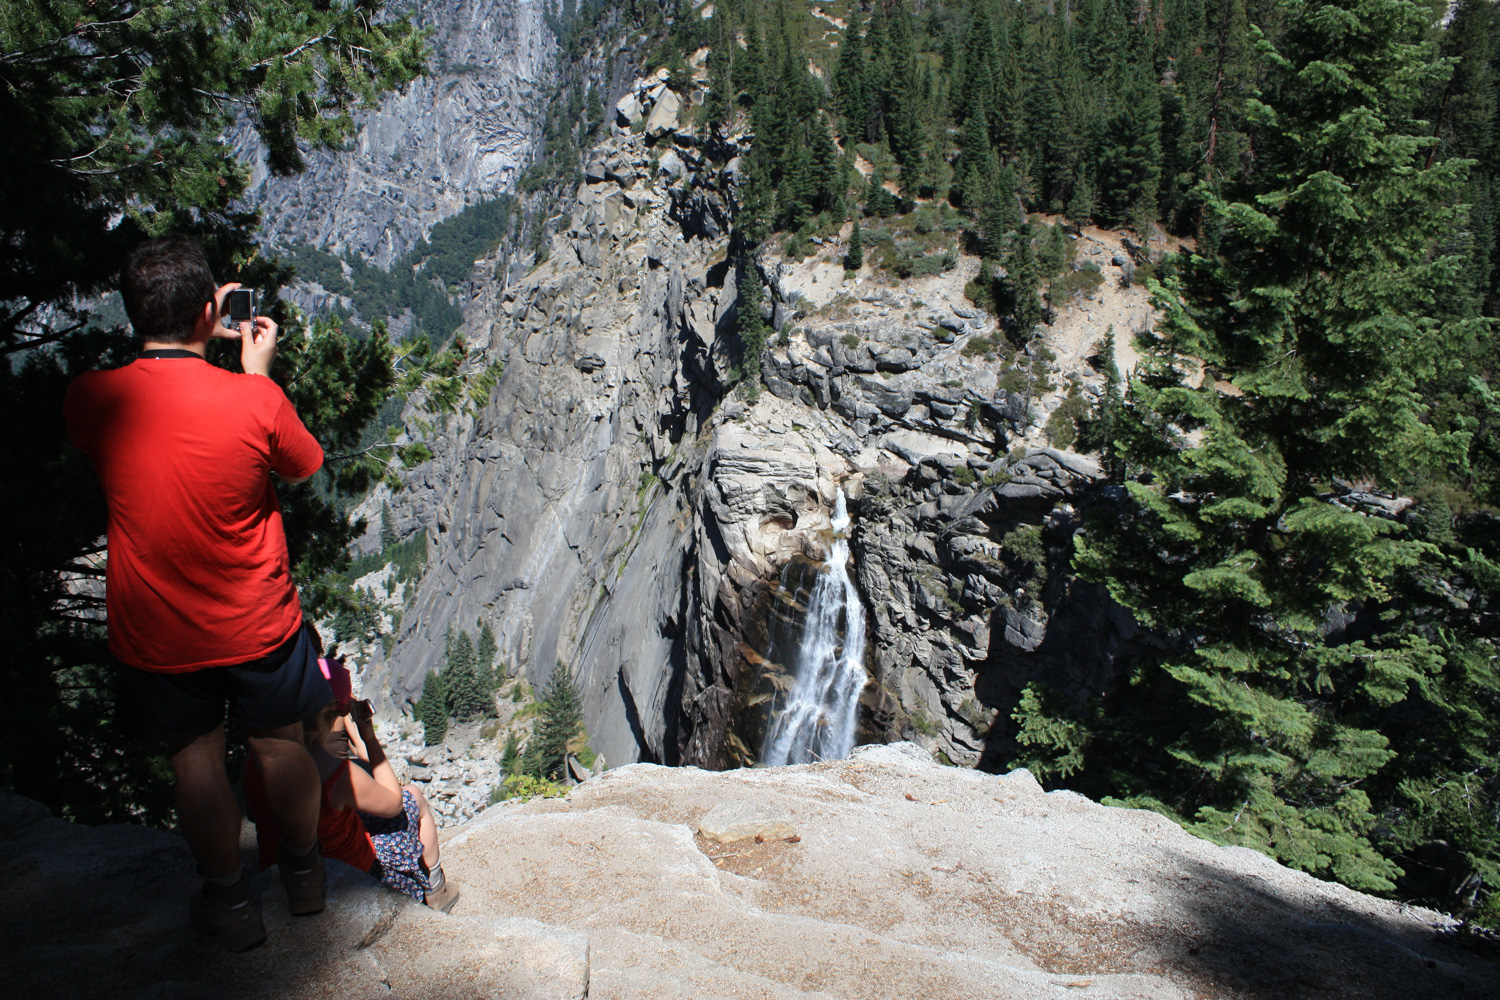
The trail descends down to Illouette Falls, where a small footbridge lets hikers cross without fear of being swept downstream by the currents. As with all waterfalls in Yosemite, don’t try to step out onto the granite to get a better view of the cascades – the rocks can be slippery and dangerous, and there’s a much better view of Illouette Falls a bit further up the trail anyway.
From the bottom of Illouette Gorge, ignore the trail to Mono Meadow and continue on the Panorama Trail. It’s another 1.4 miles of uphill to Glacier Point. There’s a small spur trail on the right hand side about 0.3 miles past the bridge, which provides a good view of the cascade itself.

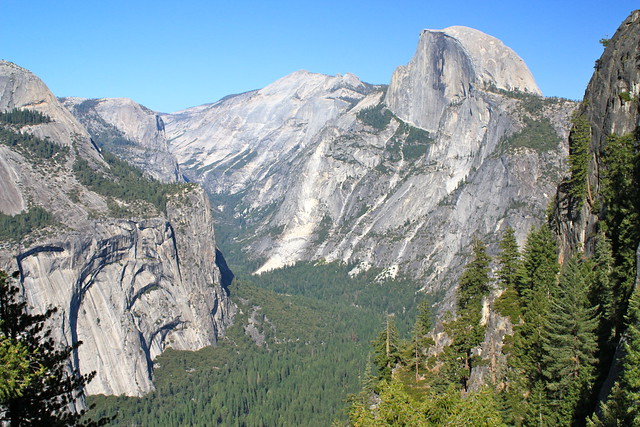
You’ll also have some interesting profile views of Half Dome from this section of trail, which provide a nice contrast from the views earlier on Panorama Cliffs.

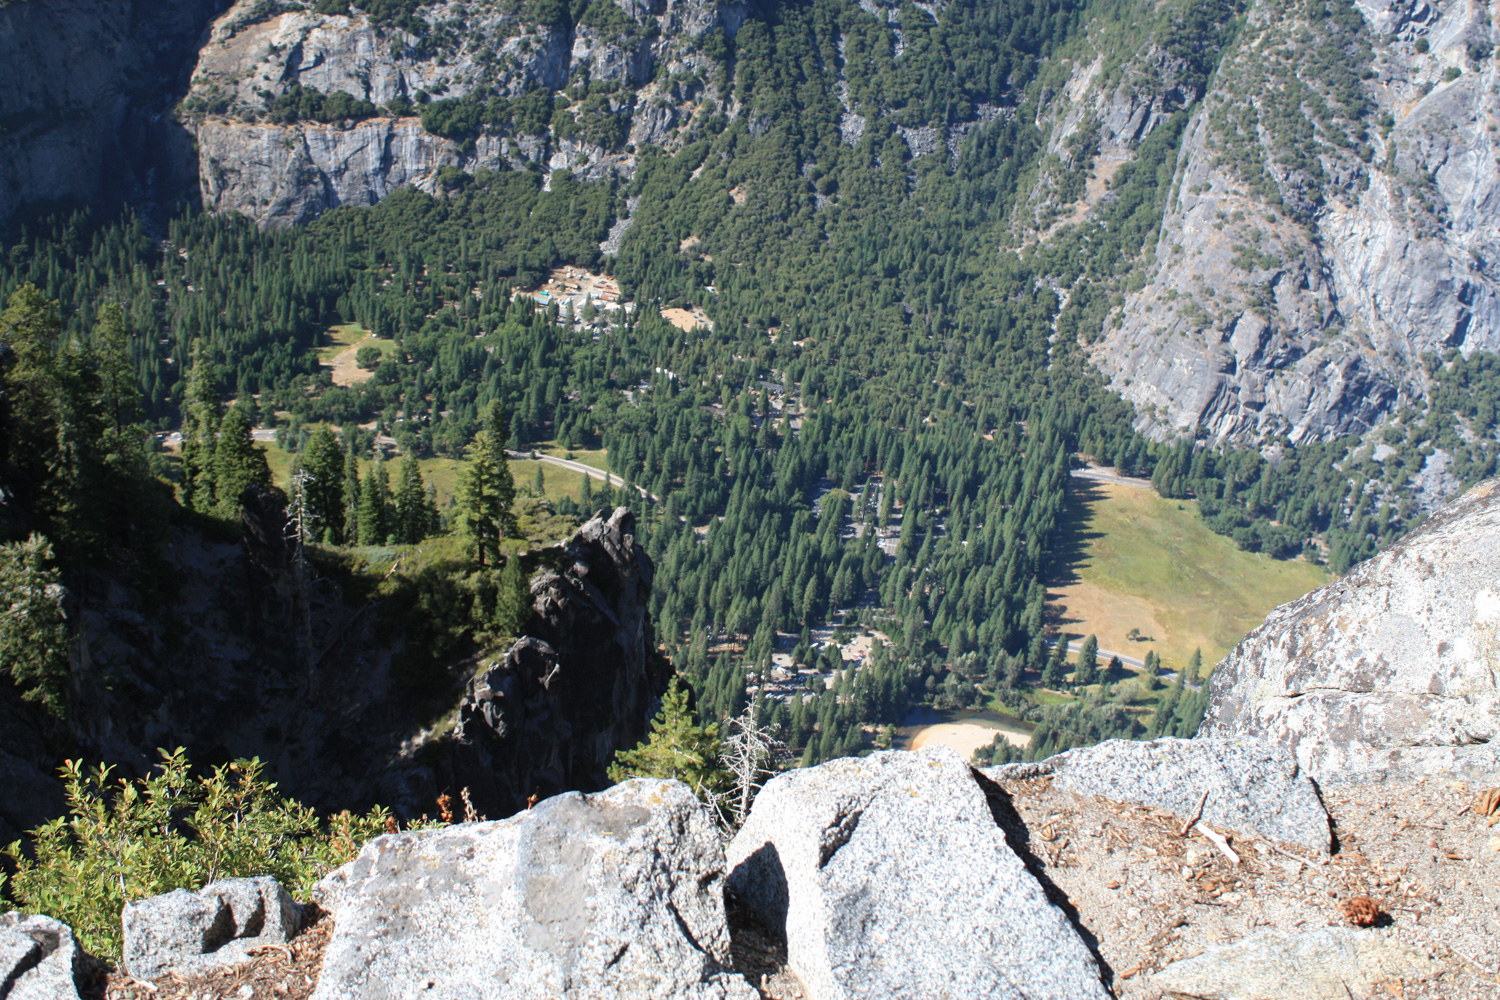
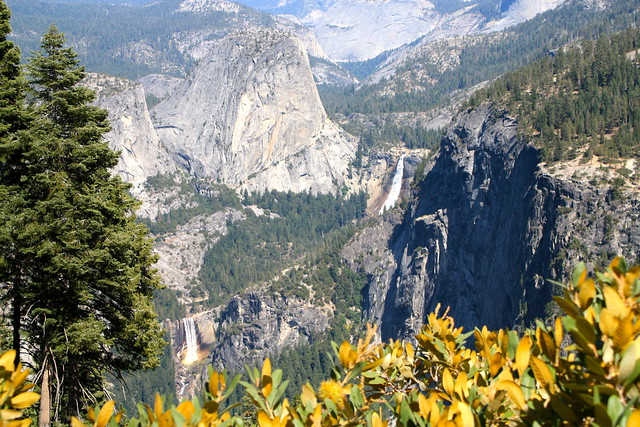
The further along you hike on this section, the better the views will be. You can get a sense of just how far you’ve come and how high up you are when you’re able to make out Nevada and Vernal Falls:
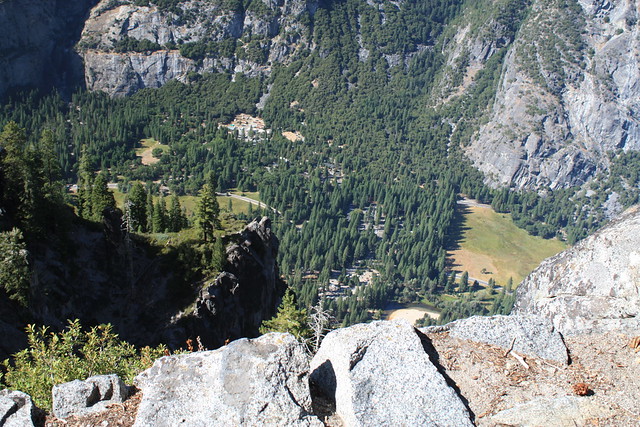
This is another tough section of trail, with very little shade and a seemingly relentless incline. Prepare for more crowds as you approach Glacier Point (7214 ft). It’s one of the best viewpoints in the entire park, but it’s easily reachable by shuttle or car. There are also bathrooms, snacks, and ranger-led programs here, but in my experience most people don’t venture very far onto either the Panorama or Four Mile Trails, so you won’t see other people until you actually get to the Glacier Point parking area.
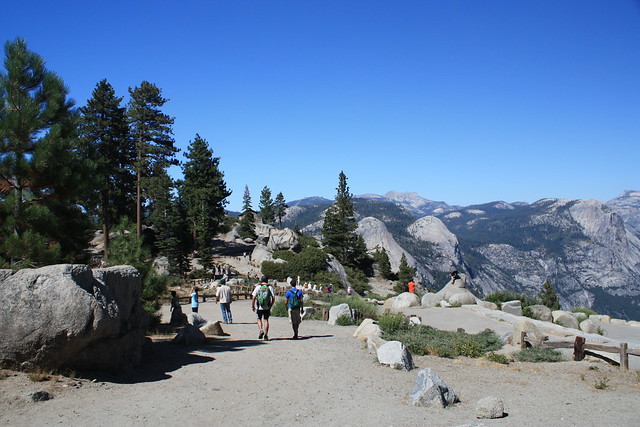

Even if it’s crowded, do yourself a favor and walk up to Glacier Point itself. You’ll probably have already seen better views along the Panorama Trail, but it’s worthwhile to make a short stop at this high point for a sense of just how much elevation you’ve gained … and maybe you’ll even be able to see some climbers up on Half Dome with a ranger’s assistance.

When you’re done soaking in the views or crowds or ice cream you bought at the snack shop, look for the Four Mile Trail between the snack shop and Glacier Point. Despite the name, this trail is actually 4.6 miles, and has a reputation of being one of the toughest ascents from the Valley floor (the Yosemite Falls Trail across the valley takes the cake, achieving a comparable incline with about a mile less distance). While the descent isn’t quite as difficult, your knees will take some punishment on the descent, so be sure to have some trekking poles with you if you’ve got a cranky knee or two.
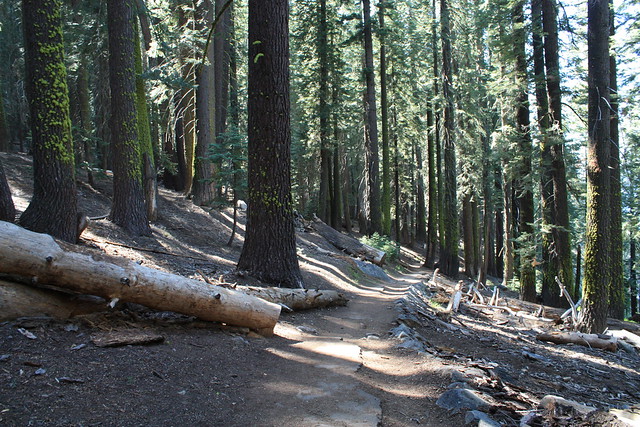
Near Glacier Point, the trail is wide and the ground is soft. Throw in plenty of shade, and you’ve got a very nice descent.
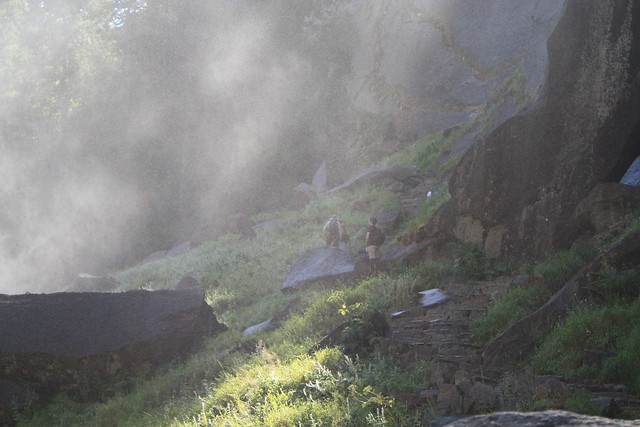
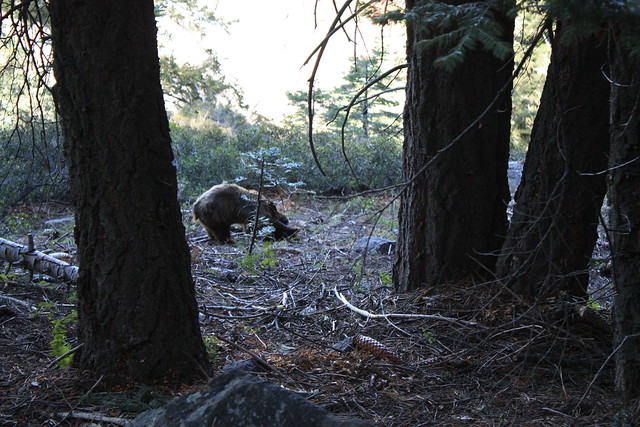
On this section of the trail, I had the pleasure of coming across my first black bear! A few other hikers and I watched in silence as the little guy rooted around in the underbrush, then kept hiking.
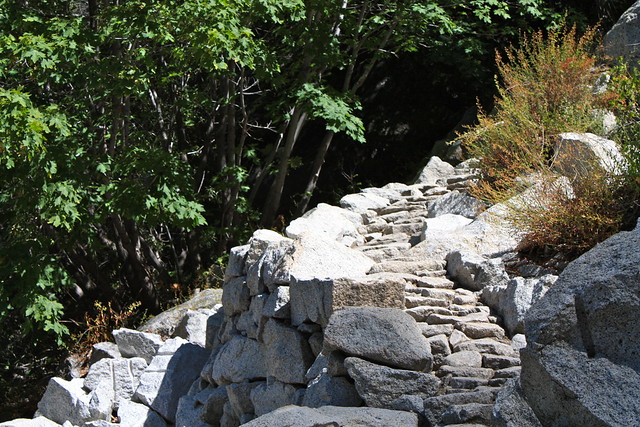
About 0.8 miles into the Four Mile Trail, the trail starts into a series of switchbacks, which pretty much continue down to the floor. For most of this time, the trail is wide, but there are some steep drop-offs and narrower, more slippery sections as you descend. Just keep an eye on where your feet are headed, and you’ll be fine – and make sure to look up to enjoy some of the scenery once in a while, too!

The trail ends in a shaded forest glen with a few giant granite boulders that fell from the valley walls. Walk toward the road and either wait for a shuttle or start hiking toward your campsite!
Tags: four mile trail, glacier point, GPS, high sierra loop trail, Hiking, illouette falls, mist trail, nevada falls, nevada trail, panorama trail, Trail Write-Ups, transit accessible, vernal falls, Yosemite National Park