
The trek to Queen Mountain is probably on the easier end of the backcountry off-trail trips Joshua Tree National Park has to offer, but that doesn’t meant that you should do it on a whim. This route requires route finding and scrambling experience in harsh terrain with zero shade and zero water and should absolutely not be attempted by novice hikers or in the hot summer months.
That said, if you’re up for the challenge and know what you’re doing, climbing to the top of Queen Mountain can be an immensely rewarding experience — and if you’re bothered by the crowds at some of the other Joshua Tree highlights, you’re almost guaranteed to have this route all to yourself.
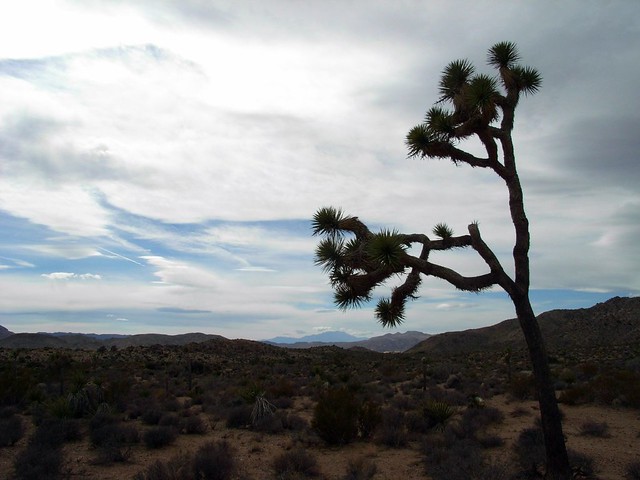
Even on a long holiday weekend, once you turn off Park Boulevard and onto the dirt Big Horn Pass Road, you’ll probably be able to get that full-on desert seclusion. After a short drive down the semi-washboard road (passenger cars are OK as long as the region hasn’t had a lot of rain recently), reach the trailhead, slather on your sunscreen, grab your map and water and check your surroundings.
Queen Mountain is the highest point just to the slight northeast from the trailhead.

Look for the notch between the two highest points on the horizon — generally speaking, you’re going to head up into that notch, then scramble up to the summit ridge.
There may be an old wooden sign pointing north and sets of footprints following that direction. That’s where I initially went (as is on this GPS track), but you’ll quickly find out that route sends you too far to the west of the washes you’re aiming for. If you do go that way, it’s not the end of the world — just head a bit further east and follow a rocky ridge until you reach a wash heading to the northeast.
The alternate (and easier to follow) direction is just to head due east from the trailhead. Cross the first wash and when you hit the second wash, you can follow that to your climb. The one downside of that route, though, is that you’ll be hiking in a sandy wash on a meandering path, which can be its own special kind of exhausting.
If you head directly northeast from the trailhead, you’ll hit the first wash in about 0.1 mile. If you meander a bit like I did on this GPX track, it might take up to the 0.4 mile mark instead.
Once you’re in the wash, follow it north until it starts to bend west. Then, look for an exit on the eastern bank of the wash that climbs up onto a rocky ridge.

From here, you can either head due east to that second wash or just follow the boundary of the mountain’s incline to the northeast.
If you follow the mountain’s contour, you’ll reach the mouth of the steep rocky wash’s canyon at about 1.4 miles.

You’ve had it relatively easy on the incline so far. That part of the hike is over.
Enter the wash and start your climb upward. You may spot cairns left by helpful predecessors on this route, but don’t depend on them for navigation. Instead, take your time and look for steady places to ascend — watching out for desert critters and pointy desert plants along the way.
Going up the rocky wash, the sides of the canyon gets tighter and steeper. At an especially large, path-blocking boulder at about 1.6 miles, look for a small use trail going up on the west side of the wash, which will make the slog to Queen Mountain Saddle a tiny bit easier than just finding your own way up.
While the boulders start on a gentle slope upward, the hopping quickly turns to sharp upward scrambling. Aside from loose rocks, though, there isn’t much to worry about. There are no steep drops and you can’t get lost as you’re only going up … although, once I did stop to check the neighboring wash to make sure I was going up the right one
If you’re confident you’ll be able to spot these cairns and skip the wash altogether — think again. Cairns are pretty easy to spot in a forest, but when you’re in a landscape where the rocks naturally appear stacked on top of each other, it’s a bit more difficult.

Can YOU find the cairn here?
That said, once you start actively looking for these things, it is a bit easier to spot them. And again, if all else fails, just go up.
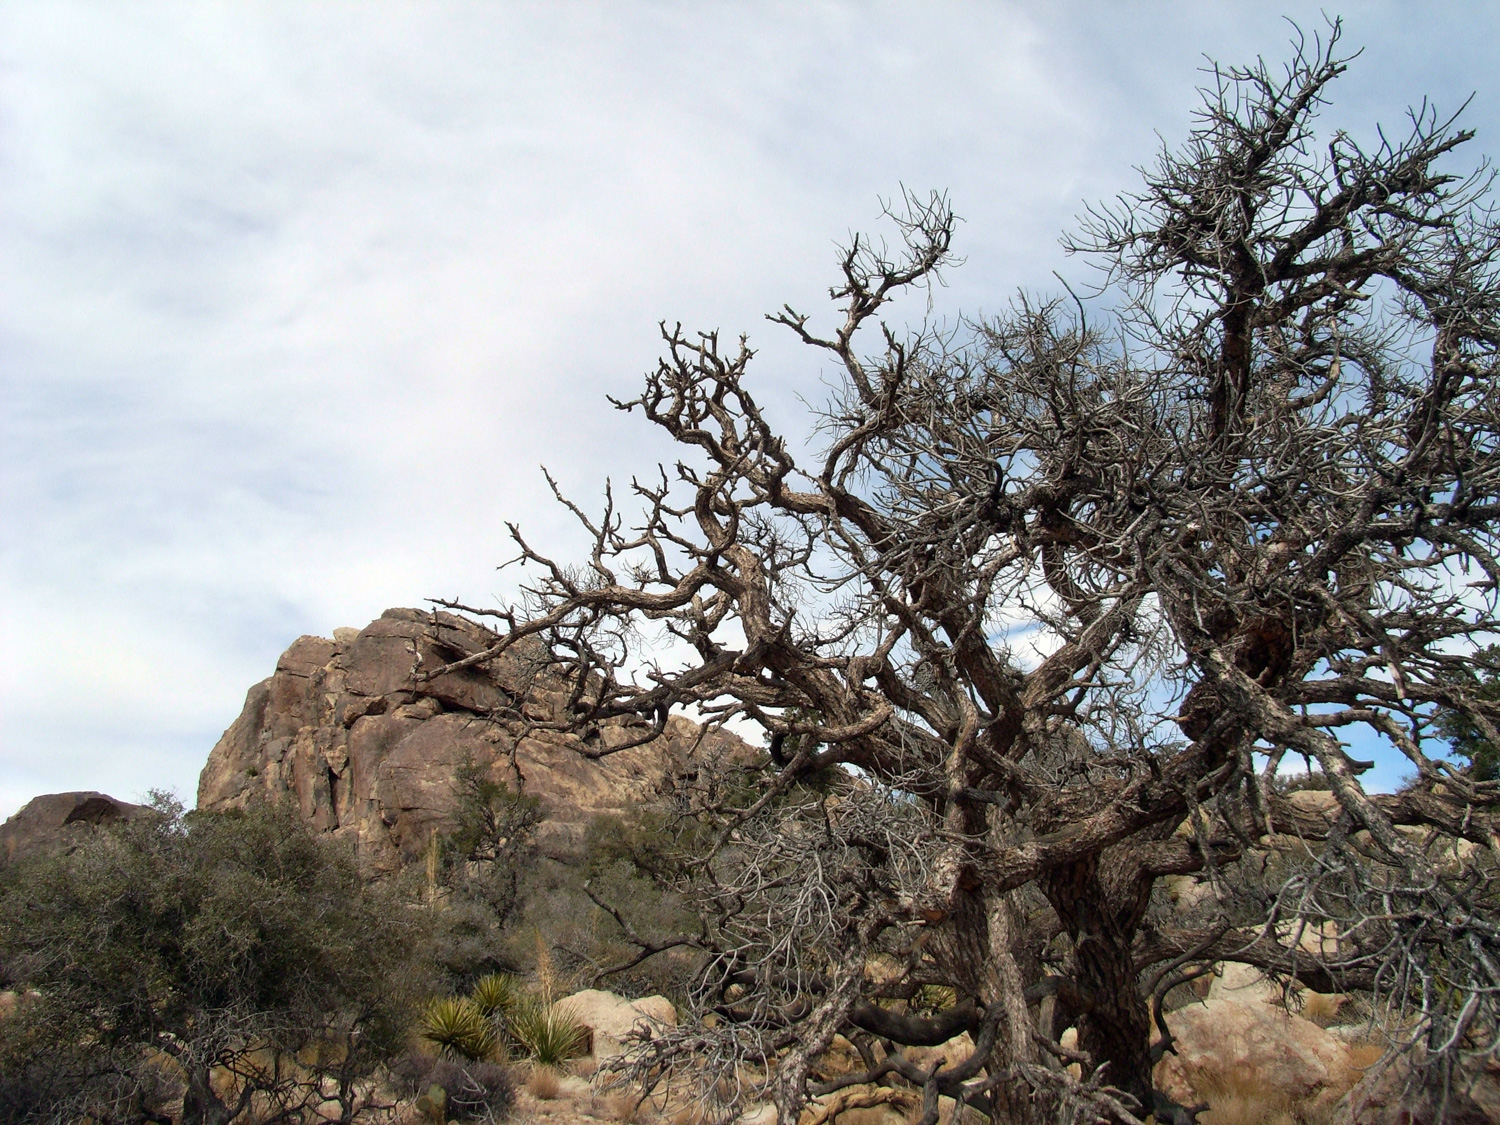
The use trail winds its way up the canyon, which eventually opens up to a wide saddle between Queen Mountain and the slightly lower peak to its east. A few small wizened juniper trees here offer the only available shade on the entire hike.

But of course, no strenuous summit would be complete without one final stretch of scrambling. It’s just another few small climbs up some rock shelves to the summit to the west. If you’re feeling especially adventurous, you can just crawl right up the side to the top. Or you can explore around the backside for a few smaller scrambles. Either way, when you get to the top, you’re rewarded with 360 degree views of the Park and the high desert to the north.
Looking west, you can get a great view of San Jacinto and San Gorgonio.

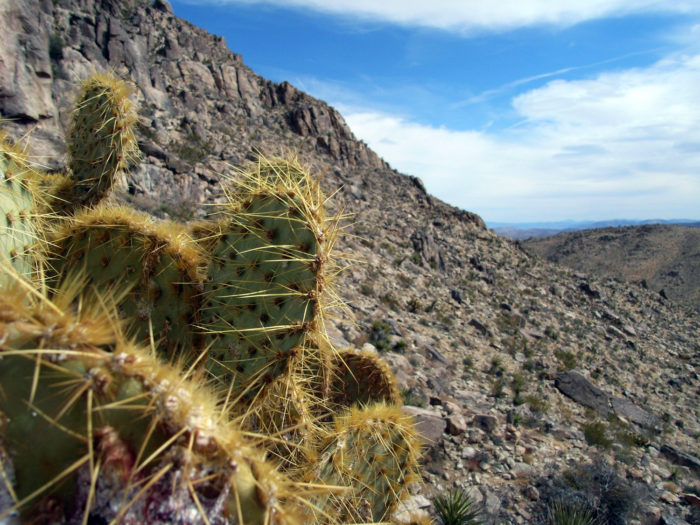
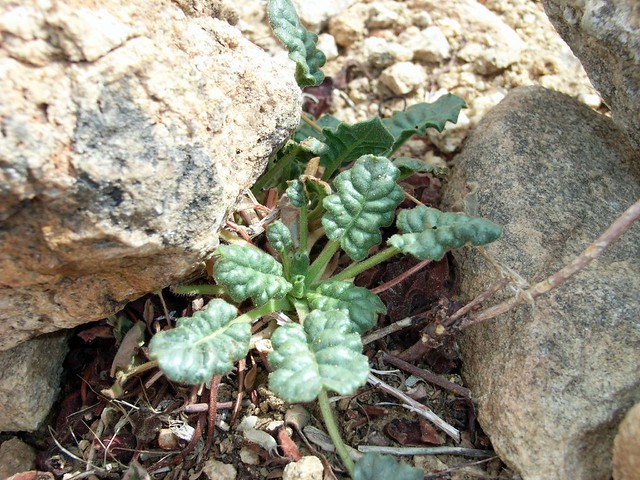
Looking south at the rest of the park, it’s surprising how barren the desert can seem. This is probably what most people have in mind when they think of the desert – endless stretches of nothing. It’s the same reason I think I like the desert so much – color and life are there, you just have to keep your eyes peeled for it.

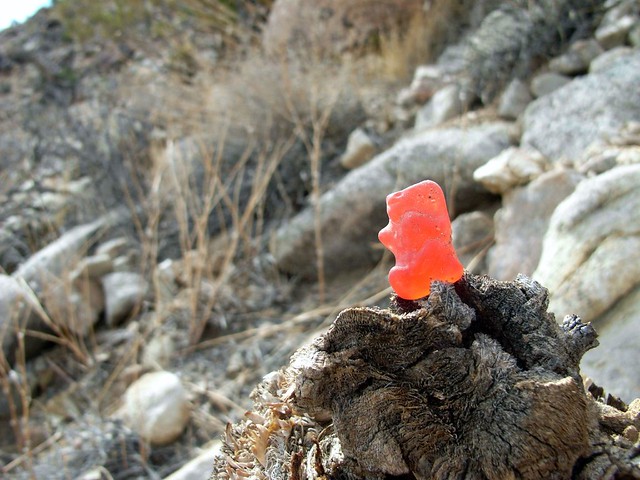
Occasionally, you’ll spot something really interesting – like this gummy bear someone left perched on a dead yucca.
On the way down, I noticed the use trail continued along the side of the wash before I’d climbed out of the wash to join it. In the interests of record-keeping, I skipped the wash and followed the cairned trail. This move was also in the express interests of my knees, which were quite sore from all the ups and downs on the boulders.
Even though the use trail was sporadically marked by cairns, it was definitely not easy to follow. Eventually, the cairns stopped altogether, and I was back to wandering the desert by my lonesome. I just decided to make a bee-line to the southwest. After a short walk, I rejoined the sandy wash I’d come up on. Follow this wash back toward the trailhead and look for a faint use trail that departs … or just keep your eyes peeled for your car.
And make sure to look back up at Queen Mountain for a great sense of accomplishment on this hike!
Tags: backcountry, Hiking, Joshua Tree National Park, queen mountain, Trail Write-Ups